Veggie Stand Market Bag – Free Crochet Pattern & Video Tutorial
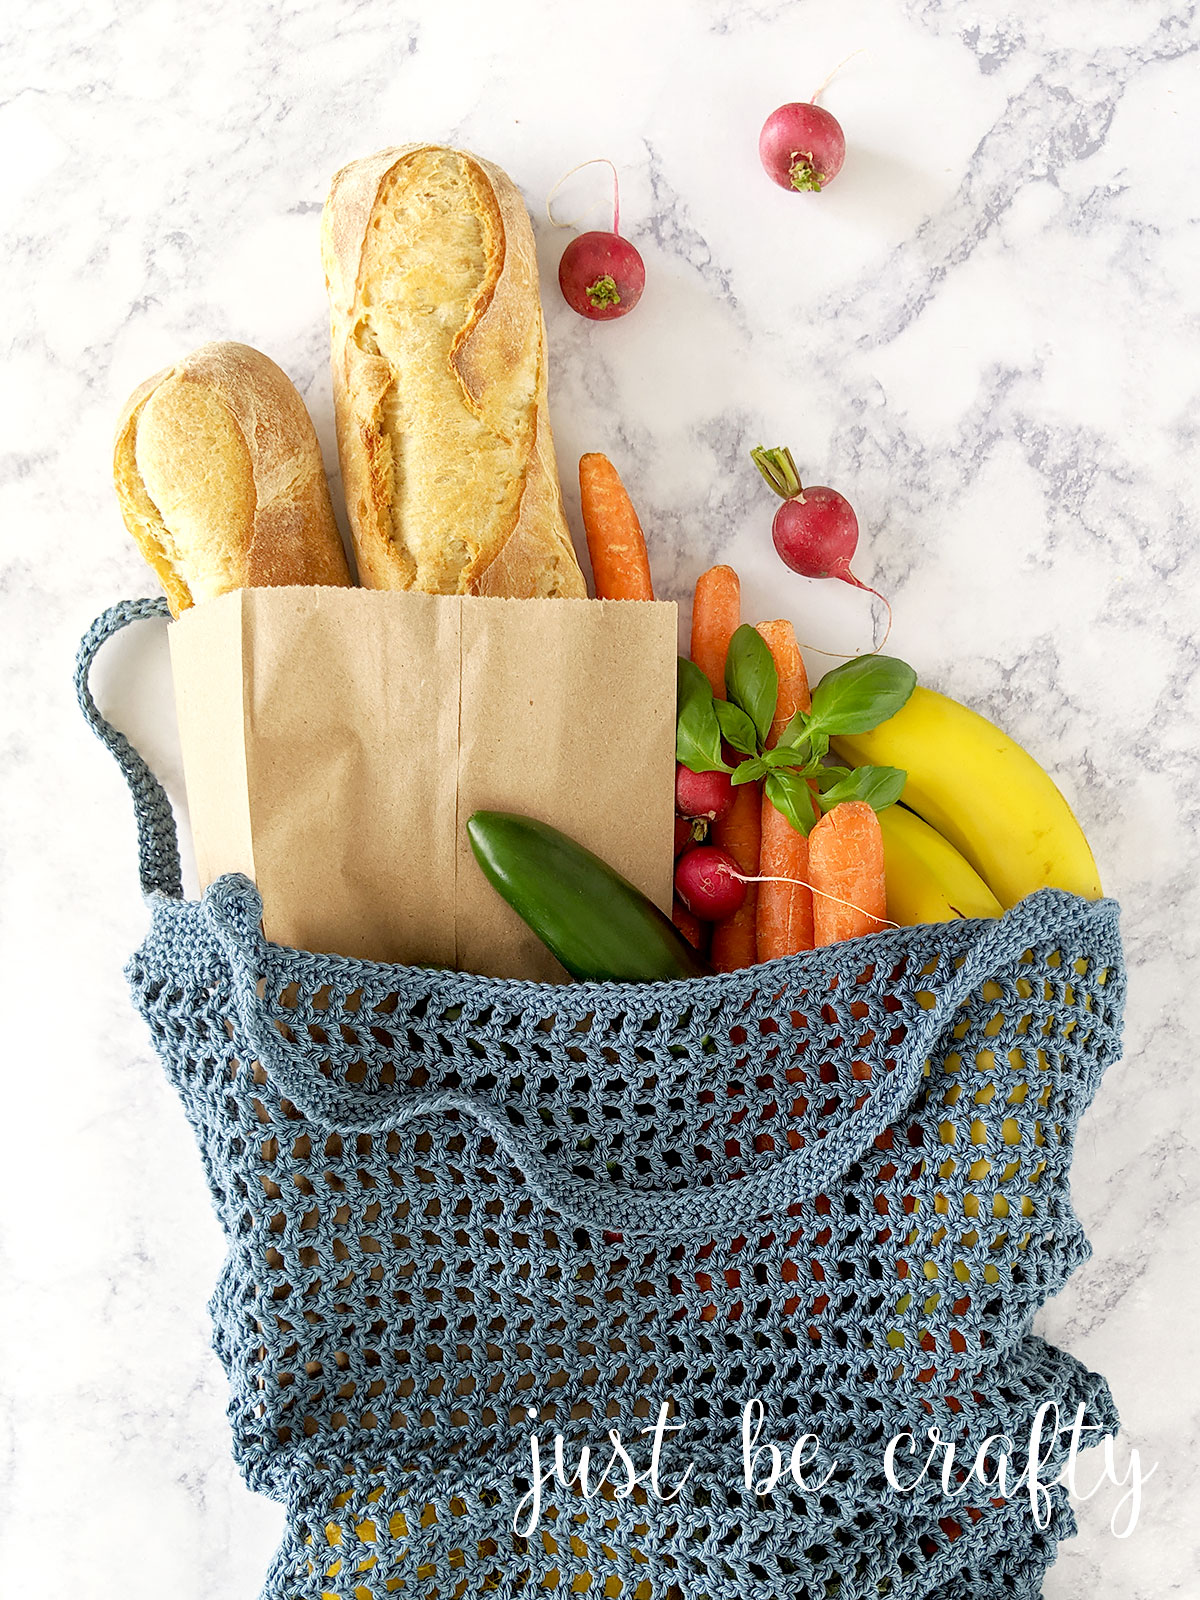
The Veggie Stand Market Bag is the perfect pattern to get you ready for summer. Whether you take it to the beach or the market, this bag can hold everything! To view the free pattern and video tutorial, keep on reading below. An ad free printable version of the pattern can be purchased here.
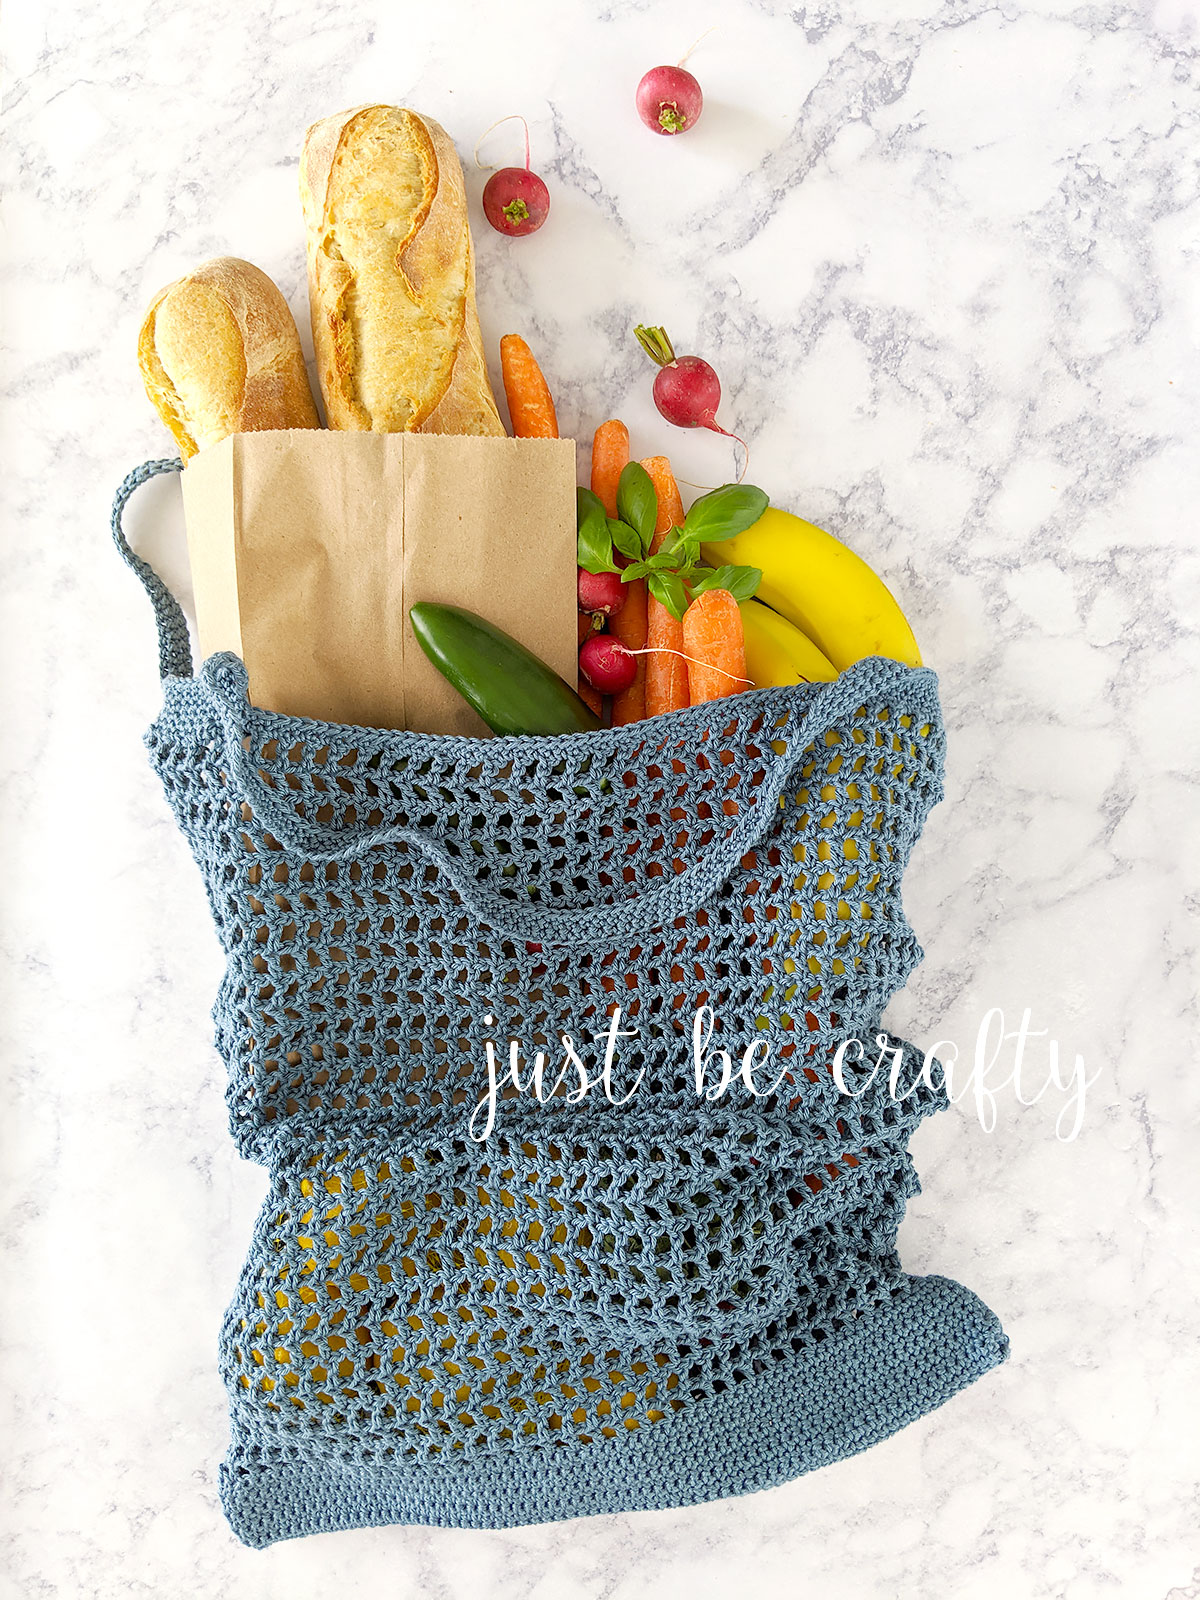
Hello and welcome back to my blog, and if you’re new here – welcome! I am so happy you’re here because today I am sharing a super fun new crochet pattern – the Veggie Stand Market Bag! This bag is similar to the Farmer’s Market Tote pattern that I released back in 2017. The Farmer’s Market Tote is one of my all time favorite projects and I’ve gotten so much use out of it that it was starting to become time to make a new one.
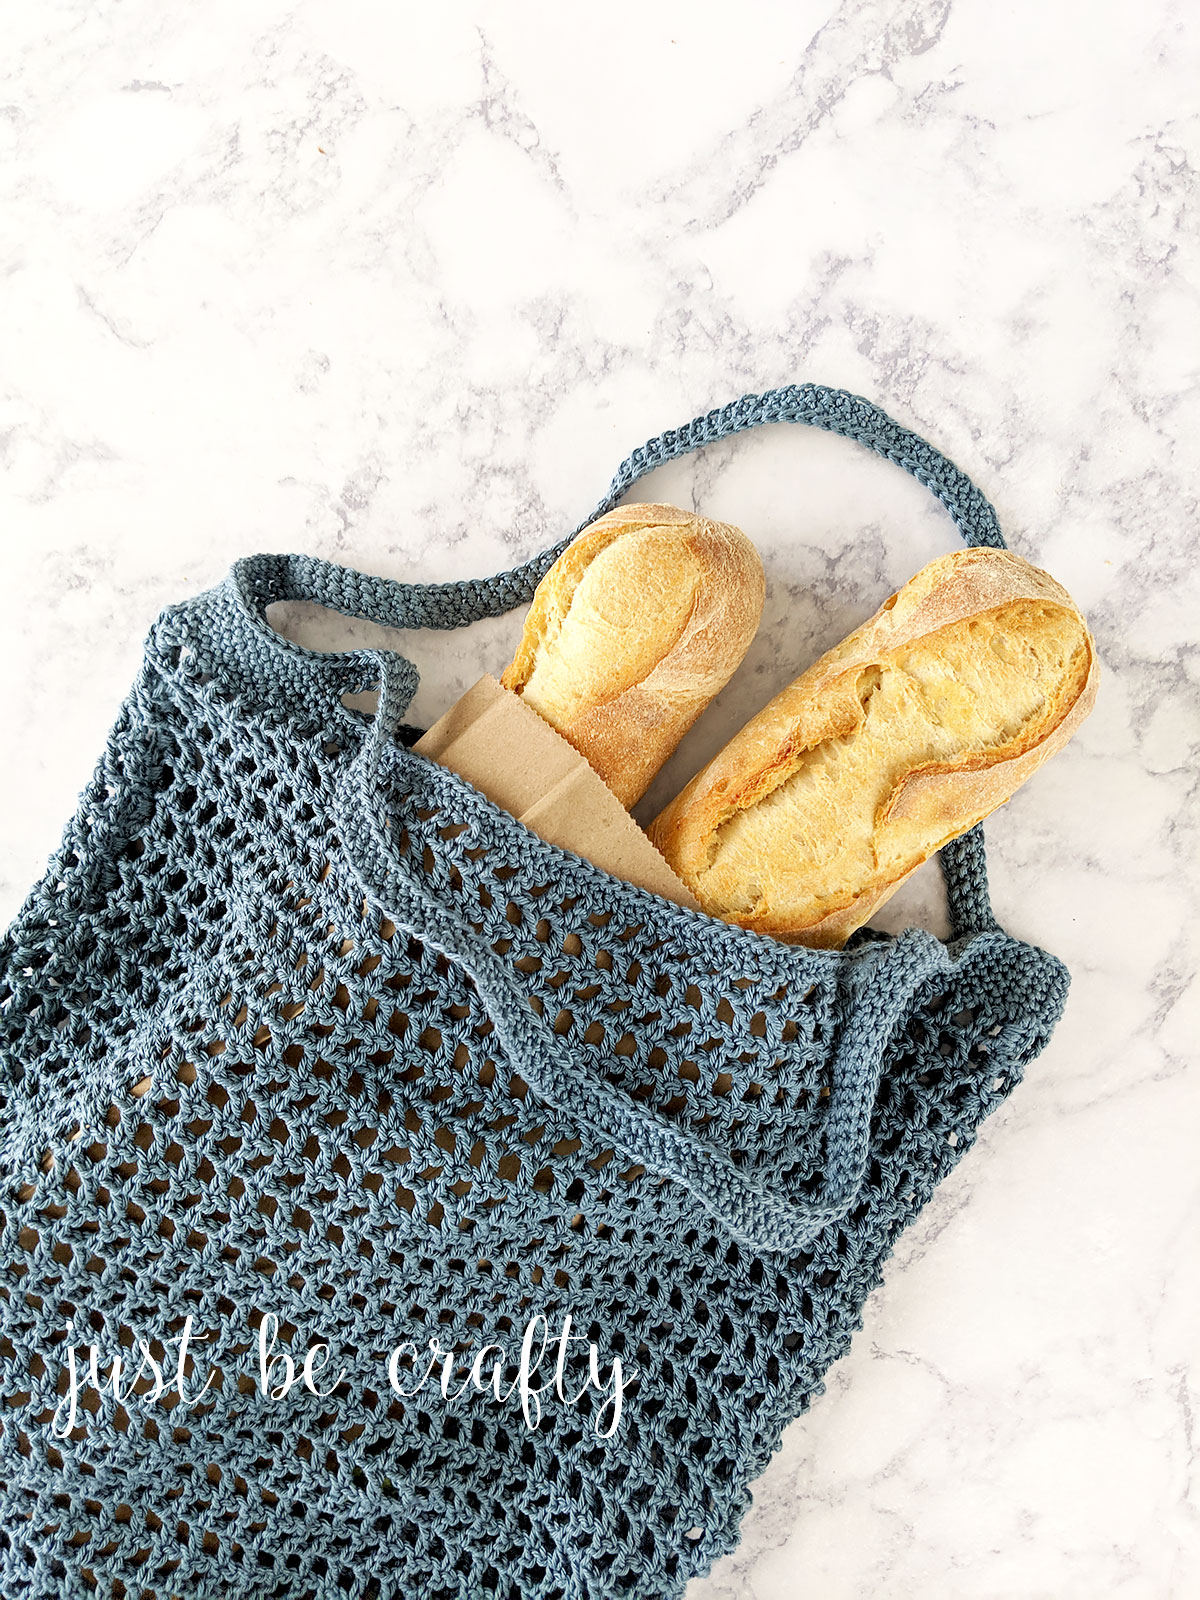
Hence the Veggie Stand Market Bag was born! And like both the Farmer’s Market Tote and my Mesh Grocery Tote, you can fit SO much stuff in it because it literally grows as you fill it!
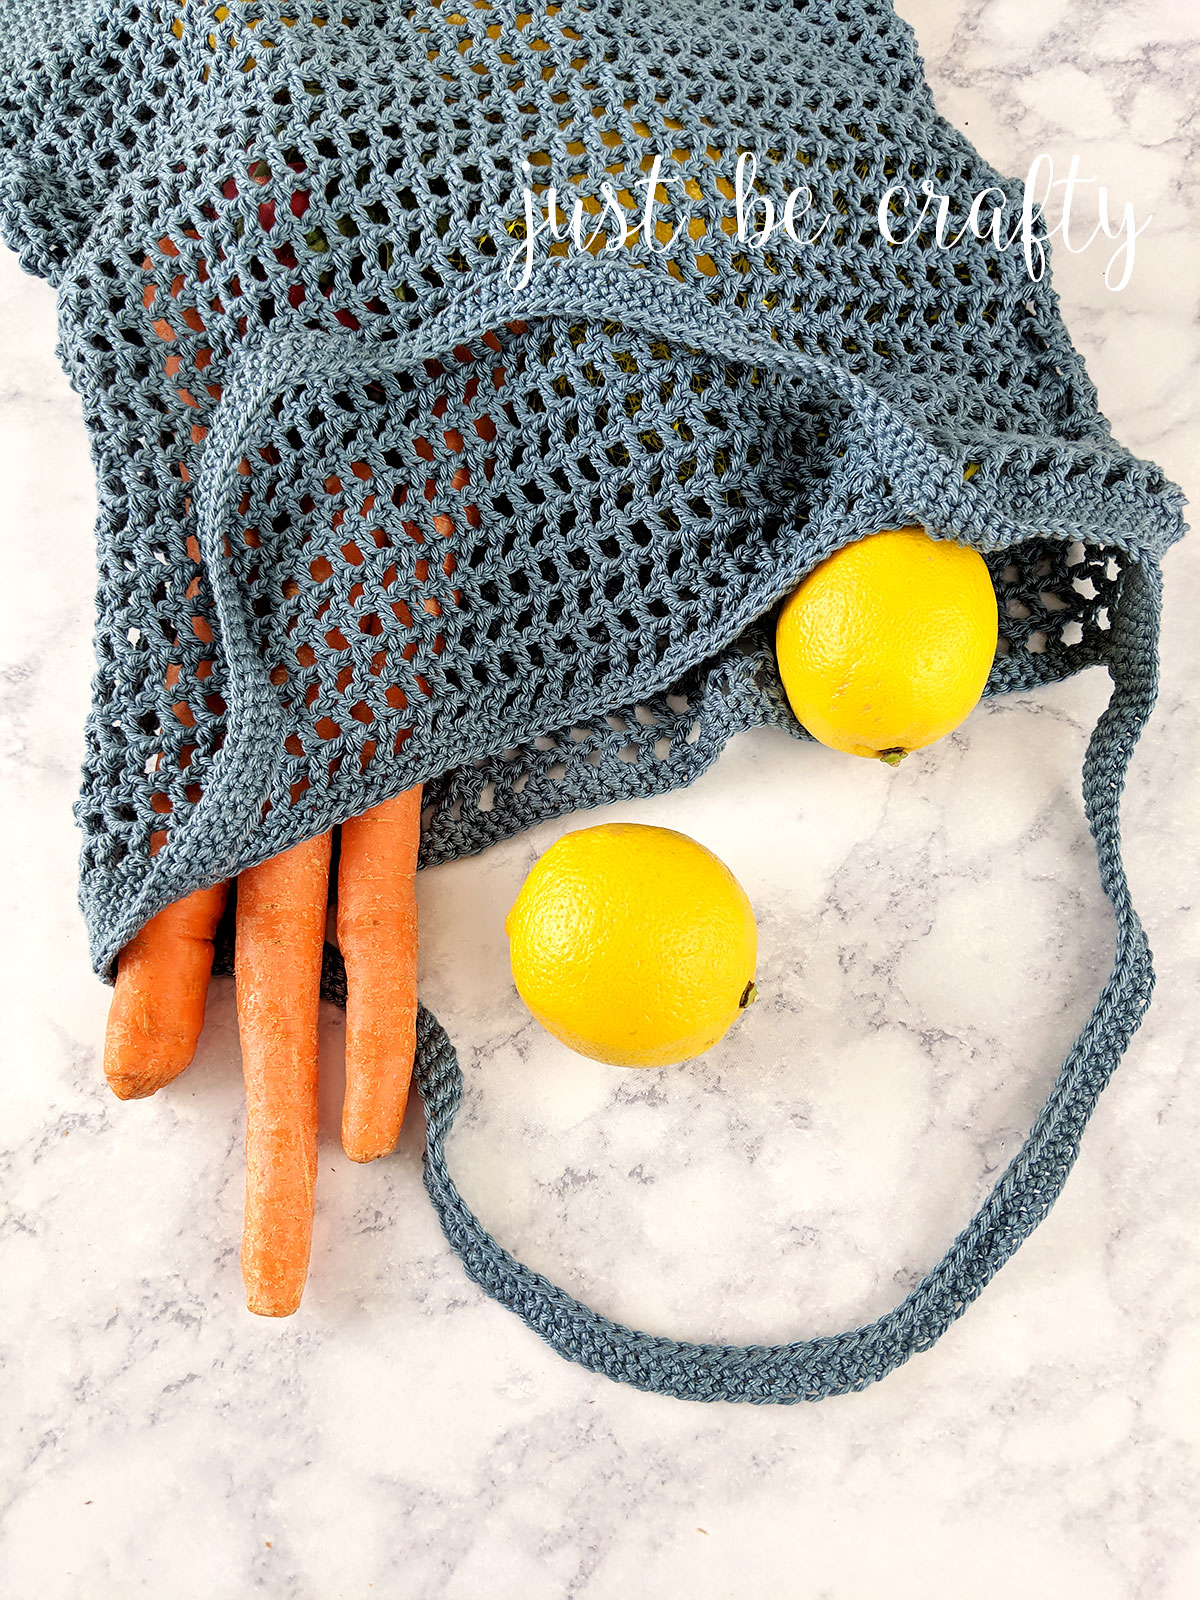
This bag is super simple in construction as it is made up in a large rectangle that’s folded in half and the sides stitched together, and a few rows of sc to make the opening and handles of the bag.
Video Tutorial
In this video tutorial I will show you step by step how to make this super trendy Veggie Stand Market Bag from start to finish. This tutorial is geared to intermediate beginner crocheters and higher and assumes you already know how to complete the following skills:
- chaining
- single crochet
- double crochet
- slip stitch
Once you’ve mastered those above skills, I am positive you’ll be able to tackle this pattern!
Don’t have time to make this now, but want to come back to it later?? I have you covered…
Click here to pin on Pinterest – and save for later!

An ad free printable version of this pattern can be purchased here.
Veggie Stand Market Bag Pattern
*This post may contain affiliate links. Please see my disclosures page for more information.
All patterns on this blog are for personal use only and may not be redistributed, copied, blogged, or sold as your own. You may sell items made by my patterns as long as the item is made by you personally (not mass produced) and that proper credit is given back to me and my site, Just Be Crafty. You may not use my photos for your online sales listings.
Materials
- 3 balls Patons Grace in color Citadel
- Weight – Light (3); Content: 100% Mercerized cotton
- 3.75 mm hook – I use this set
- scissors
- yarn needle
Finished Measurement
- Approximately 12.5 inches wide by 13.5 inches long when laying flat (this measurement is not including the handles)
Gauge
- 11 stitches by 10 rows of mesh stitch equals 4 inches
Pattern
[Body of the bag]
Chain 74
Row 1: Starting in 6th ch from hook, dc, *ch 1, sk a ch, dc; repeat from * to end of row; turn. (You should end with 35 ch sp’s.)
Row 2: ch 4 (counts as 1st dc and ch 1), sk over ch sp, *dc into next dc, ch 1, sk over ch sp; repeat from * to end; the last dc should go into the 3rd ch of the starting ch 4 from the previous row; turn.
Rows 3 – 30: Repeat Row 2
[Forming the bottom of the bag]
Row 31: ch 1, sc in same st as ch 1, *sc in ch sp, sc in dc from previous row; repeat from * to end; Your last 2 sc’s will go into the 3rd and 4th ch’s of the starting ch 4 from the prev row; turn. (You should end with 71 st.)
Row 32: ch 1, sc in each st across row; turn.
Rows 33 – 50: Repeat Row 32
Row 51: ch 4 (counts as 1st dc and ch 1), sk a st, dc in next stitch, *ch 1, sk a st, dc in next st; repeat from * to end of row; turn. (You should end with 35 ch sp’s.)
Row 52: ch 4 (counts as 1st dc and ch 1), sk over ch sp, *dc into next dc, sk over ch sp; repeat from * to end; the last dc should go into the 3rd ch of the starting ch 4 from the previous row; turn.
Rows 53 – 80: Repeat Row 52
[Assembling the bag]
Fold bag in half, and rotate work so that the side is facing up. Bottom of the bag should be positioned to your left and bag top opening should be positioned to your right.
You will be crocheting the sides together to form your bag. Line up your stitches. With your last worked stitch on top, ch 1 start crocheting sides together by placing 2 sc in the 1st sp.
Make 1 sc in the the side of the next dc, making sure that your are catching both layers.
Make 2 sc in the next sp, making sure that you are catching both laters.
Repeat the above steps until you reach the bottom sc portion of the bag.
Once you get to the bottom sc portion of the bag, line up your stitches and sc together. I made 9 sc here.
Cut yarn and secure.
Turn bag over and repeat process for opposite side.
Do you want your bag’s side seams exposed? If yes, move on to making the handles.
If no, turn your bag right side out so that seams are now inside bag.
[Forming the handles]
Step 1: Place 2 markers, one to mark each of the side stitches of your bag.
Step 2: Starting with the right most stitch marker, count 5 dc’s inward, pm. Repeat with left most stitch marker.
Flip bag over and repeat step 2.
Round 1: Starting at the right most stitch marker, attach yarn. Ch 1, sc in each dc and ch 1 sp around. Join with 1st st of round using sl st. Replace markers as you go.
Round 2: ch 1, sc in each stitch, join with 1st st of round using sl st. Replace markers as you go.
Round 3: Starting at 1st st marker, sc to next st marker, ch 75. Taking care to not twist your chain (otherwise your handle will be twisted), make a sc in the st with the next st marker. Both handle st markers on this side can now be removed. (Keep your st marker for the beginning of round throughout rest of project.)
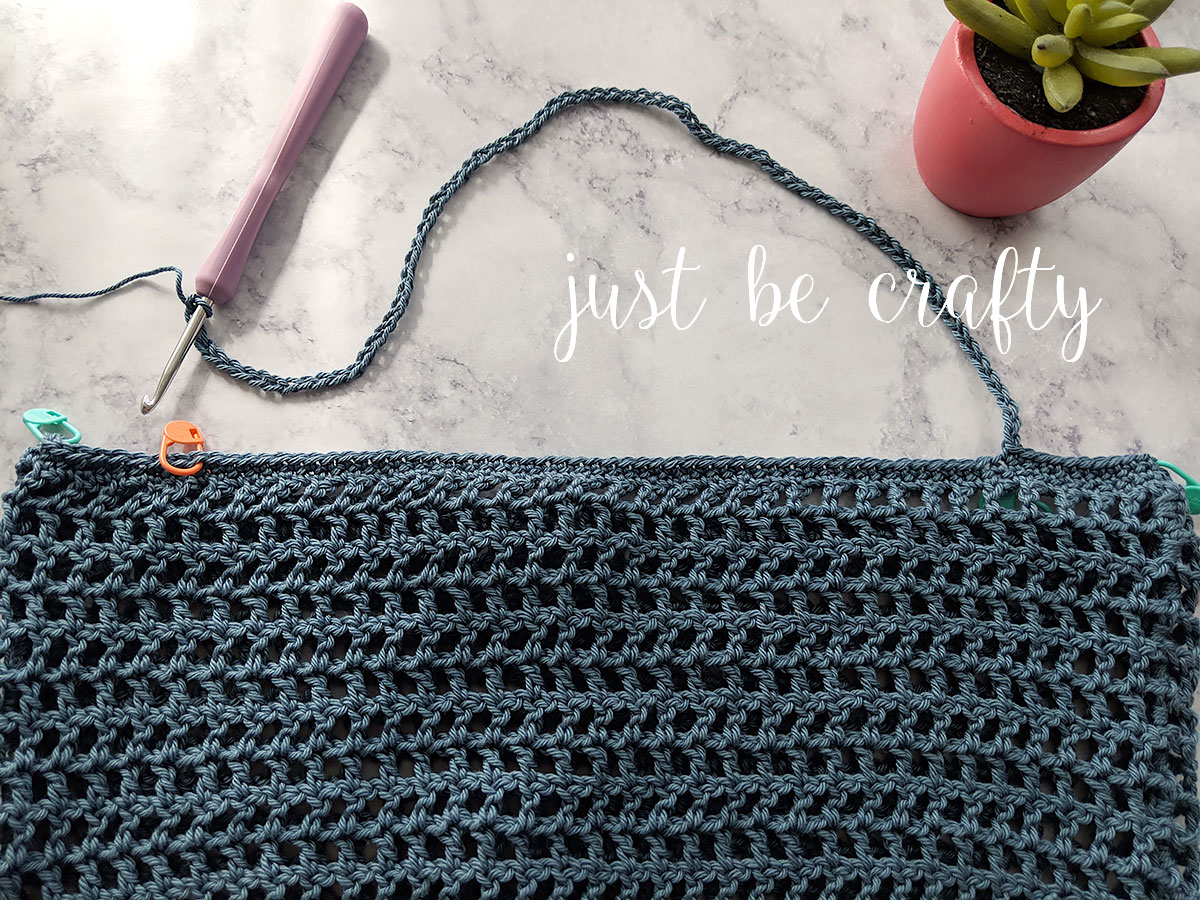
sc to next side marker, which you can now remove; repeat handle process on other side; sc in remaining st to end of the round; join with 1st st of round using sl st.
Round 4: ch 1, sc in each st to the end of the round (including in each of the chains of the handles); join with 1st st of round using sl st.
Round 5: ch 1, sc in each st to the end of the round; join with 1st st of round using sl st.
Round 6: Repeat Round 5
Cut yarn and secure.
Weave in all ends.

Enjoy!


Cannot find the video
I made your veggie market bag and I just loved it. However, I would like to make another one a little bit bigger. How many do you recommend I should chain to make it 1/2 larger?
Thank you so much for providing these very useful tutorials!
great video very good instructions and I am looking forward to making this bag in the near future. Thank-you