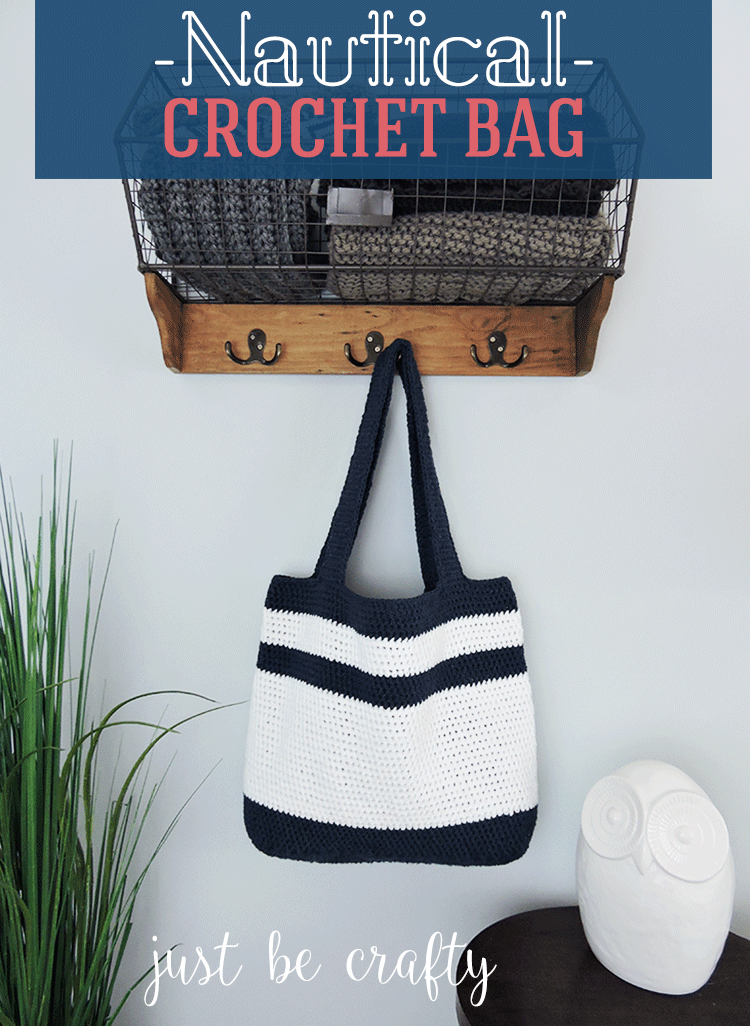
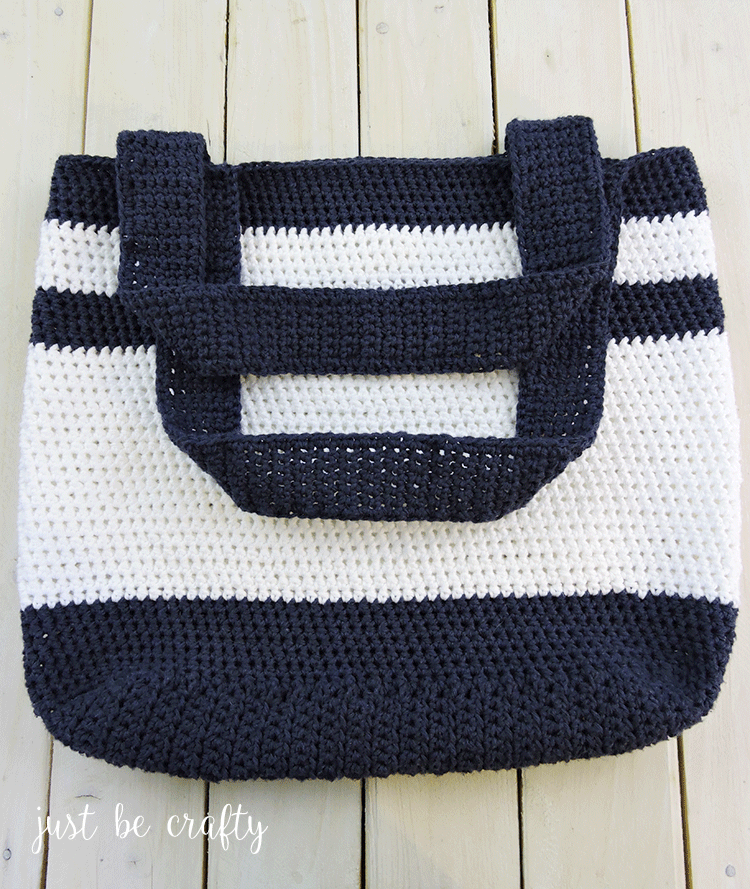
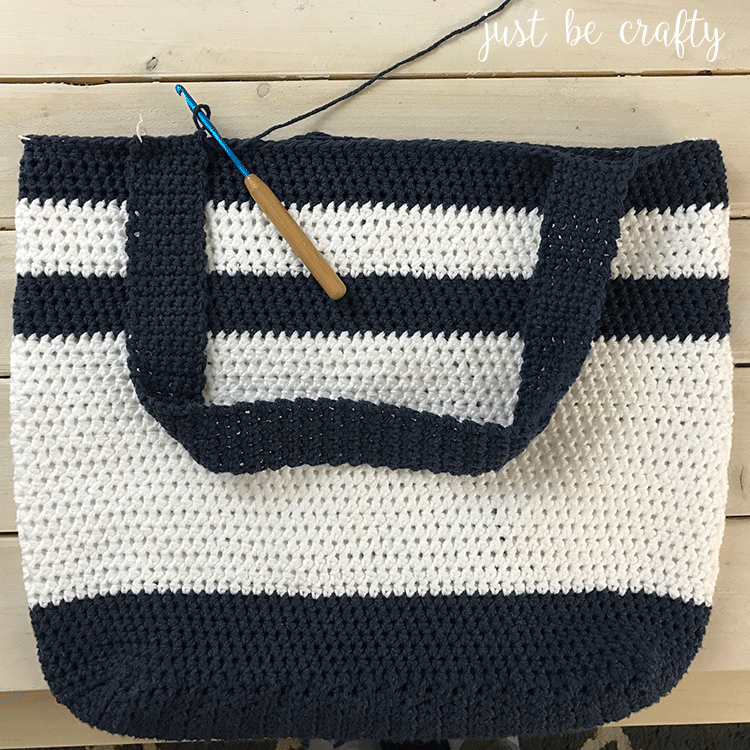
The nautical crochet bag is the perfect summer accessory for toting to the beach, on the boat, or at the local farmer’s market.
This post contains affiliate links. For more information please see my disclosures page.
It’s officially spring and to celebrate I have a new crochet bag pattern to share! This bag is designed with 100% cotton yarn which makes it lightweight and perfect for the fast approaching warm weather. The color contrast of white and navy give this bag a nautical feel so it’s perfect for the boat or day at the beach!
I love this pattern because once you get going the bag works up pretty quickly and easily, so it’s a great project for catching up on your favorite Netflix shows! Another great thing about the pattern is that it’s pretty versatile and can be easily modified to be bigger or smaller by following the customizing notes listed out below.
I hope you give the pattern a try! See the written pattern below!
A printable PDF of this pattern can be purchased here.
Nautical Crochet Bag Pattern
Finished Measurements:
- 16 inches wide by 14 inches tall, laying flat
Notes:
Please note, this pattern is very forgiving! If you end up a couple stitches off this WILL NOT affect the end result. Because of this, the pattern can be easily customized to be as big or small as you want!
Customizing Bag Width:
For a narrower bag, subtract rows from “bottom of the bag”, or add rows to make wider.
Customizing Bag Height:
For a taller bag, add more rows to the “body of the bag”, or subtract rows to make a shorter bag.
Customizing Handle Length:
Adjust the handle length by adding rows for longer handles or subtracting rows to make shorter handles.
Color Changes:
On the last stitch of the round before your color change, STOP before you get to the last yarn over of your hdc, cut yarn and yarn over with the new color. This will give you a more seamless color change!
Materials:
- Two 4 oz balls of Lily Sugar n’ Cream yarn in Indigo
- Two 4 oz balls of Lily Sugar n’ Cream in White
- 5mm crochet hook
- 4 stitch markers
- Scissors
- Yarn needle
Key:
- ch – chain
- hdc – half double crochet
- sc – single crochet
- sl st – slip stitch
- right side – outer side (or pretty side)
- wrong side – inside of bag
Pattern:
[Forming the bottom of the bag]
With color Indigo, chain 18
Row 1: Starting in 3rd ch from hook, hdc in each ch to the end of row, turn (16)
Row 2: Ch 2 (ch 2 does not count as a stitch), hdc to end, turn (16)
Rows 3 – 41: Repeat row 2
[Forming the body of the bag]
**You will now be working in rounds**
Round 1: ch 2 (this ch 2 does not count as a stitch), make 2 hdc in the same stitch as the ch 2, hdc in next 14 stitches, make 2 hdc in the next stitch. Now, make hdcs along side of work by placing 1 hdc in each row. Once you have worked your way to the other end, make 2 hdc to make the corner, and hdc along the starting edge of your work, and make 2 hdc in the 4th corner. Hdc along the other side of work, and join with the 1st stitch of the round with a sl st.
Mark the last stitch of your round with a stitch marker. Keep replacing your maker in the last stitch of every round to easily keep your place.
For my bag, I ended up with 118 stitches. You may have more or less than this and thats ok!!
Round 2: ch 2, starting in the same stitch as your ch 2, hdc, and hdc in each stitch to the end of the round, join with 1st hdc of round with a sl st (do not join with the starting ch 2)
Rounds 3 – 8: repeat round 2
Cut Indigo yarn, attach White (see note above for making a seamless color change and use this technique each time you complete a color change).
Rounds 9 – 27: repeat round 2
Cut White yarn, attach Indigo
Rounds 28 – 32: repeat round 2
Cut Indigo yarn, attach White
Rounds 33 – 37: repeat round 2
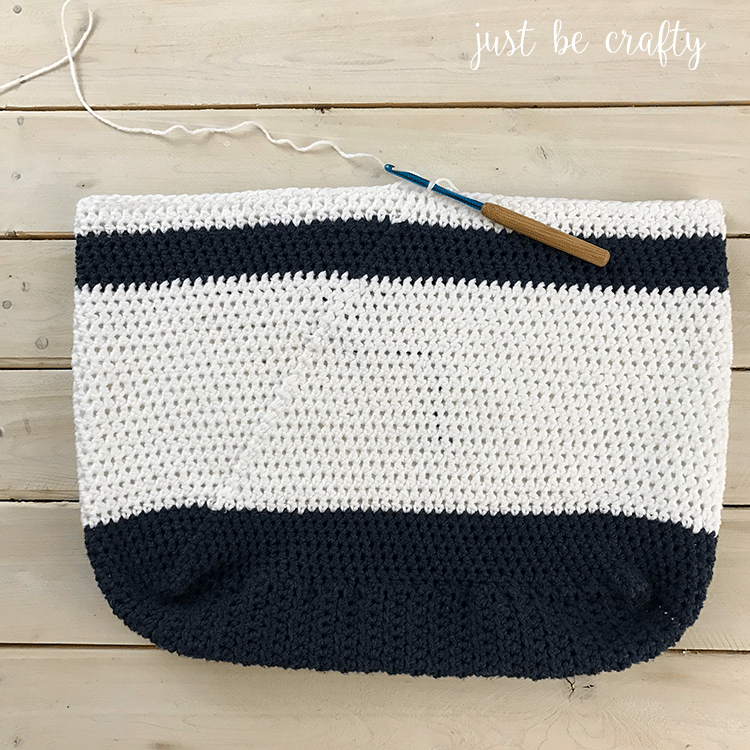
As you go, the back side of the bag will have a bit of a seam and below is what it will look like:
Cut White yarn, attach Indigo
Rounds 38 – 42: repeat round 2
Cut and secure yarn
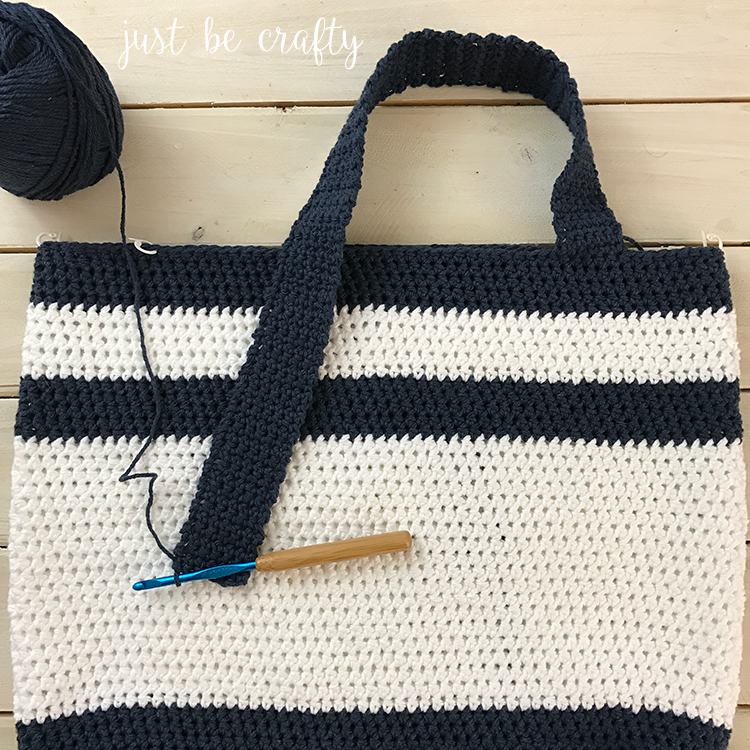
[Making the handles]
Lay the bag flat in front of you, with the sides together and the “right side” facing out. Make sure the bag opening is flat and the stitches are lined up as evenly as possible. Place one stitch marker on farthest left and right sides of the opening of the bag. You will use these two points as a guide for placing your handles.
Working on the side facing you, count 10 stitches from your left stitch marker. Mark this stitch with a stitch marker. Repeat this on the right most side. You have just marked your handle guides. See below photo for reference.

Row 1: Starting at the right handle guide, with Indigo yarn, insert your hook into the same stitch that your stitch marker is in, and ch 1. In same stitch as your ch 1, sc and sc in the next 5 stitches. Turn. (6)
Row 2: ch 1, sc in each handle stitch, turn. (6)
Repeat Row 2 until handle measures approximately 25 inches in length.
Using below photo as a guide and taking care to not twist your handle, line up the handle piece with the stitch marking on the left end, and attach stitch marker to the handle edge to keep in place. Line up your stitches and slip stitch the handle end to your bag. Cut yarn, and secure.
Repeat this entire process for the second handle on the other side of your bag.
[Bag edging – outer handle portion]
With Indigo yarn, and starting on the outer edge of the “right side” of one of the right handle, insert your hook in the stitch where the handle meets the bag’s top edge.
Ch 1, and starting in same stitch as the ch 1, sc, make 1 sc in each row of the handle and in each stitch along the upper opening of the bag until you reach all the way back around where you started, and join with the 1st st of the round using a sl st. Cut yarn and secure.
[Bag edging – inner handle portion]
Repeat this process on the inner handle/top edge of the bag under the handles. Cut yarn and secure.
Weave in all ends.
Enjoy!


I really love this and got the yarn to make it today. Thank you!
Great! I hope you enjoy it! Please let me know if you need any help along the way! 🙂
Just came across this bag – looks amazing. Going out to get cotton today to start it. I am going to try it in Navy and Red with the lone line in White. Thanks!
That will be beautiful!! 🙂
I hope so – got all my materials ready to start it on this rainy Memorial Day weekend!
May I suggest, to get rid of the seam on the back, use these two methods?
1. Invisible Join & Fasten Off (remember to skip that first stitch)
petalstopicots.com/…/tutorial-invisible…/
2. Standing hdc stitch.
mooglyblog.com/standing-double-crochet-joining/
Correct link.
petalstopicots.com/2012/08/tutorial-invisible-join-and-fasten-off-html/
Thank Eileen, for your suggestion! For this pattern, I wanted to make it fun and approachable for beginners and didn’t want to complicate things with a fancy seam. Since the seam is only visible on the back of the bag I didn’t find it necessary to switch things up on my round joins, because when you wear it, the side with the seam sits against your body. But it’s a great idea and I can’t wait to see how your bags turn out with those methods!
What size hook?
Hi Rachelle! A 5.0mm hook. Thanks!
Hello Brittany,
I am excited to be picking up crocheting again by making this wonderful bag! I made it all the way to the part where we are crocheting in rounds. I am having trouble transitioning from one round to the next with the slip stitch. I am not getting a seam to form, and I think I’m adding a stitch to each round somehow…
I hdc into the last stitch of the previous round (the slip stitch from the last round). Then I slip stitch into the 1st stitch of the previous round (which is connected to the previous round’s ch2). Then I ch2, and hdc back into the same 1st stitch of the previous round. Am I doing this correctly?
Thank you very much for posting the pattern!
Hi Elisabeth! Yes, I think you may be adding an additional stitch too… you won’t actually be crocheting into the slip stitch. If haven’t gotten too far and don’t mind doing so – I may suggest ripping out your stitches and starting back at the point where the rounds begin. Complete the first round and mark the last stitch of the round with a stitch marker, so you know where that last stitch it, then join with the 1st stitch of the round using a slip stitch. Complete round 2, you will be putting your last stitch of round 2 into the stitch with the stitch marker. Keep crocheting in rounds and replacing the stitch marker into the last stitch of the each round. This should solve your problem. Please let me know if that helps!
I am working on this pattern right now and would like to know if you keep on with the 2 HDCs in each corner when doing the body of the bag. I am doing this and hope it doesn’t alter the shape of the bag!
Hi Ingrid! You will only make 2 hdcs in the corner stitches for Round 1 of the body of the bag. After round 1 you should have 118 stitches. Starting round 2 you should only be making 1 hdc in each stitch. From this point on you should remain with 118 stitches. I hope this helps!
Thanks so much and yes that is very helpful. I have come quite far doing it with the 2 HDCs in each corner and hate to rip it out now. Not sure how it will turn out!