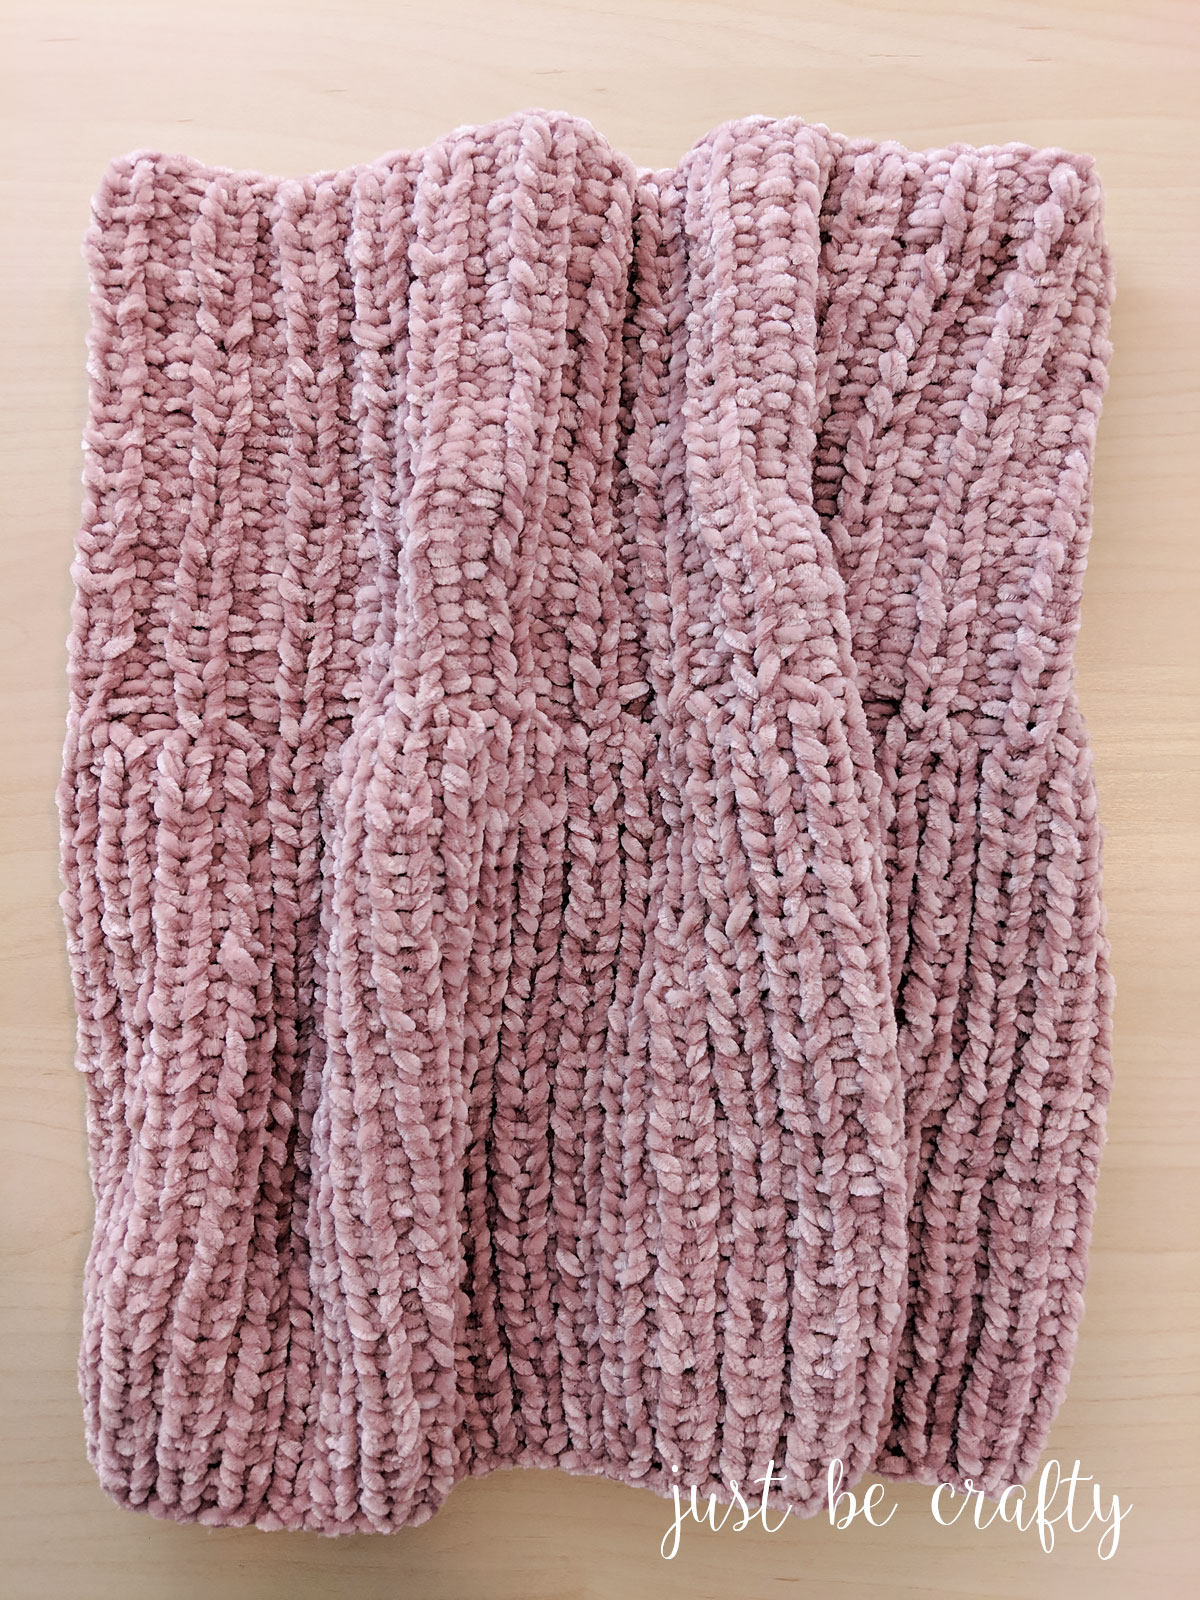
Made with SUPER luxurious and lush yarn, the Ribbed Velvet Knit Cowl is going to be your favorite knitting project and go-to accessory all winter long!

Hello and happy Tuesday! Today I am sharing another new pattern with you – the Ribbed Velvet Knit Cowl! This is a quick and fairly beginner friendly project that ends up looking like something you would buy in the store for lots of $$ and totally doesn’t look handmade!!
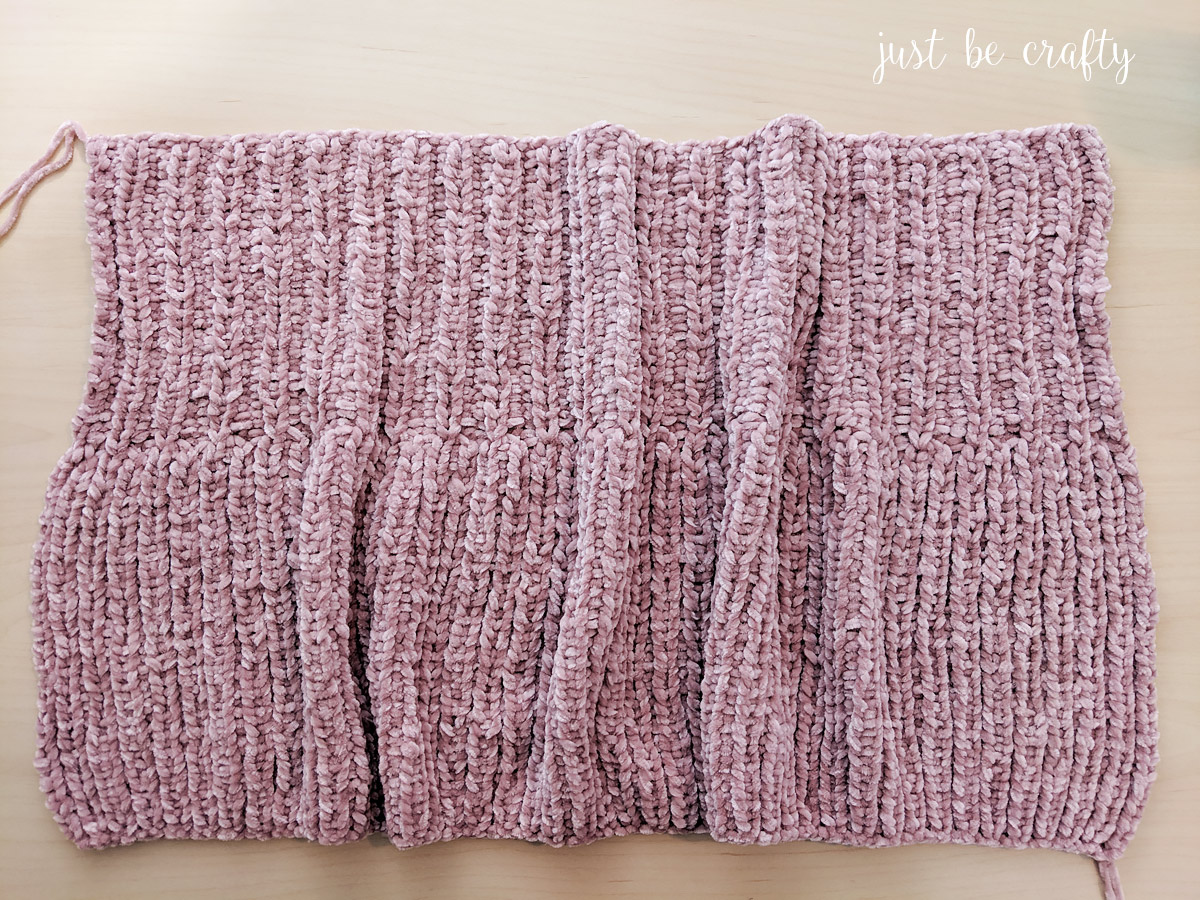
The pattern is designed with a simple ribbing construction. Although simple in construction, I switched up the design a bit to feature two types of ribbing to give the cowl a subtle transition between the top and bottom.
The bottom is knitted in 1 x 1 ribbing and the top is knitted in 1 x 2 ribbing, which gives the piece a little added dimension without complicating the project!

The Ribbed Velvet Knit Cowl is made up with a new yarn from Lion Brand called Vel-Luxe and is absolutely beautiful! The different color options of this yarn are exquisite and because it’s velvet, it has a total 90’s vibe (which I LOVE)! Back in the day I had a few sweaters made out of this velvety-type material, so working with this yarn was a complete blast and really took me back.
The finished project makes for a beautiful and luxurious piece that you will want to wear everyday – trust me!!
To view the free pattern and make a cowl of your own, keep on scrolling :).

This post contains affiliate links. For more information please see my disclosures page.
Ribbed Velvet Knit Cowl Pattern
Materials
- 2 skeins Lion Brand Vel-Luxe Yarn in Dusty Pink
- US size 10 Circular 29 Knitting Needles – 29 inches or this interchangeable set that I often use as well!
- Scissors
- Yarn Needle
- Measuring Tape
Finished Measurements
- 15 inches long by 17 inches wide at it’s widest point
Gauge
- 12 stitches by 16 rows of 1 x 1 ribbing is equal to approximately 4 inches.
Key
- CO – cast on
- BO – bind off
- K – knit
- K3tog – knit 3 stitches together
- P – purl
- PFB – (increase) purl in the front and back loop
- st – stitch
Pattern
Special Notes:
- For this pattern, you will be working with both yarn skeins at the same time by knitting two strands together throughout the entire project.
- Odd rows = RS
- Even rows = WS
Using two strands CO 97
[1 x 1 Ribbing]
Row 1: *K1, P1; Repeat from * until 1 st remains, K1
Row 2: *P1, K1; Repeat from * until 1 st remains, P1
Repeat Rows 1 & 2 in 1 x 1 ribbing until piece measures approximately 9 inches from starting edge, ending after completing an even numbered row. Do not cut yarn, keep knitting as normal following below instructions.
Next Row: K1, *PFB, K3tog; Repeat from * to the end
[1 x 2 Ribbing Begins]
Next Row: *P1, K2, Repeat from * until 1 st remains, P1
Row 1 of 1 x 2 Ribbing: *K1, P2; Repeat from * until 1 st remains, K1
Row 2 of 1 x 2 Ribbing: *P1, K2; Repeat from * until 1 st remains, P1
Repeat Rows 1 & 2 of 1 x 2 Ribbing until until piece measures approximately 15 inches from starting edge, ending after completing an even numbered row.
Loosely BO in 1 x 2 ribbing. Cut yarn leaving a long tail (about 3 arm’s length).
[Forming the cowl]
Lay piece out in front of you with RS facing up and 1 x 2 ribbing at the top.

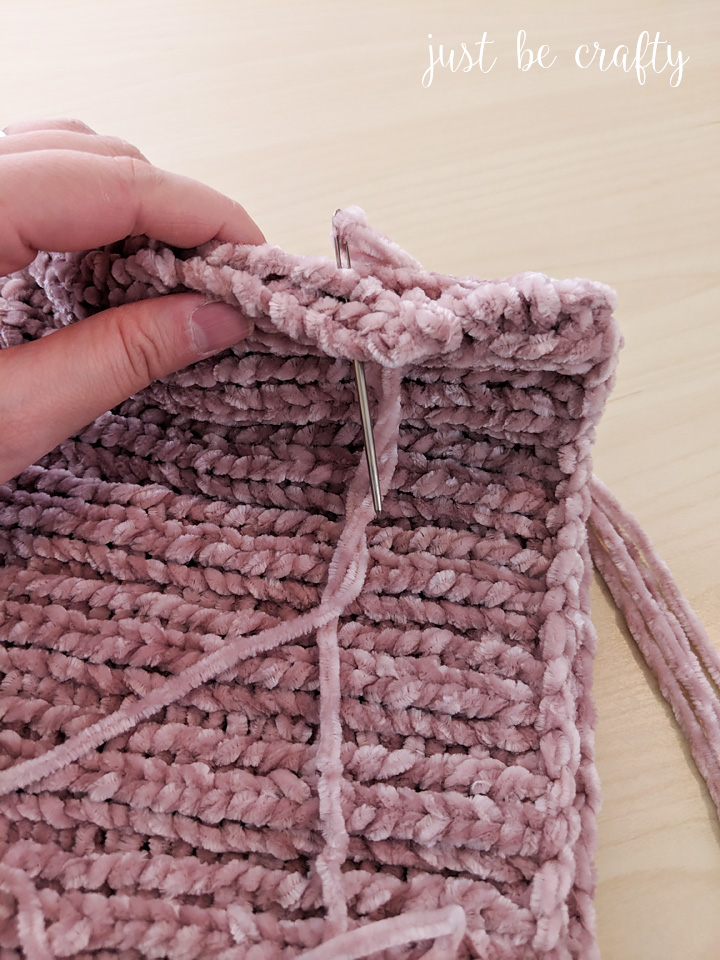
Fold in half so that the two side edges are touching.
The WS should be facing outward with the RS inside the fold.
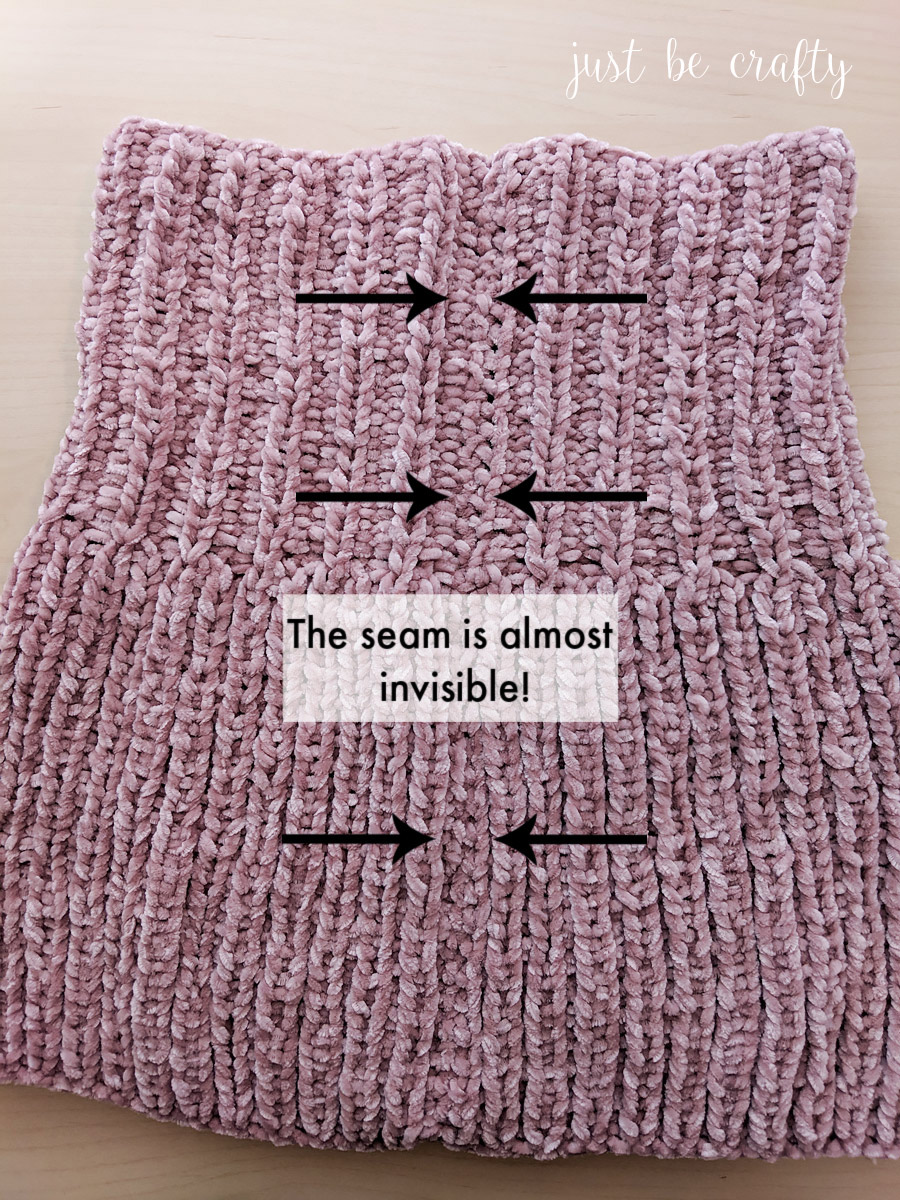
Using long tail and yarn needle, whip stitch both sides together to form the cowl.

Weave in your ends.
Turn the piece right side out.

Enjoy!