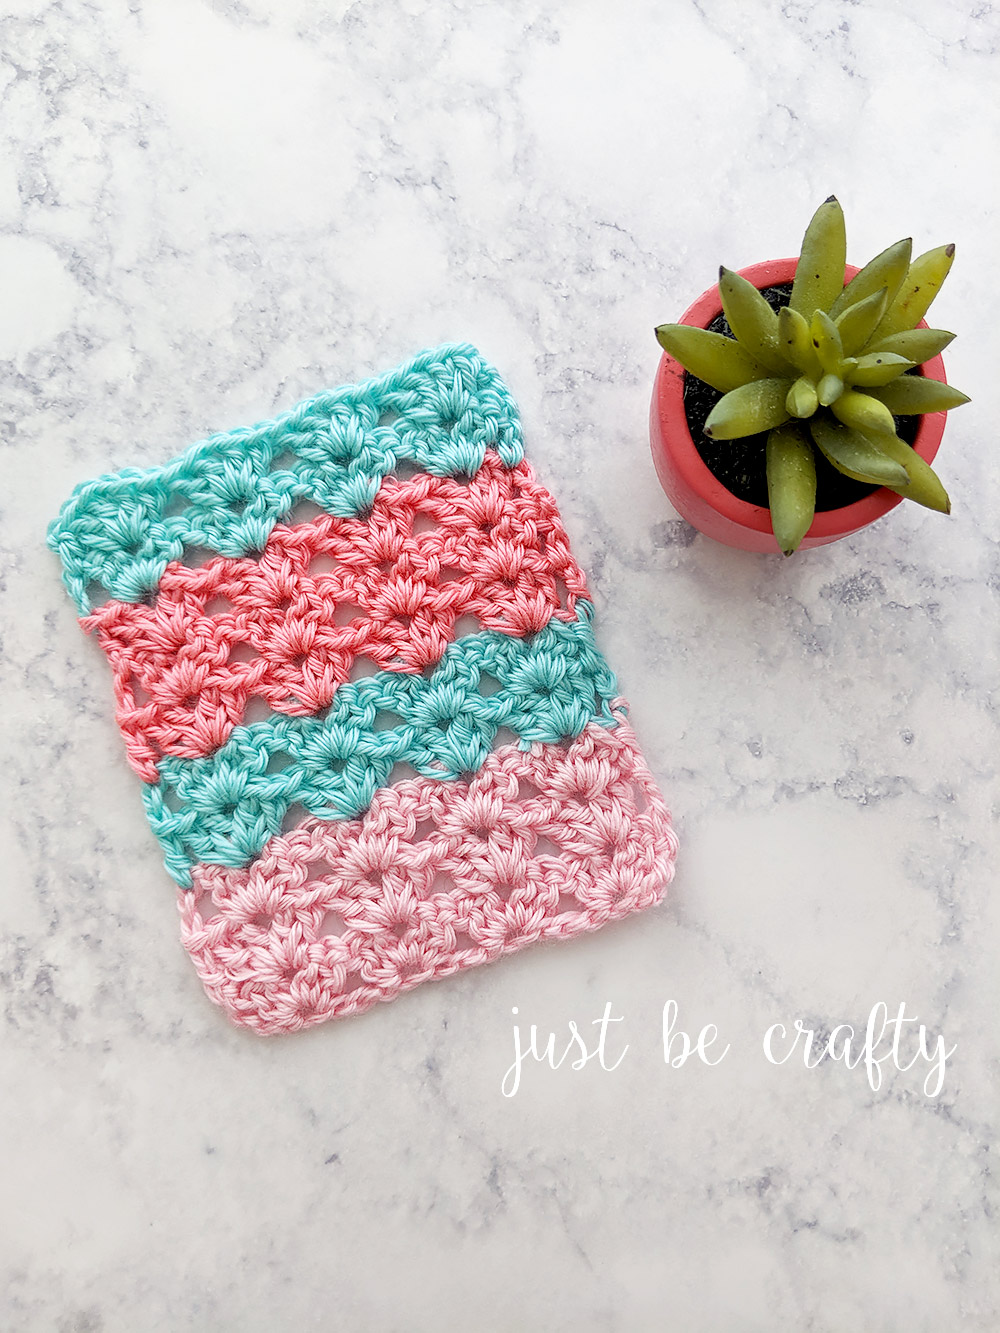
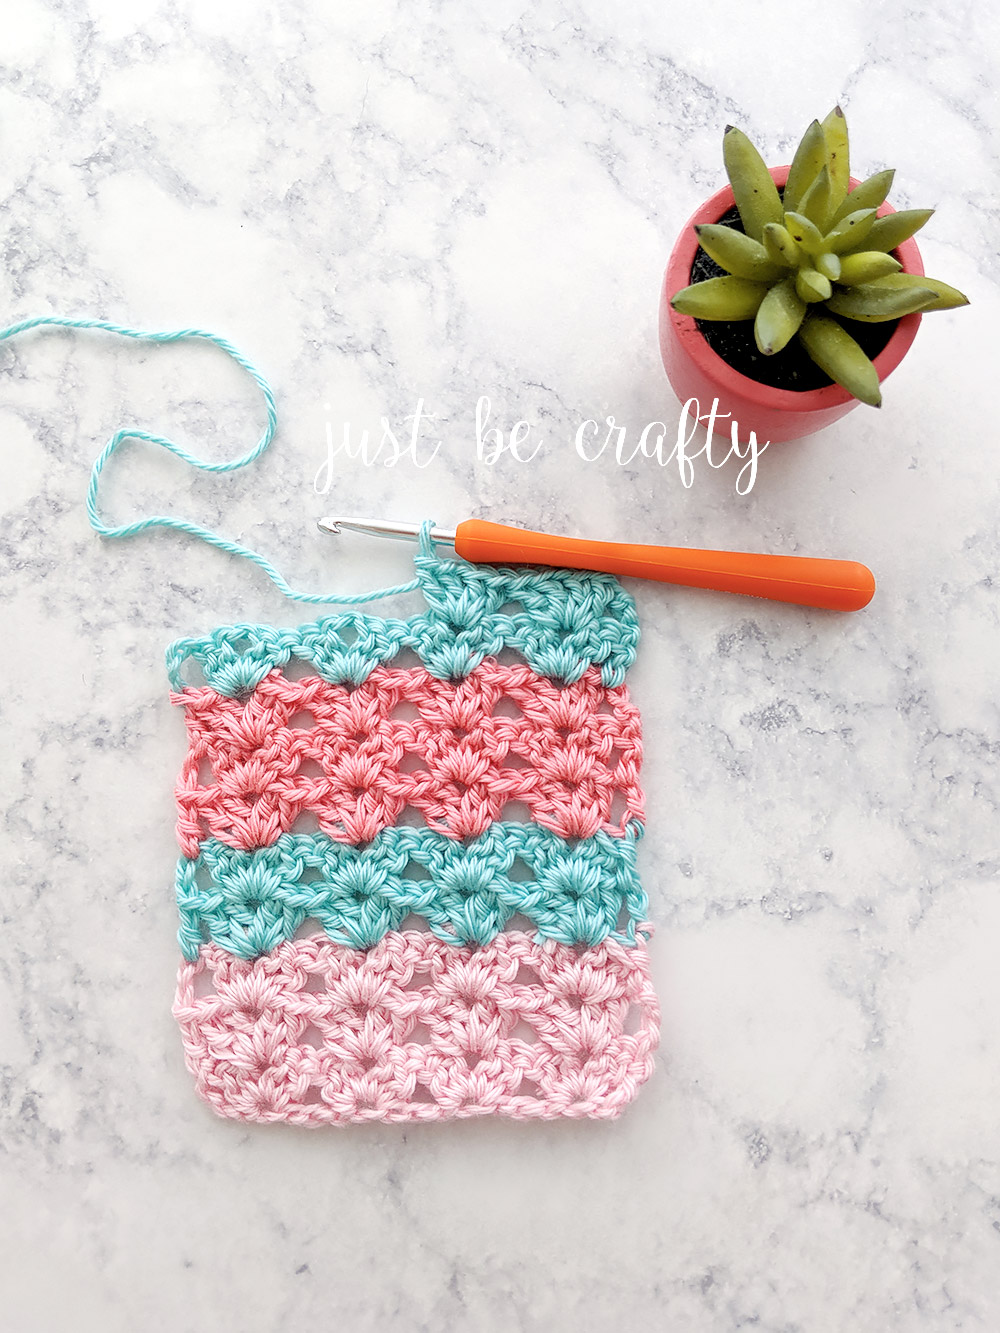
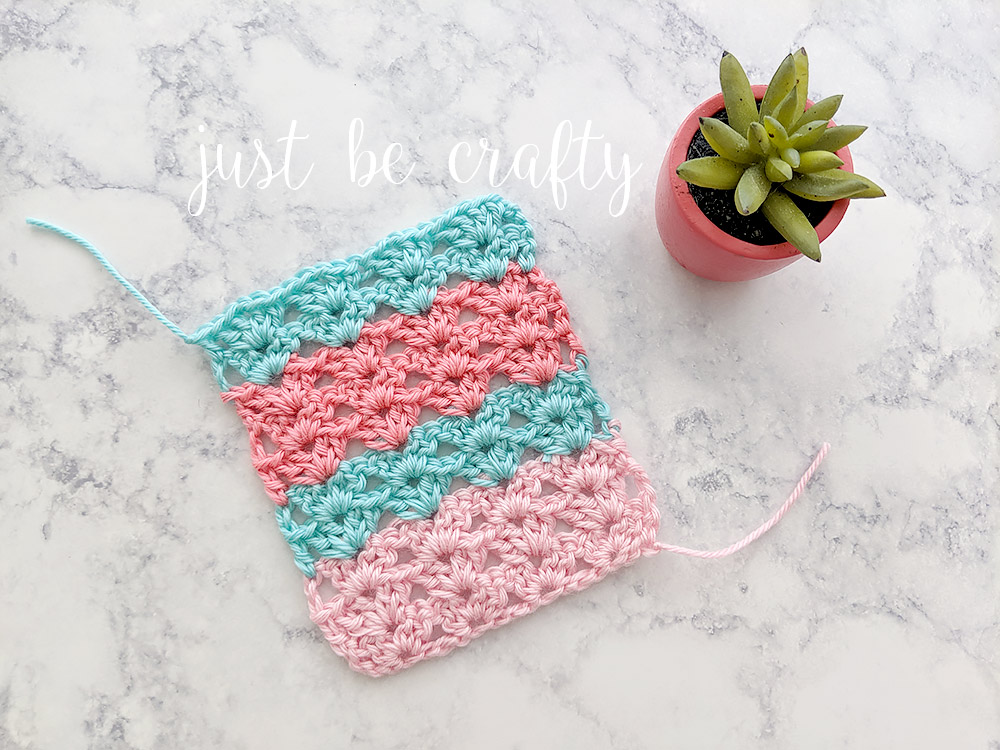
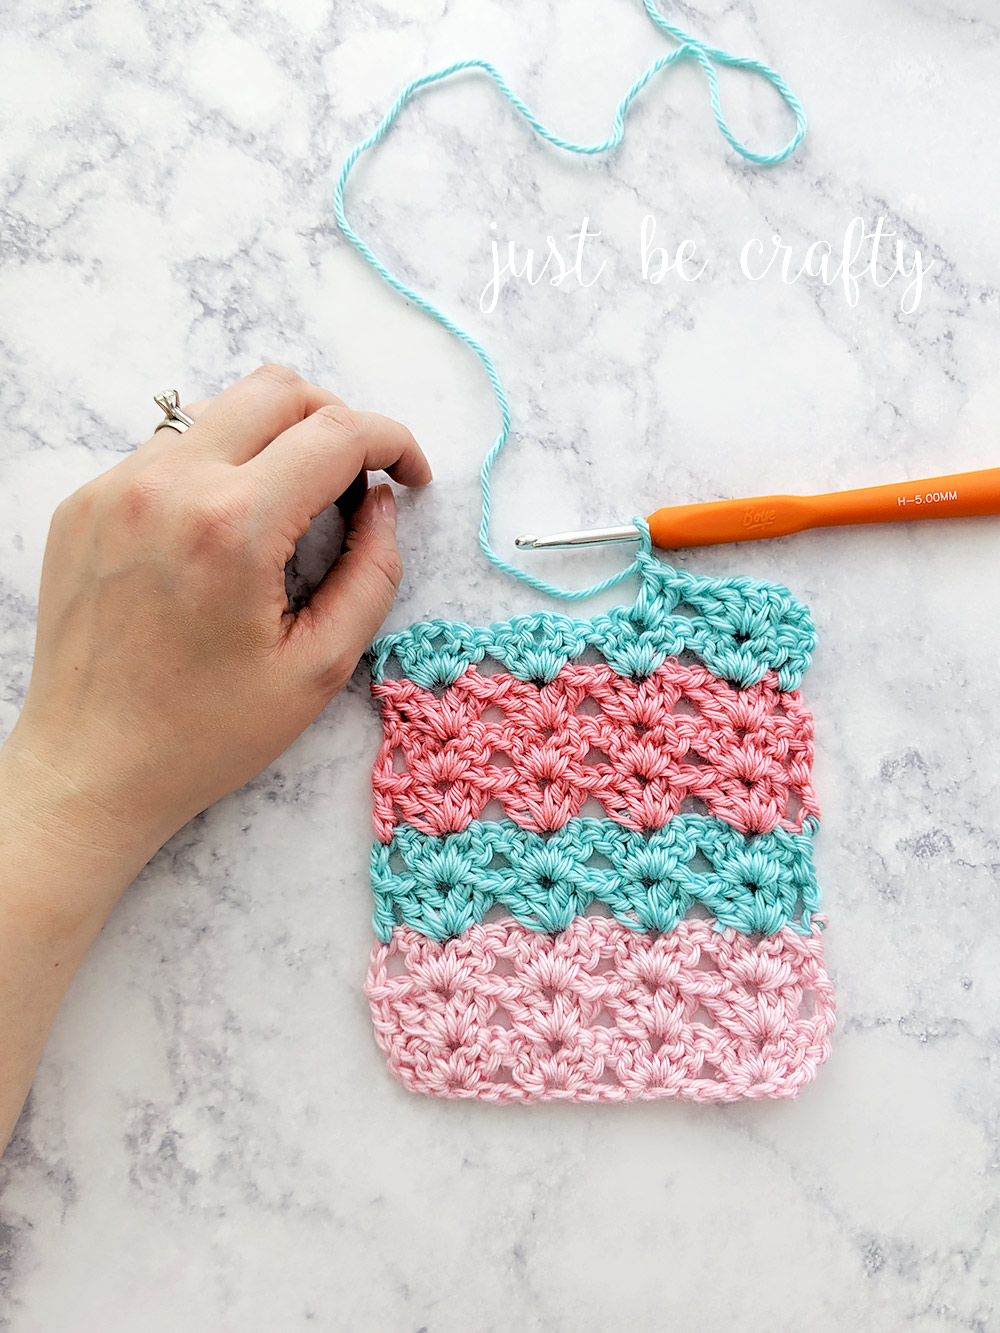
The Iris Stitch creates a light and airy fabric with a beautiful drape – perfect for Spring! Learn to crochet this stitch along with me in the video tutorial below!
Quick update!
Hello and welcome back to my blog! I want to take a quick moment to fill you in on my new blogging schedule. I figured I’d fill you in so that way you’ll know when you can expect to see new knit and crochet content from me! If you’ve been following along for the past few months and/or are a Just Be Crafty email subscriber you probably already know that new knit and crochet patterns are release every Tuesday morning!
In addition to new patterns every Tuesday, I am also sharing new knit and crochet stitches, tips, and techniques every Friday! Make sure that your subscribed so that you don’t miss out! Once your subscribed to the Just Be Crafty email list you can expect to see an email from me every Tuesday and Friday mornings with new yarn content!
In addition to the written patterns on my blog, I also share these same tutorials on Youtube, so be sure to subscribe to the Just Be Crafty Youtube channel as well if you aren’t already!
The Iris Stitch
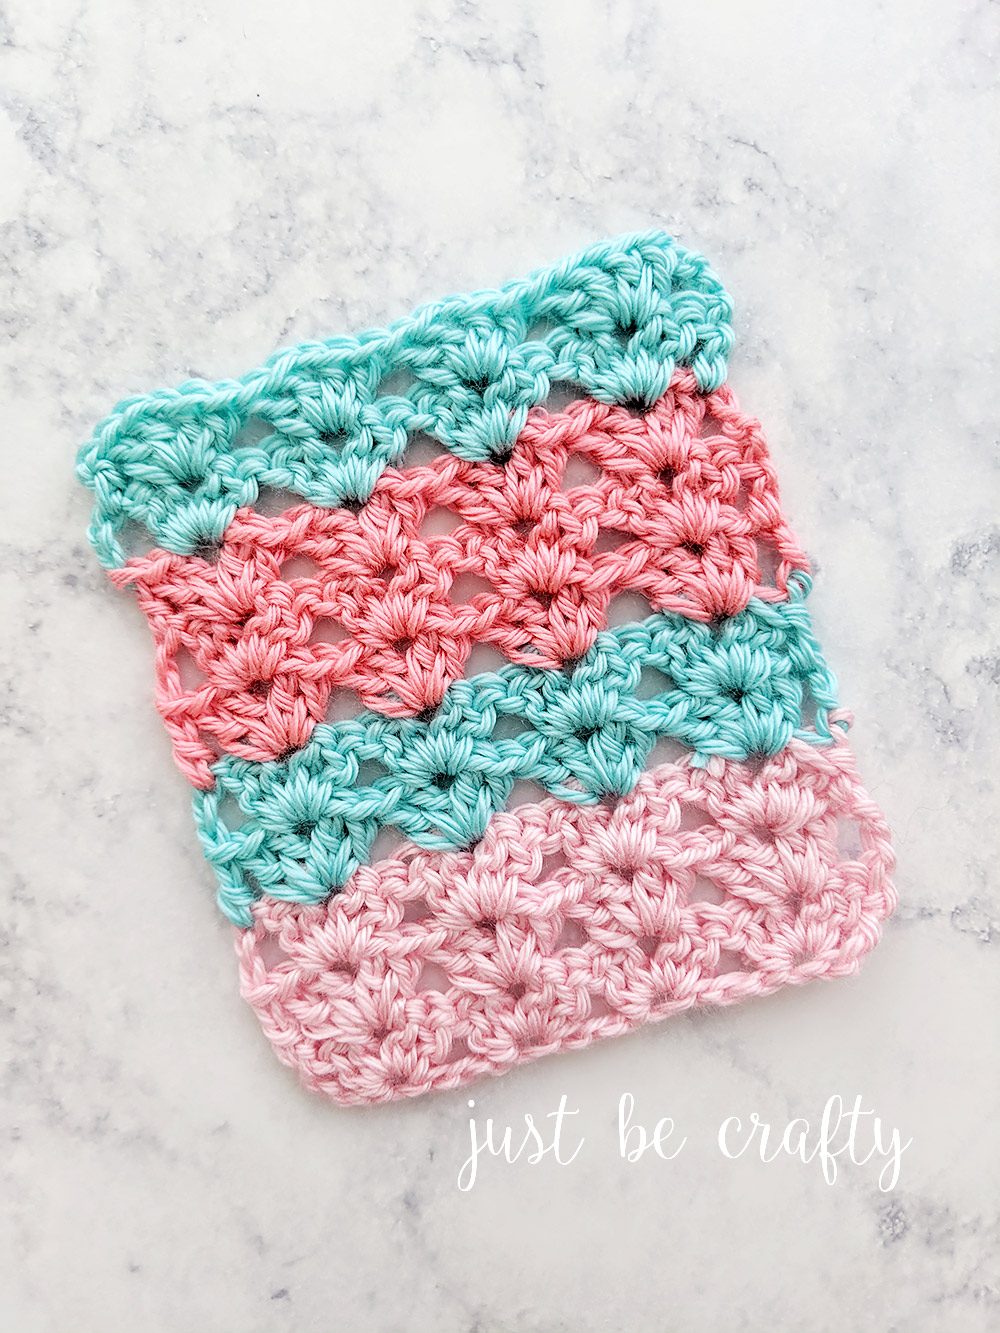
The Iris Stitch is a beautiful design that gives your yarn project a light and airy drape. With it’s light and airy drape, this stitch is perfect for Spring scarves, shawls, and sweaters!
Video Tutorial
Skill Level: Moderate Beginner or Higher
All you need to know is how to chain and make a double crochet. If you’ve mastered those two skills I am confident you can tackle this stitch!
This post contains affiliate links. For more information please see my disclosures page.
Materials
Below lists the materials used in the video tutorial.
- Caron Simply Soft in Soft Pink, Strawberry, and Robins Egg
- 5.0 mm crochet hook – I use this set
- Scissors
Key
- ch – chain
- dc – double crochet
- sk – skip
- sp – space
- st – stitch
Pattern
*The Iris Stitch is worked in multiples of 4 and then add 3 for your foundation chain. The below pattern makes a sample swatch and not a complete design.
Ch 23
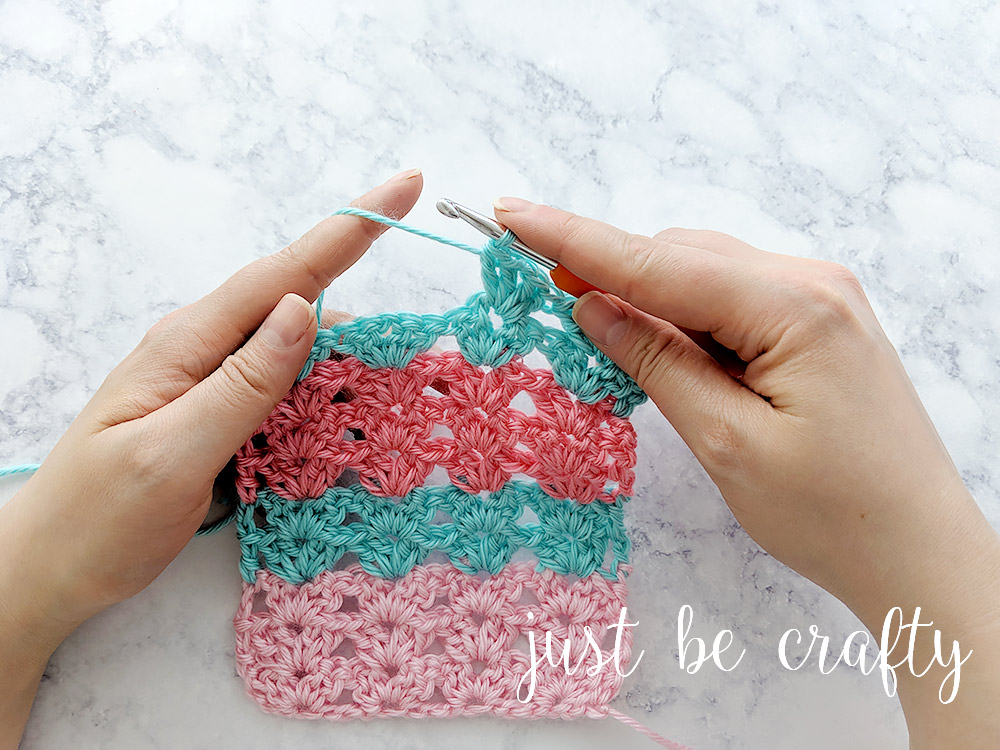
Row 1: In 5th ch from hook (2 dc, ch 1, 2 dc), *sk 3 ch, (2 dc, ch 1, 2 dc) in next chain; repeat from * until 2 chains remain, sk a ch, dc in last ch; turn.
Row 2: ch 3, *(2 dc, ch 1 , 2 dc) in the next ch 1 sp; repeat from * to the end of the row, make a dc into the top of the turning ch from the previous row
Repeat Row 2 until you reach your desired length.
Enjoy!
