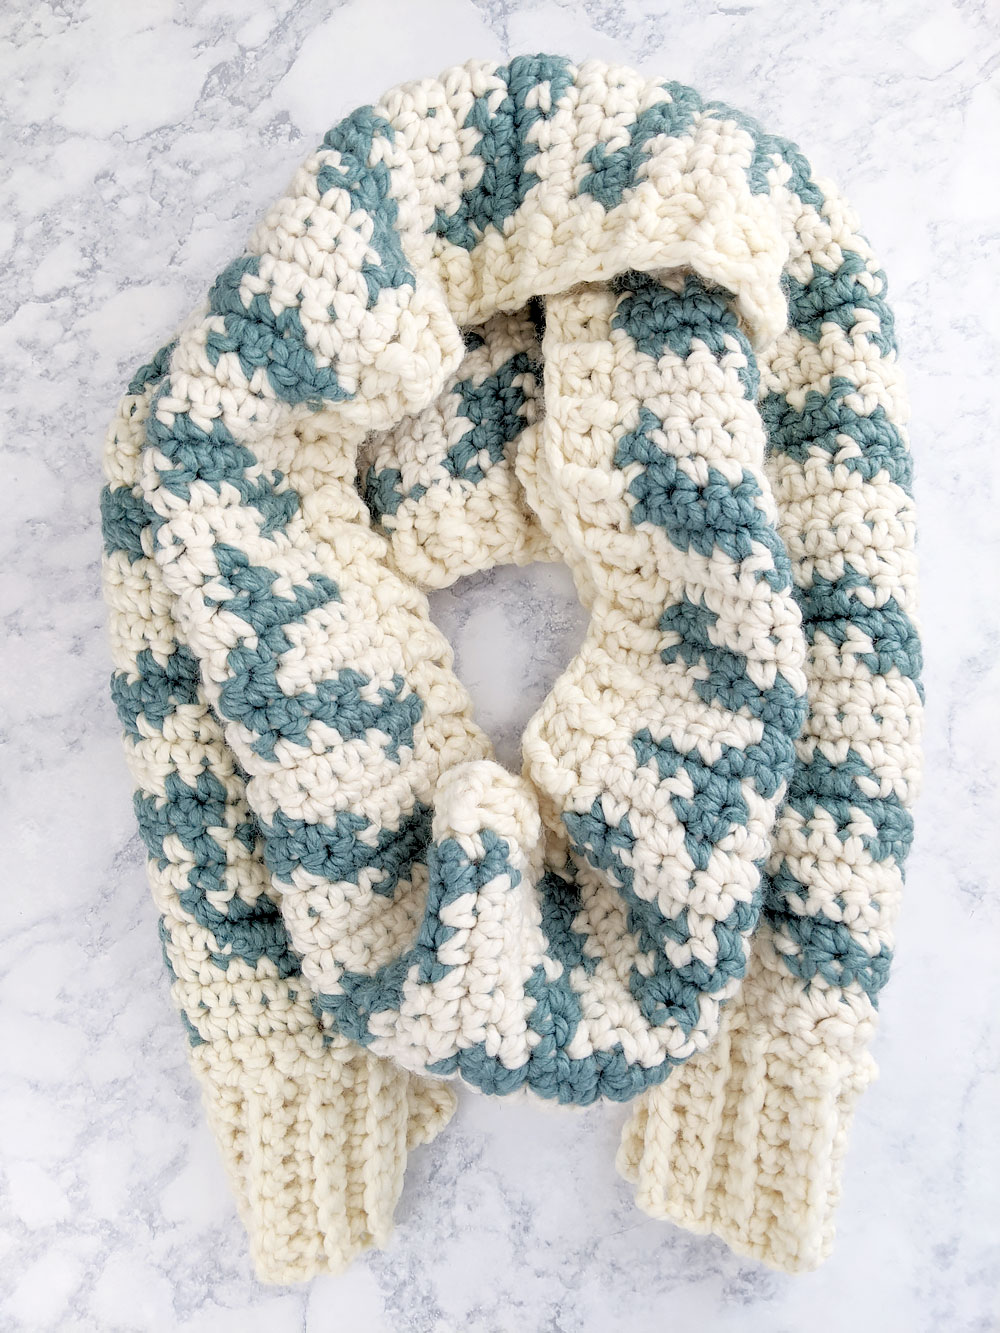
The Zebra Print Crochet Scarf pattern is a fun project to practice your color work skills! Follow the simple intarsia chart provided in the pattern to get this awesome zebra-like look! To learn more about this pattern, keep scrolling below. An ad-free printer ready version can be purchase here.
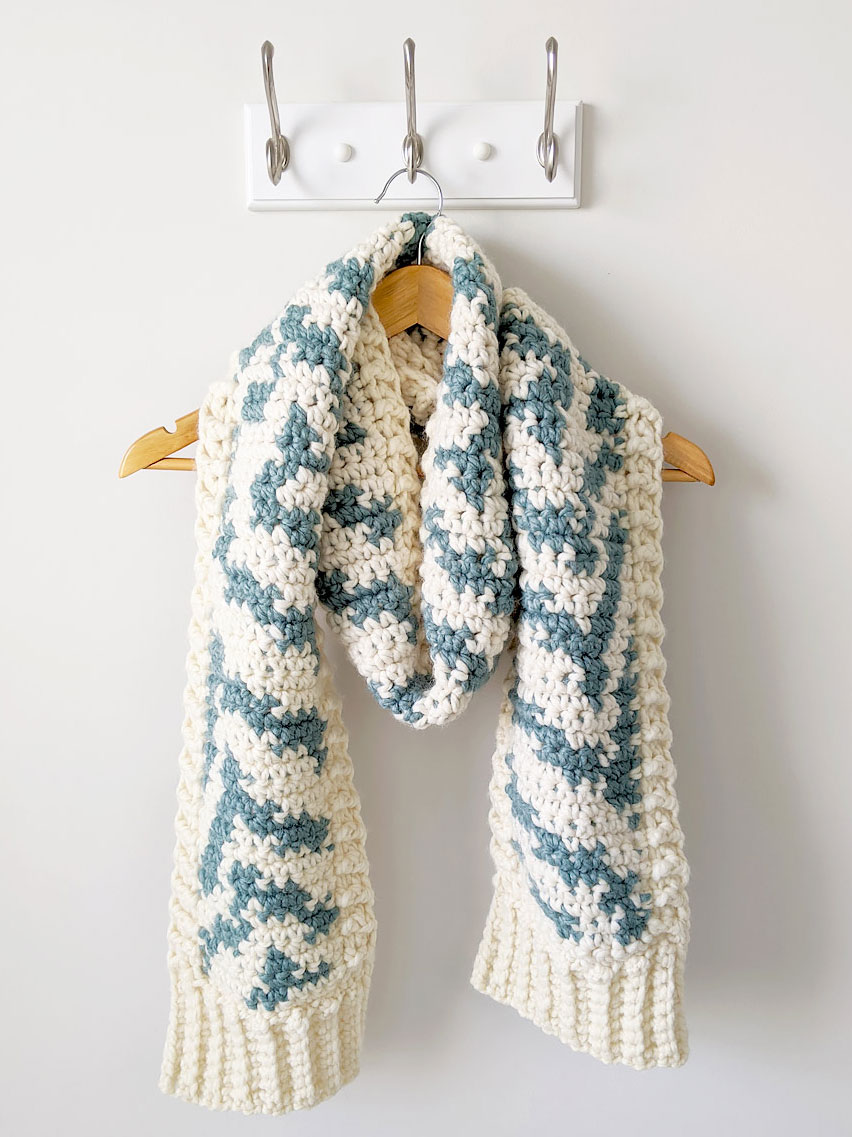
Today’s pattern is brought to you in collaboration with Lion Brand Yarn! The Zebra Print Crochet Scarf features Lion Brand’s color of the year, Succulent in Wool-Ease Thick & Quick!

The body of the scarf is worked entirely in single crochet and finishes off with two different ribbing border techniques. While completing the body of the scarf you’ll be making the zebra design by following an intarsia grid.
To learn more about this project and to make it yourself, scroll below to find the free pattern!
*This post may contain affiliate links. Please see my disclosures page for more information.
Zebra Print Crochet Scarf Pattern
An ad-free printer-ready version of this pattern can be purchased here.
Skill Level
- Intermediate
Finished Measurement
- Approximately 8 x 85 in.
Materials
- WOOL-EASE THICK & QUICK (Art #640) #99 Fisherman 3 balls (MC), #116 Succulent 1 ball (CC)
- 10 mm hook
- yarn needle
- scissors

Gauge
- 8 sts over 8 rows = about 4 in.
Key
- ch = chain
- BL = back loop
- BLO = back loop only
- BPhdc = back post half double crochet
- CC = contrasting color
- FPhdc = front post half double crochet
- hdc = half double crochet
- MC = main color
- RS = right side
- st = stitch
- sl st = slip stitch
Intarsia Grid

Pattern Notes
- Intarsia grid is worked in sc. Each row starts with a ch 1 (ch 1 does not count as a stitch).
- Carry and sc over unused colors as you work.
- Color changes – Upon reaching last stitch before next color change, begin sc but stop before completing last yarn over. Yarn over with new color to complete sc.
SCARF BODY
With MC, ch 12
Row 1: Starting in 2nd ch from hook sc across; turn.
Rows 2- 151: Work intarsia grid back and forth in rows using MC and CC (see intarsia notes for additional information.) Repeat intarsia grid 5 times.
Row 152 (RS): With MC, ch 1 and sc across.
Cut CC. Do not cut MC.
SIDE BORDER RIBBING
Each side will be worked separately back and forth in rows.
Side Border 1
With RS facing up, rotate work so that Row 152 is positioned to right-most side, and side edge positioned towards top.
Row 1: Ch 1, starting in sp of last sc from Row 152, sc 151 stitches evenly along side edge ending in next corner. Sl st into next corner st; turn.
Row 2: Ch 2, FPhdc in 1st st, BPhdc in next st, *FPhdc in next st, BPhdc in next st; repeat from * until last st; FPhdc in last st. Sl st into next corner st; turn.
Row 3: Ch 2, BPhdc in 1st st, FPhdc in next st, *BPhdc in next st, FPhdc in next st; repeat from * until last st; BPhdc in last st, hdc into top of turning ch 2 from prev row.
Cut yarn and secure.
Side Border 2
With RS facing up, rotate work and position other side edge towards top. Attach MC in right-most corner.
Row 1: Ch 1, starting in corner, sc 151 st evenly along side edge ending in next corner. Sl st into next corner st; turn.
Repeat Rows 2 & 3 of Side 1 instructions – do not cut yarn after Row 3.
TOP & BOTTOM EDGE RIBBING
With RS facing up, rotate work so that SCARF BODY ending edge is positioned towards the top.
Ch 9
Row 1: starting in 2nd ch from hook, sc in each ch across, sl st into side of last hdc from SIDE BORDER RIBBING; turn. (8)
Row 2: Ch 1, sc BLO across; turn. (8)
Row 3: Ch 1, sc BLO in next 7 st, sc BL last stitch and aligning edge stitch tog; sl st into next edge st; turn. (8)
Rows 4 – 14: Repeat Rows 2 & 3 five times.
Row 15: Repeat Row 2
Cut yarn and secure.
With RS facing up, rotate work so that SCARF BODY starting edge is positioned towards top.
Attach MC to right-most corner (this will be on the side of a hdc st). Ch 9.
Repeat Rows 1-15 of TOP & BOTTOM EDGE RIBBING instructions.
Cut yarn and secure.
Weave in all ends.
OPTIONAL
Block to finished measurements.
Enjoy!


One Comment