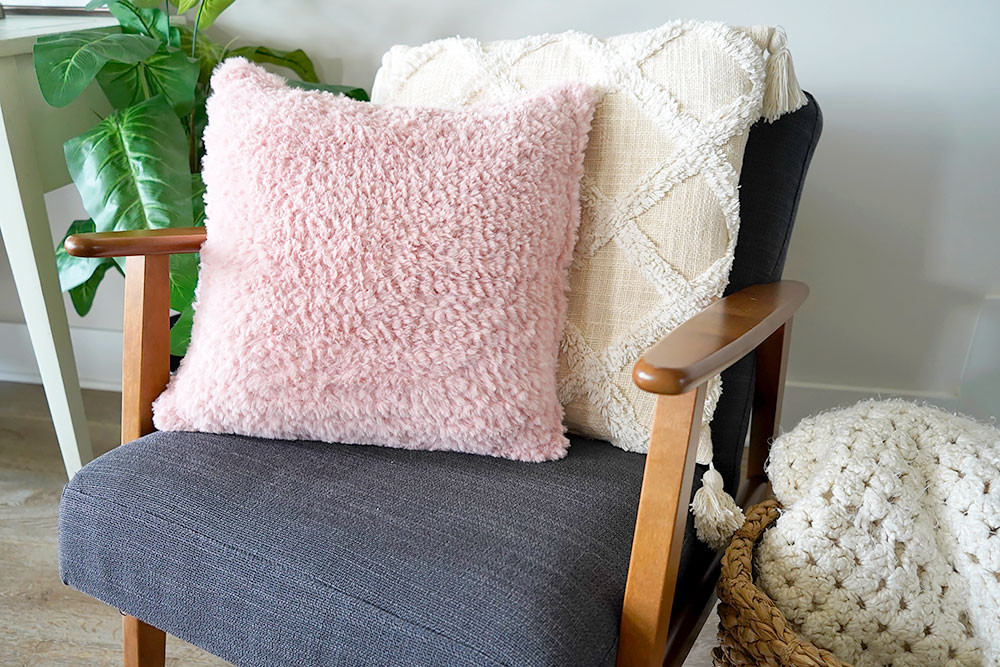
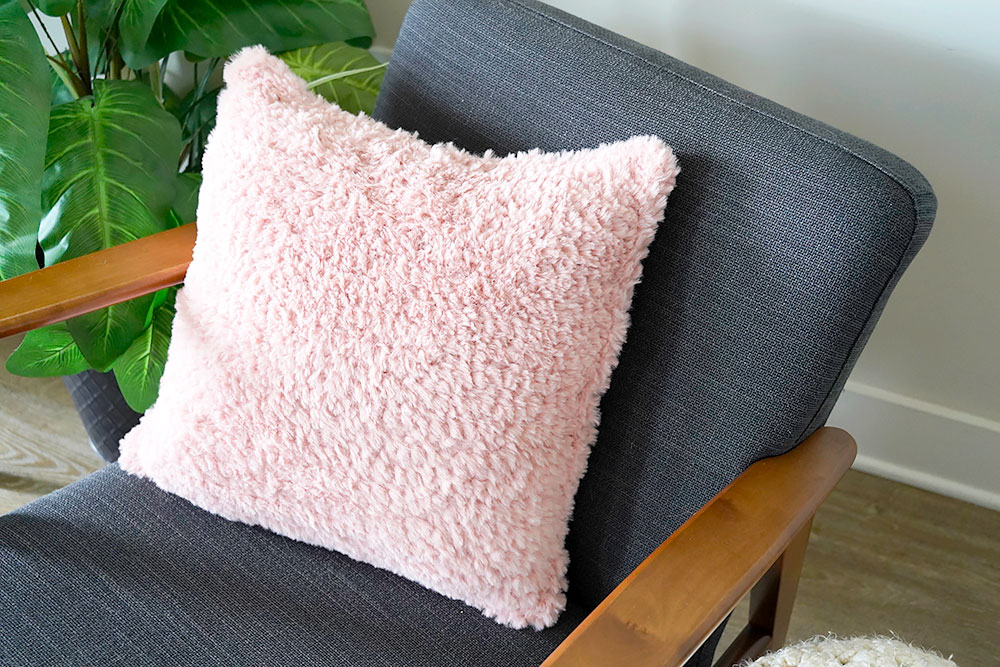
Learn how to make this super soft and luxurious crochet faux fur pillow along with me in the step by step video tutorial!

This pillow takes me back to the late 90s and early Y2K days where pink fur was everywhere! Think Elle Woods’ furry coat or Cher’s pink fur pen in Clueless. Whip up this pillow in all of your favorite colors and fulfill all your Y2K dreams!
Love making pillows!? Check out these pillow patterns here and here!
Video Help
I’ve made video tutorials to help you with this project!
Left handed video tutorial
Right handed video tutorial
Materials
- 5 skeins Lion Brand Go for Faux yarn in color Pink Poodle
- each skein: #6 super bulky weight, 65 yds, 100% polyester
- Total yardage needed: 325 yds
- *see NOTES section
- 8 mm hook
- 16 in. pillow form
- Yarn needle
- Scissors
Key – in US Terms
- ch – chain
- sc – single crochet
Gauge
- 4 inches = about 8 stitches
Finished Measurements
- Assembled – 18 in. x 18 in.
Notes
- Customize for any size
- To customize for a pillow of any size, make a foundation chan (any number) that is approximately 1.5 in. – 2 in. larger than the width of your pillow form.
- Follow repeat row until your finished piece length is equal to its width (for a square pillow) or 1.5 in. – 2 in. longer than the length of your pillow form (for a rectangle pillow).
- Making a larger pillow will require more skeins of yarn.
- Working with the yarn
- Due to the nature of faux fur yarn, it can be difficult to see your stitches as you crochet. Be patient, and use your hands to help find the stitches as you work. You’ll want to “feel” your way as you go so that you don’t miss a stitch!
- This yarn is super forgiving so it doesn’t need to be perfect!
Crochet Faux Fur Pillow Pattern
Purchase the ad-free printable PDF pattern here!
OR… gain instant access to this pattern PDF as well as my entire PDF pattern library! Click here for more information.
*This post may contain affiliate links. Please see my disclosures page for more information.
All patterns on this blog are for personal use only and may not be redistributed, copied, blogged, or sold as your own. You may sell items made by my patterns as long as the item is made by you personally (not mass produced) and that proper credit is given back to me and my site, Just Be Crafty. You may not use my photos for your online sales listings.
For more information please see my Pattern Permissions Page.
PILLOW PANEL – MAKE 2
Ch 35
Row 1: Starting in 2nd ch from hook, sc across, turn. (34)
Row 2: Ch 1, sc in each st across, turn. (34)
Repeat Row 2 until piece measures approximately 17.5 in.

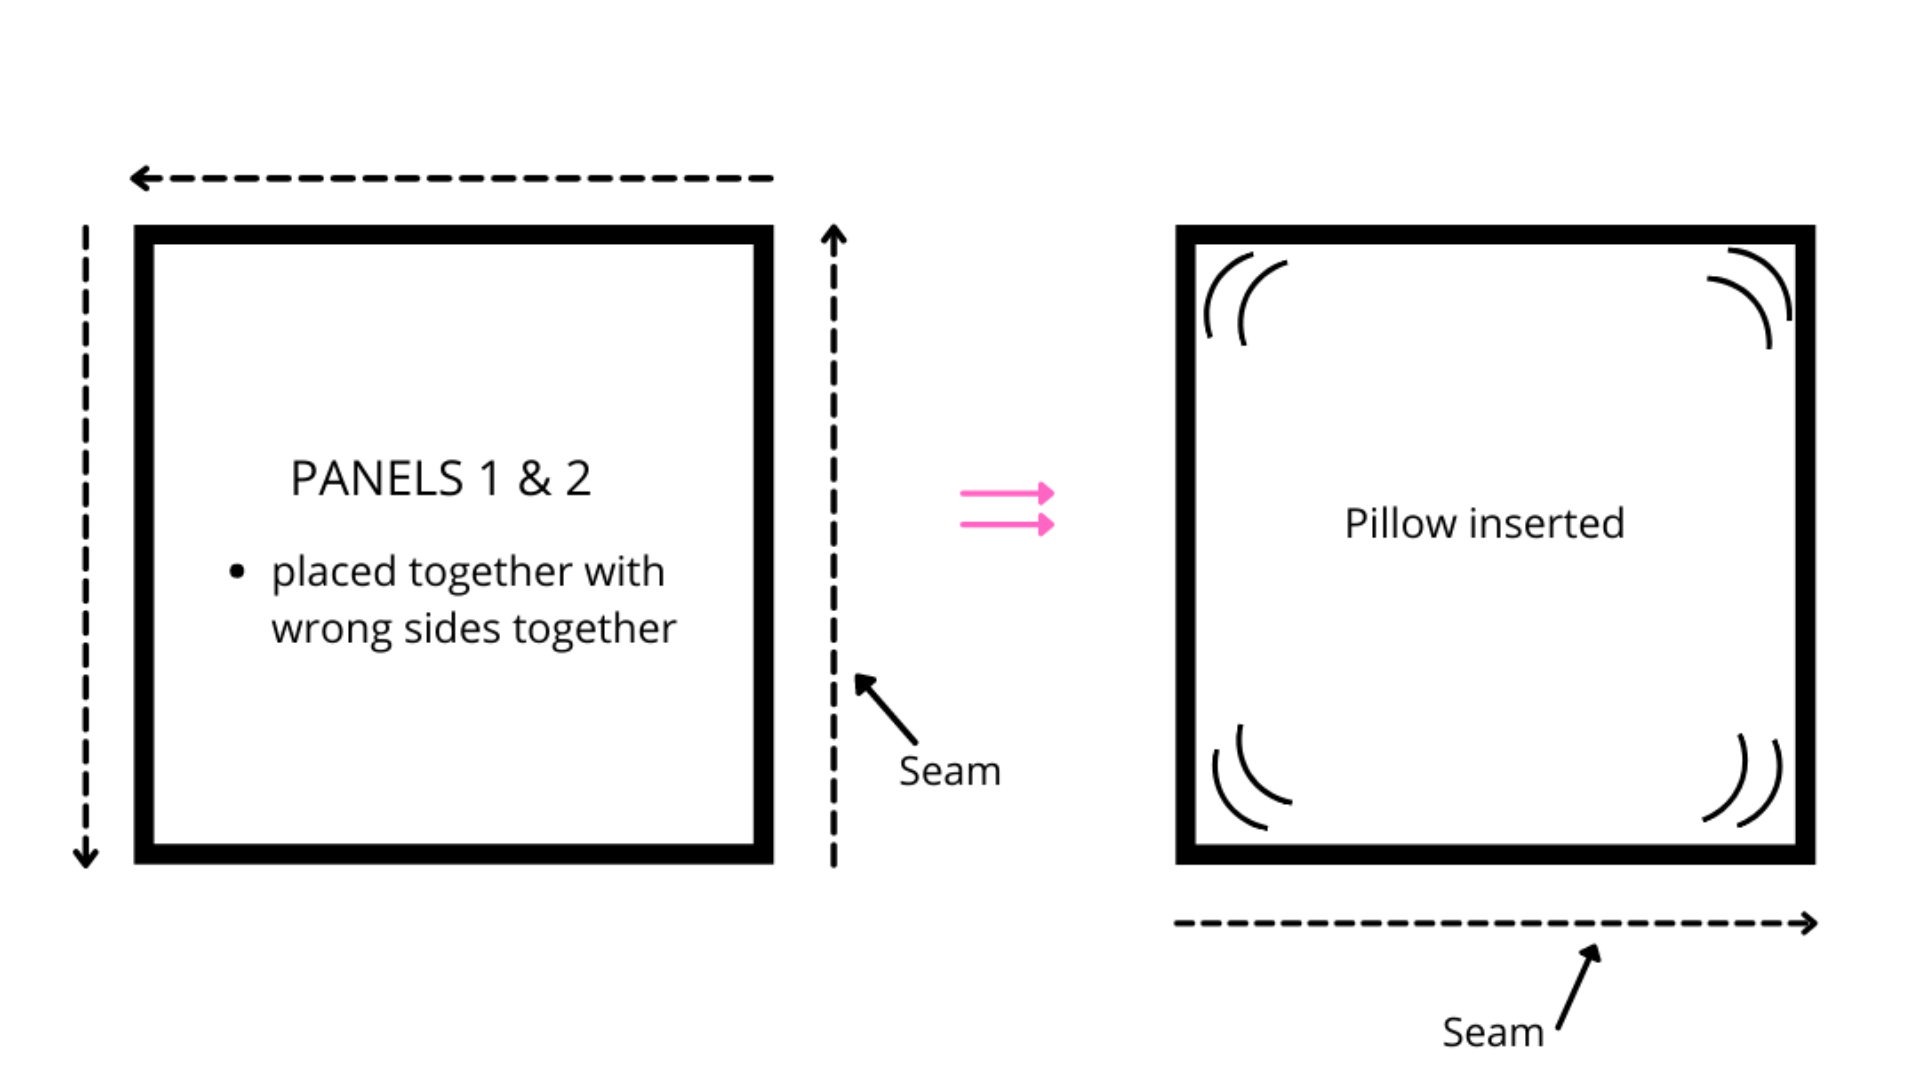
ASSEMBLY & FINISHING
With wrong sides together, place PANEL 1 on top of PANEL 2 and line up all edges.
Starting in any corner, and going through both panel layers, make 3 sc in same corner space. Sc evenly along side edge and make 3 sc in next corner. Repeat until you reach 4th corner, make 3sc in corner.
Side 4 should remain open. Place pillow form in pillow cover.
Sc panels together along remaining side to close up the pillow, slip stitch into 1st stitch of round.
Fasten off. Pull any remaining tails to the inside of pillow.
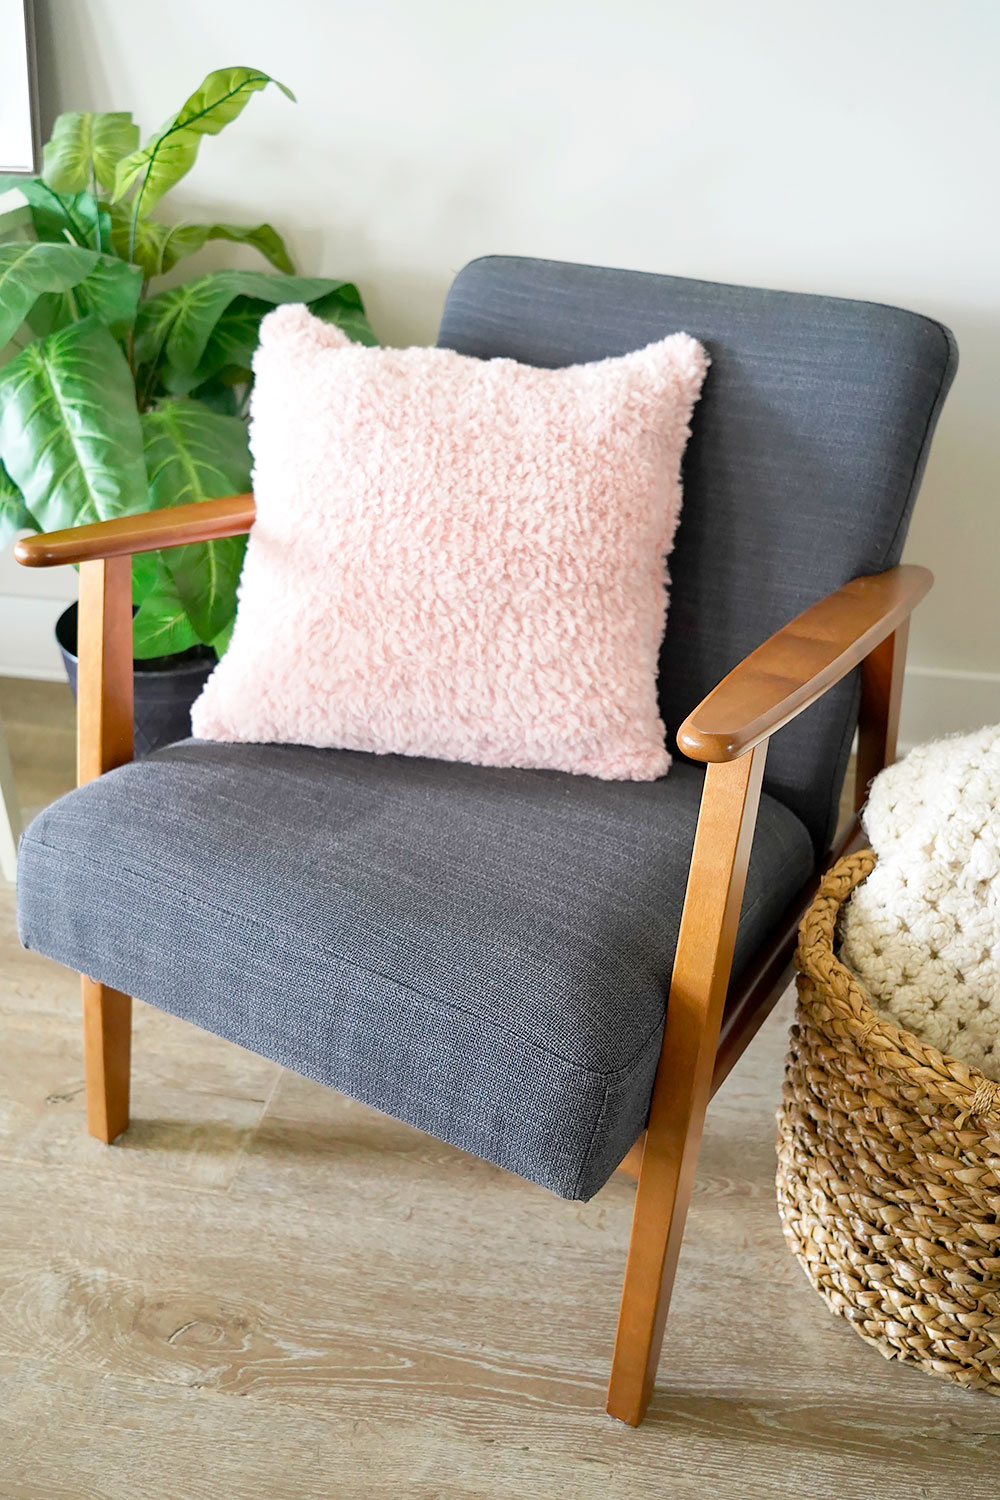
Enjoy!