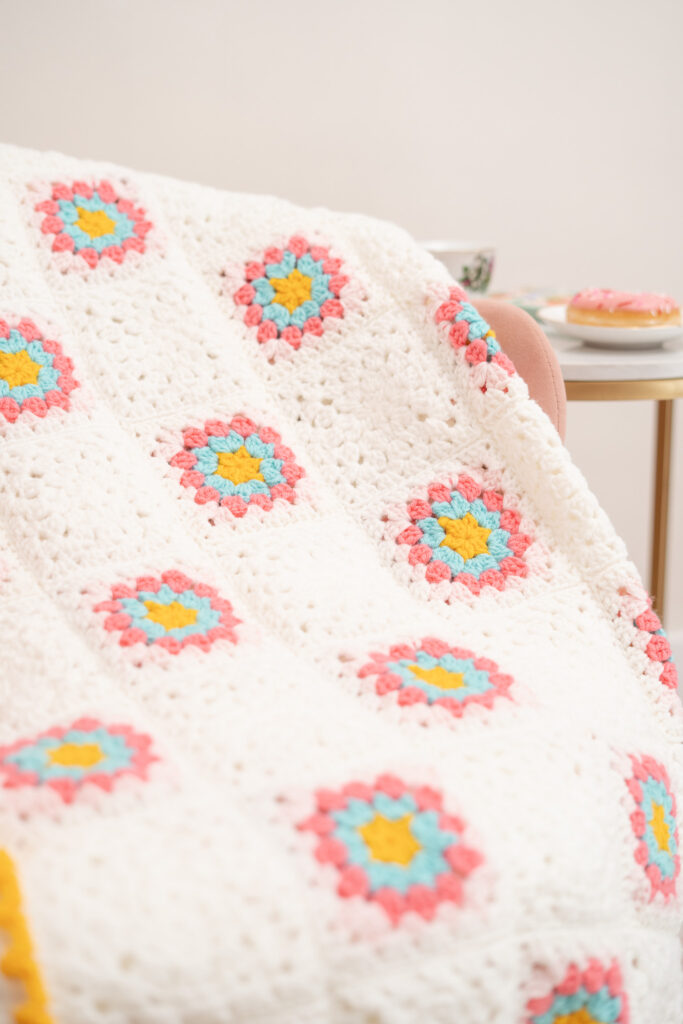
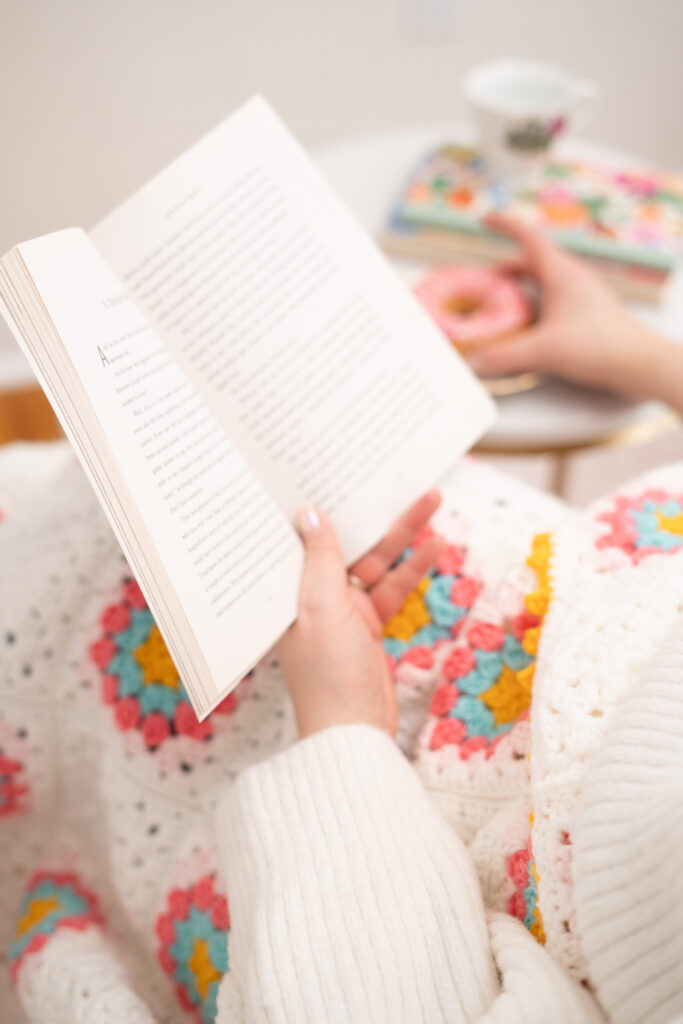
The Raspberry Sprinkle Granny Square Blanket, a project that combines the pleasure of crocheting with the charm of a dessert-inspired theme. This pattern evolves from a circular shape to a square, introducing new and interesting variations with each round. Inspired by the hues of pink sprinkled sweets, the color palette adds an enjoyable aspect to every stitch.
Why You’ll love this pattern
- The Design: The transition from a circle into a square shape offers a unique twist on the traditional granny square, making this complete piece a fun addition to your crochet collection.
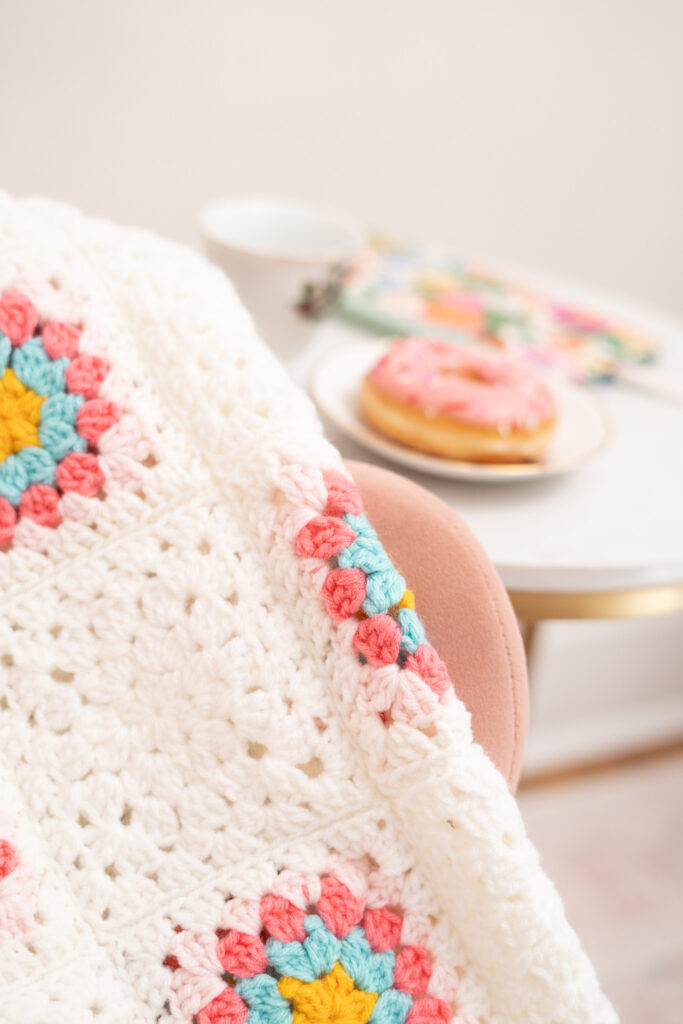
- Vibrant Color Scheme: Inspired by the playful colors of sprinkles, this pattern brings a burst of joy and creativity to your crafting, perfect for adding a pop of color to any room.
- Fun to Work: With each round introducing something new, crocheters will find the pattern continuously engaging, making the crafting process just as enjoyable as the final product.
Video Help
I’ve made video tutorials to walk you through this project.
Raspberry Sprinkle Granny Square Tutorial
How To Join Your Squares And Add a Border

Raspberry Sprinkle Granny Square Blanket Pattern
Purchase the ad-free printable PDF pattern here!
OR… gain instant access to this pattern PDF as well as my entire PDF pattern library! Click here for more information.
*This post may contain affiliate links. Please see my disclosures page for more information.
All patterns on this blog are for personal use only and may not be redistributed, copied, blogged, or sold as your own. You may sell items made by my patterns as long as the item is made by you personally (not mass produced) and that proper credit is given back to me and my site, Just Be Crafty. You may not use my photos for your online sales listings.
Materials
Yarn
- Main Color (MC) [White] #4-medium weight, 100% acrylic yarn, (1800 yrds / 1646 m / 990 g)
- Contrasting Colors (CC) 1 – 3 [1-Gold, 2- Aqua, 3-Bright Pink] (380 yds, 347 m, 170 g) of each color
- Contrasting Colors Cont…[4-Baby Pink] (760 yds, 694 m, 340 g)
Suggested Yarn
- Red Heart Super Saver Jumbo (744 yds / 681 m / 170 g)
- 3 balls Soft White
- Big Twist Value (380 yds, 347 m, 170 g)
- 1 ball of each color: Varsity Gold, Aqua, & Watermelon
- 2 balls Baby Pink
Suggested Hook
- 5.5 mm hook (from this set.)
Notions
Finished Measurements & Sizing
- Lap Size / Baby Blanket
- Approximately 45 in. x 45 in. (114 cm x 114 cm)
Gauge
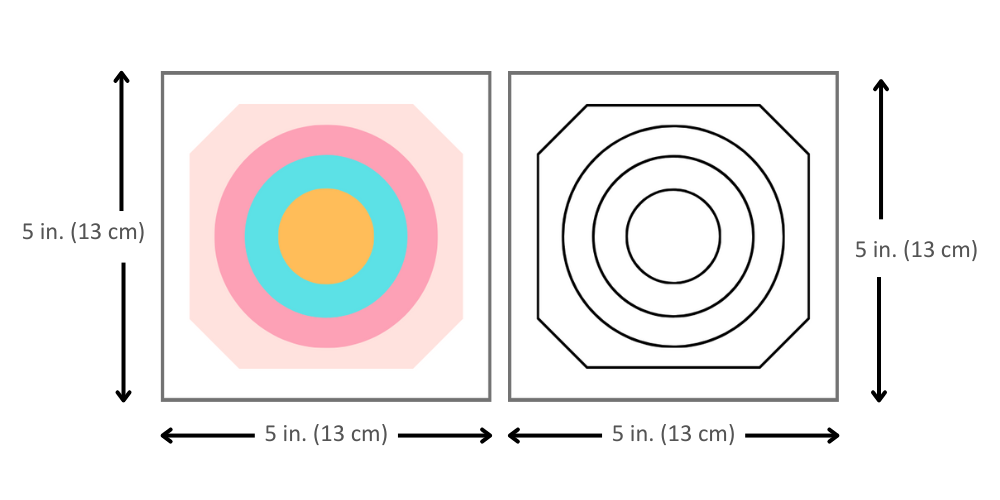
- 1 Raspberry Sprinkle Granny Square = approximately 5 in. x 5 in. (13 cm x 13 cm)
Abbreviations (US Terms)
- ch chain
- CC contrasting color
- dc double crochet
- hdc half double crochet
- MC main color
- sc single crochet
- sl st slip stitch
- st stitch
Terminology
Petal Stitch: The Petal Stitch in this context is a modified bobble stitch that resembles a flower petal, and is made through a series of half-completed stitches. For this pattern, the Petal Stitch is made by partially working three stitches. After the third half stitch, we’ll pull through all loops on the hook, creating a flat, petal-like appearance. Unlike a traditional bobble stitch, which puffs out from the fabric, this modified version lays flat, contributing to the design without adding bulk.
Granny Cluster: Refers to a group of three double crochet stitches worked into the same space or stitch. In granny square patterns, these clusters are the building blocks that create the square’s fabric.
Granny Cluster Space: or Cluster Space, is the gap or space between Granny Clusters from the previous round. When working a new round, clusters or other stitches will be worked into these spaces.
Notes
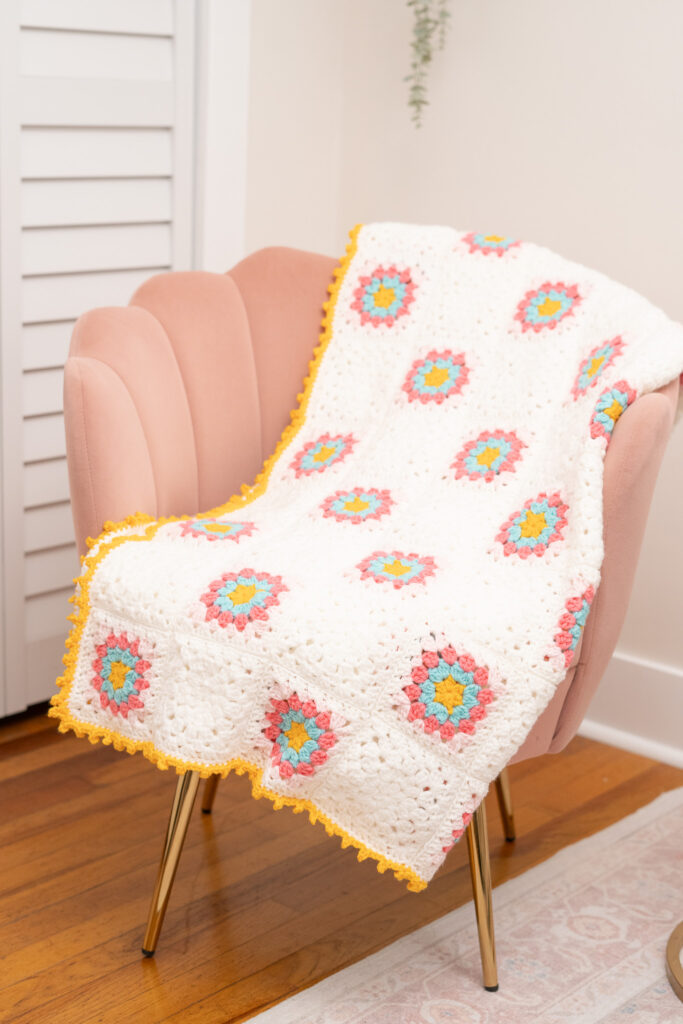
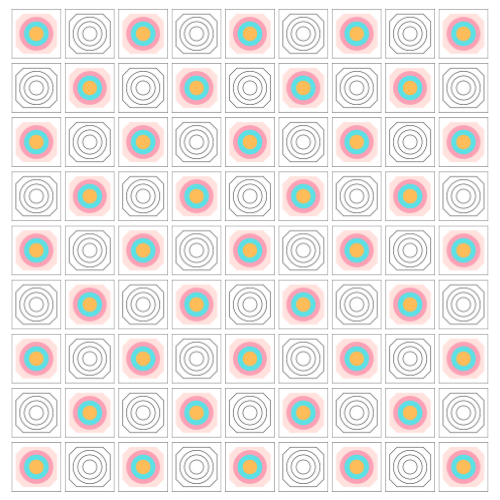
This delightful blanket combines the charm of colorful granny squares with the simplicity of monochrome granny squares, resulting in a cozy, visually engaging piece. The design features a total of 81 squares, arranged in a checkerboard pattern to create a balanced interplay of color and texture. The detailed construction process is outlined in the following section.
Construction
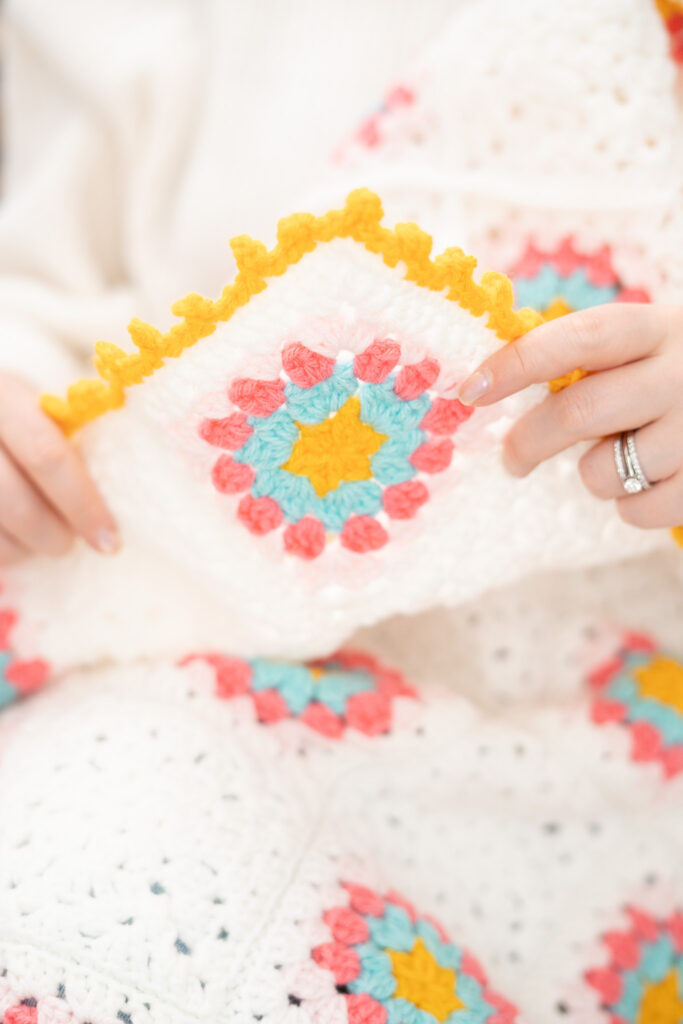
Raspberry Sprinkle Squares (make 41): These squares are the highlight of the blanket, featuring a vibrant mix of colors. Each square starts out as a circle with a unique petal stitch in the center, evolving through rounds of color changes and eventually forming a square. Each round is a little different and will be sure to keep your interest.
Raspberry Sprinkle [plain] Squares (make 40): These squares are made by using the main color (MC) only, providing a visual rest and emphasizing the raspberry sprinkle vibe. The plain squares follow the same Raspberry Sprinkle Granny Square pattern but without color changes, to complement the detail in the colorful squares.
The blanket is assembled in a 9 x 9 grid, alternating between colorful squares and plain squares to form a checkerboard pattern. This arrangement allows each raspberry sprinkle square to stand out, framed by the simplicity of the plain squares.
Blocking
To block your granny squares, first pin each square to the listed dimensions on a blocking mat or other soft surface, with rust-proof pins to maintain the shape. Then, choose either to lightly steam them with a garment steamer held a few inches above without making direct contact, or spritz them with water using a spray bottle and allow them to air dry completely. This process relaxes the fibers, ensuring your squares are perfectly shaped and uniform in size, ready for assembling into your blanket.
Customizing Your Blanket
This finished blanket measures approximately 45 in. by 45 in. (114 cm x 114 cm), making it an ideal size for a cozy lap blanket or a baby blanket. However, the design is versatile, allowing you to tailor the blanket to your desired dimensions. To adjust the size, you can simply increase or decrease the number of squares you create.
Additionally, you have the flexibility to arrange the squares into any shape that suits your needs or preferences. Please keep in mind that changing the size of your blanket will affect the amount of yarn required.

Raspberry Sprinkle Granny Square Blanket – WRITTEN PATTERN STARTS HERE
Read complete pattern and NOTES before beginning.
THE SQUARES
Round 1 (first petal): With CC1 make a magic ring. In ring, ch 2 (counts as first st in petal 1) *YO, insert hook into ring, draw up a loop, YO pull through first 2 loops on hook; repeat from * two more times. YO and draw through all 3 loops on hook. Ch 1.
Round 1 continued: Remaining Petals – *YO, insert hook into ring, draw up a loop, YO, pull through first 2 loops on hook; repeat from * two more times. YO and draw through all 4 loops on hook. Ch 1.
Repeat above Round 1 Remaining Petals instructions 4 more times, for a total of 6 petals.
Join with the first petal of the round with a sl st. Sl st to next ch 1 sp.
Cut yarn and fasten off.
Round 2 (first petal): In any ch 1 sp, attach CC2 and ch 2 (counts as first st in petal 1) *YO, insert hook into ch sp, draw up a loop, YO pull through first 2 loops on hook; repeat from * two more times. YO and draw through all 3 loops on hook. Ch 1. In the same Ch 1 sp, create a second petal using the following instructions for a total of 2 petals in this space.
Round 2 continued: Remaining Petals – *YO, insert hook into ch sp, draw up a loop, YO, pull through first 2 loops on hook; repeat from * two more times. YO and draw through all 4 loops on hook. Ch 1.
Repeat Round 2 Remaining Petals instructions above to make 2 petals in each ch sp around. You will end Round 2 with 12 petals total.
Join with 1st petal of the round with a sl st. Sl st into next ch sp.
Cut yarn and fasten off.
Round 3: In any ch sp, attach CC3 and ch 3 (counts as first dc of first granny cluster), and then make 2 dc in same ch sp, *make 3 dc in next ch sp, repeat from * to end of round. You will end Round 3 with 12 granny clusters.
Join with the top of the starting ch 3 with a sl st, sl st to next granny cluster space.
Cut yarn and fasten off.
Round 4: In any granny cluster sp, attach CC4 and begin the first corner with a ch 5 (counts as a dc + ch 2), in same cluster sp, make 3 dc, in next cluster sp make 3 hdc, in next cluster sp make 3 hdc, *in next cluster sp make a corner (3 dc, ch 2, 3 dc), make 3 hdc in next cluster sp, make 3 hdc in next cluster sp; repeat from * 2 more times, make 2 dc in starting corner sp. Join with the 3rd ch of the starting ch 5 of the round with a sl st, sl st into the next corner sp.
Cut yarn and fasten off.
Round 5: Starting in any corner ch 2 sp, attach MC and ch 5 (counts as a dc + ch 2), in same corner sp make 3 dc, make 3 dc in each of the next three cluster spaces, *in next corner make (3 dc, ch 2, 3 dc), make 3 dc in each of the next three cluster spaces; repeat from * 2 more times, make 2 dc in starting corner sp. Join with the 3rd ch of the starting ch 5 of the round with a sl st, sl st into next corner sp.
Cut yarn and fasten off.
Repeat pattern for a total of 41 squares as instructed.
Repeat pattern for a total of 40 squares in MC only.
Weave in ends, and block squares to given measurement.
ASSEMBLY
Preparation: Arrange your squares according to the below Blanket Diagram in a 9×9 grid or your chosen layout, with the right sides facing up.
Horizontal Row Joining:
- Begin with the first two rows. Place the top row squares face down onto the second row squares, aligning them with right sides together.
- Join squares using the slip stitch (sl st) method on the wrong side of the work. Start by aligning the top row of stitches. Remember, corners are made of 2 chains. Insert your hook into the leftmost chain of both aligned corners, attach your main color (MC) with a slip knot on the hook, and pull through both chains.
- Proceed to sl st through the outer loops of each stitch along the top edges of the squares. The final sl st should be made into the rightmost chain of the corner stitches.
- For subsequent squares, ensure the right sides are touching, align the top edges, and repeat the joining process starting from the leftmost chains of the first corners. Continue this method down the row.
Attaching Subsequent Rows: After completing each row, open up the work (right side facing up), and reorient according to the diagram. Continue attaching rows by either placing the next row of squares onto the previously attached row or flipping the attached rows down onto the next row, with wrong sides facing each other. Repeat the joining instructions across each row.
Vertical Row Joining:
- Once all horizontal rows are joined, rotate the blanket to work on the vertical rows, now positioned horizontally.
- Join the vertical rows in the same manner as the horizontal rows. When reaching intersections (where four squares meet), skip over these by starting your next sl st in the leftmost chain of the following square’s corner.
- Repeat until all rows are securely joined.
THE BORDER
Round 1: Start by attaching MC to any corner of the blanket. Chain 1, then *make 3 sc in the same corner space, sc in each stitch across to the next corner, and make 1 sc in each chain space encountered. Repeat from * around the blanket, stopping at the second to last stitch of the round. Begin the last sc but do not complete it; cut the yarn and finish the sc with CC1. Do not join rounds.
Round 2 – Picot Edging: Sc in the next stitch. In the corner stitch, make 2 sc, chain 4, then sl st into the first chain of the chain-4. Make another sc in the same corner space. *Sc in each of the next 3 stitches, then create a picot by chaining 4, sl st into the first chain of the chain-4. Make 3 sc in the next 3 stitches; repeat from * around the blanket.
In each corner, ensure to make 3 sc and continue the pattern of creating a picot every 3 stitches.
It’s okay if the picots do not align perfectly in the center of each corner.
Join with first st of the round using a sl st. Cut yarn and fasten off. Weave in all ends. Enjoy!