If you are looking for crochet tips for beginners, you are in the right place. Before we jump into those tips, I want to share a little about my own crochet journey and preface how these tips would have saved me! I so hope you find them helpful too.
My Journey to Learning Crochet
Back in 2011, I saw a granny square blanket on the internet. It was called the Weekend in Stockholm Throw and I absolutely had to have it. The colors were bright and sorta mismatched, and on their own I didn’t love the individual squares. But put together in one blanket it was so GORGEOUS! It was this pattern that pushed me to not only want to learn to crochet but NEED to learn, or I was just going to burst, lol!
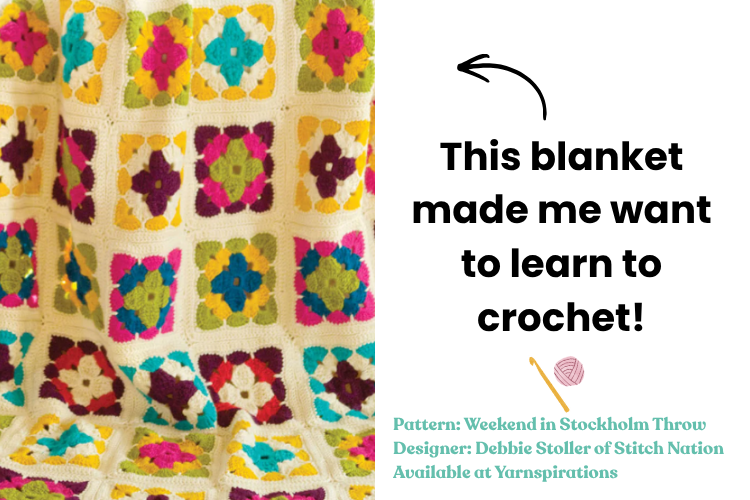
Want to see this beautiful pattern? Check out the Weekend in Stockholm Throw here!
I think we likely all have a story like this or similar at the start of our crochet journeys. We usually learn to crochet because we saw a beautiful project that we just had to learn and make for ourselves. And for me, it was this blanket.
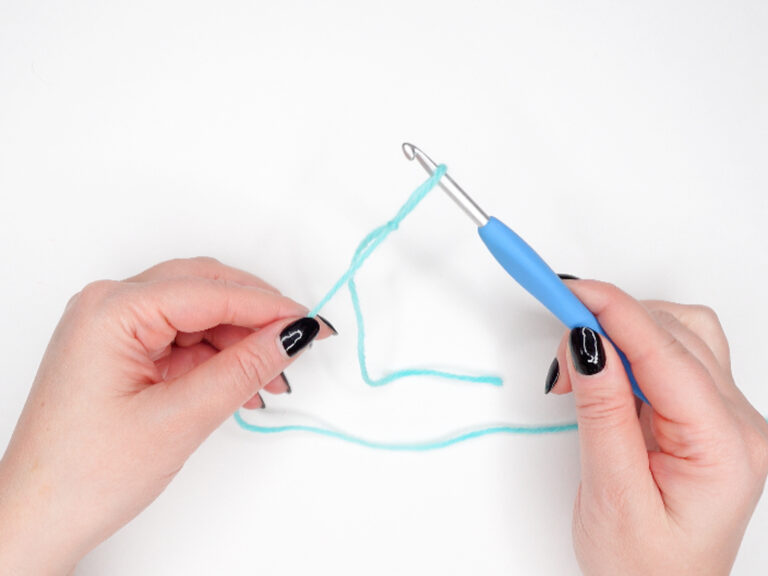
I had no idea how to do it, but I was determined to teach myself to crochet. I opened up my really old and slow laptop and got to searching. I started by looking at the first line in the pattern, and googling it. I quickly realized that before I could even jump into stitches that I needed to learn how to just hold my hook and yarn, and make a foundation chain. It took me a full 10 hour day to just learn how to do that!
But once I figured that out, I went word by word and line by line in the pattern and searched the internet. I eventually learned the stitches, and figured out how to make these beautiful squares. Once all the squares were crocheted up, I was ready to assemble. The sad thing is, I hated the way the blanket turned out and I thought I was just super bad at crocheting. But it turns out, I just didn’t know one simple thing that would have made that blanket turn out beautifully. (We’ll get to it a little later, it’s tip #4, and it haunts me a little, lol.)
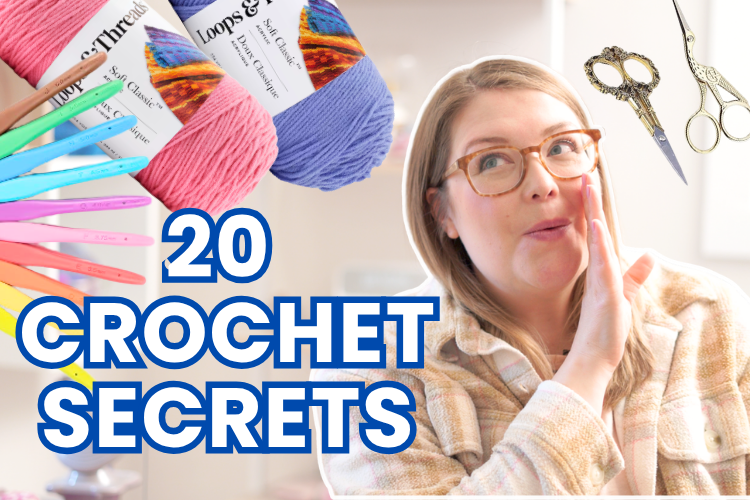
These are the 20 crochet tips for beginners I wish someone had told me when I was first learning, and I hope a few of these save you the frustration they would have saved me.
Grab a drink and a notebook. Let’s get into it. 🧶
Watch the Video
I made a video version of this blog post. Click the play button below to watch if you like!
1. Start with the best beginner yarn: 100% acrylic, worsted weight, in a light solid color
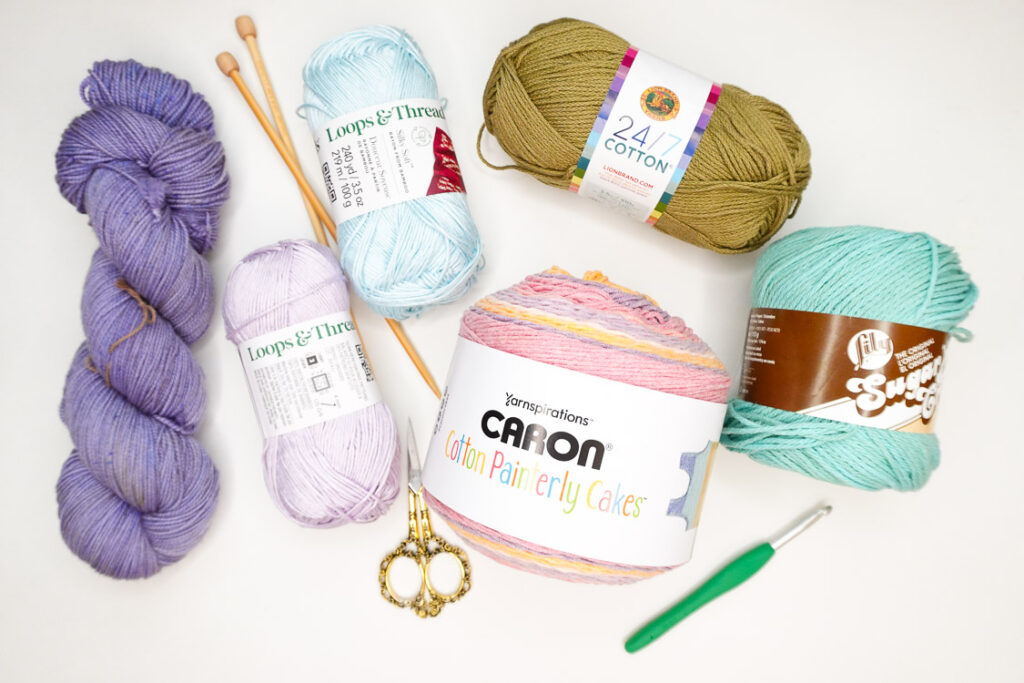
If you’re brand new to crochet, walk into any craft store and head to the yarn aisle. Then find the section labeled acrylic. Pick up a skein, flip the label over, and look for two things, 100% acrylic and a number 4 (that’s worsted/medium weight).
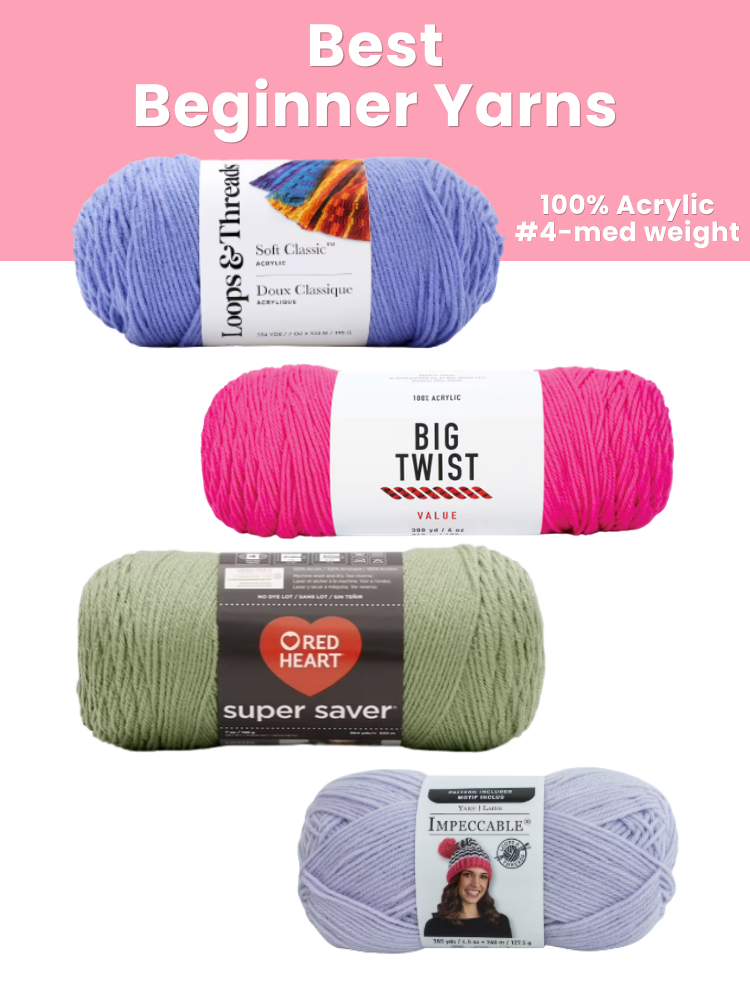
Why this yarn? It’s affordable (usually around $3.99 a skein or less), so you won’t feel precious about practicing, ripping out, and trying again. There are so many colors, and it’s a great material to learn with.
Two more tips for your very first yarn: pick a light, bright, solid color. Skip the dark navies, blacks, and deep purples because it can be hard to see your stitches. And also skip the multicolor yarns for now. Too many colors in one stitch make it tough to see what your stitch really looks like. You don’t have to skip these yarns forever, just until your comfortable with your yarn and hook!
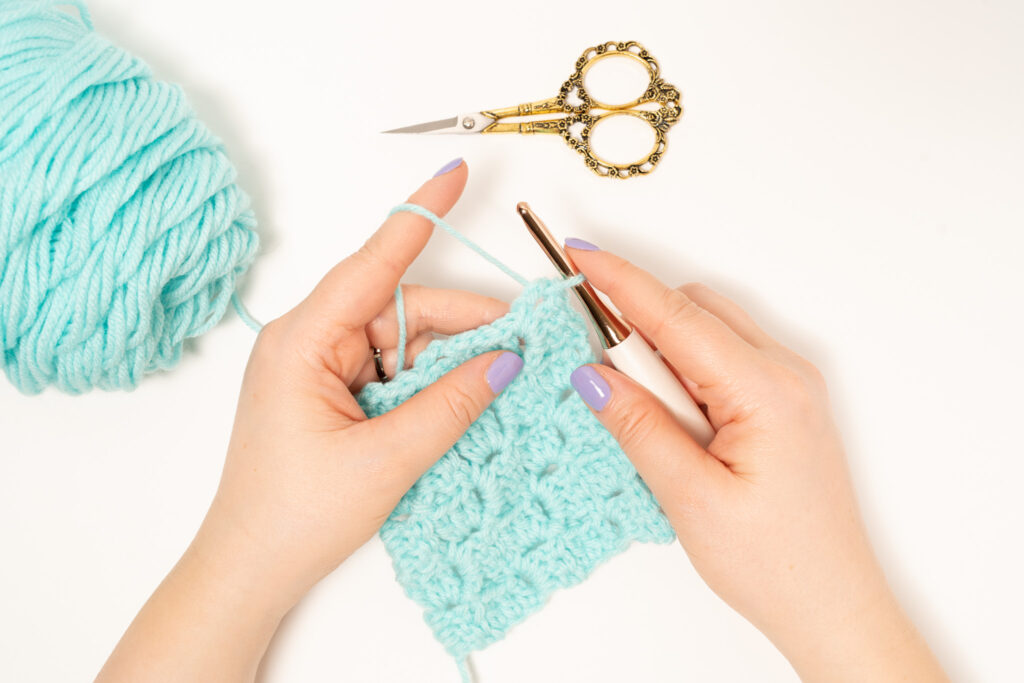
2. Learning to crochet is hard at first. Like really hard. And that’s completely normal.
Learning to hold your hook and control your yarn is hard, and it’s not talked about enough. It’s the number one reason people quit because they assume it should be easy, and when it isn’t they decide something’s wrong with them. And that’s simply not the case!

A lot of things market crochet as “super easy” and “beginner friendly,” and that can be very misleading to a true beginner. (Even when I call my own patterns easy, I mean easy for someone who’s already got the muscle memory of holding the hook and making basic stitches.)
So just know there is nothing wrong with you if learning to crochet feels really hard frustrating at first. Because, it is! That said, once you get over the hurdle of learning and getting that muscle memory, crochet really does become smooth sailing. You just have to let yourself get there.
3. Cake your yarn before it turns into a “yarn barf”
Once you’ve been crocheting a while, you’ll start pulling yarn from the center of a skein and will likely get a tangled clump, which is commonly known as a yarn barf in the crochet and knitting communities. They’re super annoying.
I like to use a ball winder (I use an inexpensive manual one) to wind my yarn into tidy cakes that basically never tangle. If I’d known this early on, it would have saved me from so many knots. (You don’t need to worry about this when you are still learning your first stitches, but file it away for when you start working with more yarns.
4. Blocking Is Super Important (even for beginners)!
Going back to my first ever project, the Weekend in Stockholm Throw… this is why I got rid of it 😭.
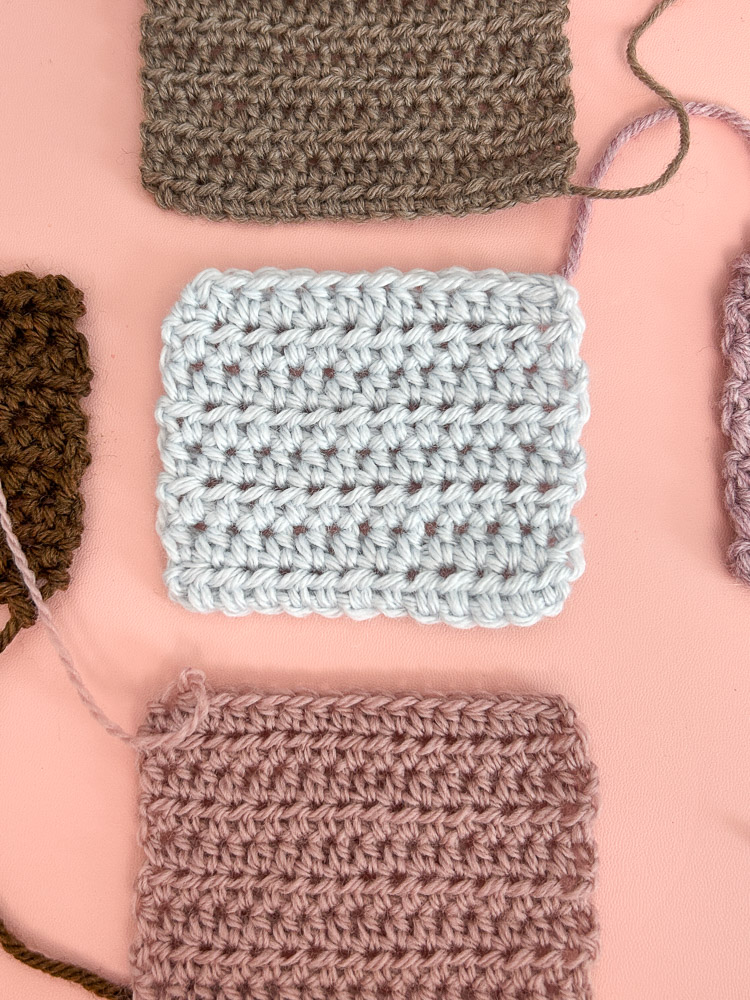
My stitches looked fine, but the problem was that my squares were all different sizes. They varied in size probably by about 1″ – 1.5″. So when I joined them together, some puckered and some stretched, and the whole blanket turned out ripply and wonky. I assumed I was just bad at crocheting, and after looking at it one too many times over the next couple of years I decided to get rid of it (I donated it).
However, now that I have more crochet experience, all I needed to do was block it!
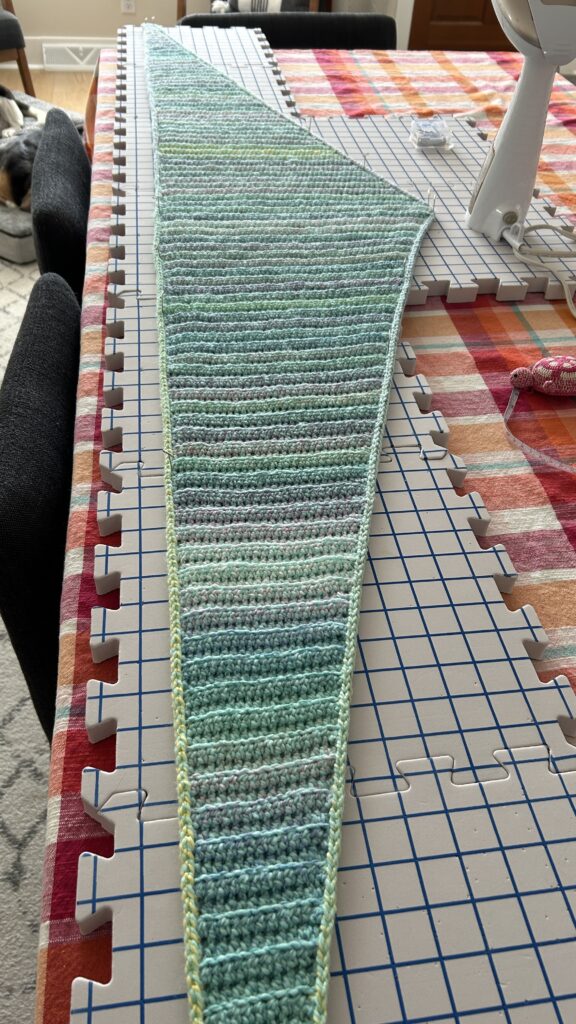
Blocking is the step where you shape your finished pieces (usually by wetting or steaming and pinning the piece to size as it dries), and it transforms your work like nothing else. It helps stitches settle into place, makes things lay flat, and gives everything a polished, professional finish. For granny squares specifically, here’s the trick: stack all your squares, find the largest one, and block every other square out to match that measurement. You’ll then have squares that are all the same size, and will join together beautifully.
Please learn from my blanket, and block your squares.
And now when I crochet granny squares they typically come out to the same size, however I still [usually] block them! It really helps to make them more square, and just look more polished. I do skip blocking now and then, but always end up regretting it.
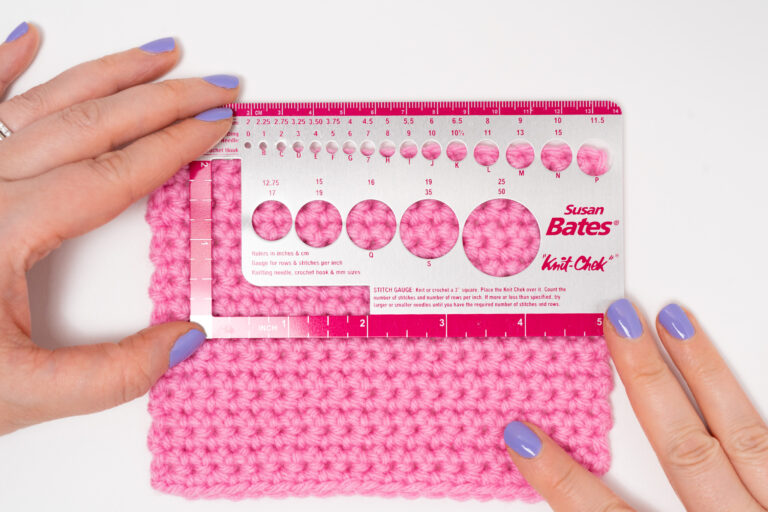
5. Crochet gauge matters way more than you [may] think
Gauge is just crochet tension. It’s the number of stitches and rows that fit into a set measurement (usually 4 inches). Making sure your gauge matches what is listed in the pattern is the only way your finished piece can end up the size the designer says it will. Mathematically, its the only way.
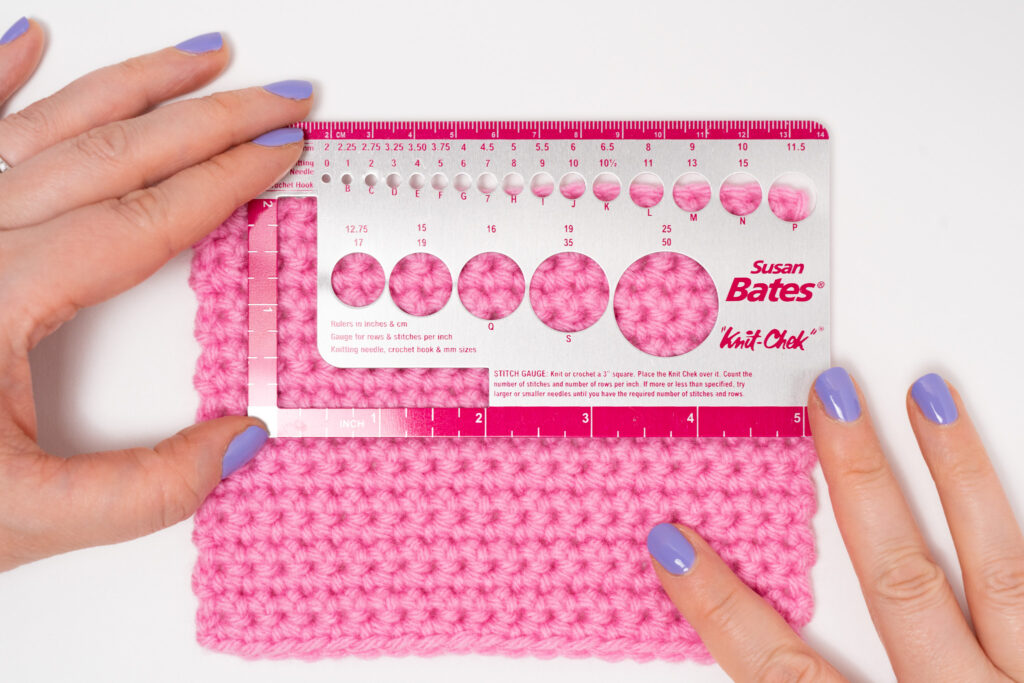
It feels like a tedious extra step when you’re excited to start on a new project. Trust me, I know! But being off by even one stitch per couple of inches adds up fast over a whole project and can be the difference between a sweater that fits and one that’s several inches too big or too small. For anything that needs to fit, you must check your gauge. It’s also important for making sure you have enough yarn. If your gauge is larger than what the pattern calls for, you will be using more yarn per stitch and can possibly run out!
(I have a whole separate post and video that walks through gauge step by step. Check it out here.)
6. The hook size in the pattern is just a suggestion
This one goes hand in hand with gauge. Just because a pattern calls for a certain hook size doesn’t mean that’s the hook size you should use.
Here’s a good rule of thumb, make a gauge swatch.
- If you’re getting too many stitches per inch, you are crocheting tighter than the designer. Size up your hook.
- If you’re getting too few stitches, you are crocheting looser. Size down.
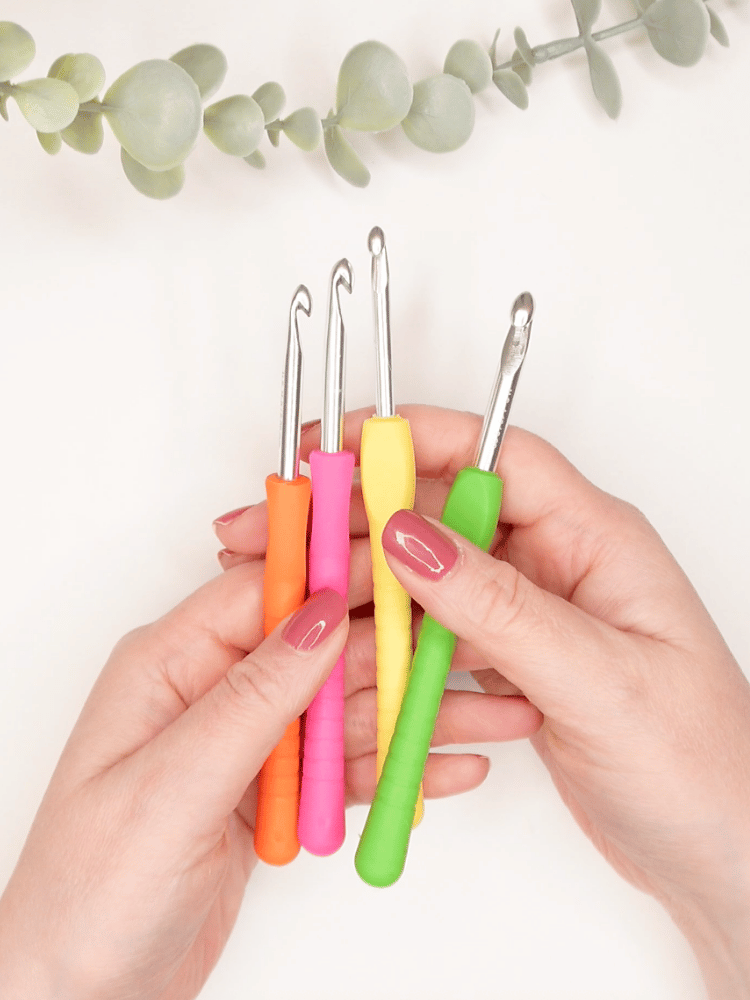
We all crochet at different tensions, so the crochet hooks listed in a pattern are simply just a suggested starting point. Adjust until you hit gauge. (If you’re not sure which hooks to buy in the first place, I break down my favorites and the ones to avoid in my crochet hooks post.)
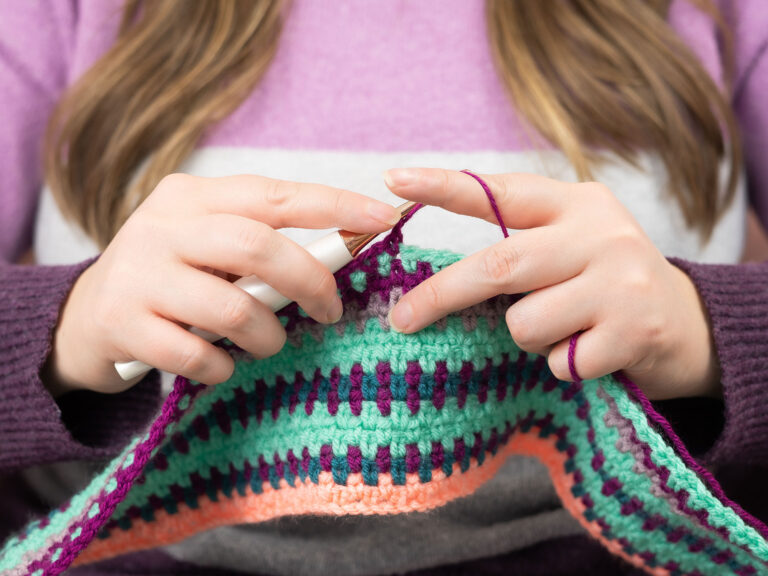
7. Making mistakes and frogging your work is part of crocheting, at every level
“Frogging” is ripping your work back to fix a mistake (rip it, rip it 🐸. Get it??). And you know what, every crocheter does it no matter if you’ve been at this for a day or for twenty years.
Crocheting something, undoing it, and redoing it is how you learn what you’re doing. So don’t worry about mistakes, they’re making you a better crocheter.
8. Stop crocheting when you’re tired
There’s a point at night and for me it’s around 10 or 11 pm where I hit a wall. And if I keep going I will make a mistake. It took me embarrassingly long to learn this but now I’m now I’m super disciplined about it.
If I push through an hour or three of being super tired, nine times out of ten I have to frog all the hours back the next morning when I see the mistakes. When you feel that tired threshold, put the project down. Your future self will thank you!
9. Weaving in ends is part of the process, and it can be fun!
I used to dread weaving in ends. Lately I’ve reframed it as just as much a part of the crochet process itself, and I’ve actually started to enjoy it. It’s mindless and kind of relaxing once you put on a show and stop treating it like a punishment.
If you still can’t seem to get behind weaving in your ends, try weaving in ends as you go. For instance if you’re making a granny square blanket, weave in your ends after completing each square. Or weave them in in batches of 10 (or whatever number). Then when you finish your last square, you only have the joining ends left instead of a huge mess!
10. “Easy” patterns aren’t always beginner friendly
A granny square is genuinely easy but NOT if you’ve literally never held a hook before.
Don’t get discouraged if an “easy” pattern feels hard when you’re brand new. There’s a difference between easy, beginner friendly, and never crocheted before. Lots of easy patterns still assume you’ve got the foundational basics down. Start with a simple foundation chain and a little practice square first, then work up. Once you’ve got the fundamentals, those “easy” patterns really will be easy, I promise.
11. You don’t have to finish every project
If you’re not enjoying a project, it is completely okay to set it down and move on. Crochet is supposed to be fun. If it’s not, let it go! (Like Elsa.)
12. Get small, sharp scissors that are only for crochet
My favorite are little embroidery scissors because they’re small and super sharp. They reside in my little crochet pouch so they’re always there when I need them. And set a strict boundary around them! These scissors are for crochet projects only. (I won’t elaborate. You know exactly why.)
13. Have a supplies pouch and always put your hook away!
Get a little pouch for your crochet essentials, such as your hook, those embroidery scissors, stitch markers, and your yarn needles. Keep them all in one place.
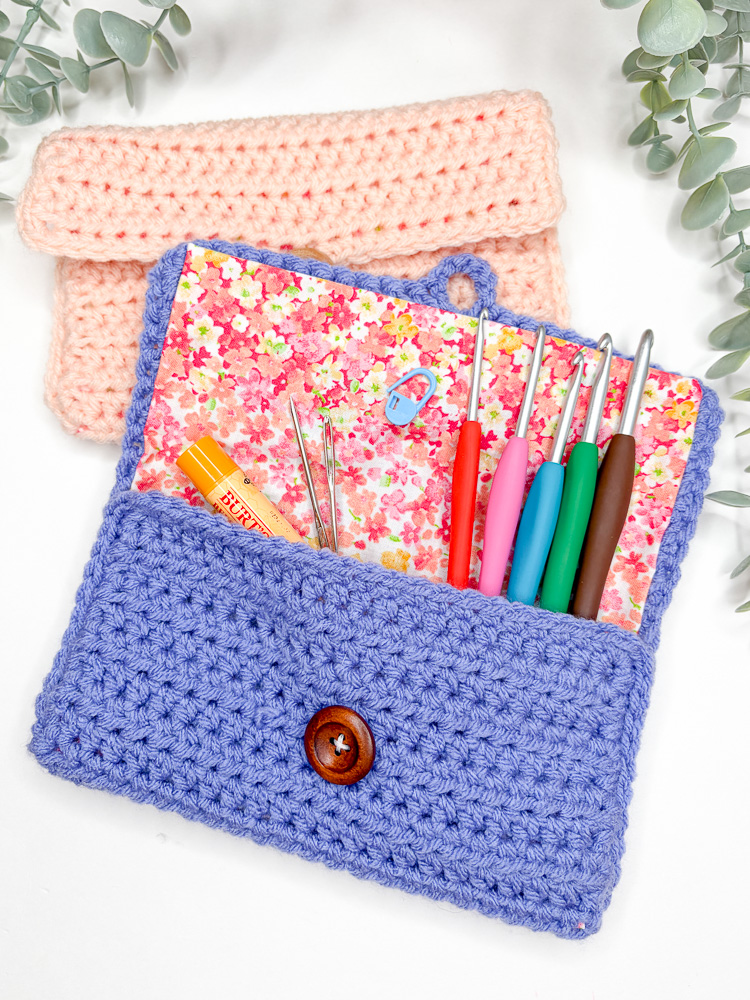
And please, always put your hook back in its pouch when you stop crocheting! And I don’t just mean for the day. I mean even when you’re getting up for a glass of water. A hook left on the couch is a hook that’s lost in the couch forever. You’re welcome!
14. Use project bags to keep each project organized
I keep every project in its own bag, and it’s a game changer for staying organized. I love mesh reusable produce bags (drawstring) and mesh laundry bags (zippered). The laundry bags come in different sizes, so the big ones are perfect for blankets and the smaller ones for hats and accessories. You can grab them on Amazon, or use anything you like.
I used to toss all my works in progress (WIPs) into one big plastic tote, and as I’d rummage through looking for my projects, everything tangled into lots of knots. Project bags solve this problem!
15. Get two bins: one for yarn, one for projects
Building on the last tip, get yourself two large bins (totes, cute baskets or whatever you like). One holds your yarn stash, the other holds your projects (each in its own little bag, per tip #14). This simple system gives everything a home and keeps your hobby from taking over the house. I really wish that I’d set this up for myself on day one.
16. Let go of yarn that doesn’t inspire you anymore
If you’ve got full skeins in your stash that just sit there making you feel guilty, let them go (again, like Elsa). Once a year I destash and donate full skeins to my local thrift store (full skeins only!).
It always feels so much better afterward. That yarn goes on to make someone else happy, and I’ve made room for yarn that will inspire me. It’s okay to give away the yarn that doesn’t bring you joy.
17. “Machine washable” on the label doesn’t mean you should machine wash it
Most of the yarn I use says it’s machine washable but the washer agitates your finished piece so much that after all those hours of work, it’ll pill and wear out far faster than it should. My general rule is to hand wash finished items to extend their life.
However, I do machine wash knitted socks (they’d last longer if I didn’t, but I’m just being real with you), and I do wash crochet blankets as I’m not going to hand wash a whole blanket. I don’t know how I’d really do that. To be gentler on a blanket, let it air dry instead of using the dryer (however I do put mine in the dryer). All fabric pills eventually and crochet’s sadly no different.
18. Take breaks during long crochet sessions
This sounds obvious, but I do have to remind myself frequently. The longer I crochet, the more I slump and lose my posture. And a four hour session in a hunched position is how you end up with a sore neck, back and/or wrists. Stand up, stretch, sip some water, take a quick walk. Your body will thank you!
19. It’s okay to crochet things just for yourself
It is completely okay to crochet just for you. You don’t have to make things for other people (unless you want to!).
20. If crochet is hurting you, talk to your doctor
If your hobby is causing health problems such as dry skin, wrist pain, anything like that, please don’t suffer in silence, and please talk to your doctor. I dealt with bad eczema on my hands for a while; I’m now on a prescription that cleared it completely, and it made all the difference.
You often don’t have to give up the hobby you love, you just need the right help. So get it, and keep crocheting for as long as you possibly can!
Frequently asked questions about crochet for beginners
What’s the best yarn for a beginner?
A 100% acrylic, worsted weight (#4) yarn in a light or bright, solid color. It’s affordable, easy to find at any craft store, comes in tons of colors, and makes your stitches easy to see while you learn.
Is crochet hard to learn?
The very beginning such as learning to hold your hook and control your yarn, is the hardest part. And it’s normal for it to feel awkward at first. Once that muscle memory clicks, crochet gets much easier. Don’t give up during the hardest stretch.
Do I really need to block my crochet?
For many projects, yes! Especially anything made of pieces sewn together, like a granny square blanket. Blocking evens out your stitches, makes pieces lay flat, and gives a polished finish. It can completely transform how your finished project looks.
What hook size should a beginner use?
Start with the size your pattern recommends, but treat it as a suggestion. I typically suggest a 5.5 mm or 5.0 mm hook because thats whats recommended for #4-medium weight yarn.
How do I keep my crochet supplies organized?
This simple setup below will keep your new hobby contained, organized and free from tangles!
Small Pouch
A small pouch for your hooks, scissors, stitch markers, and yarn needles.
Project Bags
Keep a project bag for each WIP
2 Large Bins
And two large bins or baskets. One for your yarn stash and one for your projects.
More Crochet To Love
- The BEST Crochet Hooks: My Favorites & The Ones to Avoid
- Free Crochet Patterns
- How to Crochet the Dainty Daisy Granny Square
Join the Just Be Crafty Community
If you loved this post, you’ll love what’s in your inbox each week!
- Get your FREE Crochet Supplies Checklist! (Join my email list) for weekly free patterns, tutorials, and honest reviews like this one
- Subscribe on YouTube for new videos every Sunday, Wednesday, and Friday
- Follow me on Pinterest for endless crochet inspo