

Welcome to Learn To Crochet Lesson 2.1! In this beginner friendly tutorial, I’m going to show you exactly how to make a slip knot for crochet, the very first step of every single crochet project.
The first step in learning how to crochet is learning how to make a slip knot. Slip knots are one of the foundational building blocks to crochet and is almost always the first step before making a foundation chain (with some exceptions of course!).
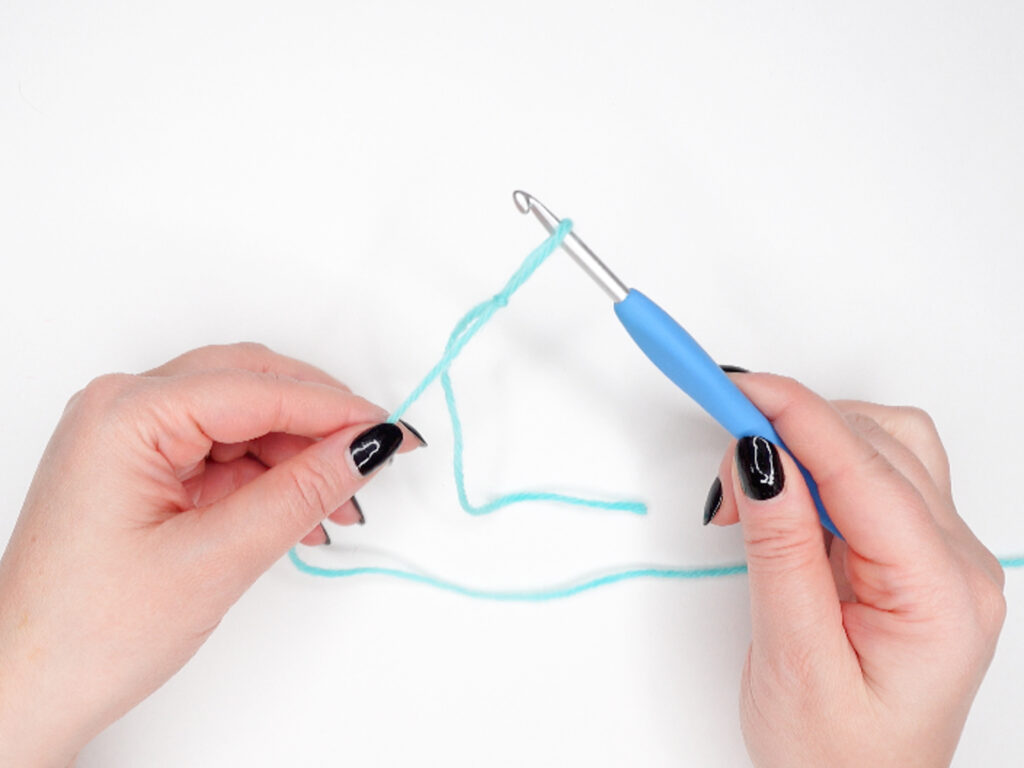
A slip knot is a special kind of adjustable knot that creates a loop on your crochet hook. Every crochet pattern starts with one (with very few exceptions) because its how your yarn attaches to your hook. Once you know how to make a slip knot, you’re ready to start chaining and stitching.
In this post, I’ll walk you through two different ways to make a slip knot, both with step-by-step photos and a video tutorial. Both methods are correct so try both and stick with whichever feels easiest for your hands.
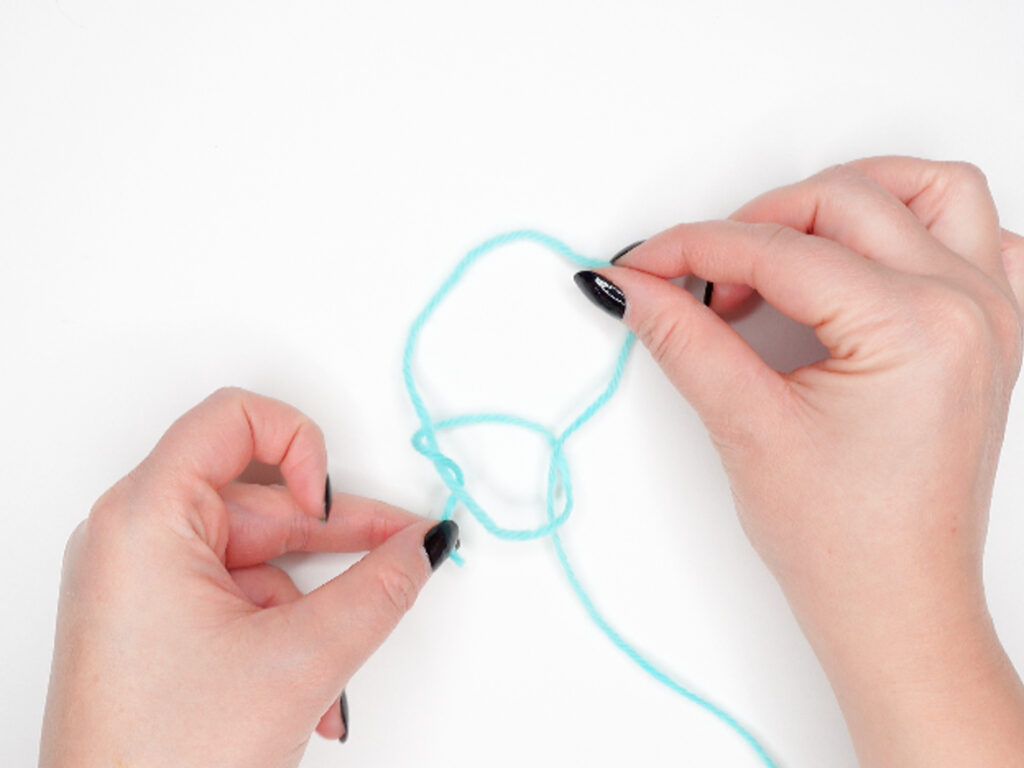
What Is a Slip Knot in Crochet?
A slip knot is an adjustable knot that creates a single loop on your crochet hook. It’s the very first thing you do in almost every crochet project: before chains, before stitches, and before anything else.
The “slip” in “slip knot” comes from the fact that the knot can be tightened or loosened by pulling on one end of the yarn. That adjustability is exactly what we need and once you put your hook through the loop and start chaining, you’ll pull the yarn tail to snug the knot up around the hook.
A few quick things to know:
- Every slip knot has a working yarn (the strand attached to your skein) and a yarn tail (the short loose end)
- You generally make a slip knot with your hands, then put the hook in
- There are several techniques, but you only need to learn one to start crocheting
Slip Knot for Beginners Method #1
This slip knot method is my go to method for most crochet projects. It’s the way I first learned and has stuck with me ever since. I prefer to use this method when the pattern I’m working on doesn’t require a long tail prior to making the foundation chain. Most crochet patterns do not require you to begin with a long tail prior to chaining, and should always instruct you to do so if it is necessary.
So for example, if a pattern begins with “Ch 20”, I already know I’m using this slip knot method.
Watch the video tutorial
I’ve filmed a video tutorial help walk you through both methods. To view the tutorial, click on the play button below.
Slip Knot #1 – Step by step
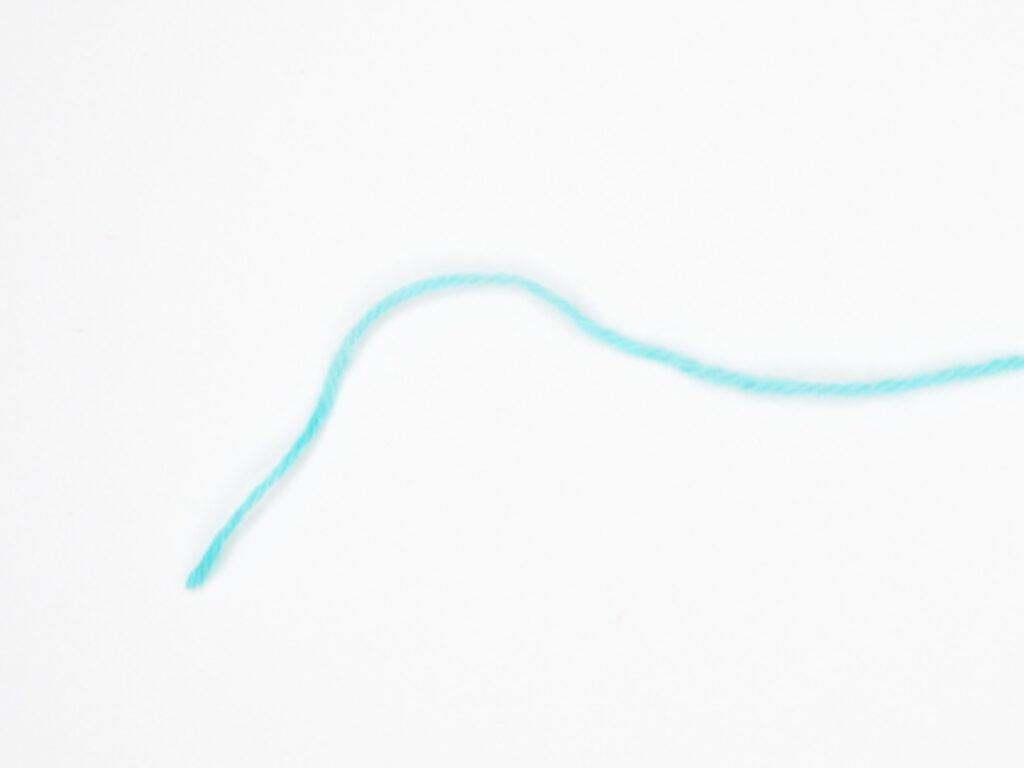
Step 1
Lay yarn flat out in front of you.
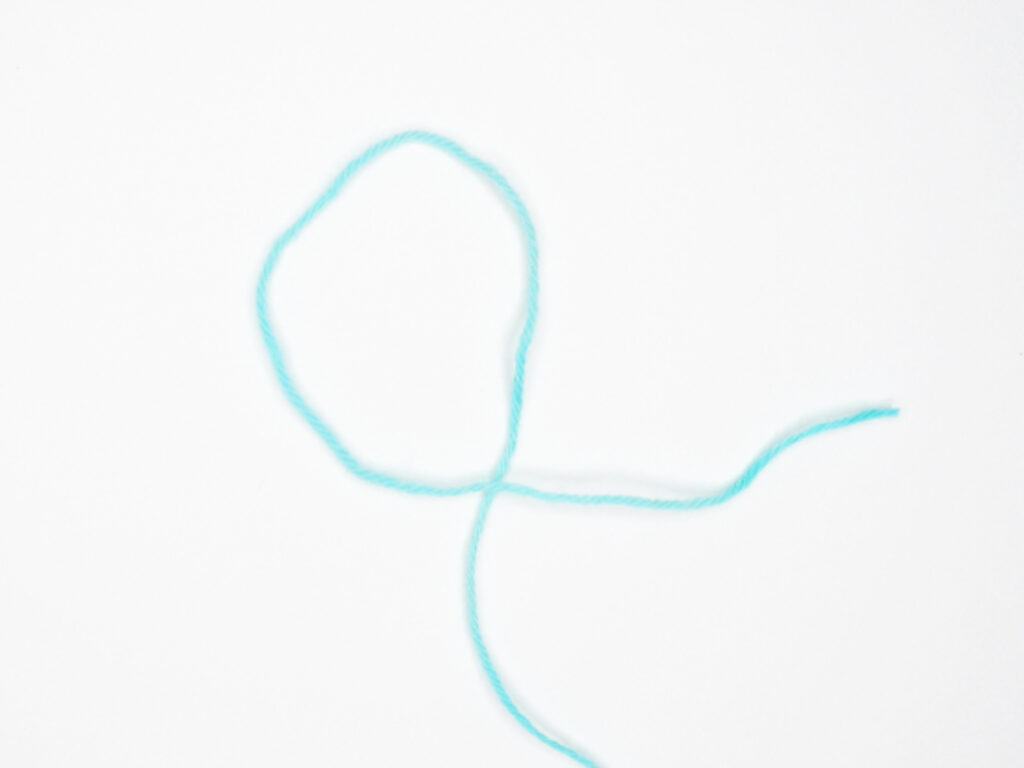
Step 2
Grab the yarn tail and lay the tail over the working yarn like so, creating a loop.
(I like to think of this as making a “4”.)
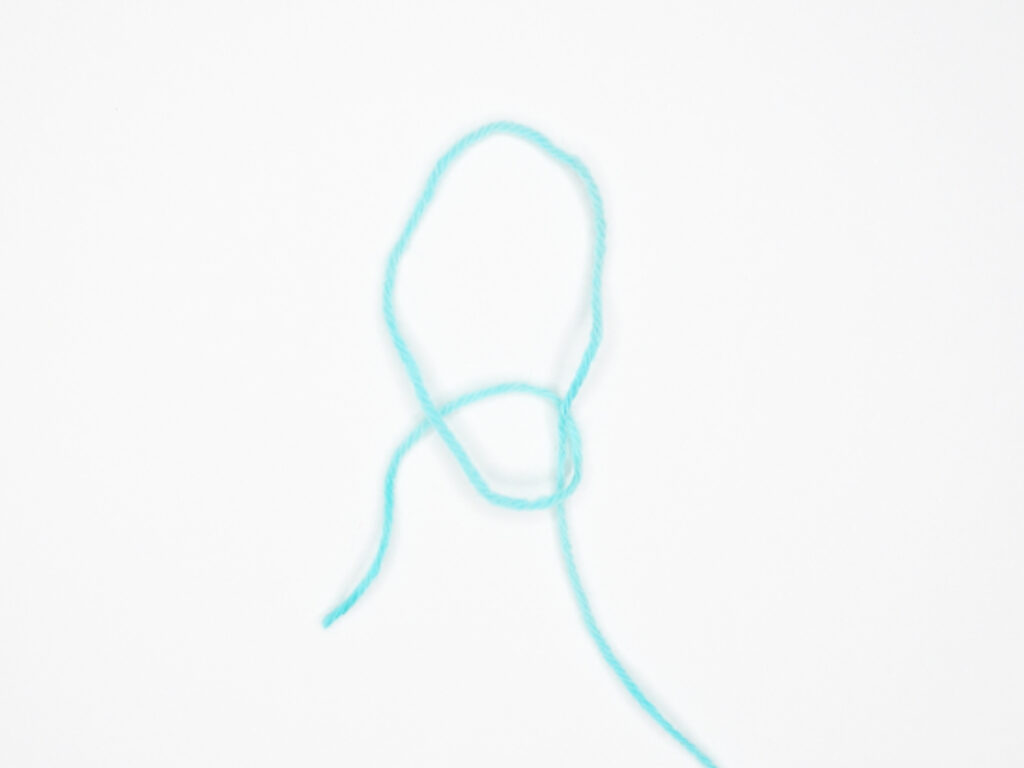
Step 3
Wrap yarn tail around the back of the “4” you just made, creating a second loop.
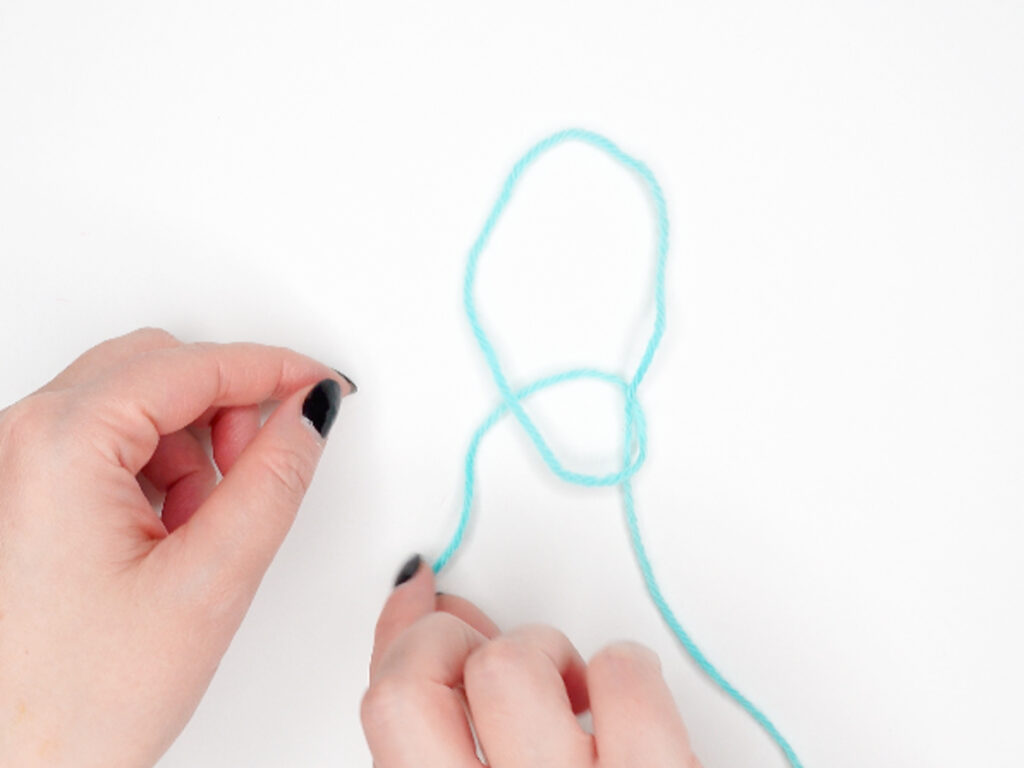
Step 4
Grab your yarn tail.
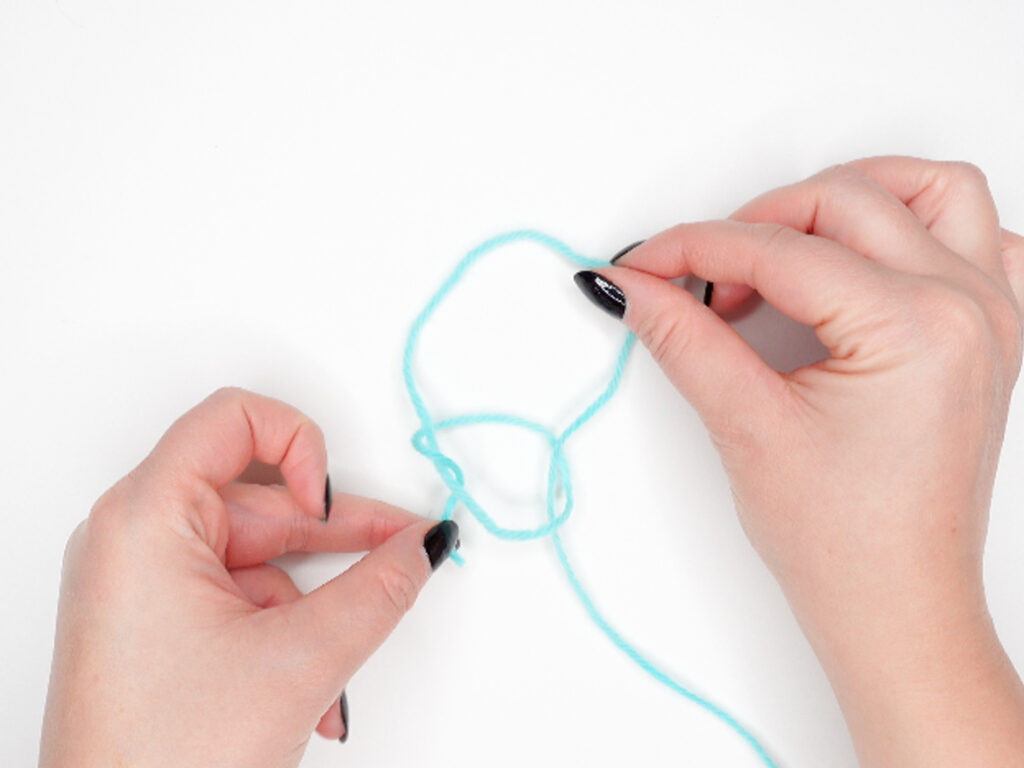
Step 5
Insert your yarn tail into the second loop you created.
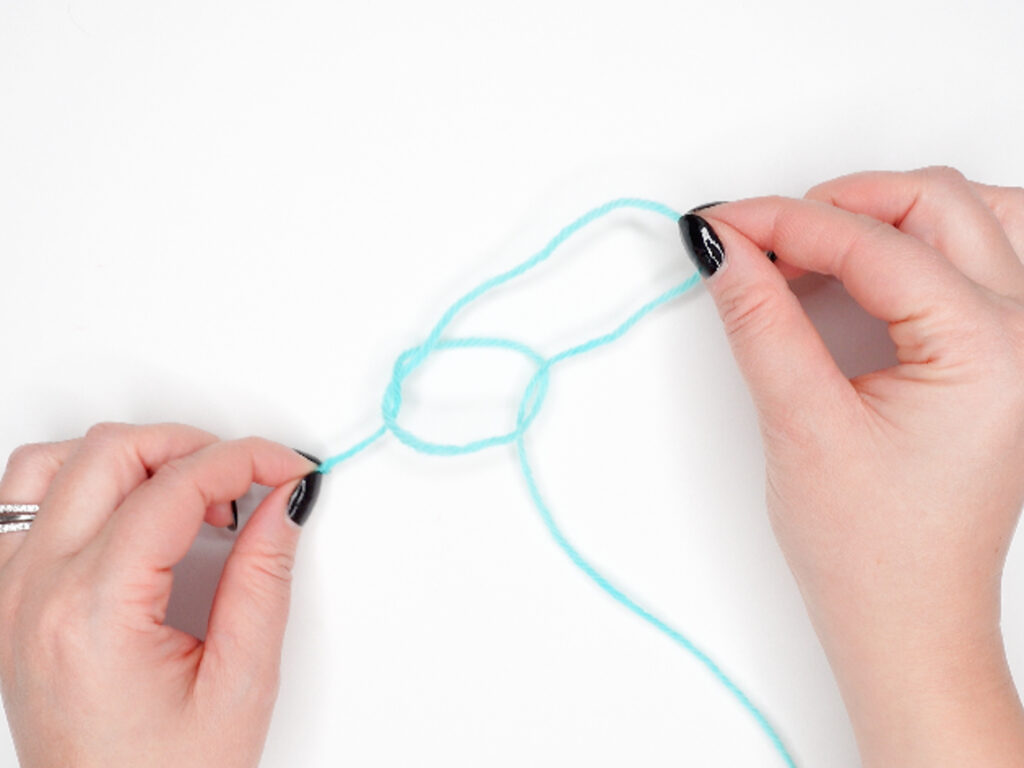
Step 6
Using both hands, gently pull on the yarn tail and the first loop you created to tighten the knot.
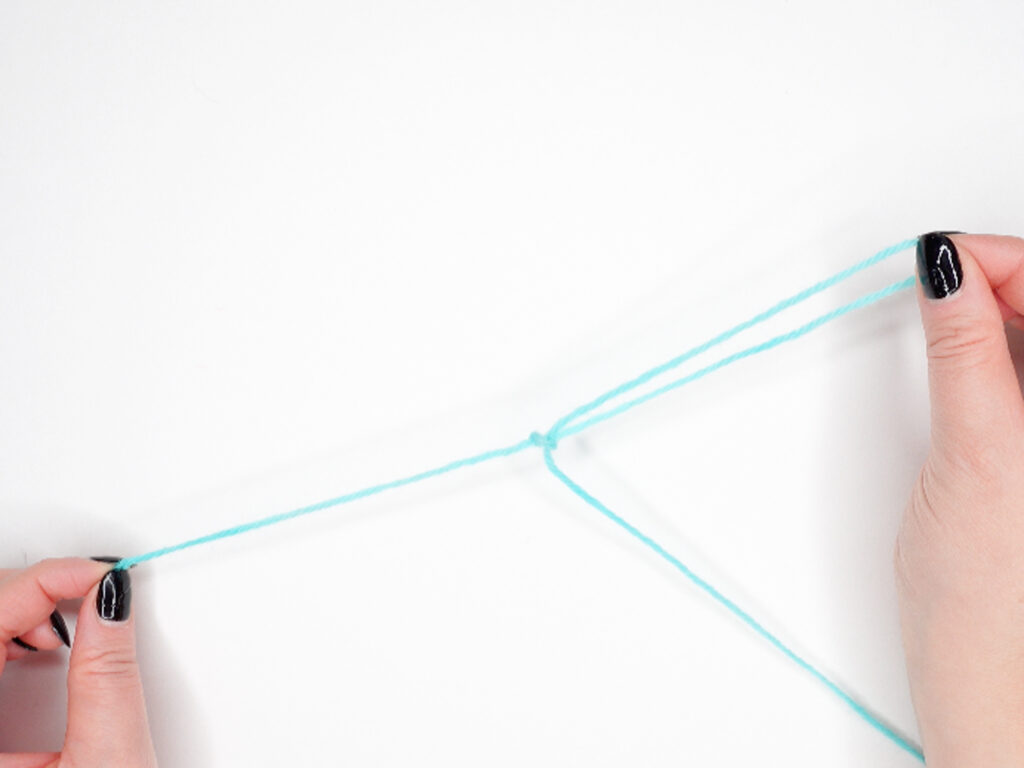
Step 7
Continue tightening the knot.
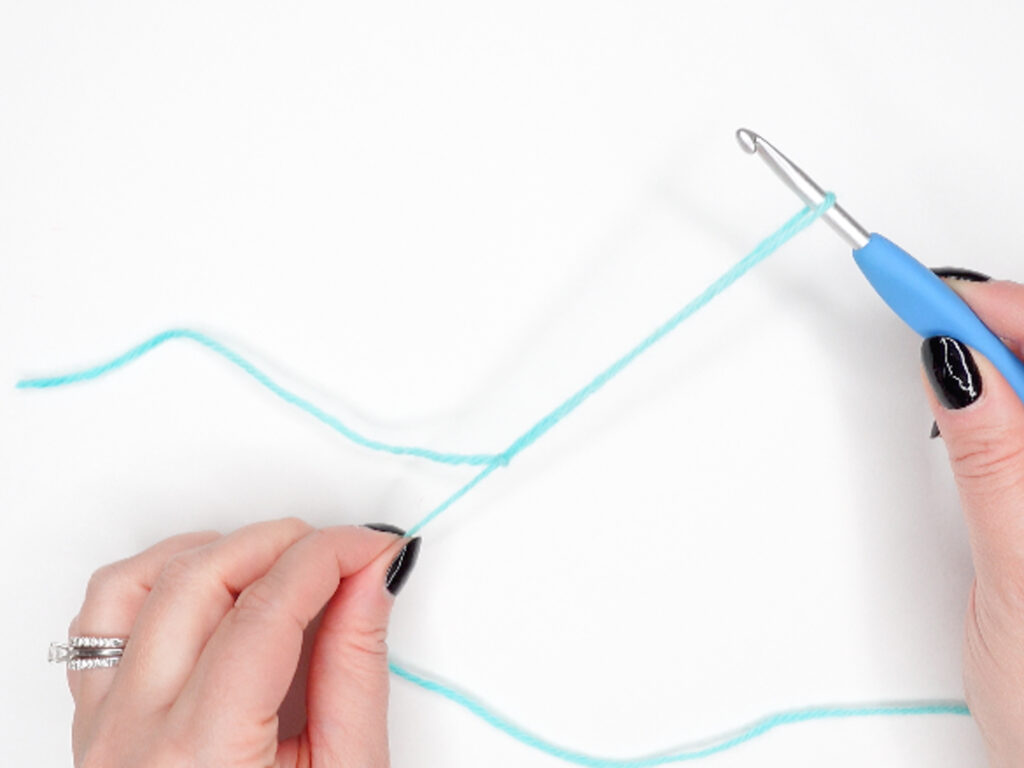
Step 8
Insert crochet hook into the loop.
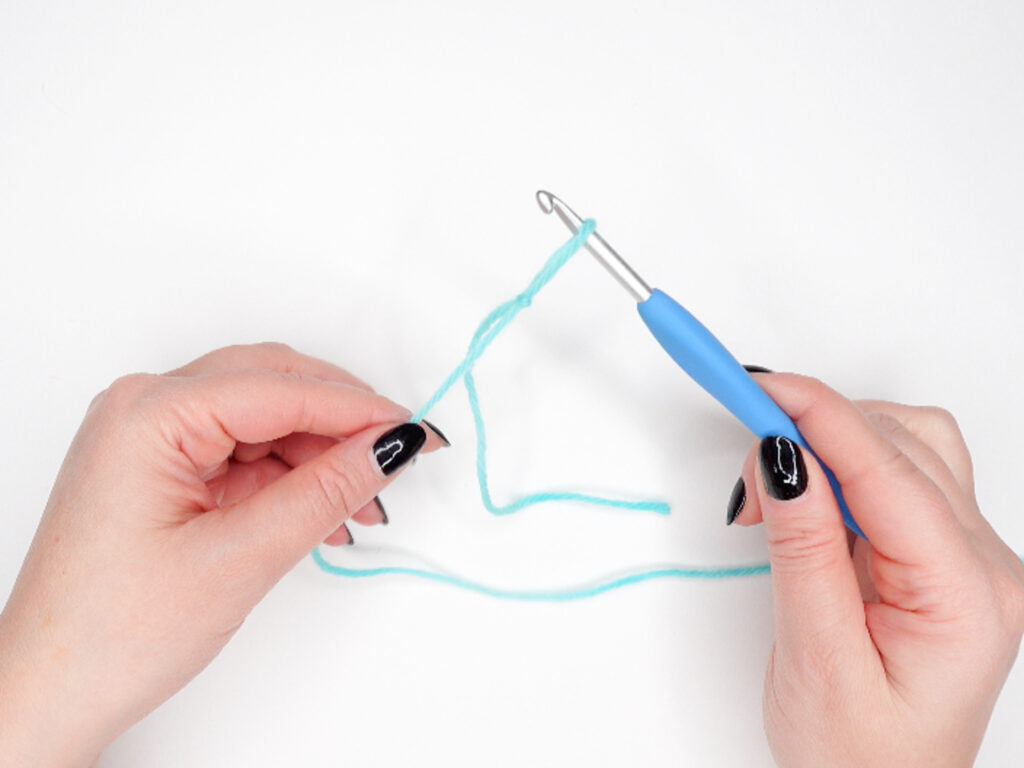
Step 9
Pull on your working yarn to tighten yarn to hook.
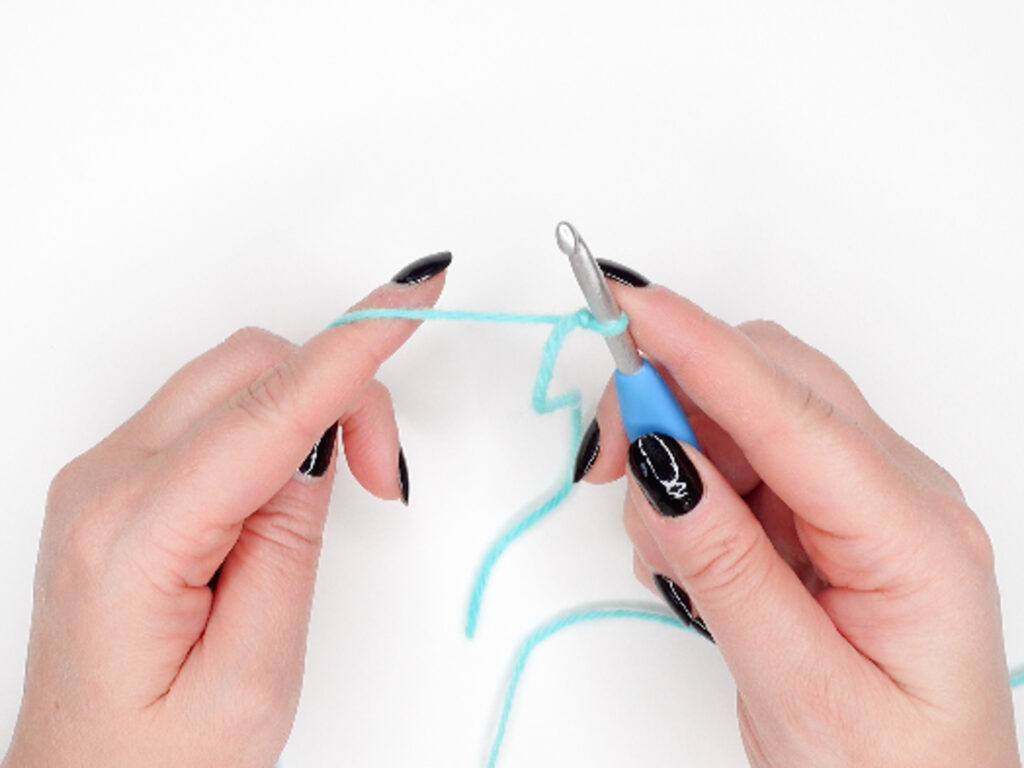
Step 10
Yay! You’ve just created a slip knot and you’re ready to begin your foundation chain!
Slip Knot for Beginners Method #2
This slip knot method is my second favorite for making a slip knot and one I learned a few years ago. This method is my go-to slip knot when a pattern requires a long tail prior to chaining (like this pattern here).
Watch the video tutorial
Slip Knot #2 – Step by Step
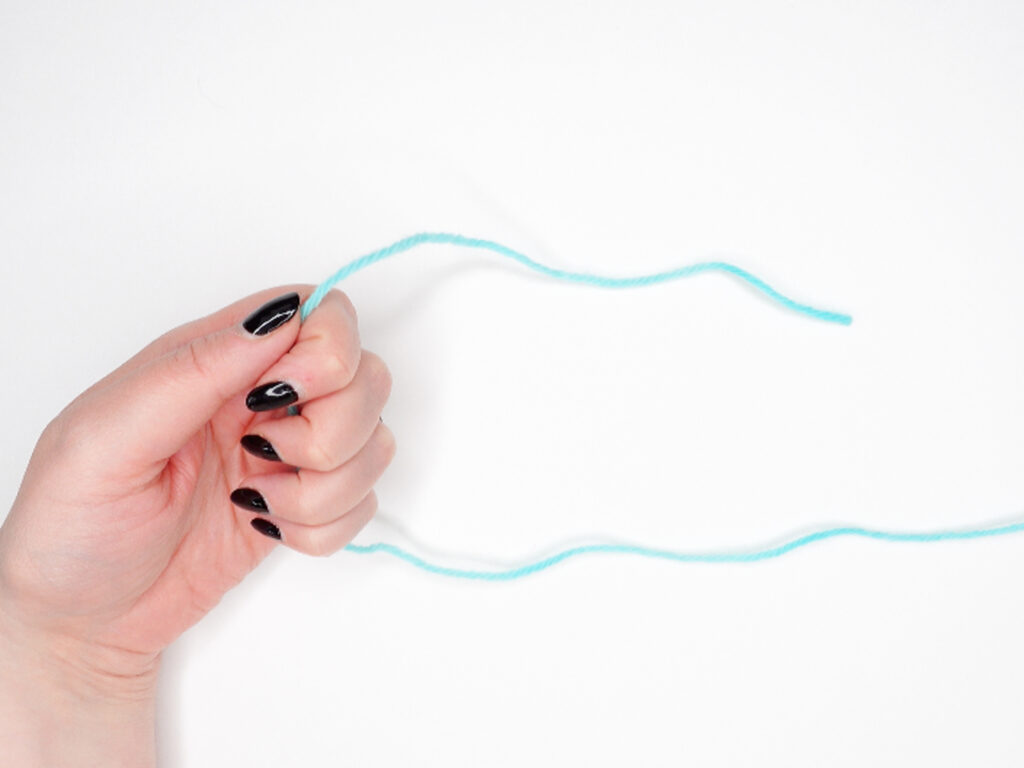
Step 1
Hold your yarn tail in the palm of your hand. The working yarn should be nearest your pinky, and the tail should be popping out by your thumb and pointer finger.
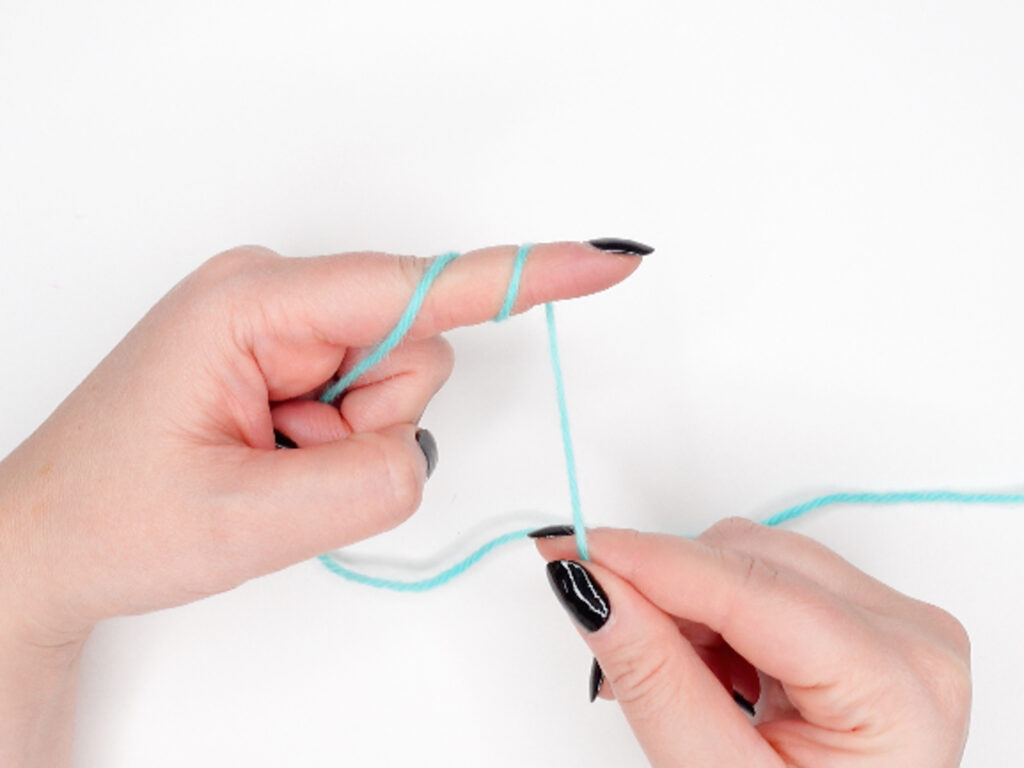
Step 2
Take you yarn tail and wrap it around your pointer finger 2 times.
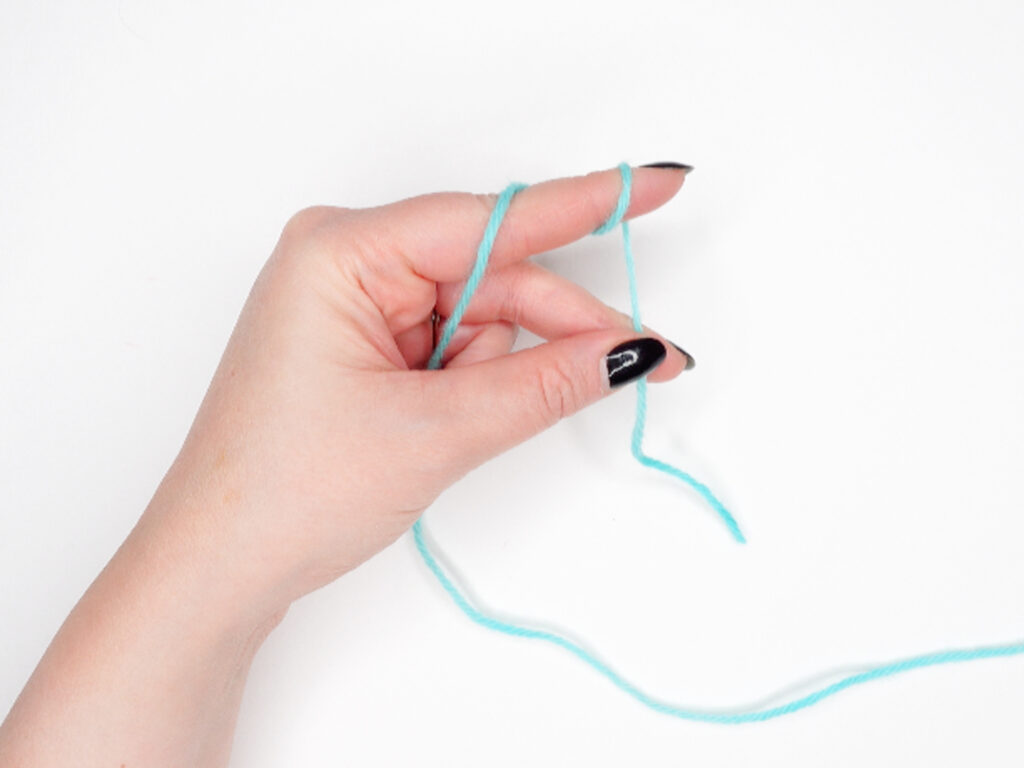
Step 3
Secure yarn tail between your thumb and middle finger.
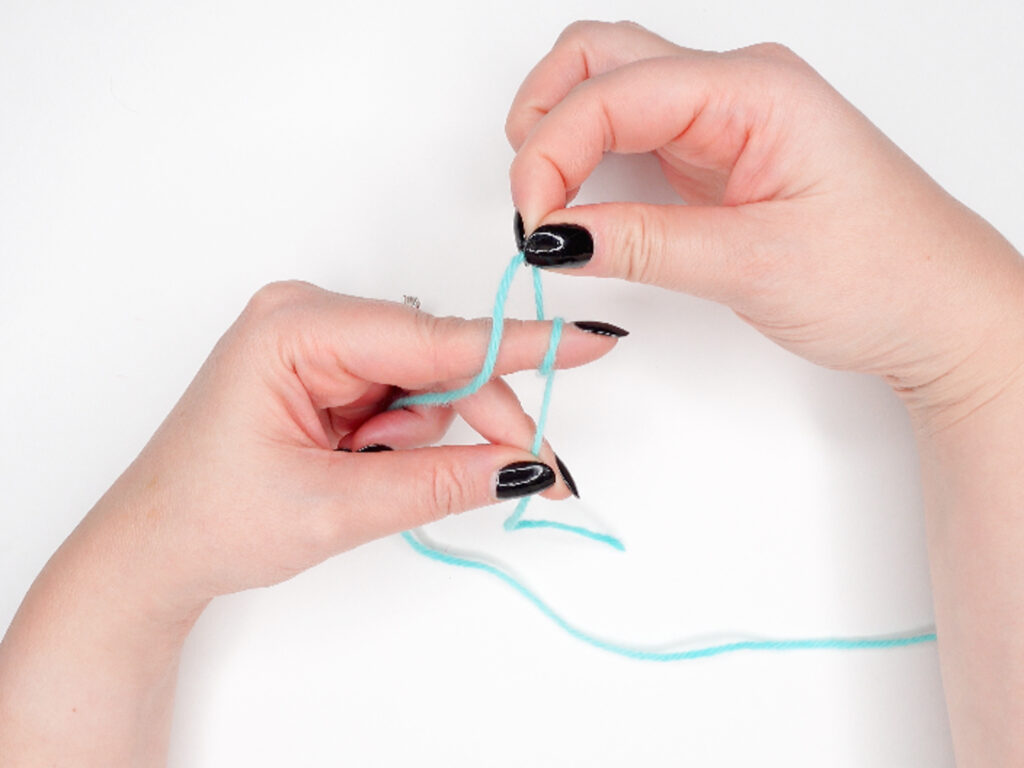
Step 4
Grab first loop (nearest your knuckes).
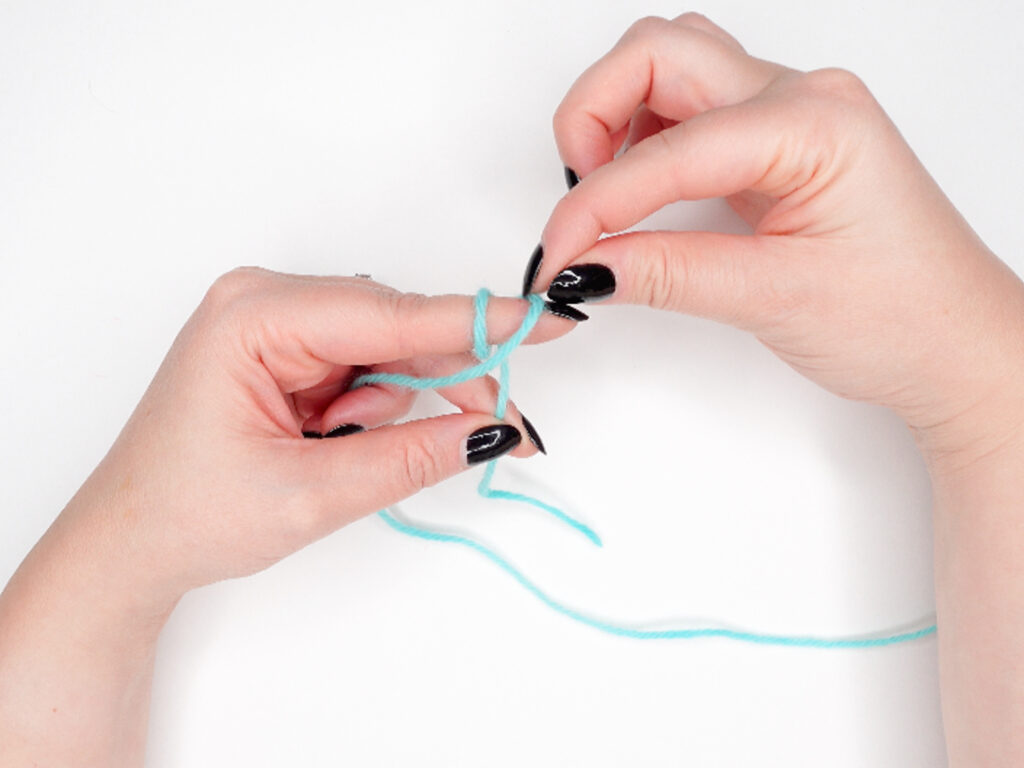
Step 5
And place over the second loop.
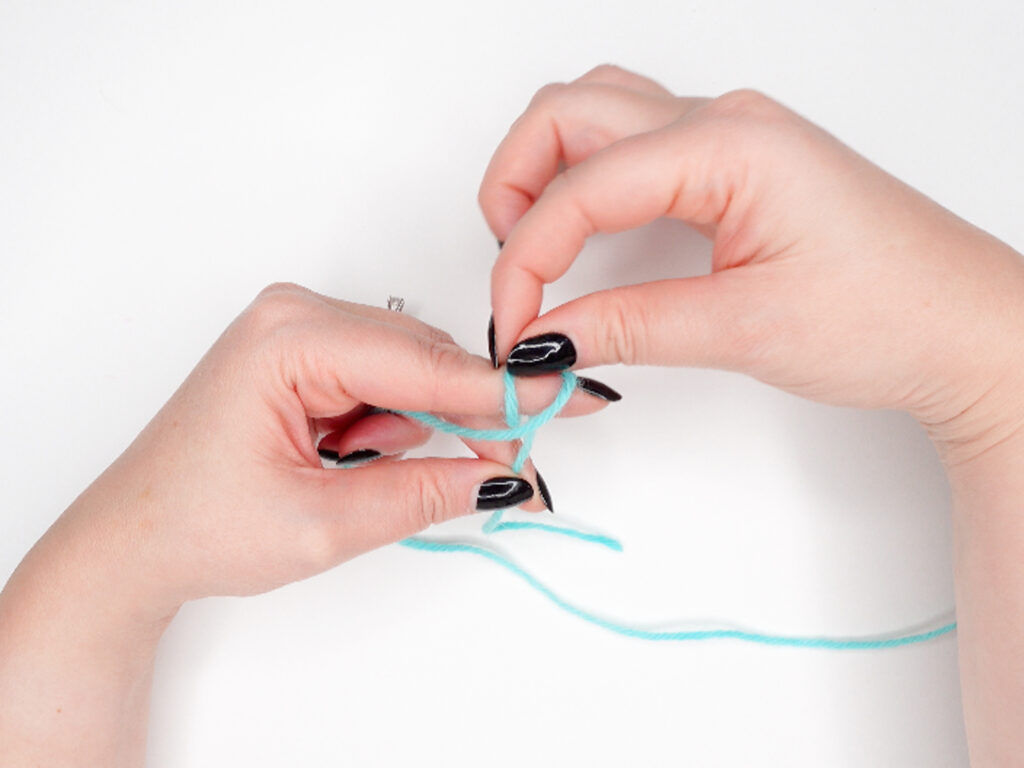
Step 6
Now grab that same second loop.
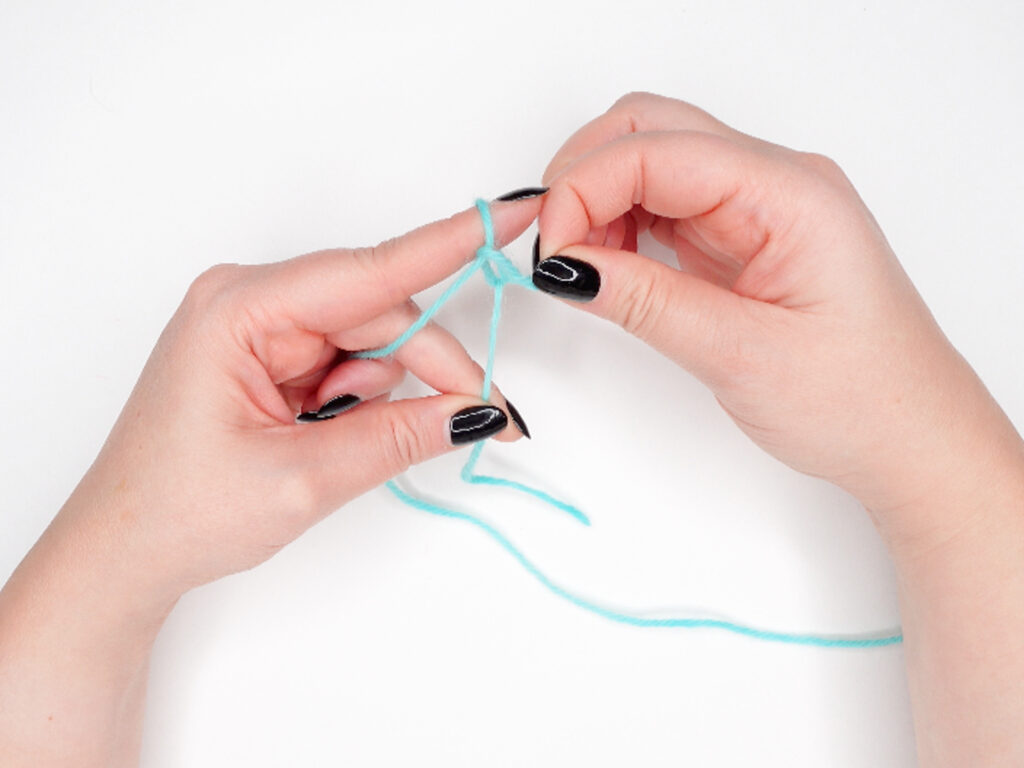
Step 7
And lift over the first loop AND off of your finger.
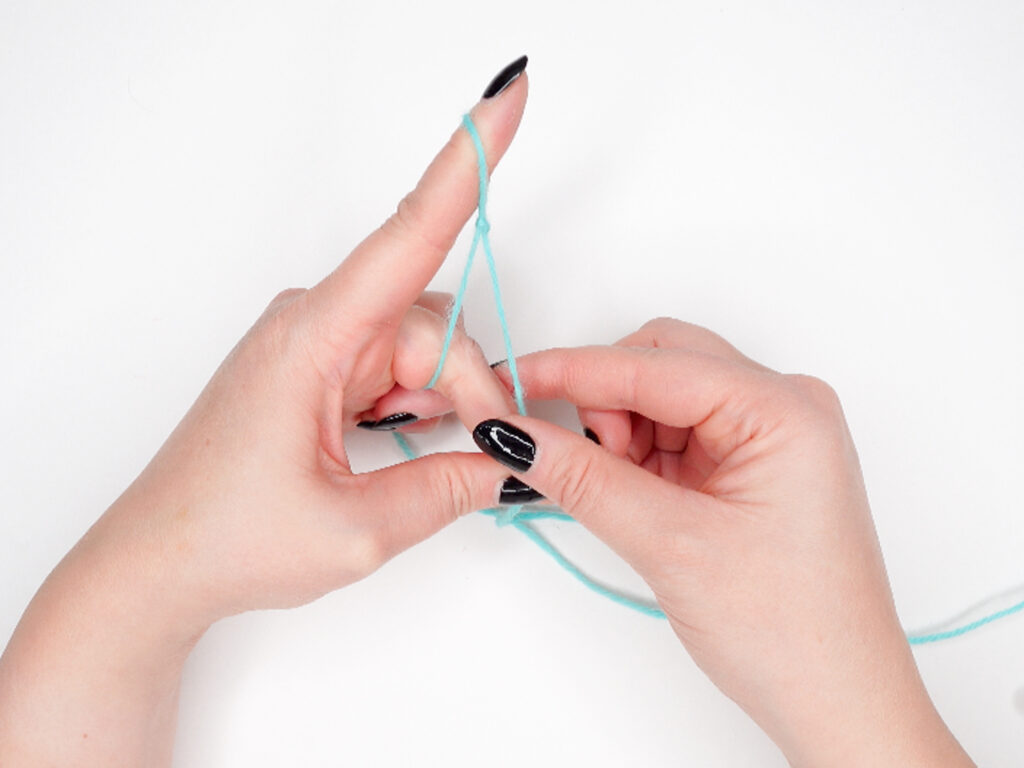
Step 8
Extend pointer finger upward to tighten the knot.
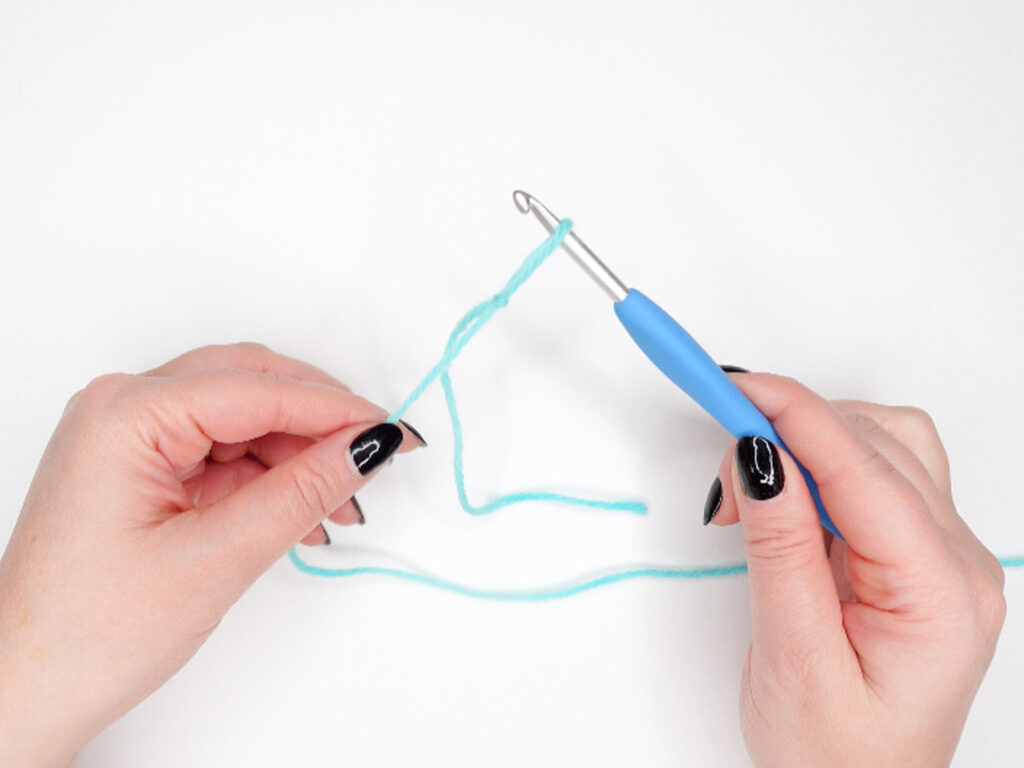
Step 9
Insert crochet hook into the loop and pull on the working yarn to tighten.
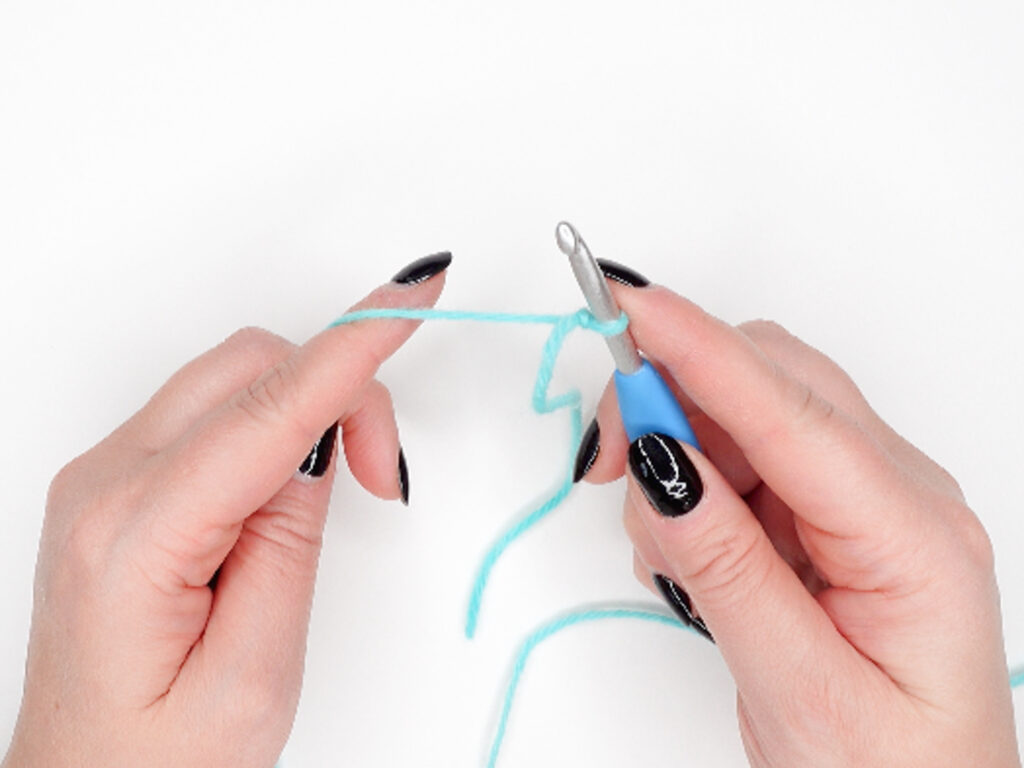
Step 10
Yay! You’ve just made a slip knot and now you’re ready to begin your foundation chain!
A Note
The above slip knot tutorials may look like a lot of steps, and there are, because I break down each step of the process in order to make it easier to understand. I promise though, once you get the hang of it, making a slip knot will be second nature to you and you’ll be well on your way learning to crochet!
Next Up is Lesson 2.2: How to Hold Your Hook and Yarn
Now that you can make a slip knot, the next step is learning how to make your first foundation chain!
Got a Slip Knot Question? Ask It on Crochet Night!
Every Wednesday at 5pm, I drop a new Crochet Night episode on YouTube where I answer your crochet questions on camera. Slip knot not behaving? Yarn keeps slipping off your hook? Submit your question and I’ll answer it on the next episode.
👉 [Submit a Question →] 👉 [Join the Facebook Group →]
What is a slip knot in crochet?
A slip knot in crochet is an adjustable loop knot that attaches your working yarn to your crochet hook. It’s the very first step in almost every crochet project, before any chains or stitches are made. The knot is designed to tighten or loosen by pulling on one end of the yarn, which lets you adjust how snugly it sits on your hook.
How do you make a slip knot for crochet step by step?
The easiest way to make a crochet slip knot:
- Lay your yarn flat with the tail on top of the working yarn, forming a loop that looks like the number “4”
- Wrap the yarn tail around the back of the loop, creating a second loop
- Pull the yarn tail through the second loop
- Insert your crochet hook into the loop
- Gently pull on the working yarn to tighten the knot around your hook
You’ve made a slip knot and you’re ready to start crocheting.
Do you have to start crochet with a slip knot?
Yes, almost every crochet project starts with a slip knot. There are a few alternative methods, but for beginners and 99% of patterns, you’ll always begin with a slip knot. It’s the foundation that anchors your yarn to your hook so you can start chaining.
What is the easiest way to make a slip knot?
The easiest way for most beginners is the “4” method: lay your yarn flat, fold the tail over the working yarn to make a shape that looks like the number 4, wrap the tail around the back, and pull it through the loop. Insert your hook, tighten, and you’re done. It’s the method I learned first and the one I still use for most projects.
Why does my crochet slip knot keep falling apart?
A slip knot falls apart when you pull the wrong end of the yarn. The knot tightens when you pull the working yarn (the strand attached to your skein). If you pull the tail to tighten, the knot will simply unravel. Before you start your first chain, test which end tightens the knot and which loosens it.
Should a slip knot be tight or loose on the hook?
Your slip knot should be snug but not tight on your crochet hook. You should be able to slide it freely up and down the shaft of the hook without it sliding off the end. If it’s so tight you can’t move it, you’ll struggle to pull through your first chain stitch. If it’s so loose it falls off, give the working yarn a gentle tug to tighten it up.
How do you tighten a slip knot?
To tighten a slip knot on your crochet hook, hold the hook steady and gently pull on the working yarn (the strand connected to your yarn ball). The loop will snug up around the hook. Never pull on the yarn tail to tighten, that will loosen and undo the knot.
What is the difference between a slip knot and a slip stitch?
A slip knot is the starting loop you place on your hook before you crochet anything. A slip stitch (abbreviated as sl st in patterns) is an actual crochet stitch used to join rounds, move across stitches, or finish off projects. They sound similar but are completely different as a slip knot starts a project, a slip stitch is worked within one.
Can you crochet without making a slip knot?
It depends on what type of crochet project you’re making! If you’re making a flat project, then no, you NEED a slip knot. If you’re crocheting in the round, you’ll likely start with a magic ring instead of a slip knot!
What does the slip knot count as in a crochet pattern?
The slip knot will eventually count as a chain. As soon as you create your first chain by sliding the slip knot off of your hook, it will count as a chain. The loop on your hook never counts as part of the total chain count.
How tight should the yarn tail be on a slip knot?
The yarn tail should be 5-6 inches long when you make your slip knot. This gives you enough length to weave in the end later when you finish your project. Don’t cut it too short because a too-short tail is hard to weave in and might come undone over time. Some patterns ask for a longer tail (8+ inches) for seaming or finishing, and will be specified if this is needed.
Why won’t my slip knot tighten around the hook?
If your slip knot won’t tighten around your crochet hook, you’re probably pulling the wrong yarn end. Simply give the other yarn end a tug and it should tighten. If neither strand tightens your slip knot, pull it out and try again.

I take the end of the yarn, bring it down and to the left, making a loop. Stick your hook from the back of the loop to the front, yo with the yarn on the skein side, pull through the loop, ta da! slip stich make, and already on the hook! (takes much longer to type than to do!)
I like that! I’ll have to try my hand at that. Thank you for sharing!