

Let’s learn how to crochet a flat circle as well as the simple formula and easy math to help with any crochet circle you make!
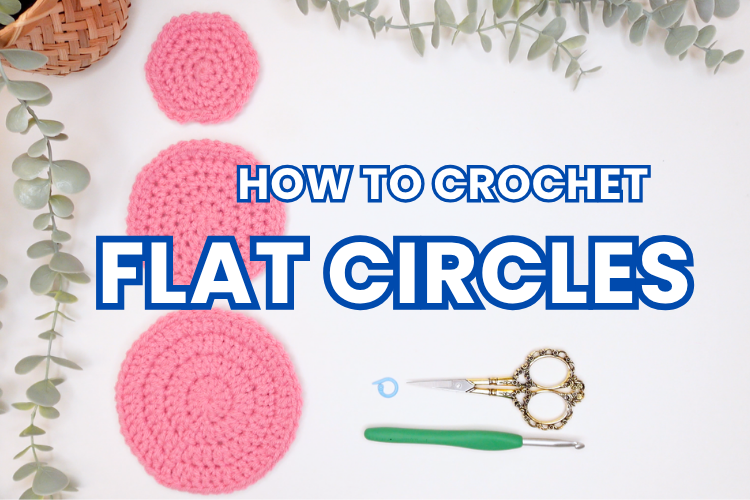
So here’s everything in one place: the simple formula, how to count your stitches as you go, written patterns for single crochet, half double crochet, and double crochet circles, and a handy increase chart you can bookmark and come back to later whenever you need it!
Love to watch a video?? Learn the Math In this Video!
Click on the play button below to watch!
What Makes a Crochet Circle Lay Flat?
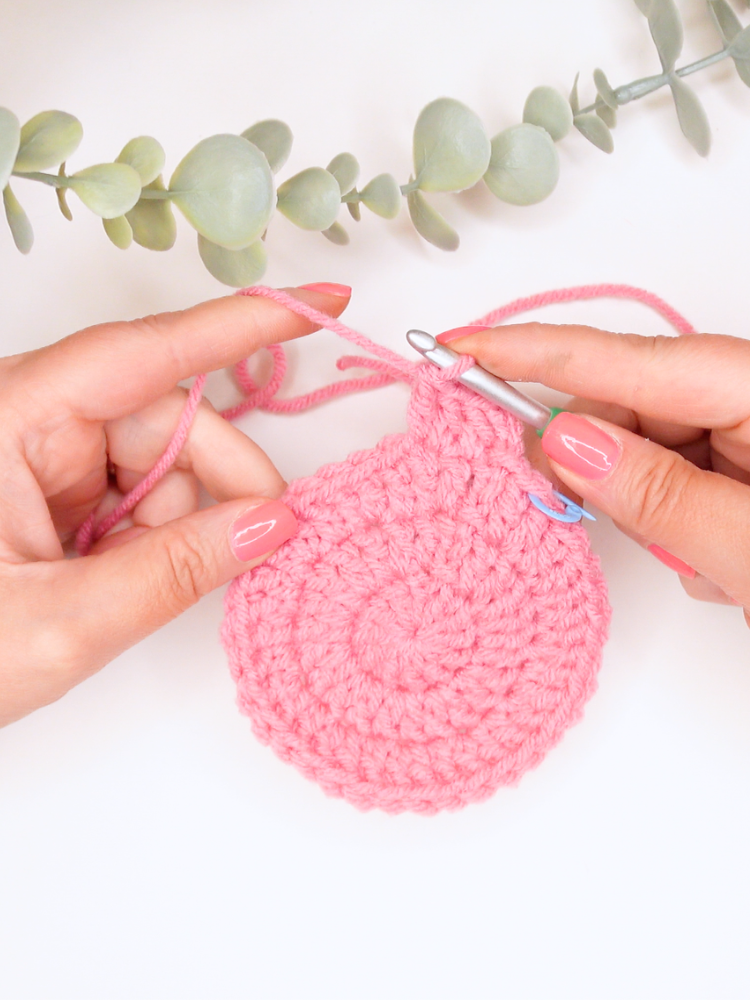
The number of stitches you start with is the number you add every round.
So, if you start with 6 stitches, you add 6 every round. Start with 12, you add 12 every round. As long as you’re adding that same number each round and spaced out evenly, your circle grows at exactly the right rate to stay flat.
When a circle doesn’t lay flat, it’s almost always because the math got off somewhere: too few increases and it starts to cup, too many and it gets wavy. Stick to your number and it’s fool proof!
The Crochet Circle Increase Formula
Want to know how many stitches you should have at the end of any round?
Starting number × the round you’re on = your stitch count for that round
Let’s say you’re making a single crochet circle that starts with 6 stitches:
- Round 1 → 6 stitches into the magic ring
- Round 2 → 6 × 2 = 12 stitches
- Round 3 → 6 × 3 = 18 stitches
- Round 4 → 6 × 4 = 24 stitches
- Round 5 → 6 × 5 = 30 stitches
…and so on. So if you’re on round 5 of your sc circle and you count up 30 stitches, you’re right on track. If you count 28? You missed a couple increases somewhere so you’ll just want to rip back until your back to the round that ended with the correct number of stitches.
Where to place your circle increases
This formula tells you how many stitches you need, but here’s where to put the increases each round:
- Round 2: increase in every stitch
- Round 3: increase in every 2nd stitch
- Round 4: increase in every 3rd stitch
- Round 5: increase in every 4th stitch
Are you starting to see the pattern? The stitch you increase in is always one less than the round you’re on. Round 6 → every 5th stitch, round 7 → every 6th stitch, forever and ever. That’s the whole rhythm of a flat circle.
How to Count Your Stitches Each Round
Two easy ways to keep yourself on track:
1. The end of the round stitch count
When you finish a round, just multiply: starting number × round number. Count your stitches. If it matches, move on to the next round. If it doesn’t match? Rip back until back down to the last round you ended with the correct number of stitches.
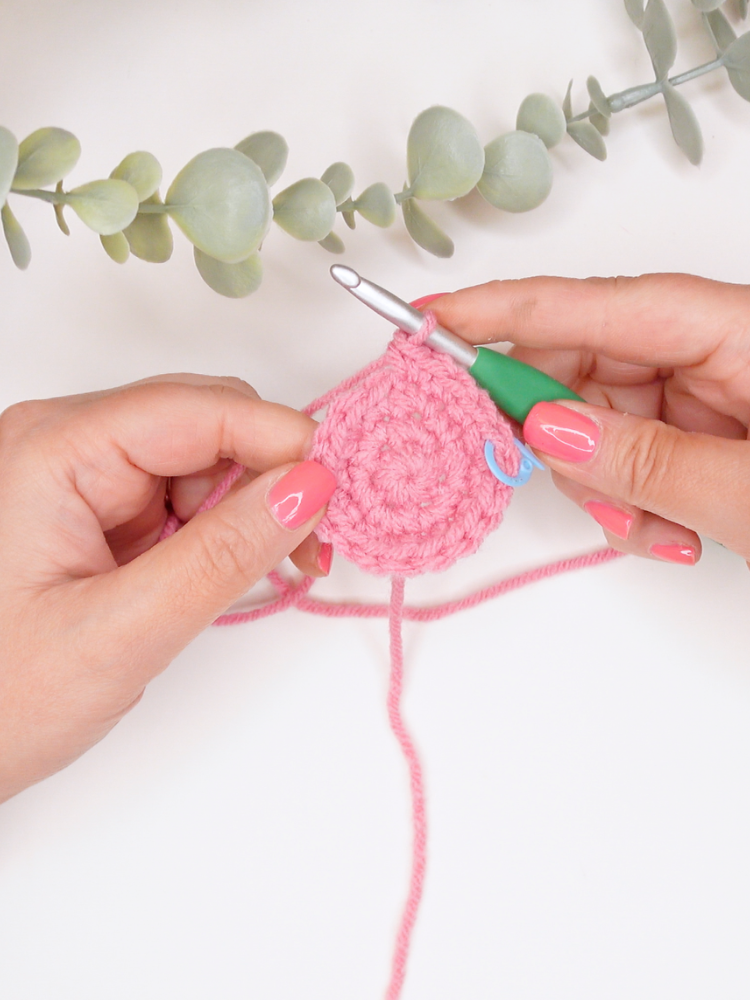
2. Counting in groups as you work (this is what I do!).
As you work a round, you can count in little repeating groups so the increase lands in the same spot for each round. On round 3, for example, you’re increasing in every 2nd stitch. So you work 1 stitch, then 2 in the next, 1 stitch, then 2 in the next, all the way around. Once you find that rhythm, your hands kind of take over and you stop having to think about it.
So I’ll count ONE….TWO & THREE. FOUR….FIVE & SIX. (See, I’m counting in multiples of 3.)
Before You Start (chains + joining)
Two quick things that apply to all three patterns below:
- Starting chain: For the single and half double crochet circles, I start each round with a chain 1 (for sc) or a chain 2 (for hdc), that does NOT count as a stitch. For double crochet, I use a ch 3 that DOES count as a stitch.
- Joining vs. spiraling: For the single crochet and half double crochet circles, I prefer to not join in rounds (this means you’re working in a continuous spiral). For double crochet circles, I prefer to join at the end of my rounds. However, follow whatever your pattern suggests you to do!
All patterns start with a magic ring and use US crochet terms.
Single Crochet Flat Circle Pattern
Starting number: 6
- Round 1: 6 sc in magic ring, join. (6)
- Round 2: 2 sc in each st around, join. (12)
- Round 3: 1 sc, 2 sc in next st — repeat around, join. (18)
- Round 4: 2 sc, 2 sc in next st — repeat around, join. (24)
- Round 5: 3 sc, 2 sc in next st — repeat around, join. (30)
- Round 6: 4 sc, 2 sc in next st — repeat around, join. (36)
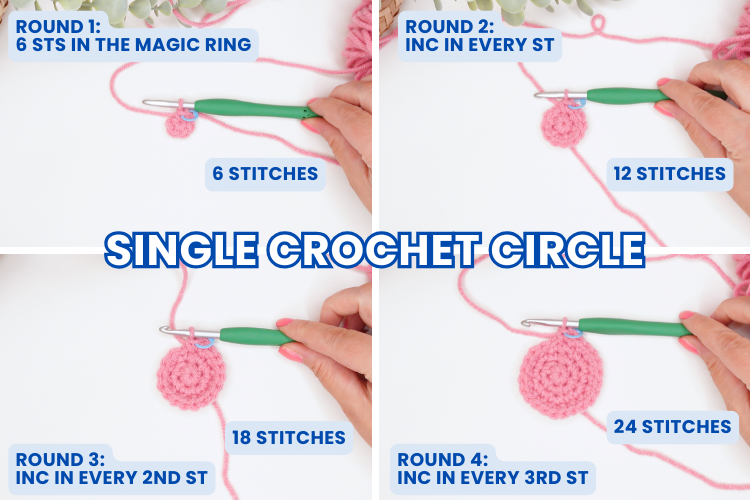
Keep going as long as you like. For each round, work one more sc before each increase. Want to see this in action? Watch the video tutorial!
Half Double Crochet Flat Circle Pattern
Starting number: 8
- Round 1: 8 hdc in magic ring, join. (8)
- Round 2: 2 hdc in each st around, join. (16)
- Round 3: 1 hdc, 2 hdc in next st — repeat around, join. (24)
- Round 4: 2 hdc, 2 hdc in next st — repeat around, join. (32)
- Round 5: 3 hdc, 2 hdc in next st — repeat around, join. (40)
- Round 6: 4 hdc, 2 hdc in next st — repeat around, join. (48)
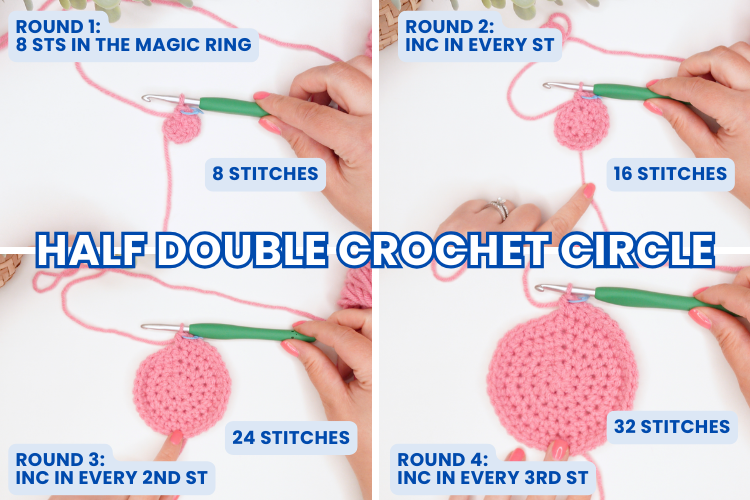
Watch it worked up here:
Double Crochet Flat Circle Pattern
Starting number: 12
- Round 1: 12 dc in magic ring, join. (12)
- Round 2: 2 dc in each st around, join. (24)
- Round 3: 1 dc, 2 dc in next st — repeat around, join. (36)
- Round 4: 2 dc, 2 dc in next st — repeat around, join. (48)
- Round 5: 3 dc, 2 dc in next st — repeat around, join. (60)
- Round 6: 4 dc, 2 dc in next st — repeat around, join. (72)
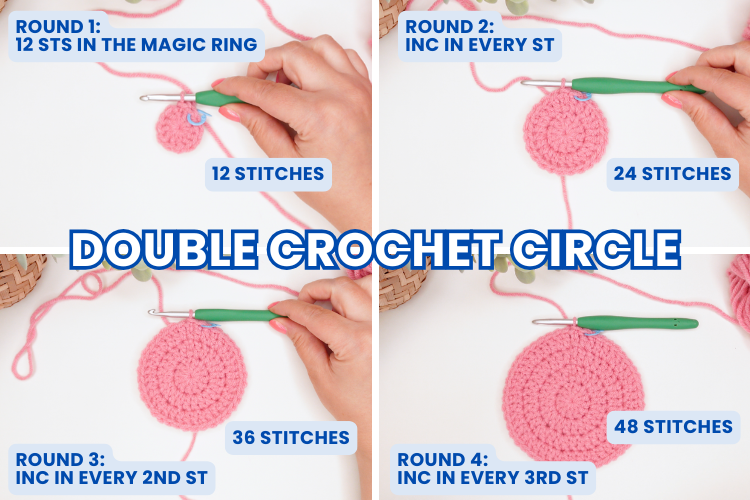
See the full walkthrough here:
Crochet Circle Stitch Count Chart
Here’s the one to bookmark (or pin!). Every round, every stitch, all in one place:
| Round | Single Crochet (start with 6 sts) | Half Double Crochet (start with 8 sts) | Double Crochet (start with 12 sts) |
|---|---|---|---|
| 1 | 6 | 8 | 12 |
| 2 | 12 | 16 | 24 |
| 3 | 18 | 24 | 36 |
| 4 | 24 | 32 | 48 |
| 5 | 30 | 40 | 60 |
| 6 | 36 | 48 | 72 |
| 7 | 42 | 56 | 84 |
| 8 | 48 | 64 | 96 |
| 9 | 54 | 72 | 108 |
| 10 | 60 | 80 | 120 |
As you can see, each column increases by its starting number for each round.
Why the Three Stitches Start With Different Numbers
Each stitch has a different starting number simply because each of the stitch heights are different. The taller the stitch, the more stitches you need to work a small flat circle in the first round. These stitch numbers are not set in stone, you can of course play with these numbers! For instance, if you’re making a half double crochet flat circle, you may prefer to start with 10 half double crochet stitches instead of 8. You’d use the same logic for whatever your starting number is.
Important: This Is for FLAT Circles
One thing I want to be really clear about, because I don’t want anyone getting frustrated: this formula is for circles you want to lie flat.
The increase structure often starts the same way for 3D shapes, like a ball or a hat usually begins with these same increase rounds. But the moment you get into actual shaping (increasing and decreasing in different spots to sculpt a shape), the round number stops matching a tidy stitch count, and the “round × starting number” formula no longer applies. So for amigurumi, hats, baskets, and anything 3D, always follow your specific pattern. This counting shortcut is your go to for flat circles.
Crochet Flat Circle FAQ
How many stitches should be in each round of a crochet circle?
Multiply your starting number by the round you’re on. A single crochet circle starting with 6 will have 6 in round 1, 12 in round 2, 18 in round 3, and so on.
Why won’t my crochet circle lay flat?
It usually comes down to your increases. If it’s cupping or curling, you’re not increasing quite enough; if it’s rippling or waving, you’re increasing too much. Match the stitch counts in the chart above and it’ll flatten right out.
How do I know how many stitches to increase?
You increase by your starting number for each round and you place those increases in every “(round number minus 1)” stitch. For example, in round 4, increase in every 3rd stitch.
Does this work for half double and double crochet too?
Yes! Same exact logic. The only thing that changes is your starting number (sc starts with 6, hdc with 8, dc with 12).
Can I use this for amigurumi or a hat?
The opening increase rounds often look the same, but once shaping begins the formula no longer matches the stitch count, so follow your pattern for any 3 dimensional project. This trick is for flat circles.
Now Go Make Some Circles!
That’s the whole trick! Pick your stitch, start with its magic number, add that same number every round, and check yourself with starting number × round. Your circle will always be flat.
If you want to see each one worked up stitch by stitch, I’ve linked my full single crochet, half double crochet, and double crochet circle tutorials throughout this post, so go follow whichever one you need. And if you make something using this, I would love to see it! Tag me or drop a comment!
Happy crocheting! 💛


Great tutorial! Thank you!!
So glad this was helpful for you!
Hi Brittany,
This tutorial is really helpful. I have been doing crochet for a while, but I would not say I am a confident crocheter. Understanding the ‘formula’ makes everything so much clearer and hopefully I won’t get so ‘lost’! Thank you.
Hi Carole! I’m so glad this tutorial was helpful for you! Happy crocheting!