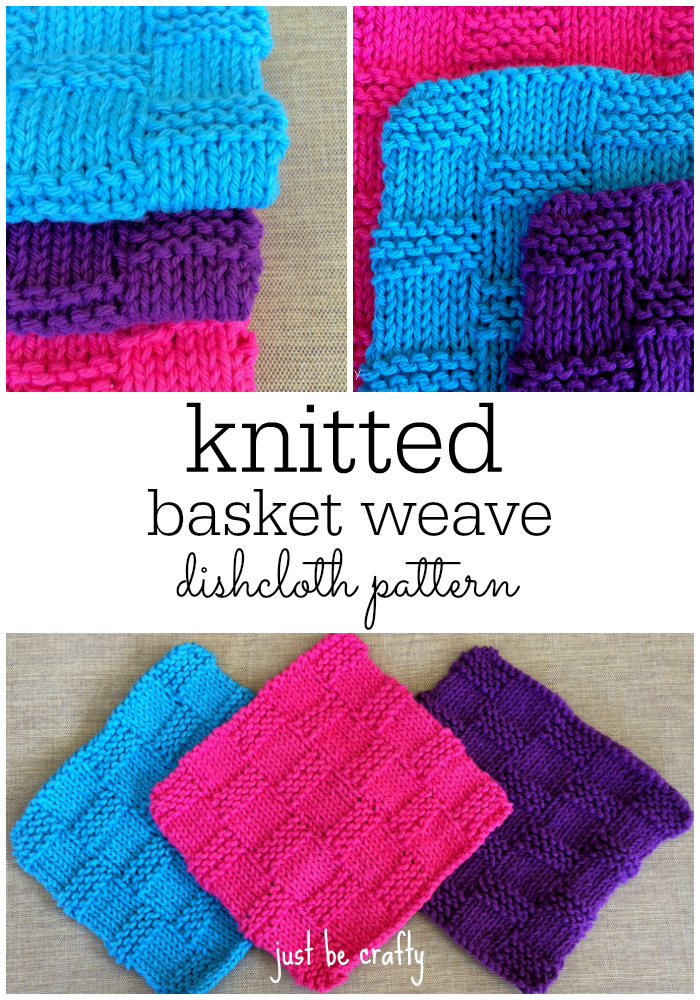
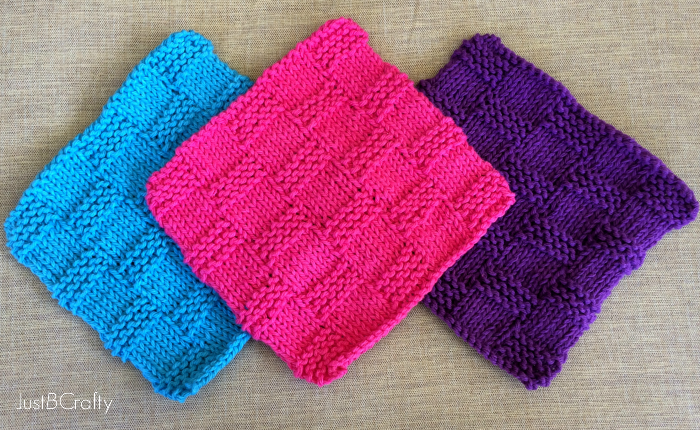
It’s spring! The weather is warming up and trees and flowers are starting to bloom, so we all know what this means….its time to spring clean! I’m typically not ever excited to clean but I thought making some cute bold colored dishcloths would help motivate me to do the job. Will it work… maybe. Only time will tell. I will say though that I do like how they look resting over the kitchen sink. They brighten up the whole space!

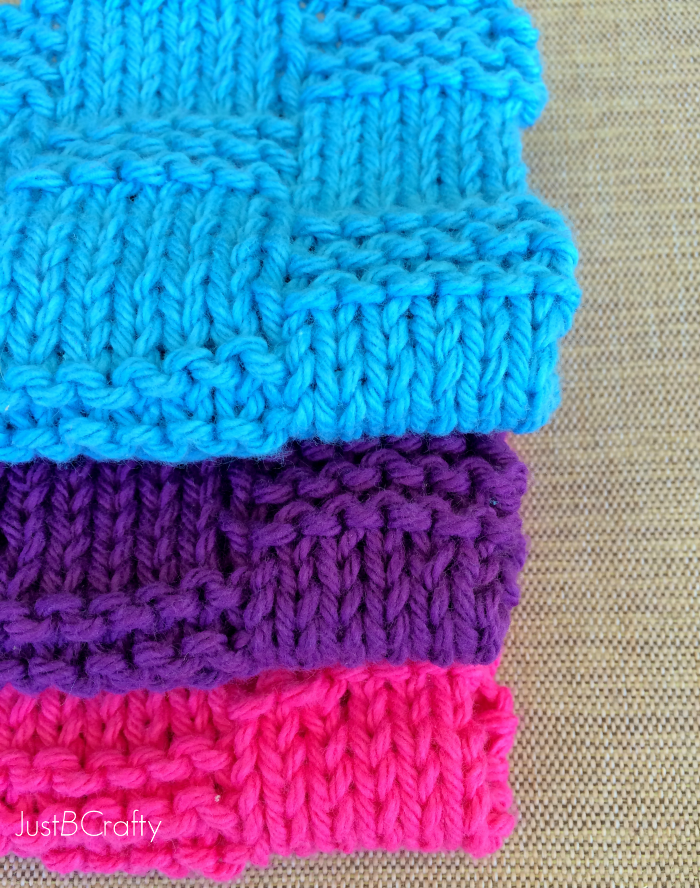
This is a great pattern for the knitter seeking instant gratification as they can be made in just a little over an hour! I really love the basket weave design and think the contrast in stitch will help make for a great scrubbie surface. I do hope you enjoy them as well. 🙂
A printable PDF version of this pattern is available for purchase here.
Basket Weave Dishcloth Pattern
*This post may contain affiliate links. Please see my disclosures page for more information.
All patterns on this blog are for personal use only and may not be redistributed, copied, blogged, or sold as your own. You may sell items made by my patterns as long as the item is made by you personally (not mass produced) and that proper credit is given back to me and my site, Just Be Crafty. You may not use my photos for your online sales listings.
For more information please see my Pattern Permissions Page.
Materials:
- Lily Sugar n’Cream Yarn – worsted weight 100% cotton yarn (pictured in Hot Blue, Hot Pink and Hot Purple)
- US size 8 straight knitting needles
- Scissors
- Yarn needle
Finished Measurement:
- Approximately 7 inches by 7 inches
Key:
- k – knit
- p – purl
Pattern:
Cast on 30 stitches
Row 1: knit
Row 2: * k6, p6; repeat from * to end of row
Row 3: knit
Row 4: * k6, p6; repeat from * to end of row
Row 5: knit
Row 6: * k6, p6; repeat from * to end of row
Row 7: knit
Row 8: * p6, k6; repeat from * to end of row
Row 9: knit
Row 10: * p6, k6; repeat from * to end of row
Row 11: knit
Row 12: * p6, k6; repeat from * to end of row
Row 13: knit
Row 14: * k6, p6; repeat from * to end of row
Row 15: knit
Row 16: * k6, p6; repeat from * to end of row
Row 17: knit
Row 18: * k6, p6; repeat from * to end of row
Row 19: knit
Row 20: * p6, k6; repeat from * to end of row
Row 21: knit
Row 22: * p6, k6; repeat from * to end of row
Row 23: knit
Row 24: * p6, k6; repeat from * to end of row
Row 25: knit
Row 26: * k6, p6; repeat from * to end of row
Row 27: knit
Row 28: * k6, p6; repeat from * to end of row
Row 29: knit
Row 30: * k6, p6; repeat from * to end of row
Row 31: knit
Row 32: * p6, k6; repeat from * to end of row
Row 33: knit
Row 34: * p6, k6; repeat from * to end of row
Row 35: knit
Row 36: * p6, k6; repeat from * to end of row
Row 37: knit
Row 38: * k6, p6; repeat from * to end of row
Row 39: knit
Row 40: * k6, p6; repeat from * to end of row
Row 41: knit
Row 42: * k6, p6; repeat from * to end of row
Row 43: knit
Bind off. Cut yarn and weave in ends.
Enjoy!