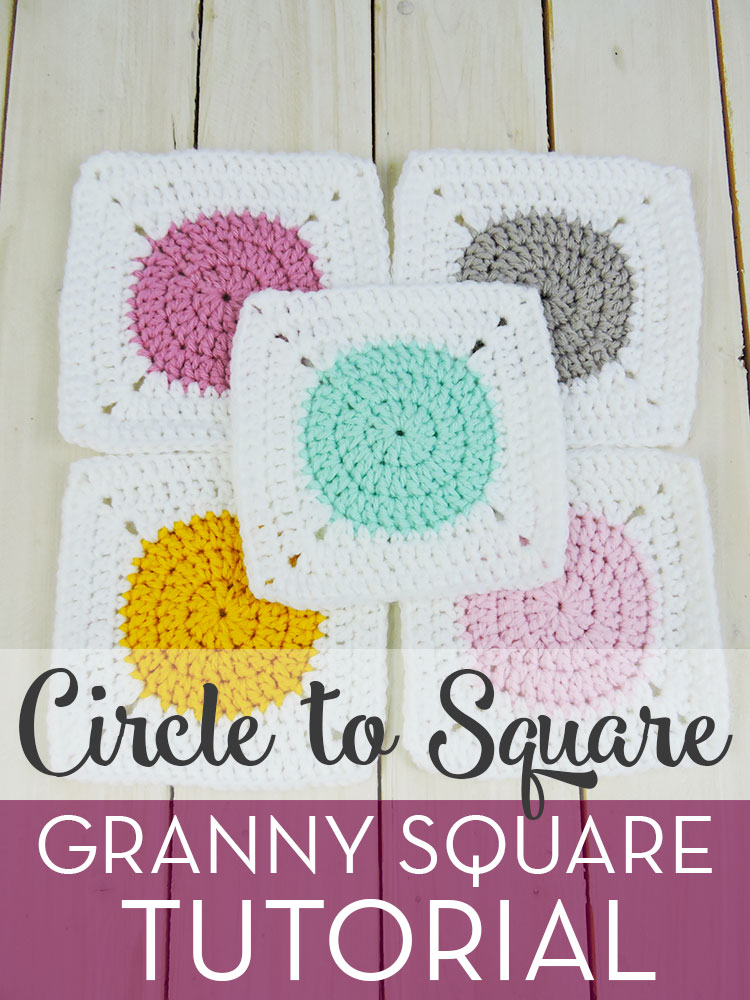
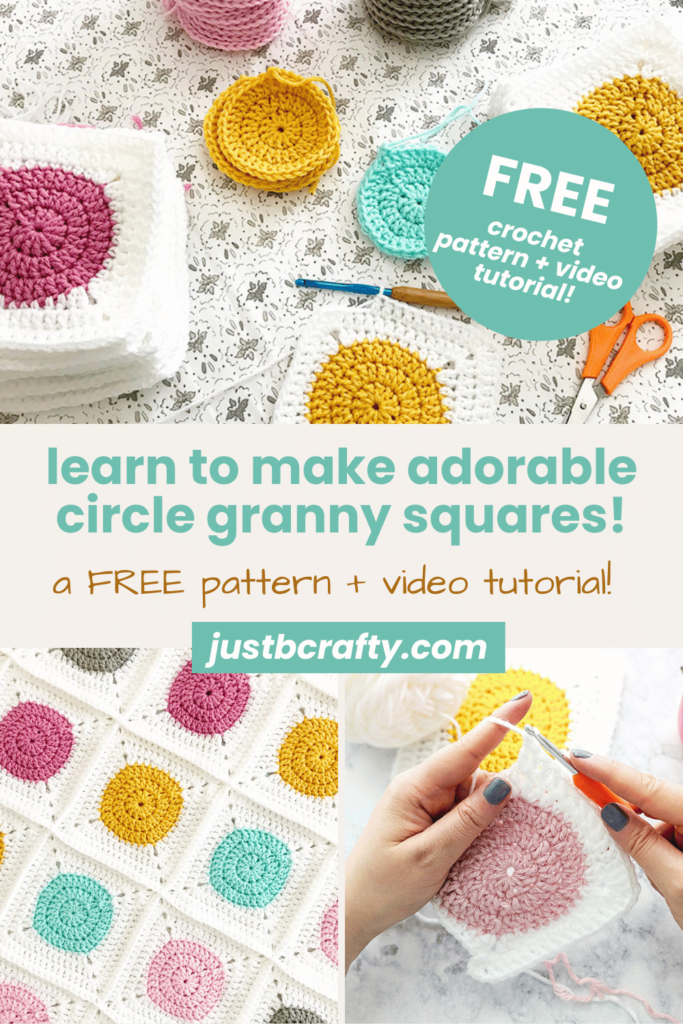
Looking for a modern twist on the classic granny square? This Circle to Square Granny Square pattern starts as a circle and then slowly turns into a square, resulting in a super cute, solid motif that is great for blankets, baby gifts, or just stash-busting in general. Please enjoy this free crochet tutorial, where I show you exactly how to crochet your first square step-by-step with written instructions, a photo tutorial, and a full video tutorial!
I love this granny square because it’s great for both newbies and seasoned crocheters alike. It’s super fun to make and a great way to play with different color combinations too!
Want the full pattern in one place? Purchase the complete ad-free printable pattern PDF here. Or get access to my full pattern library here! 45+ patterns ready to download!
You’ll find everything you need below:
- Written pattern
- Step-by-step photo tutorial
- Video tutorial
- Yarn tips & printable PDF
Love this granny square? Check out the Raspberry Sprinkle Granny Square Pattern (its so cute!)
Circle To Square Granny Square Tips
This square is a little different from the traditional granny square we know and love, as it starts as a circle and gradually becomes a square. It’s super fun to watch it take shape! And because it’s solid with no big gaps, it makes for a warmer and more structured finished project. Back when I was kid, I kinda always had a little beef with crochet afghans because of the huge gaping holes (and the cold air they could let in, lol). Now that I’m a crocheter myself, I love all sorts of crochet blankets. Even the ones with holes! (Now I understand how its part of the art of crochet and a style choice.)
Color combo ideas:
Check out these three color combos I curated to give you some fun inspiration! (Remember the tip I shared above on how to find different palette ideas!)
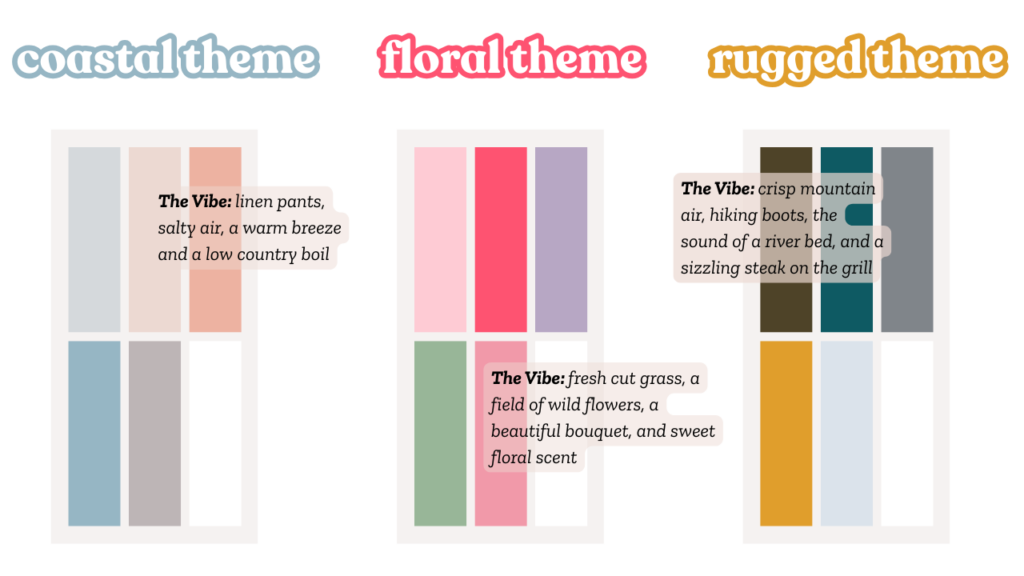
For color planning, I love using a mix of 3–5 yarns in my favorite color combos. I picked these cute pastels because they matched the sprinkles in my blog header. I’m not going to lie, these are probably my favorite colors!
Pro Tip
I can sometimes struggle with color combos, such as what actually looks good together? I love so many different colors but there definitely is a science as to why certain tones and shades look good together and some don’t. One way I usually pick a palette is to think of some sort of “mood” or “vibe” and then Google that and tack on “color palette” after that. For example, I’ll search “beach sunset color palette”. Open a new browser and try it, you’ll find some amazing palettes! (Thank me later, lol!)
Ready to join your squares? Jump to the tutorial where I show you how, step by step!
Love this Project?
Save on Pinterest for later! Either click here or click on the image below to save!
Watch the Video Tutorial
Prefer to follow along with a video tutorial? I’ve made a full video tutorial where you can crochet right along with me, step by step. Click on the play button below to crochet along with me!
Yarn Substitutions
For this project I used JOANN’s exclusive yarn line Big Twist Value. And as I’m sure you already know, JOANN’s is no more and this yarn is unavailable as of the last update of this post. But don’t worry! You can easily substitute with any #4-medium weight yarn (I used 100% acrylic).
Here are some tried-and-true options:
- Red Heart Super Saver – widely available, and very affordable
- WeCrochet Brava Worsted – affordable and comes in so many beautiful colors
- Loops & Threads Impeccable – this one’s a Michael’s exclusive. It’s also affordable and comes in tons of colors
Helpful tip: This pattern is also a great stash buster! Crochet all the center circles with scraps from your stash and then use one cohesive color for all of the square rounds to bring it all together.
Why You’ll Love This Square!
- Beginner-friendly and fast to make
- Looks beautiful in solids or multi-color (see above for color combo ideas!)
- Great for different types of projects like blankets, bags, and scarves
- Easily customized in size or color
Skills Used
This pattern uses just a few simple stitches so it’s really great for all skill levels. If you’re just starting out or need a refresher, here’s a little run down on all the skills you’ll want to brush up on.
- ch (chain) – Yarn over, pull through loop on hook
- dc (double crochet) – Yarn over, insert hook into next stitch, yarn over, and pull up loop (3 loops on hook), yarn over, pull through 2, yarn over, pull through 2
- hdc (half double crochet ) – Yarn over, insert hook, yarn over, pull up a loop and pull through all 3 loops on your hook
- magic ring (watch tutorial here)
- sl st (slip stitch) – Insert hook, yarn over, pull through both loops
- sc (single crochet) – Insert hook into stitch, yarn over and pull up a loop, yarn over and pull through 2 loops
New to crochet? Go through my complete beginner guide (Coming soon!)
Circle to Square Granny Square Pattern
This post contains affiliate links. For more information please see my disclosures page.
- Want the full pattern handy in a large print and ad-free format? Purchase the complete ad-free printable pattern PDF here.
Materials:
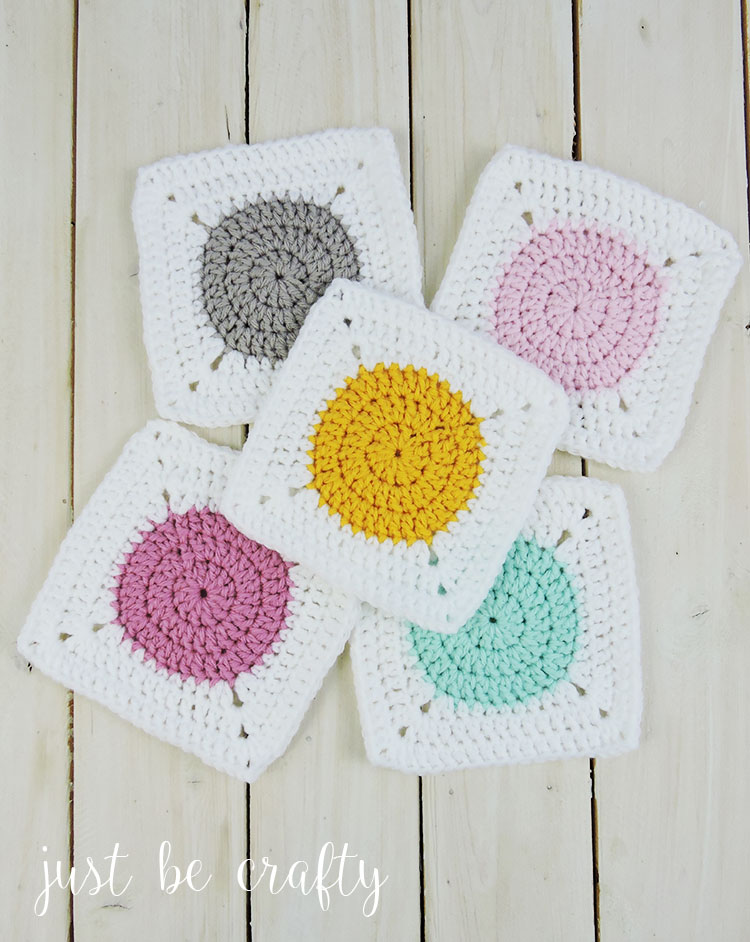
- Big Twist Value Yarn (pictured in White, Gold, Teal, Soft Gray, Blush Pink, and Medium Rose)
- Size 5.0mm crochet hook
- Scissors
- Yarn needle
Want more of my go-to supplies? Grab your FREE Crochet Tools Checklist here!
Finished Measurement:
- Approximately 5.5 ” by 5.5″ square
Abbreviations:
- ch – chain
- dc – double crochet
- hdc – half double crochet
- sc – single crochet
- sl st – slip stitch
- st – stitch
Circle to Square Granny Square Photo Tutorial

Round 1:
In magic ring, ch 3 (counts as 1st dc), and dc 11 (12)
Join with the 3rd chain of the starting chain 3 with a slip stitch.
Round 2:
ch 3 (counts as 1st dc), dc in same stitch as ch 3, 2 dc in each stitch (24)
Join with the 3rd chain of the starting chain 3 with a slip stitch.

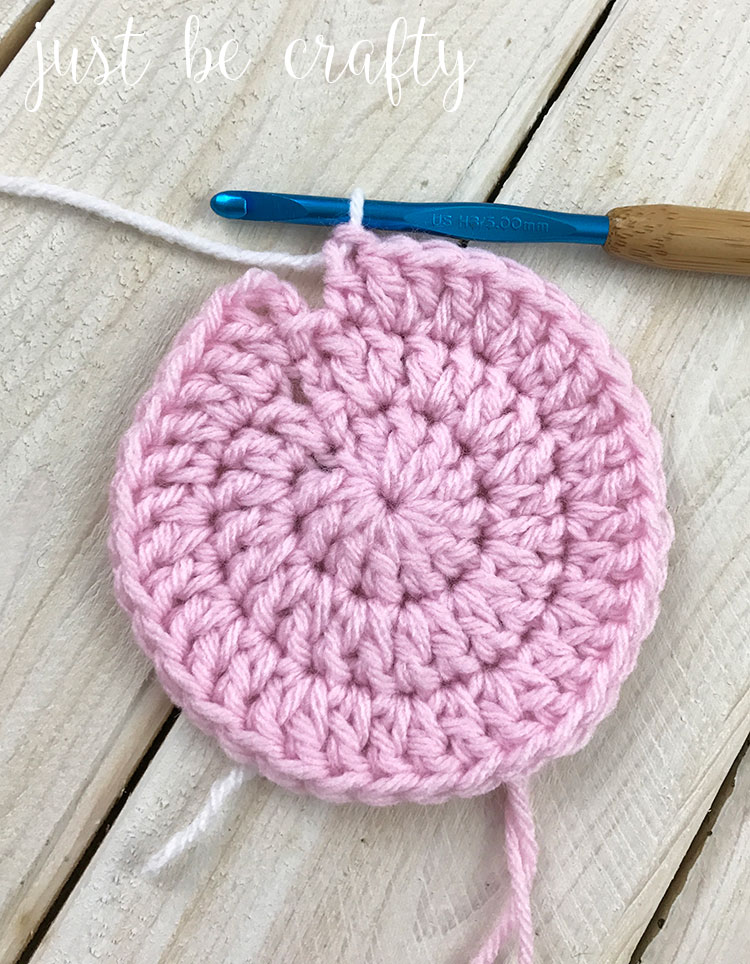
Round 3:
ch 3 (counts as 1st dc), and dc in that same stitch, dc in next stitch, *2 dc in next stitch , 1 dc in next stitch, repeat from * to end (36)
On the last dc of the round, stop before your last yarn over, cut yarn, and yarn over with new color. Join with the 3rd chain of the starting chain 3 with a slip stitch.
Round 4:
ch 3 (counts as 1st dc), dc in that same stitch, ch 1, 2 dc in next stitch, hdc in each of the next 2 stitches, sc in each of the next 3 stitches, hdc in each of the next 2 stitches, *2 dc in next stitch, ch 1, 2 dc in next stitch, hdc in each of the next 2 stitches, sc in each of the next 3 stitches, hdc in each of the next 2 stitches; repeat from * 2 times;
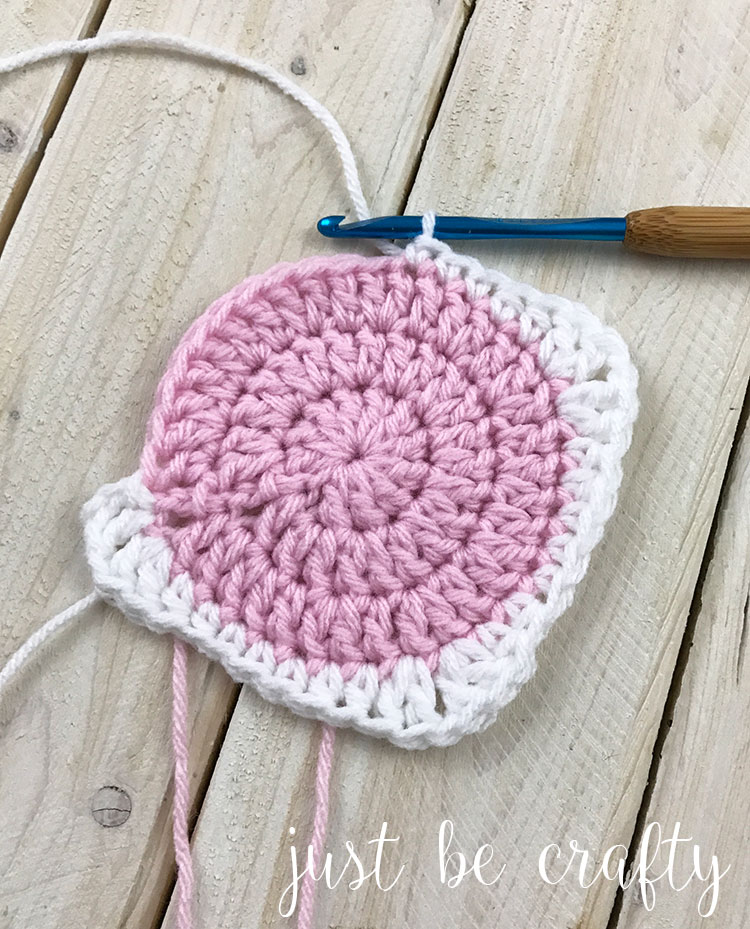

Join with the 3rd chain of the starting chain 3 with a slip stitch, and slip stitch to the next corner ch 1 space.
Round 5:
ch 3 (counts as 1st dc), dc, ch 1, 2 dc in corner space, dc in each stitch until you reach the next corner. See below arrows pointing to where you will put your first dc after making your corner (you may have to move your corner stitches over a little bit so you can see this stitch).
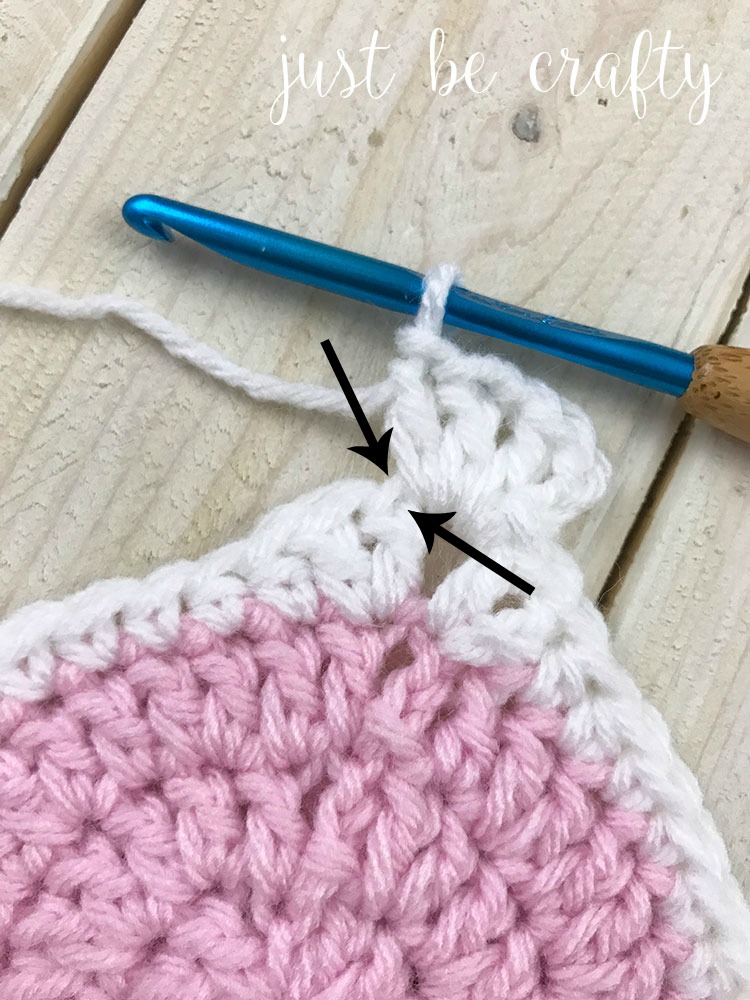

Not counting the corner stitches, you should have crocheted 11 stitches along your straight edge side; 2 dc, ch 1, 2 dc in the corner space. Repeat this process until you reach the end.
Join with the 3rd chain of the starting chain 3 with a slip stitch. Slip stitch into the next corner space.
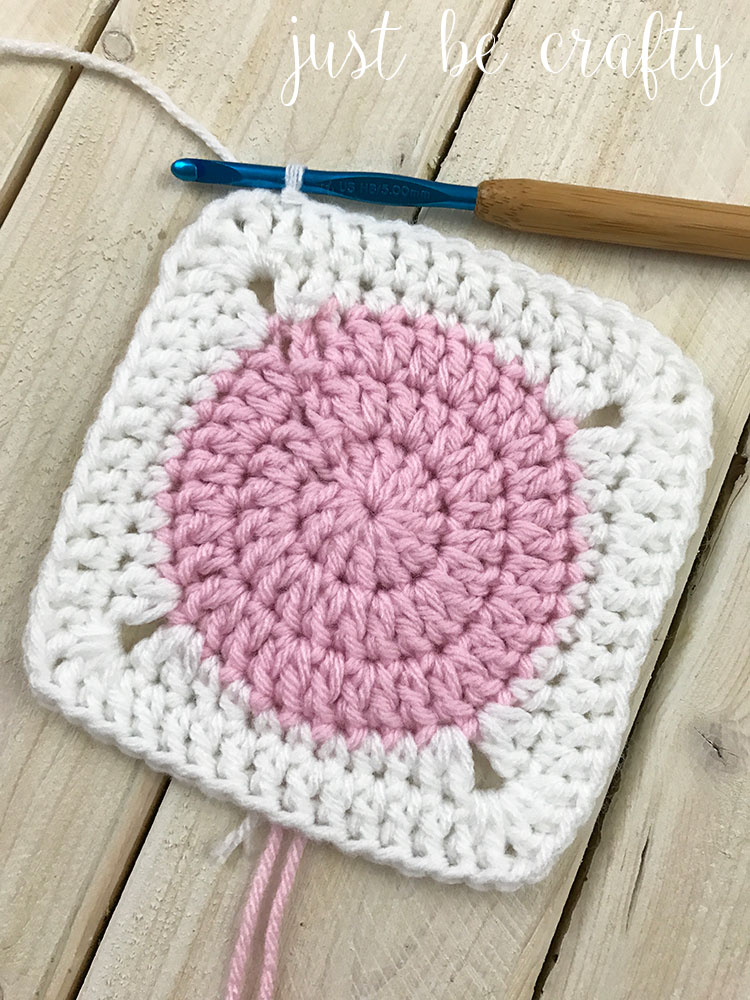

Round 6:
Ch 3 (counts as 1st dc), dc, ch 2, 2dc in corner ch sp, dc in each stitch until you reach the next corner (not counting your corner stitches, you should have just crocheted 15 stitches along your straight edge), 2dc ch 2, 2dc in corner space; repeat this process until you reach the end of the round.
Join with 3rd chain of the starting ch 3 with a slip stitch and slip stitch into the next corner space. Cut yarn and secure.


Make your desired amount for a beautiful blanket!
How to Join the Squares
Once you’ve made a few of these squares, it’s time to turn them into something beautiful!
I recommend using the single crochet joining method with the seam showing on the front. It gives a really beautiful grid look to the blanket making it look more modern.
Learn how to join your squares! Click here to join your squares into a blanket!
You can also slip stitch your squares together depending on the texture you want.
Enjoy!
Love this tutorial?