This farmer’s market bag pattern is perfect for the determined beginner and seasoned crocheter alike! Made with 100% cotton yarn, this bag will be your best friend from spring through fall year after year.

This post contains affiliate links. For more information please see my disclosures page.
Hi there! I’m happy to share a brand new crochet project with you today – The Farmer’s Market Bag Pattern! This pattern has been in my brain for a little while now, but I finally brought it to life by crocheting it up this past weekend.
Want to print this pattern? Grab the ad-free printable version here!
The bag features a square shape, long handles, a solid bottom, and mesh body to allow for LOTS of stretch.
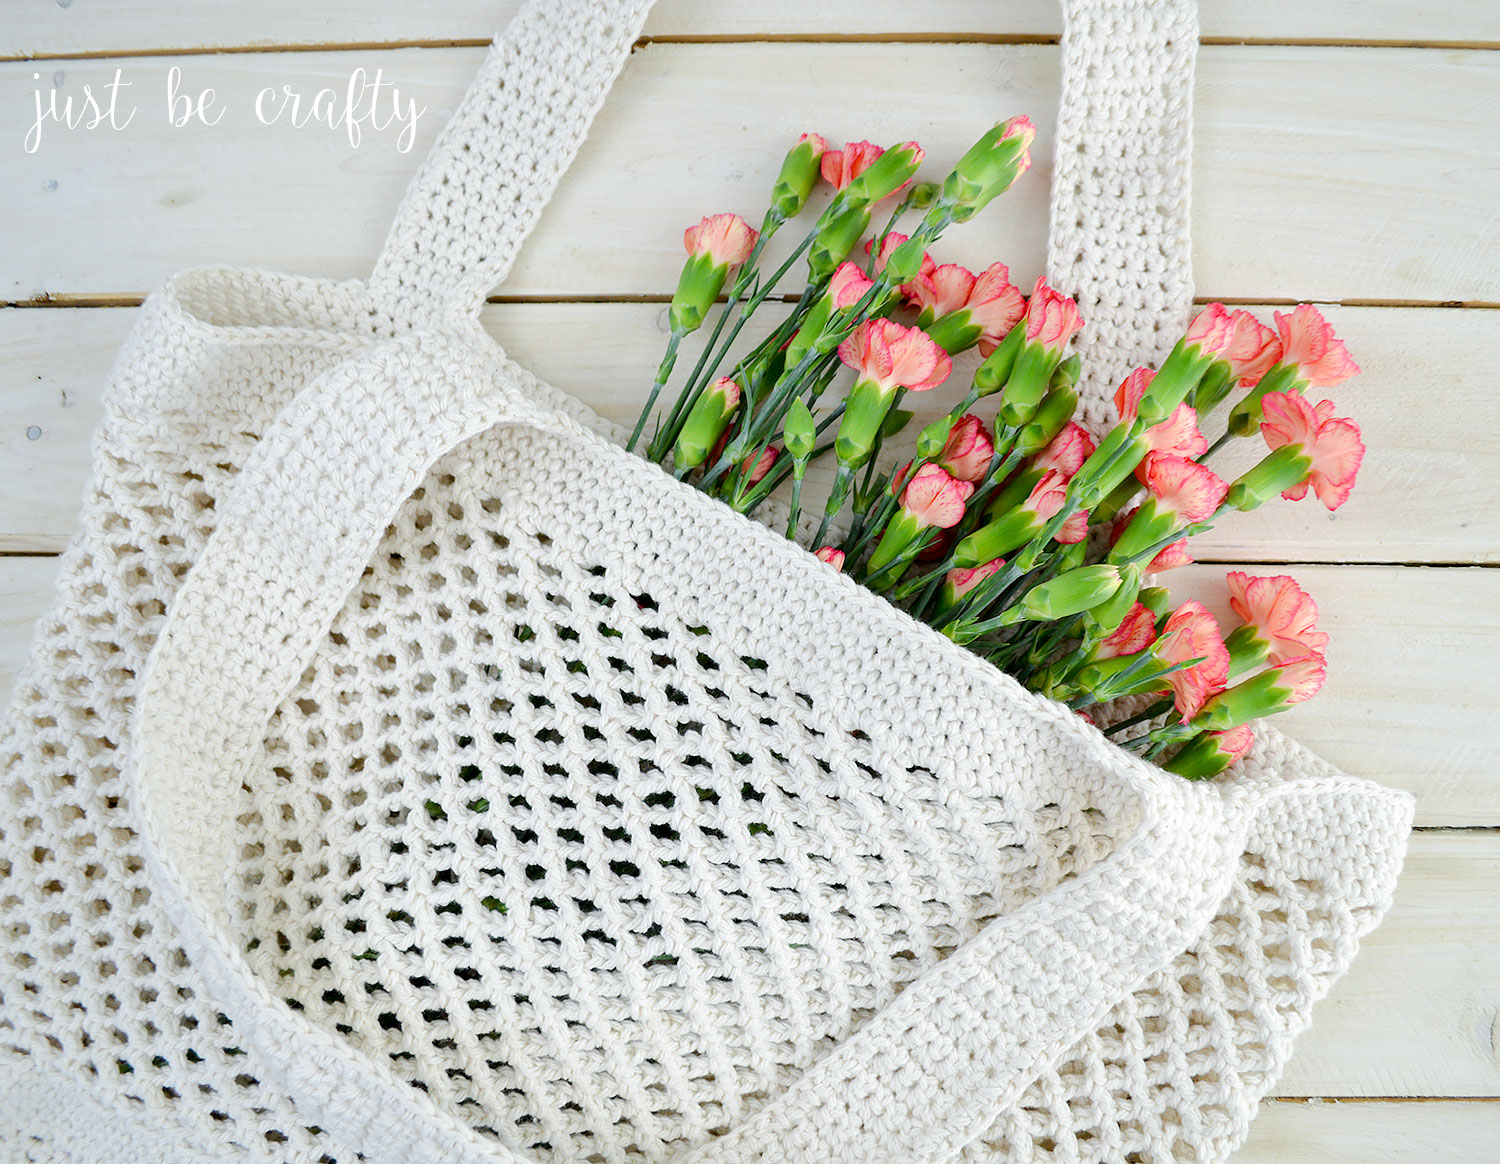
I designed this pattern with summer in mind, just in time for farmer’s markets and trips to the beach. You’ll be amazed with the amount of things that you can fit into this bag!
I hope you enjoy this pattern, and if you do be sure to share pictures of your finished project! Follow along on Instagram (@justbecraftyblog) and use the hashtag #justbecrafty so I can see your creations!
Farmer’s Market Bag Crochet Pattern
Like to crochet offline? Grab the ad-free printable version here!
Materials:
- 5.0 mm crochet hook
- 3 skeins of Lily Sugar n’Cream Yarn in color Ecru (4 oz balls)
- 4 stitch markers
- Scissors
- Yarn needle
Finished Measurement:
- Width: 17.5 inches
- Depth: 12.5 inches
Key:
- ch – chain
- sc – single crochet
- sl st – slip stitch
- st – stitch
- sk – skip
- sp – space
- “right side” – outer side of the bag (pretty side of the bag, front of work)
- “wrong side” – inner portion of the bag (inside the bag, or back of work)
Pattern
Bottom of the bag
Ch 17
Row 1: Starting in 2nd ch from hook, sc and sc in each chain across row, turn (16)
Row 2: ch 1 (ch 1 does not count as a st), sc in each stitch across row, turn (16)
Rows 3 – 56: Repeat Row 2
Body of the bag
*You will now be working in rounds. In order to keep track of your rounds, place a stitch marker in the last stitch of the round.
Round 1: ch 1, starting in same st as the ch 1 make a sc, and sc around the rectangle, making 2 sc in each corner.
**You should have 144 stitches total (56 stitches along long sides and 16 stitches along short sides.)
**NOTE: For the 2 stitches in each corner – one stitch will count towards the short side of 16 stitches, and one stitch will count towards the long side of 56 stitches.**
Join with the first sc of the round using a slip stitch.
Round 2: ch 1, starting in same st as the ch 1 make a sc, and sc around to the end, join with the first sc of round using a sl st.
Rounds 3 – 5: Repeat Round 2
Round 6: ch 1, sc in same st as the ch 1, *ch 2, sk next 2 st, sc in next st, repeat from * until you reach the last 2 unworked stitches of the round (ending with a sc), ch 2 and sl st into the 1st st of the round, sl st into the next ch 2 space. Move the stitch marker to the last ch 2 sp of the round.
You should have 48 ch 2 spaces total.
Round 7: ch 3, sc in next ch space, * ch 3, sc in next ch space, repeat from * to the end. Your last sc will go into the 1st ch space of the round. Keep replacing stitch marker into the last ch space of the round to keep your place.
Rounds 8 – 35: Repeat Round 7, 28 times or until the mesh portion measures about 8.5″.
Round 36: (The last st of round 35 counts as 1st st of round 36) sc in same ch space as 1st st, sc in next sc, *2 sc in next ch sp, sc; repeat from * to end, ending with 2 sc’s. Join with the 1st st of round with a sl st.
Round 37: Ch 1 (starting in same st as the ch 1) sc, and sc in each st to the end of round, join with the 1st st of the round with a sl st.
Repeat Round 37, 4 times.
Cut yarn, and secure.
Making the handles
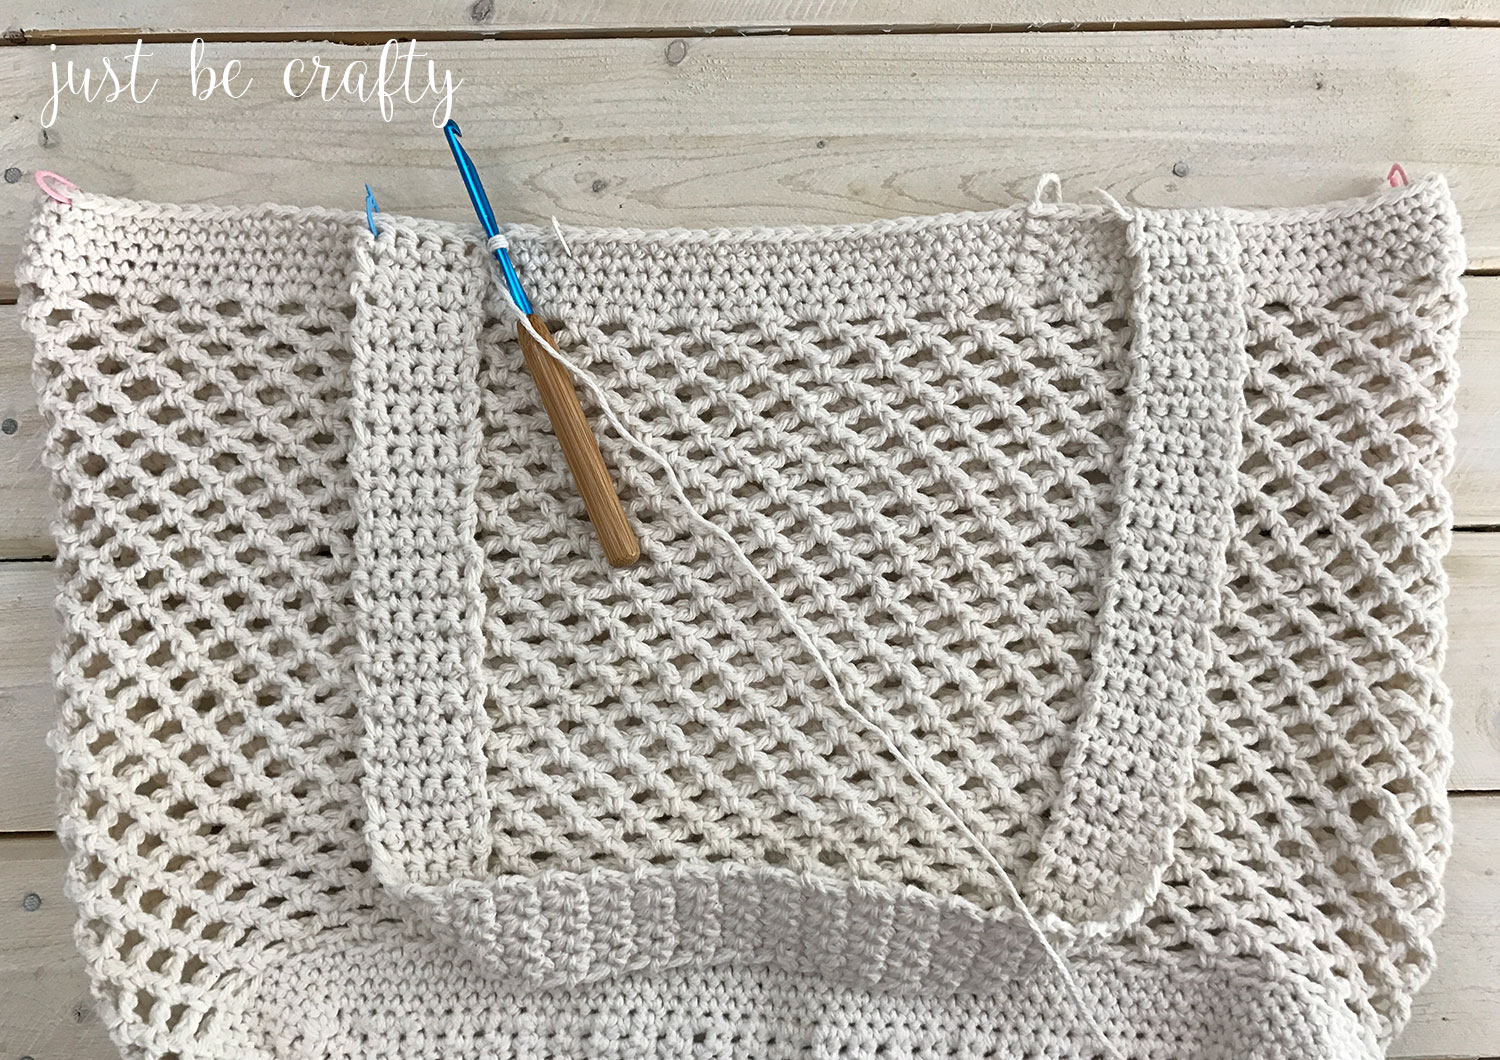
Lay the bag flat in front of you, with the sides together and the “right side” facing out. Make sure the bag opening is flat and the stitches are lined up as evenly as possible. Place one stitch marker on farthest left and right sides of the opening of the bag.
Working on the side facing you, count 15 stitches in from your left stitch marker. Mark this stitch with another stitch marker. Repeat this on the right most side as well. You have just marked your handle guides. See below photo for reference.

Row 1: Starting at the right most handle guide, attach yarn, ch 1 (starting in same stitch as the ch 1) sc, and sc in next 4 st, turn (5)
Row 2: ch 1 (starting in same stitch as ch 1), sc and sc in next 4 st, turn (5)
Repeat Row 2 until your handle measures approximately 26″, ending after completing a “right side”.

Using below photo as a guide, line up the last handle stitch with the left most handle guide, and attach stitch marker to that last handle stitch. Make sure your five handle stitches are lined up with the bag opening stitches and sl st the handle to the bag.

Cut yarn, and secure.
Repeat the above process on the other side for the second handle.
Bag Edging – Outer Handle Portion
Starting on the outer edge of the of the bag and on the right most side of a handle, insert your hook in the stitch where the handle meets the bag’s top edge.
Ch 1, and starting in same stitch as the ch 1, sc, make 1 sc in each row of the handle and in each stitch along the opening of the bag until you reach the other handle and continue to sc until you reach back around to where you started, and join with the 1st st of the round using a sl st. Cut yarn and secure.
Bag Edging – Inner Handle Portion
Repeat this process on the inner handle and edge of the bag (under the handles). Cut yarn and secure.
Weave in all ends and enjoy!

Love this pattern?