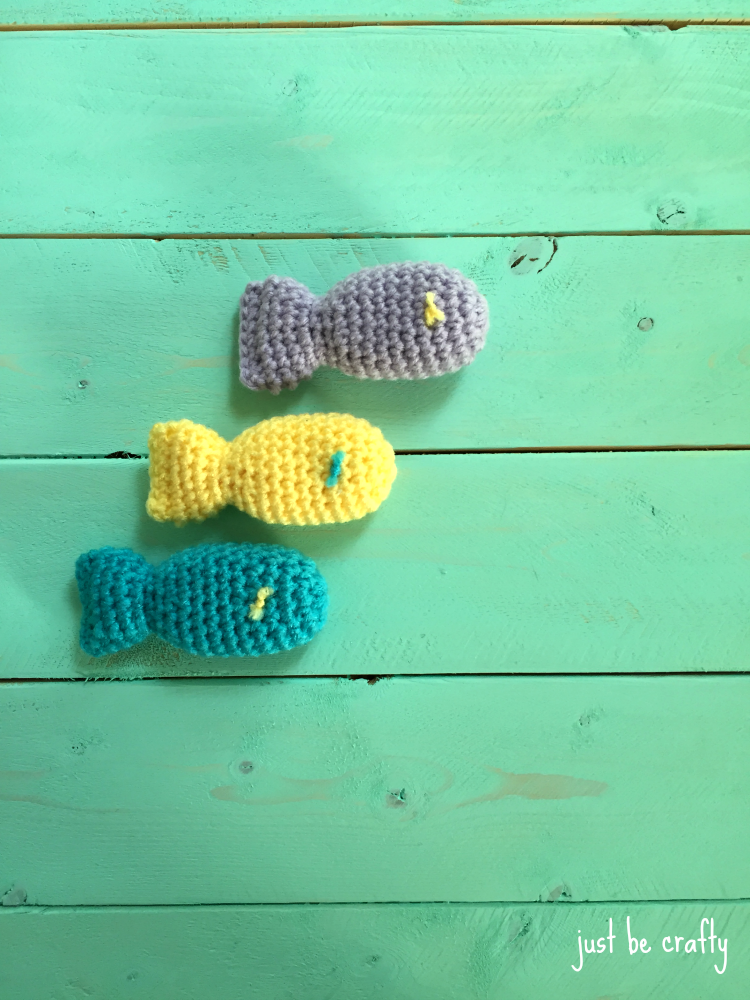
 Hello there friends!! I have a new and easy crochet pattern to share today, a crochet fish cat toy! I whipped up a few in a couple different colors and my cats love them! To take them from plain crochet fish to cat toy, just add a few pinches of catnip when stuffing with fiberfill.
Another idea to make them even more fun for your kitties would be to get some string and tie one end to the fish mouth and the other end to a small wooden rod to look like a fishing poll. I have not tried that yet, but I know my cats would LOVE that!
Below is the pattern to make your own crochet fish cat toy!
A printable PDF version of this pattern is available for purchase here.
Crochet Fish Cat Toy Pattern
Materials:
- Size 4.0 mm crochet hook
- 1 skein of Red Heart Yarn in your favorite color; Pictured in Light Lavender, Parakeet, and Yellow (or any worsted weight acrylic yarn)
- fiberfill – catnip – scissors – yarn needle
Key:
- Ch – chain
- Sc – single crochet
- Inc – increase by making two sc in the same stitch
- Dec – decrease by making 1 sc over two stitches
Note:
Begin each round with a chain 1, and start the first stitch of the round in the same stitch as the chain 1. When ending the round, join using slip stitch with the 1st stitch of the round and NOT the chain 1.
Pattern:
Round 1: 8 sc in magic ring.
Round 2: *inc, sc; repeat from * to end (12)
Round 3: repeat round 2. (18)
Round 4: sc to end
Rounds 5 – 10: repeat round 4
Round 11: *sc, dec; repeat from * to end (12) Begin to fill with fiberfill and catnip.
Round 12: sc to end
Round 13: repeat round 11 (8)
Round 14: inc in each stitch (16)
Rounds 15 – 17: sc to end Fill the tail with fiberfill and catnip. Do not overstuff.
Lay fish flat on its side, and use your hands to shape the fish so that it lays flat on it’s side without being twisted.
Line up the edges of the open tail, chain 1 and sc the two tail edges together to seam the tail closed.
**If you do you do not want to sc the tail closed, you may also us a yarn needle to stitch the tail seam closed as well. It’s up to you, both methods will look lovely!**
Cut yarn and weave in any ends.
Eye Placement:
With a scrap piece of yarn in a contrasting color, thread your yarn needle and insert into fish where you would like the eye to be placed.
Push needle through and out the other side of the fish.
Insert needle back into the fish in a stitch next to the one you just came out of and back through to the side where you began.
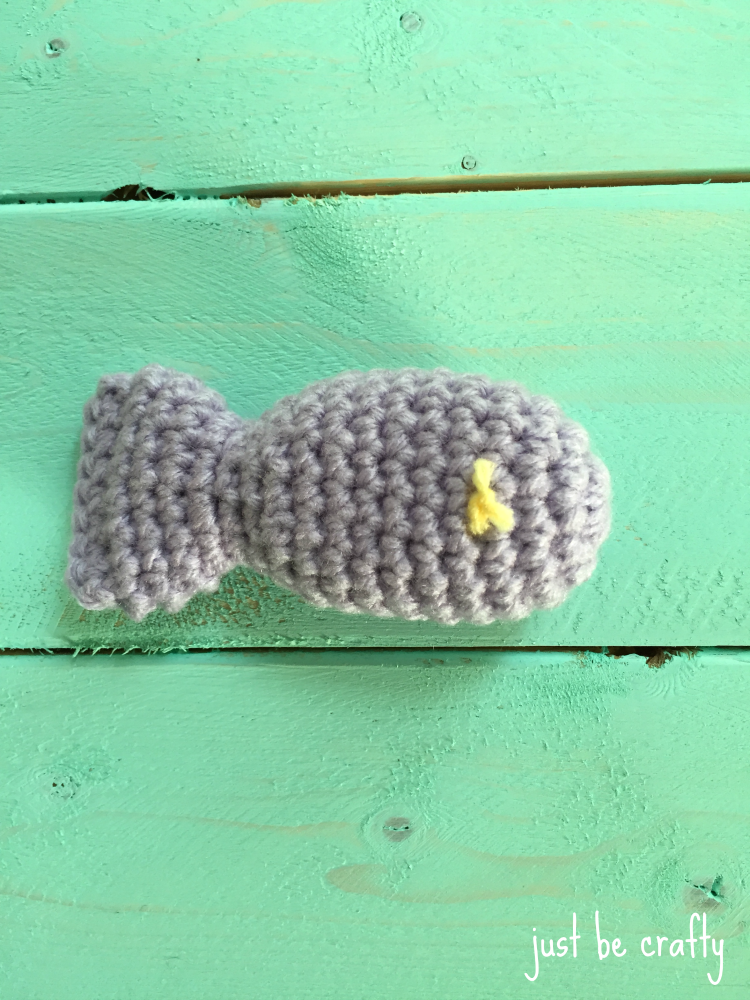
Tie the two yarn ends with a knot, and cut short. See picture below for reference.
Whip up a few more in your favorite colors, and your kitty will love your forever!
*DISCLAIMER: Your kitties should always be supervised when playing with these little catnip fishies!!*

