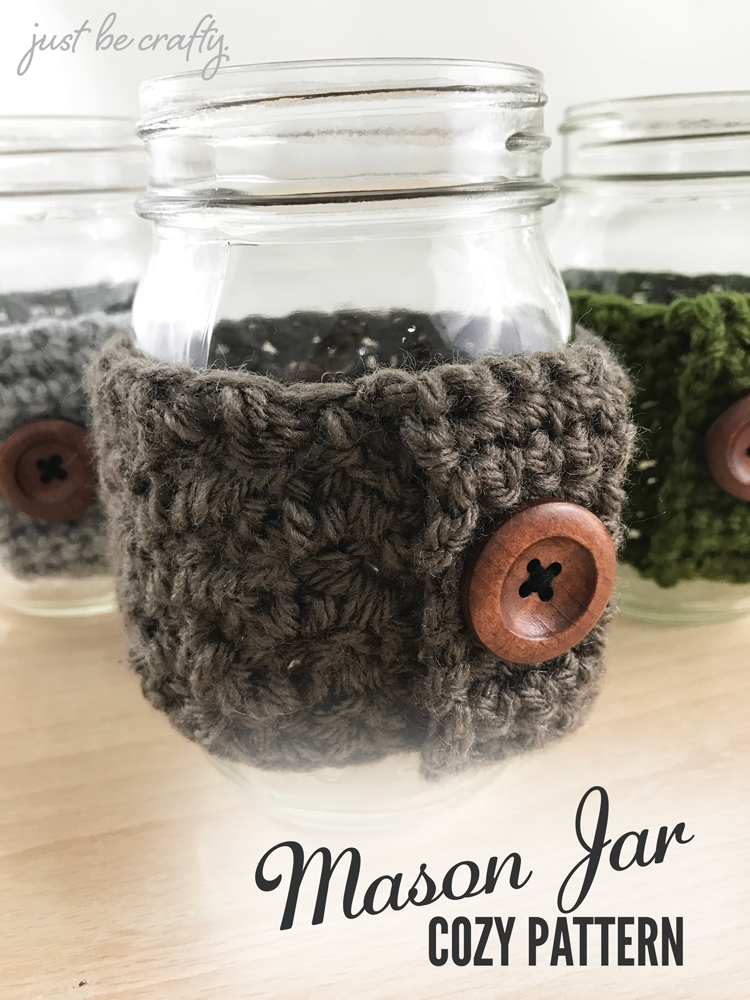
Hello, hello! I have a brand spanking new pattern to share with you today, the Mason Jar Cozy Pattern! My husband has actually been requesting these for a while now and I finally sat down and put a few together.
Because I so frequently leave my travel mug at work, Trisden came up with the great idea to transport coffee in our mason jars. This is a great idea as they’re the perfect size and have a lid but it’s hot as heck to carry around!
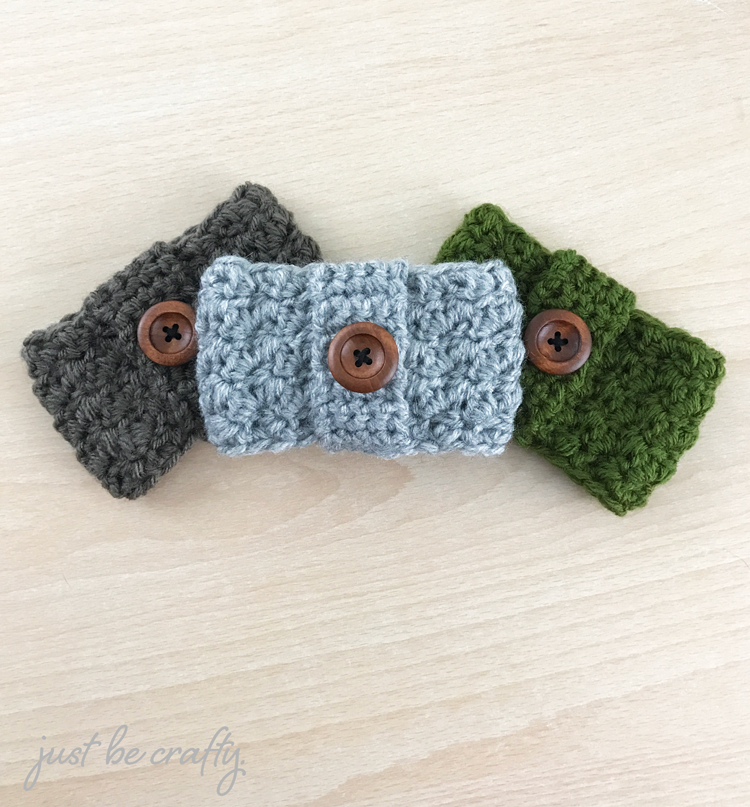
With this in mind, Trisden had the brilliant idea for me to whip up cozies and thus these little cuties were formed! See the pattern below to make your own, and transform a regular old mason jar into a beautiful hot beverage mug!
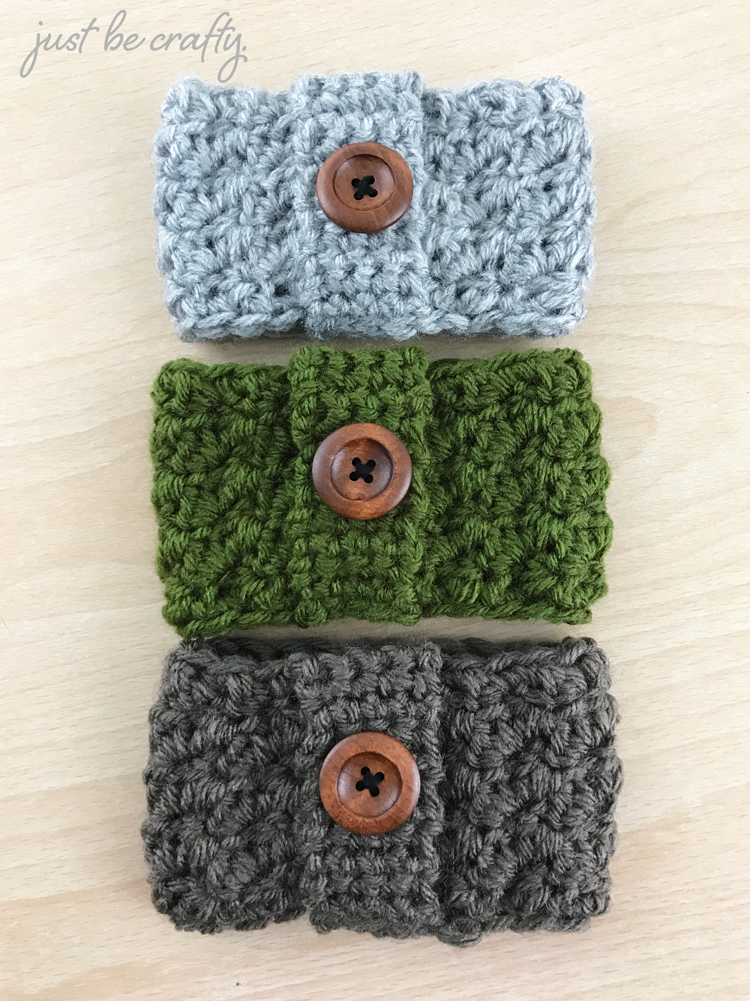
A printable PDF of this pattern can be purchased here.
Crochet Mason Jar Cozy Pattern
Pattern designed to fit a 16oz mason jar (10.5 inches around)
Materials:
- 1 skein Lion Brand Vanna’s Choice (pictured in Silver Heather, Kelly Green, Silver Grey)
- 6.0 mm hook
- 25 mm Wooden Button
- Embroidery floss in coordinating color (pictured in black)
- Sewing needle
- Yarn needle
- Scissors
Finished Measurement:
- 4.5 inches x 2.5 inches
Key:
- ch – chain
- dc – double crochet
- sc – single crochet
- sl st – slip stitch
**Special Note**
This cozy is designed to fit the standard Ball Mason Jar. To ensure your cozy fits your jar, I recommend frequently wrapping your piece around the jar to make sure it is not too big. You may end up needing to to take away a couple rows or adding a couple rows to get the right fit.
Making the body
Ch 9
Row 1: In 2nd ch from hook, make a sc, and dc in next ch; keep alternating sc and dc in each ch until you reach the end of the row; ch1 and turn.
Row 2: skip the 1st stitch, sc AND dc in next stitch, *skip a stitch, sc AND dc in next stitch; repeat from * to the end of the row; ch 1 and turn.
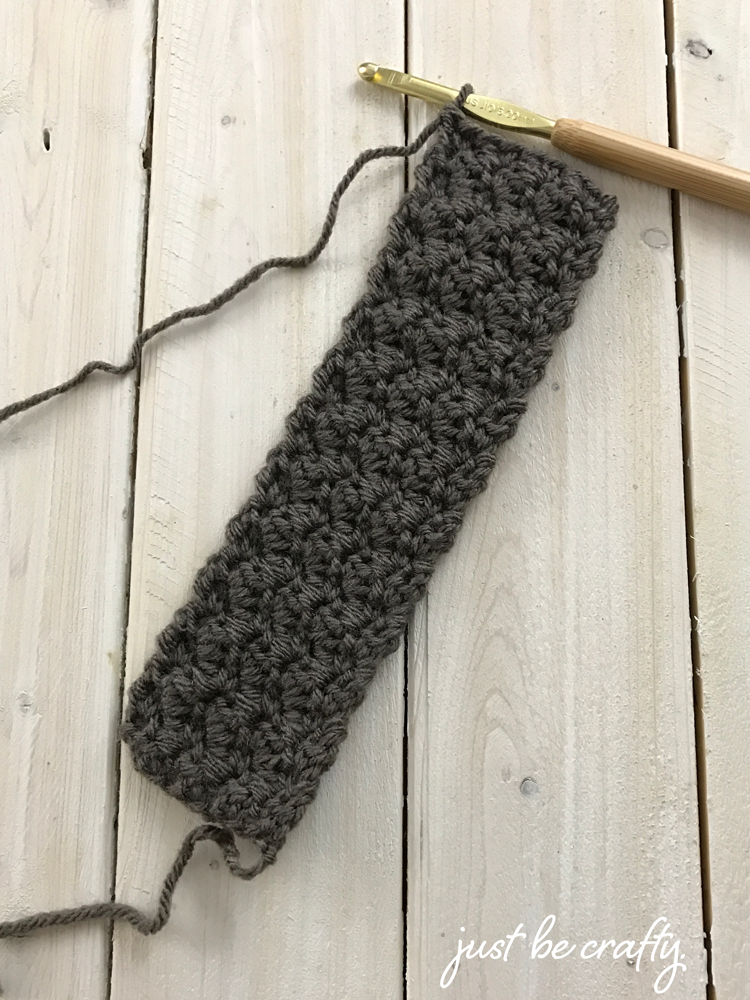
Rows 3 – 24: repeat row 2
Below is what your piece will look like at the end of row 24.
Creating the top and bottom edge
Ch 1, sc in each row along the side of work. See below to get you started.
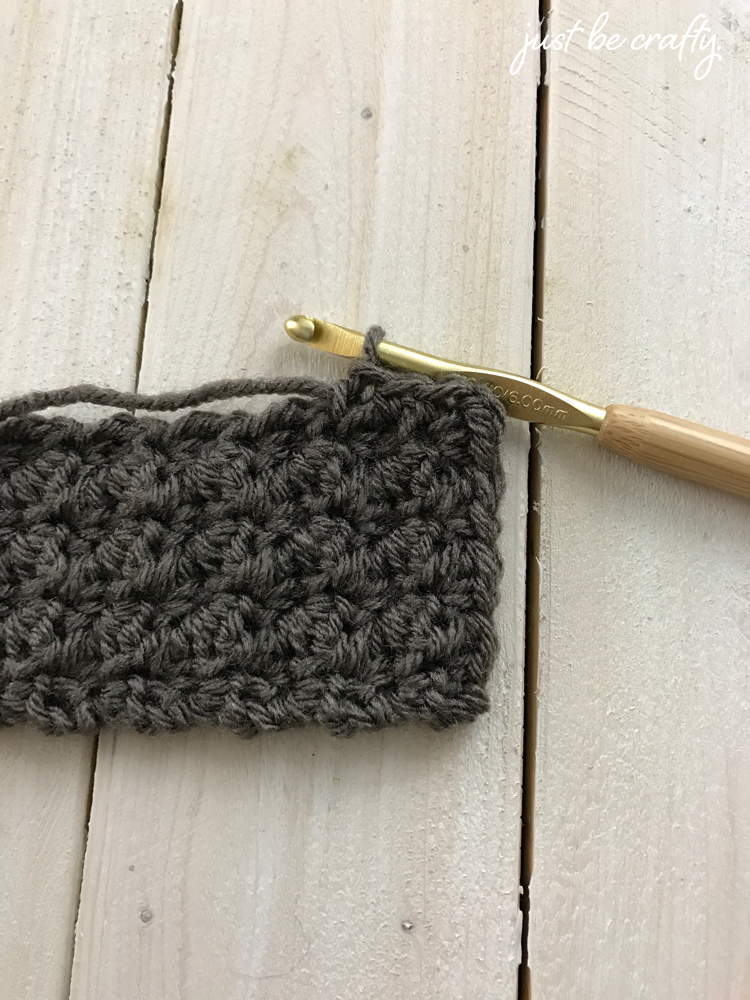
You should end up with 24 (or about 24) sc’s along the side. Below is what your piece should look like after single crocheting along the side of the work, creating the bottom edge. You should now be at the “starting end” (aka row 1) of the work.
**Note – the amount of sc’s you pick up along the side will depend on how many rows you ended up with. If you made 22 rows, then you should have about 22 sc’s picked up along the side.**
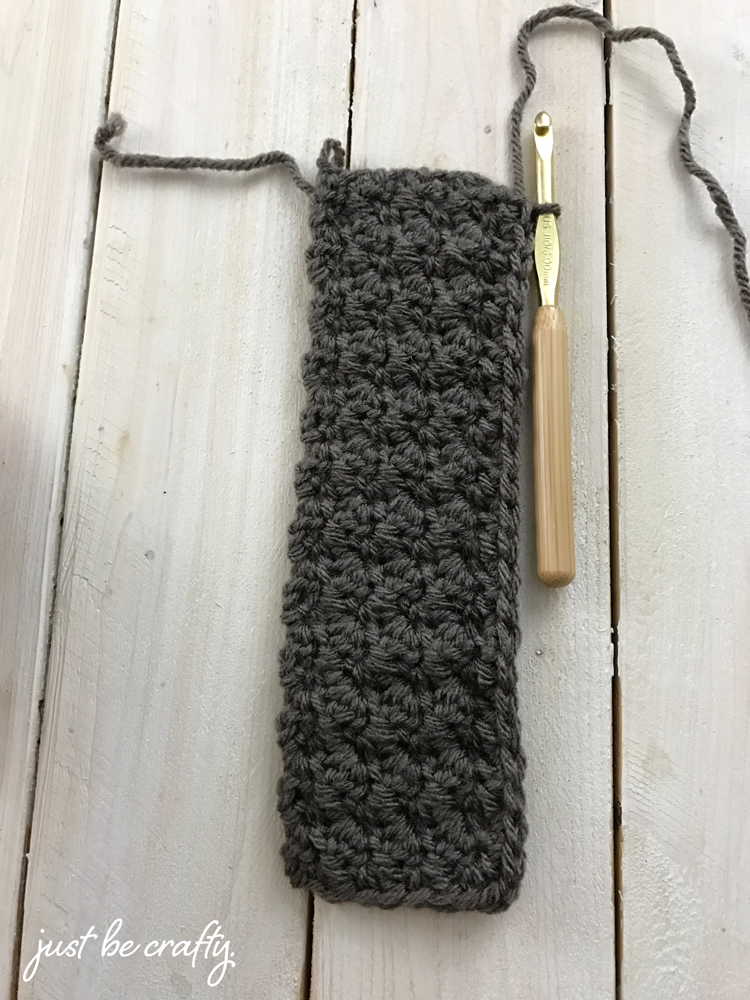
Fold your your piece in half by taking the “finishing end” (aka your last row worked) and laying it on the “starting end” as demonstrated below.
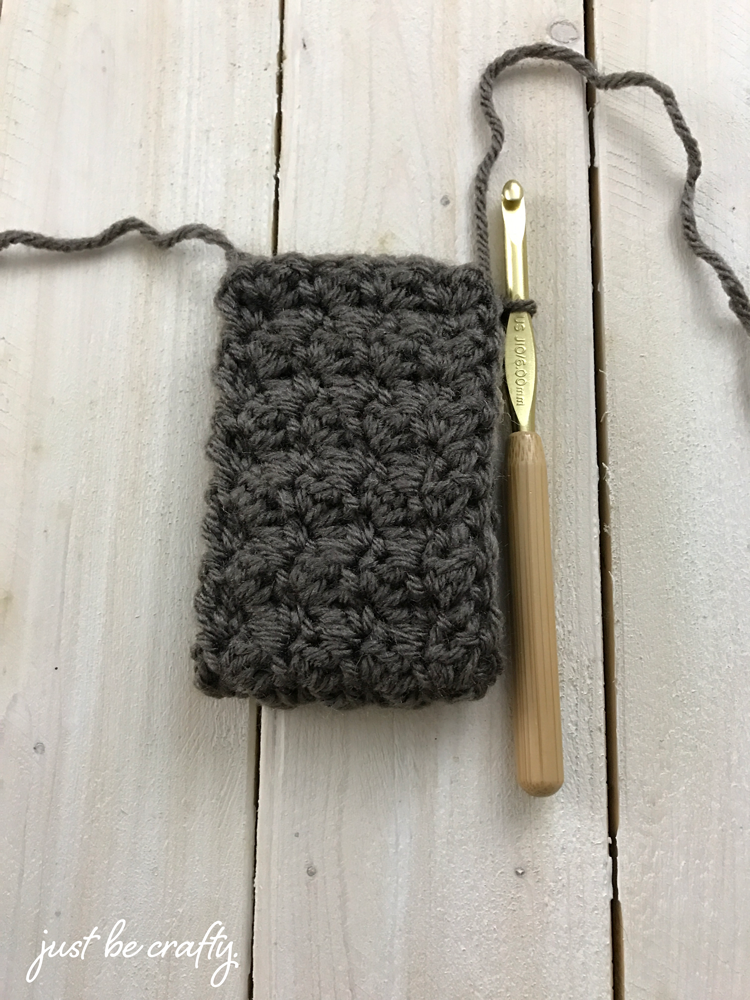
Line up the stitches. Take your crochet hook and slip stitch the two ends together to form the closed, round cozy. DO NOT CUT YARN YET! 🙂
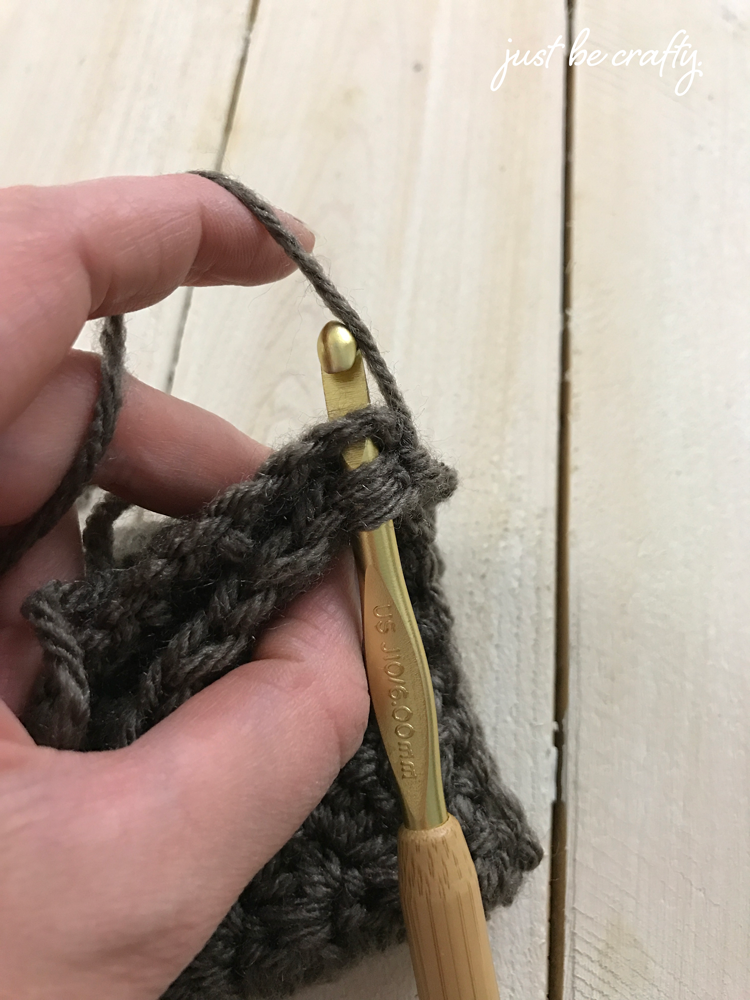
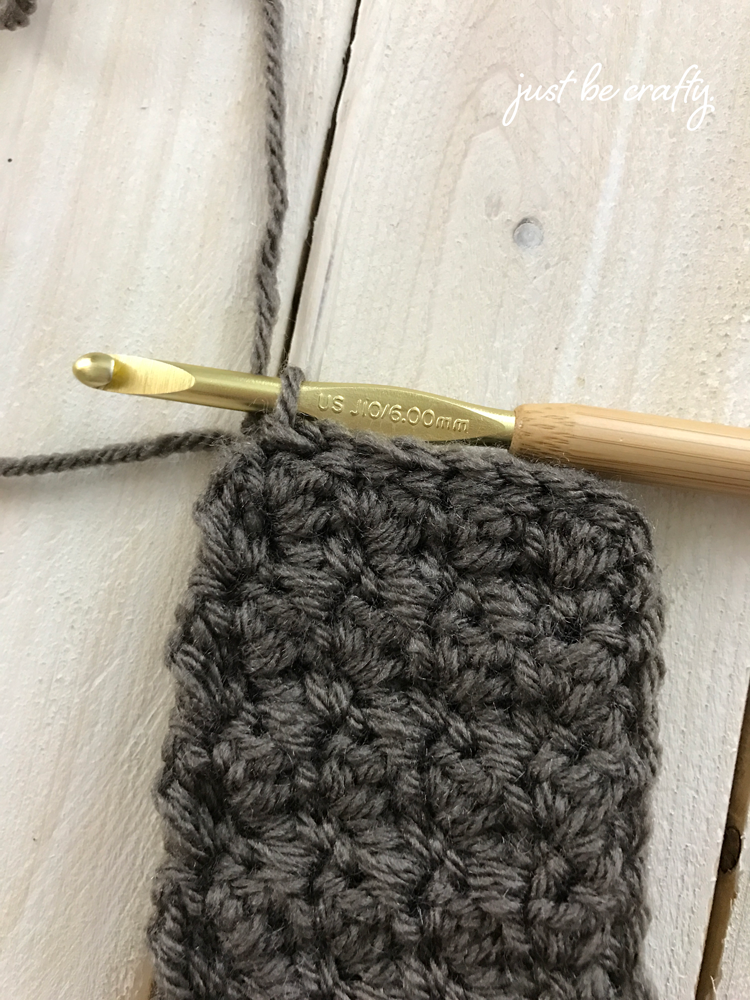
This will be the inside of your cozy.
Turn your cozy right side out (so that the seam you just slip stitched is on the inside of the cozy).
Ch1, sc in each row along the edge of cozy to form the top edge of the cozy.
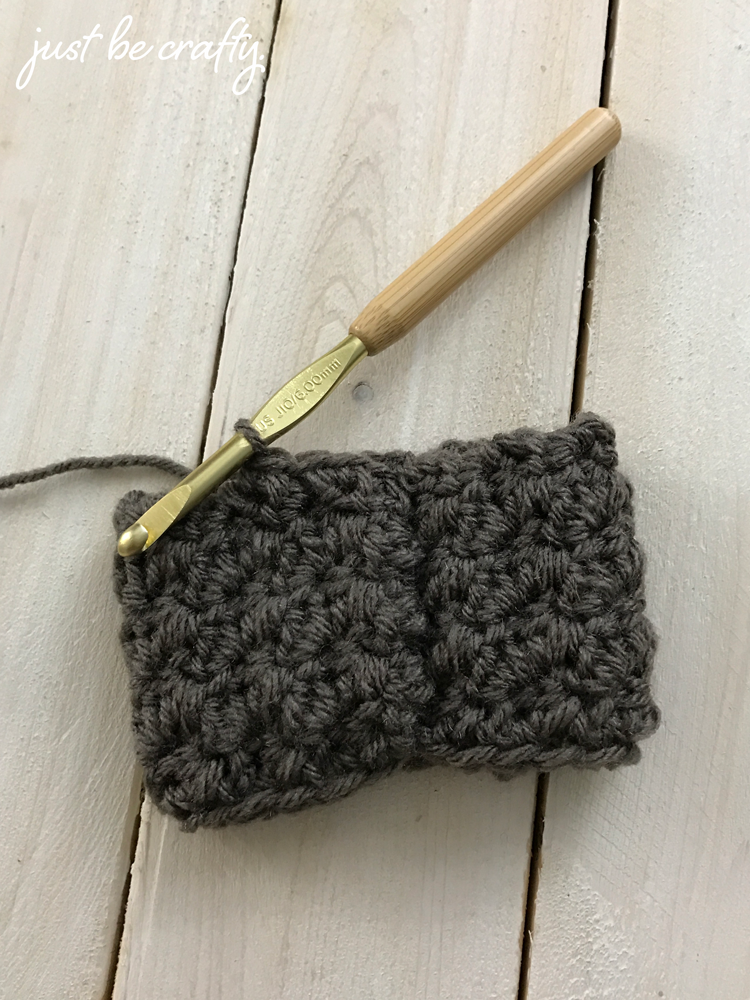
You should have about 24 single crochets at the end of the round. (This number should be the same as your bottom edge.)
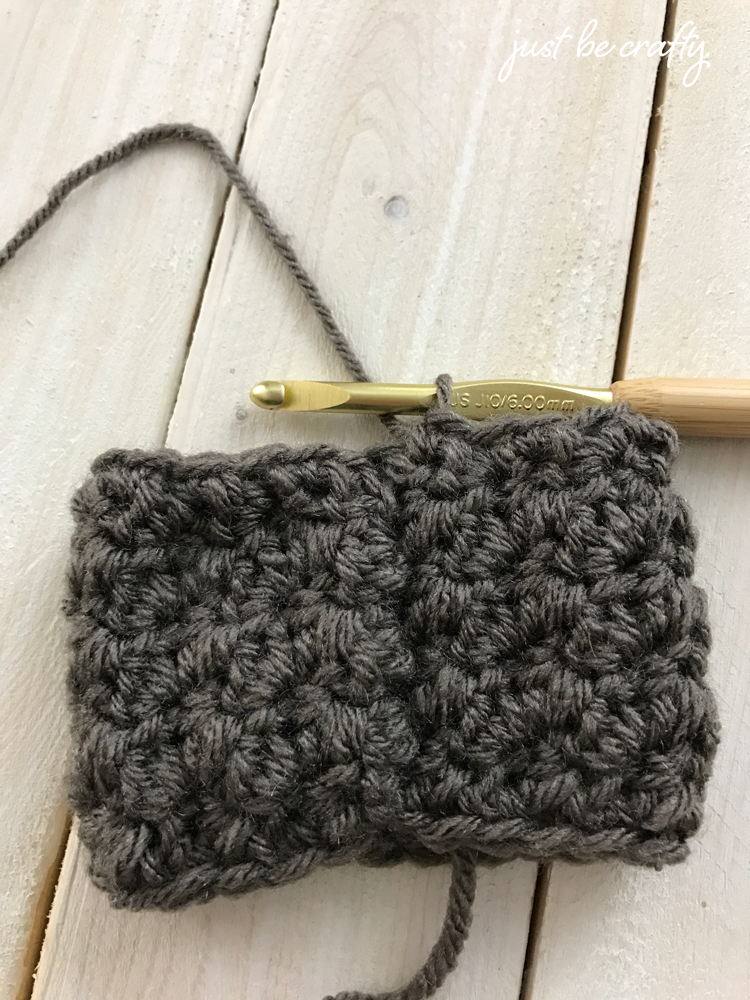
Sl st with the first sc of the round to join round. Sl st into next stitch as well. Ch 1 and turn.
Making the flap
Flap Row 1: sc in next 4 stitches, ch 1 turn
Repeat row 1, 11 more times; ch1
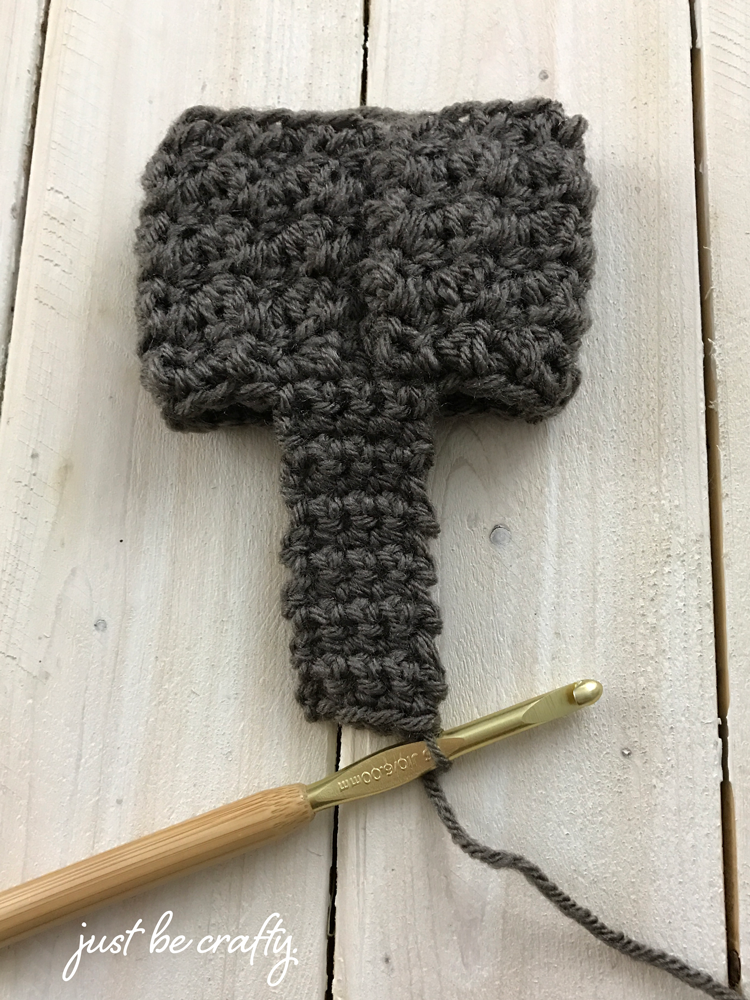
Line up the end of the flap with the bottom edge of the cozy so that the flap is straight.

Line up stitches and sl st the flap to the bottom edge of the cozy. Secure and cut yarn.
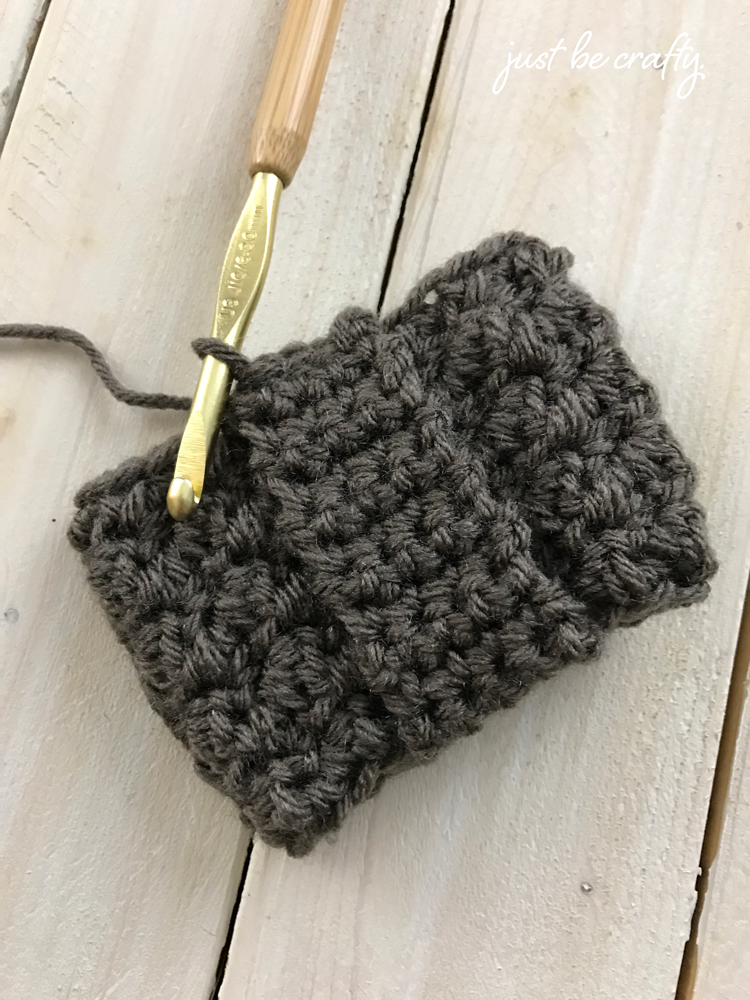
Weave in all ends.
Using embroidery floss and a sewing needle, carefully stitch on button through both the flap and body layers.
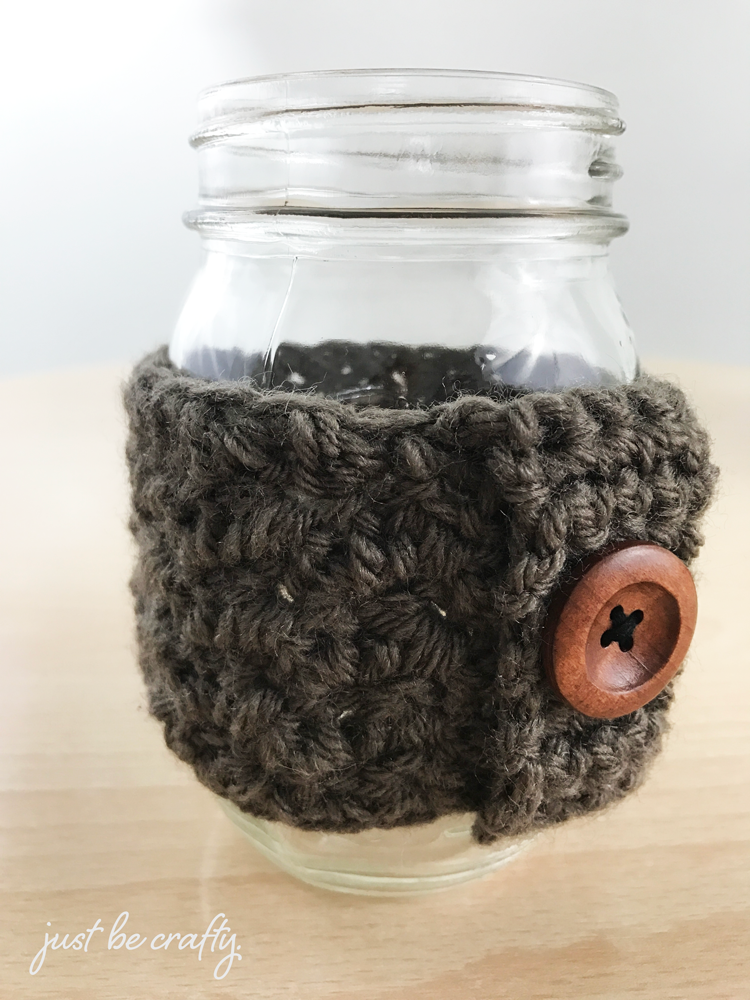
Enjoy!