

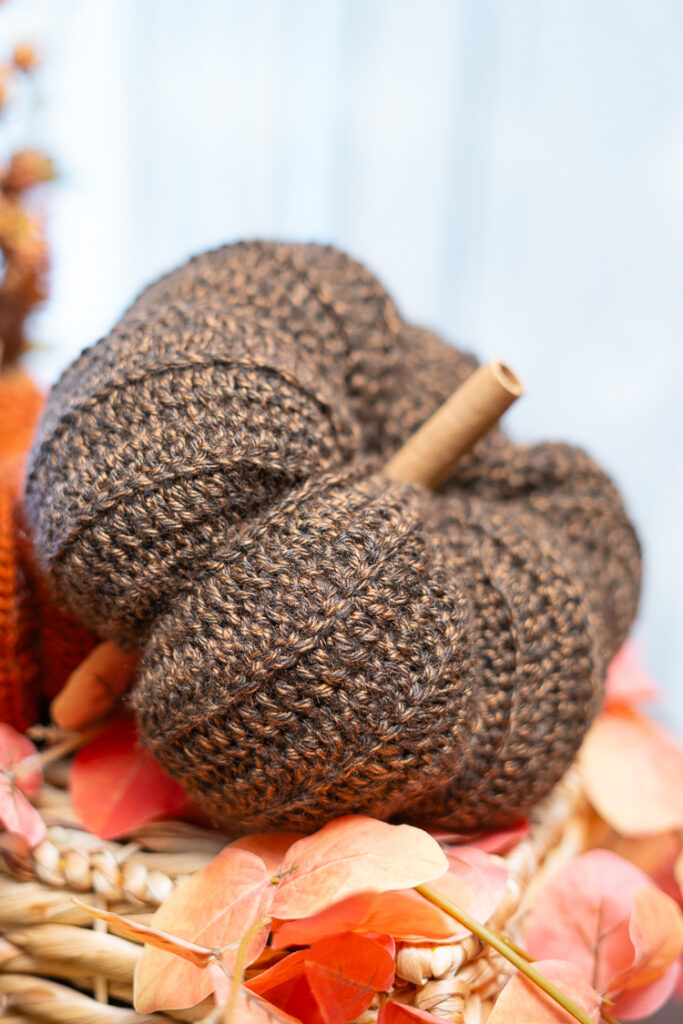
This post is all about my newest crochet pumpkin pattern, and I can’t wait for you to try it out!
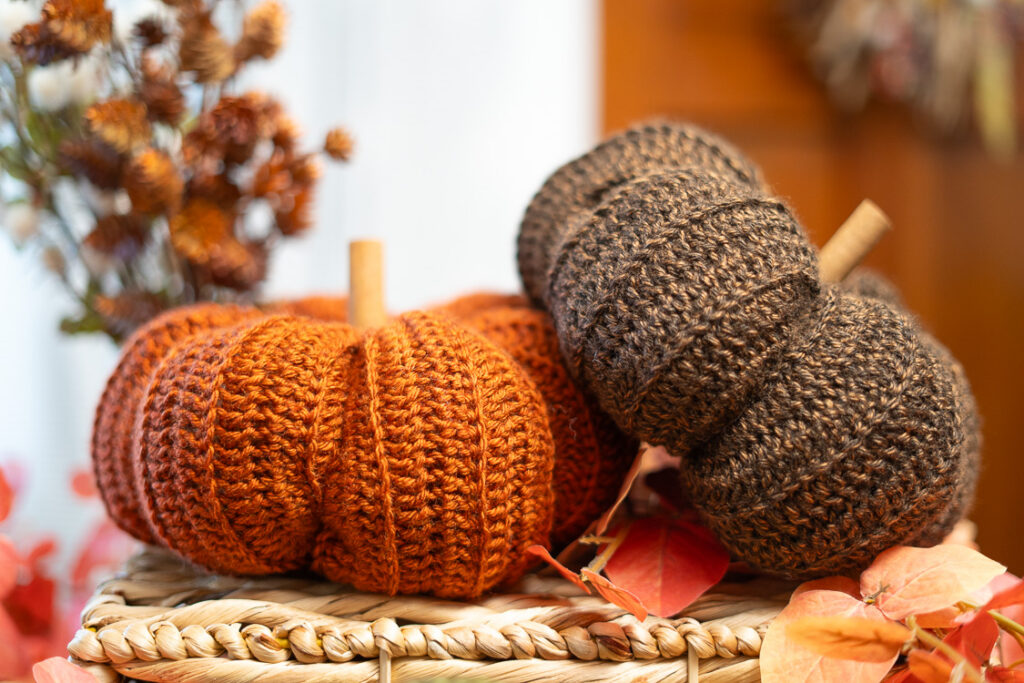
It’s that time of year again when the air is feeling a little crispier and leaves are starting to turn red, gold and yellow before they fall from the trees. And if you’re a crocheter, which I assume you are, since you’re here, it means this is our time to shine. Is there anything better than crocheting in the fall? The answer is a resounding no.
Anyways, back to the pattern. I’ve made a couple of other easy crochet pumpkin patterns you may have tried (you can check them out here and here), but this one is a little different. It’s crocheted using a similar construction but finished and shaped in a different way. For these pumpkins, you’ll crochet a flat rectangle in double crochet ribbing, then seam it, stuff it with fiber fill and then use a long yarn tail to create the adorable squatty gourd shape.
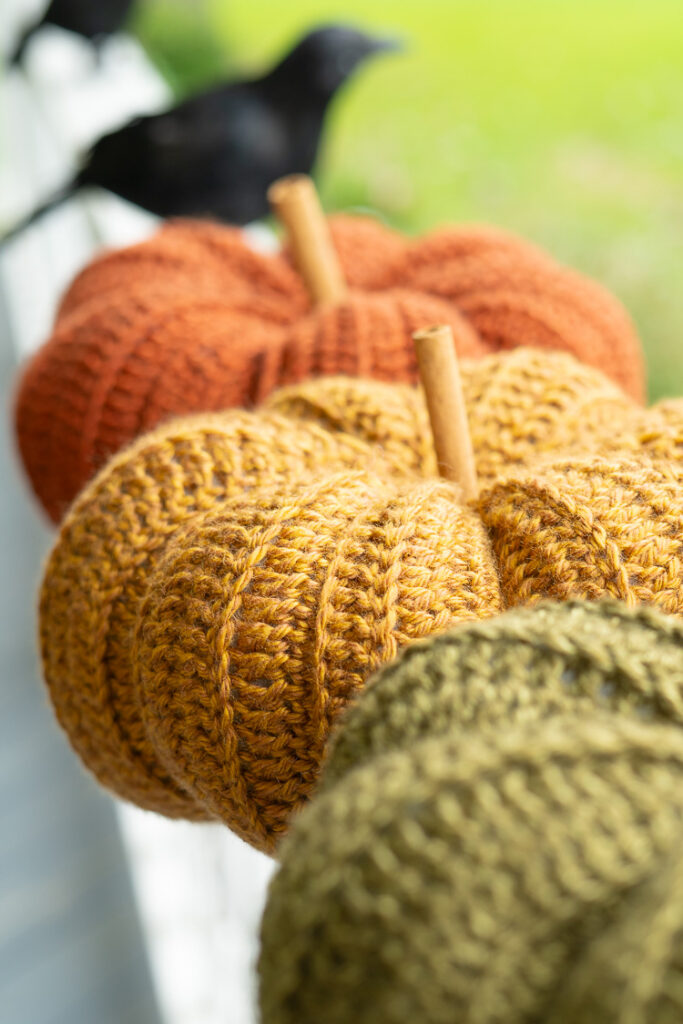
Save This Pattern for Later!
Not ready to get this pattern on your hook yet? Pin this crochet pumpkin pattern to your fall crochet board on Pinterest so it’s ready when you are!

Video Tutorial
Learn how to make these adorable crochet pumpkins right along with me, step by step!
Skills Needed:
While this crochet pumpkin pattern is beginner friendly, you’ll wan to be comfortable with the following skills:
- Chaining
- Single crochet
- Double crochet
- Double crochet back loop only
- Slip stitch
And that’s it. Once you have those above skills under your belt, I’m confident you can tackle this pattern.
Disclosure
*This post may contain affiliate links. I may earn a small commission when purchases are made through these links (at no additional cost to you!). Please see my disclosures page for more information.
All patterns on this blog are for personal use only and may not be redistributed, copied, blogged, or sold as your own. You may sell items made by my patterns as long as the item is made by you personally (not mass produced) and that proper credit is given back to me and my site, Just Be Crafty. You may not use my photos for your online sales listings.
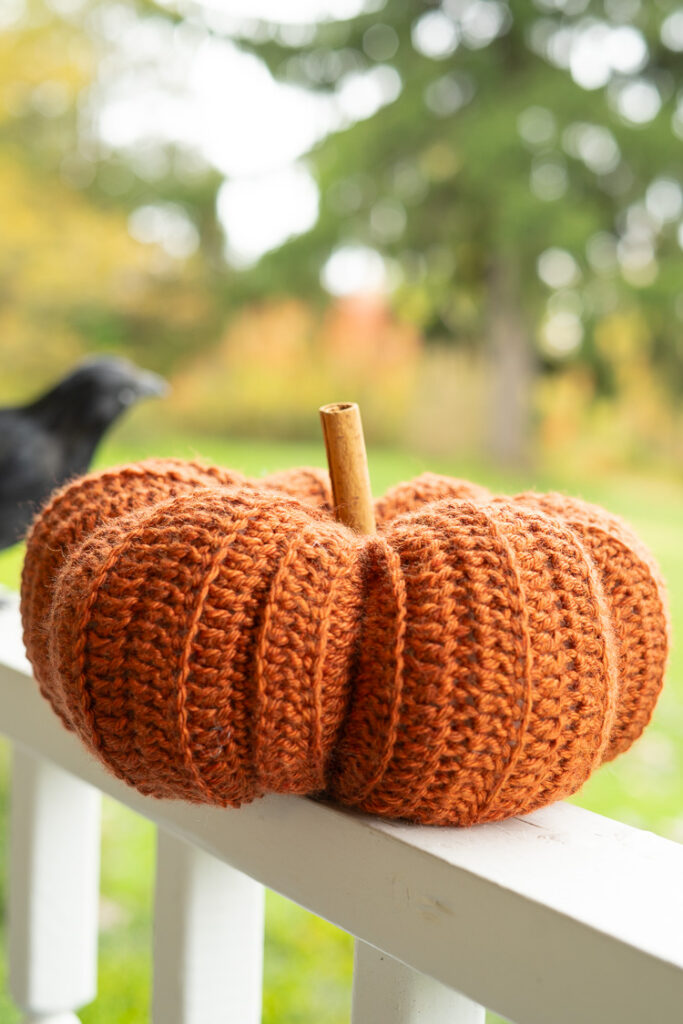
Crochet Pumpkin Written Pattern:
Read complete pattern and notes before beginning.
Materials
Below is everything you need to make your own crochet pumpkins!
Yarn
- Any #4-medium weight yarn, 214 yds / 121 g / 196 m each
Suggested Yarn
- 1 ball Lion Brand Heartland, #4-medium weight, 100% premium acrylic; pictured in Yosemite, Bryce Canyon, Sequoia, & Joshua Tree
- Each ball is 251 yds / 142 g / 230 m
Suggested Hook
- 5 mm hook (from this set.)
- Or size needed to obtain gauge
Notions & More
- Scissors
- Yarn needle
- Measuring Tape
- Fiber fill, approx. 74 g / 2.6 oz (one large bag will fill multiple pumpkins)
- Cinnamon Sticks (I used these)
- Glue gun (optional)
Finished Measurements & Sizing
Pattern is written in one size.
- Unassembled: Crocheted piece measures about 10″ x 20″ (25.5 x 51 cm)
- Assembled Pumpkin: 4.5″ (11.5 cm) height, 8″ (20.5 cm) width, 27.5″ (70 cm) circumference
Gauge
- 15 sts over 8.5 rows = about 4″ (10 cm) in dc ribbing
Abbreviations (US terms)
- ch chain
- dc double crochet
- dcblo double crochet in the back loop only
- sc single crochet
- sl st slip stitch
- st(s) stitch(es)
Notes
Construction
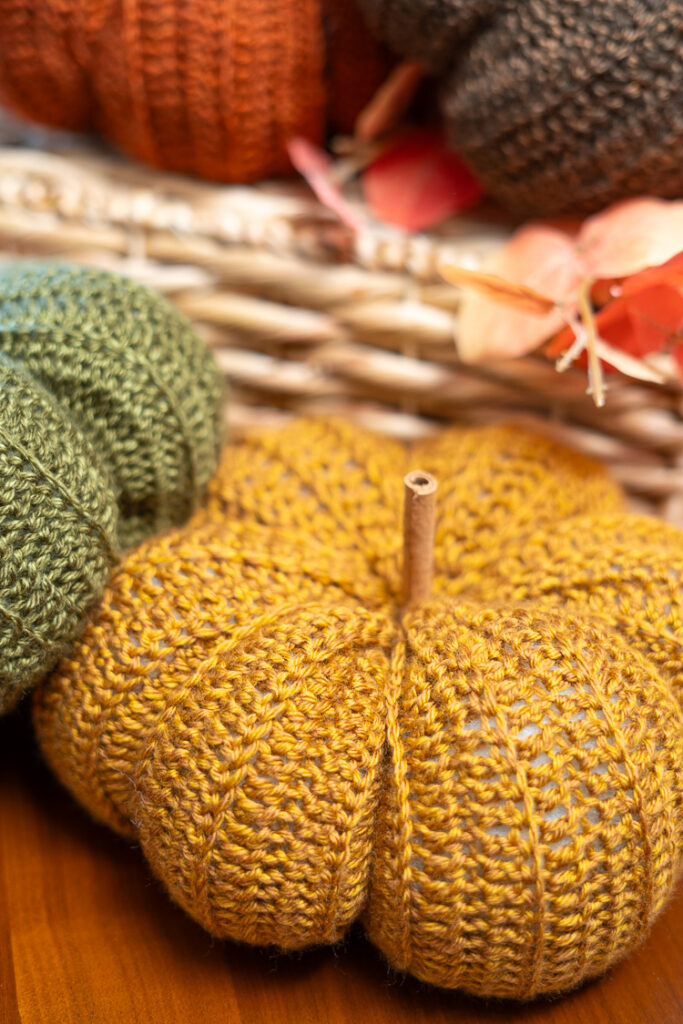
This project is crocheted flat, back and forth in rows. The crochet rectangle is then folded in half so that the starting and ending edges are seamed together. The piece will then be shaped into a pumpkin by cinching the bottom edge, filling with stuffing, and then cinching the top. The project is finished by using a yarn tail to create the squatty gourd pumpkin shape.
Special techniques
Double crochet back loop only (dcblo) In this technique, you’ll place your double crochet stitches into the back loop only of each stitch across the row. This technique creates a ribbed fabric.
Working the pattern
- The starting ch 2 of each row does not count as a stitch.
- Starting Row 2 and beyond, all stitches are worked in the back loop only.
Pattern Instructions
Ch 40
Row 1: Starting in the 3rd ch from hook, dc into the back bar of each ch across, turn. (38 sts)
Row 2: Ch 2 (starting ch does not count as a stitch), dcblo in each st across, turn. (38 sts)
Rows 3-42: Repeat Row 2.
Do not cut yarn.
Assembly
Seaming the pumpkin
- Step 1: Fold piece in half so that the starting and ending edges are touching. Ch 1.
- Step 2: Align stitches and sl st the two edges together to form a cylinder.
- When slip stitching, I like to go through both loops of the top-most layer, and the back loop only of the bottom-most layer. See video for visual.
Cinching the bottom
- Step 1: Working around the open edge of the cylinder, place 1 sc stitch into every other row around. (I like to work into the raised bumps of each rib.) You should end with about 21 stitches, however this does not need to be perfect.
- Step 2: Cut yarn leaving a 12″ (30.5 cm) tail. Thread tail onto a yarn needle and whip stitch through each sc around.
- Step 3: Pull tail tight to cinch the bottom closed. Stitch any remaining opening closed and secure. Fasten off and weave in end.
- Filling the pumpkin
- Place a few large handfuls of fiber fill (about 74 g / 2.6 oz) into the pumpkin to your desired shape.
- Cinching the top
- Step 1: With open edge facing up, attach yarn at the slip stitched seam. Ch 1, and sc in every other row around. You should end with about 21 stitches.
- Step 2: Cut yarn leaving a 24″ (61 cm) tail. Thread tail onto yarn needle and whip stitch through each sc around.
- Step 3: Place cinnamon stick in the center of the opening. Pull the tail tight around the cinnamon stick. Knot securely to hold the opening and cinnamon stick in place. Do not cut yarn. You can now remove the cinnamon stick and continue to shaping.
Shaping the pumpkin
See video tutorial for a visual walkthrough of the below steps.
- Step 1: With remaining tail coming from the top, run yarn down the outside edge of the pumpkin along a ribbed row. Insert needle into the bottom center of the pumpkin and back out through the top center.
- Step 2: Pull tail tight, to create a defined fold in the pumpkin.
- Step 3: Repeat Steps 1-2 on the opposite side of the pumpkin.
- Step 4: Repeat Steps 1-2 twice more on both halves of the pumpkin so that you have 6 equally spaced pumpkin folds.
- Step 5: Bring tail to the bottom center of the pumpkin.
- Step 6: Knot tail securely, and weave in any remaining ends.
Finishing
Using proper safety precautions, cut cinnamon stick down to desired size if needed, place it back into the hole you created earlier. Use glue gun to secure in place if you so choose.
Enjoy!


Do you have a beginners tutorial for maple leaf pattern