Crochet Wallet Tutorial
Hello my friends! It is Monday night so the reality tv is on and the crochet hook is out. Dramatic television plus yarn equals a pretty good night in my book, haha. I’m happy to say I finally completed my crochet wallet, it’s been in the works for the past week and has been fun to design and crochet.
It’s such a feeling of accomplishment after you weave in that last tail of a project and know you just turned a ball of yarn into something useable! Plus crocheting makes Netflix binge watching a little more guilt free because at least I am doing something productive right? It’s not just vegging out in front of the tv, I am creating a work of art here!
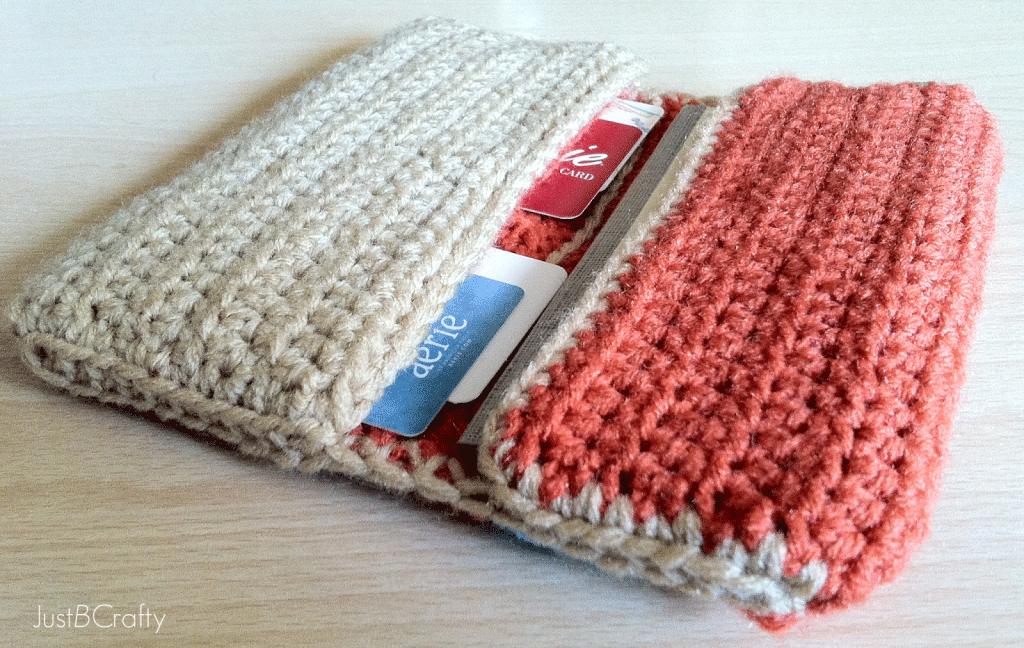
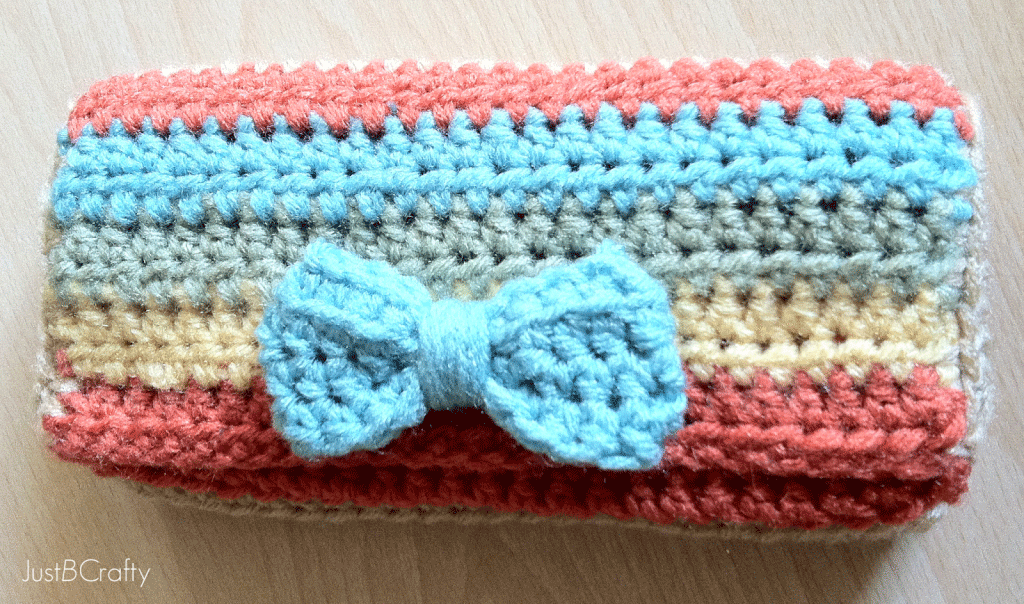
The pattern is pretty simple, it’s comprised of just two long crocheted rectangles, folds, and slipped stitches. This adorable little wallet is perfect for all of your on-the-go needs and features pockets for holding credit cards, a checkbook, and cash.
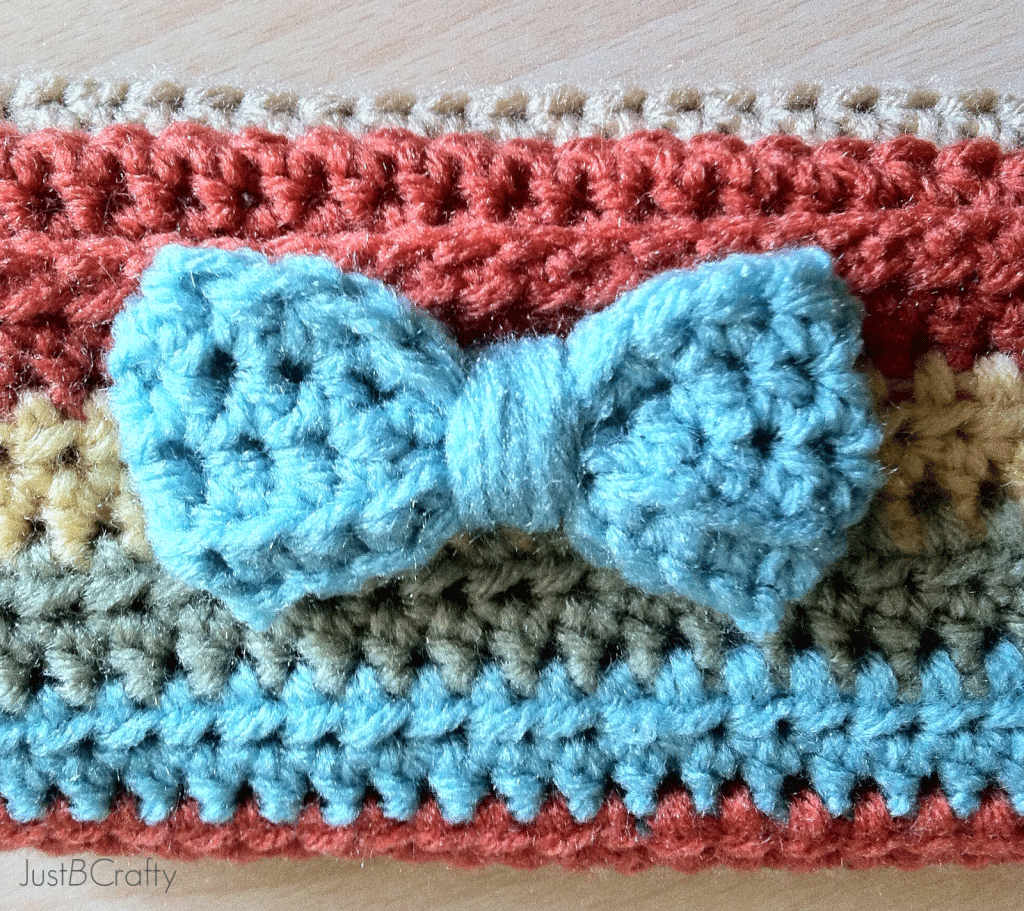
Plus who could resist a little bow detail…
To make this cutie, here’s what you’ll need:
5.5 mm crochet hook
Worsted weight acrylic yarn in 6 different colors (rust, yellow, green, blue, taupe)
ruler or tape measure
stitch markers
yarn needle
Wallet Outer Layer:
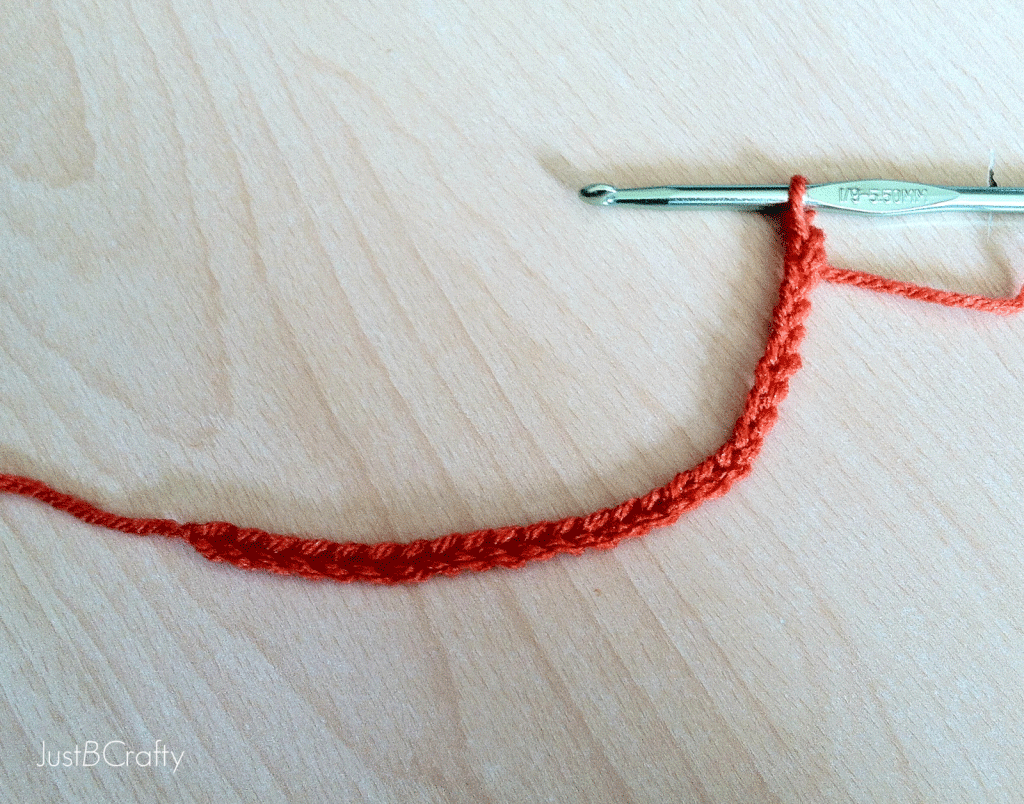
With rust color yarn, chain 27
Row 1: half double crochet (hdc) into the 3rd chain from hook, hdc in each ch to the end (25 stitches)
Ch 1 and turn.
Row 2: hdc in each hdc to the end of row (25) Cut rust yarn. Attach yellow. Ch 1 and turn
Row 3: hdc to the end of row (25) Ch 1 and turn
Row 4: hdc to the end of row (25) Cut yellow yarn. Attach green. Ch 1 and turn.
Row 5: hdc to the end of row (25) Ch 1 and turn
Row 6: hdc to the end of row (25) cut green yarn. Attach blue. ch 1 and turn.
Row 7: hdc to the end of row (25) ch1 and turn
Row 8: hdc to the end of row (25) cut blue yarn. Attach rust. ch 1 and turn.
Row 9: hdc to the end of row (25) ch 1 and turn
Row 10: hdc to the end of row (25) cut rust yarn. Attach taupe, ch 1 and turn.
Row 11: hdc to the end or row (25) ch 1 and turn
Repeat row 11 until the piece measures 11 inches or about 24 rows.
Cut yarn and secure loose end.
Crochet the inner lining.
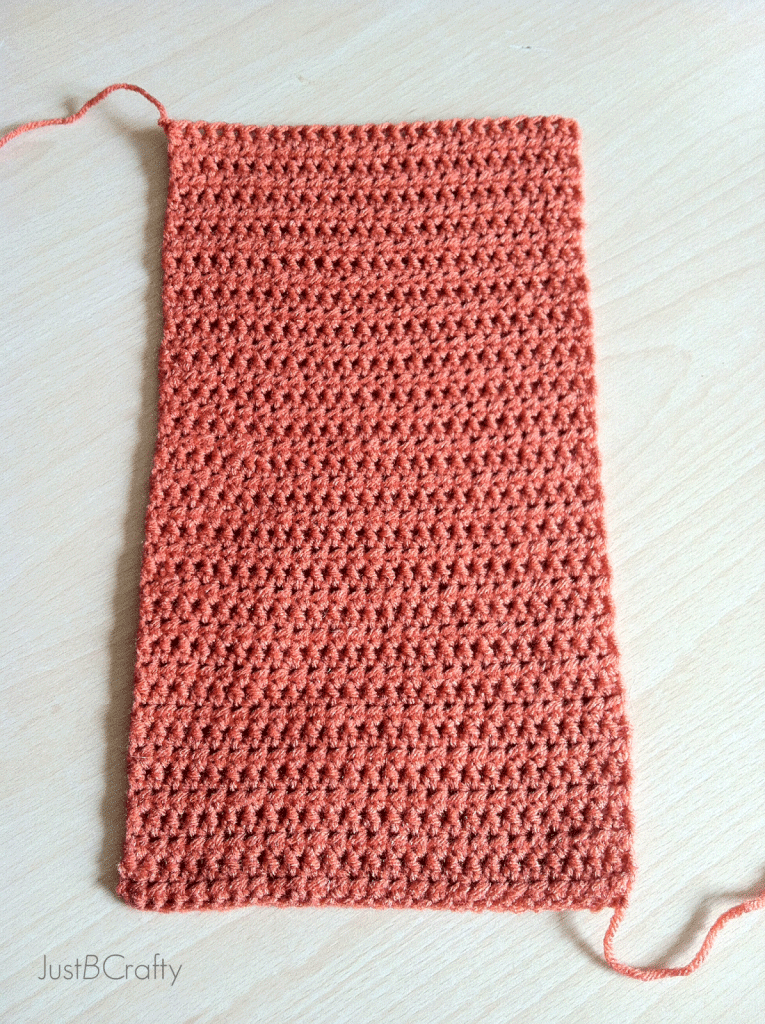
Follow instructions for the “outer layer” but without the color changes.
The finished inner lining should be 13 1/4 inches or about 41 rows.
Cut yarn and secure loose ends.
Forming the pockets:
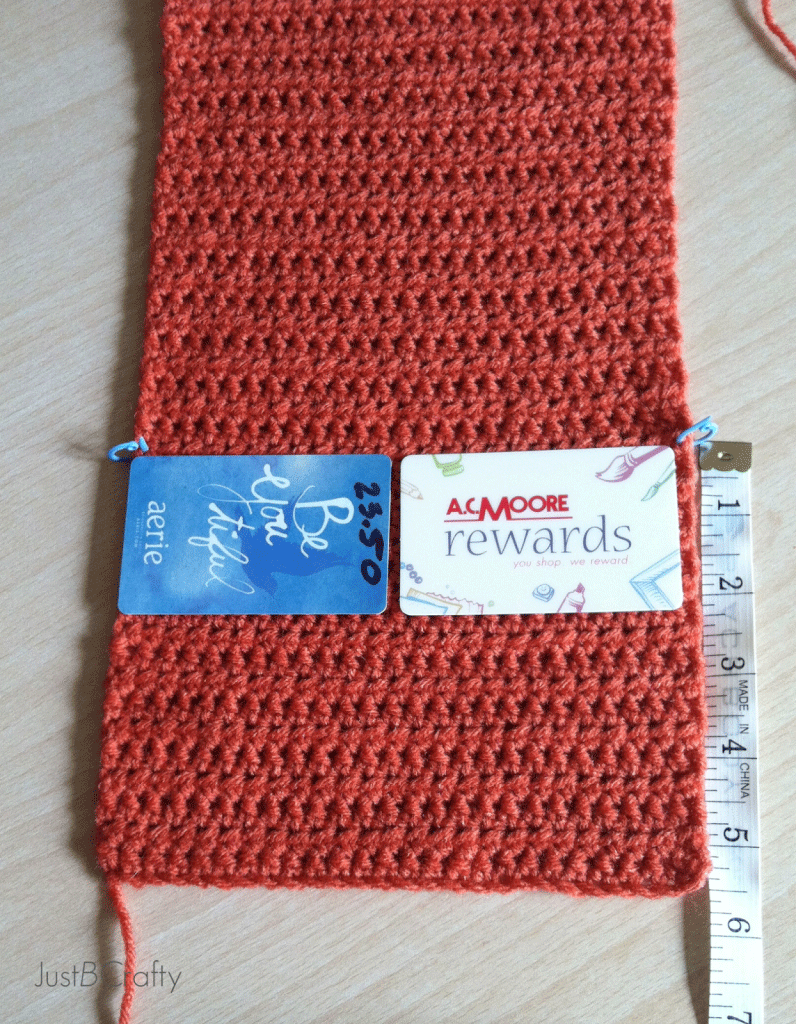
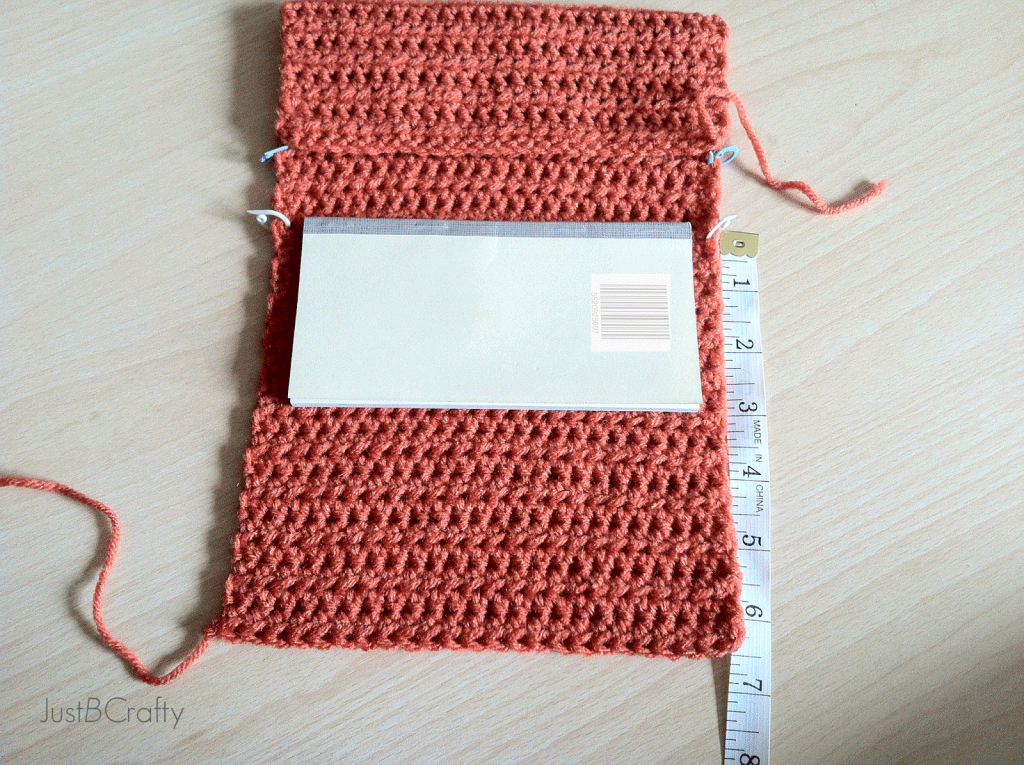
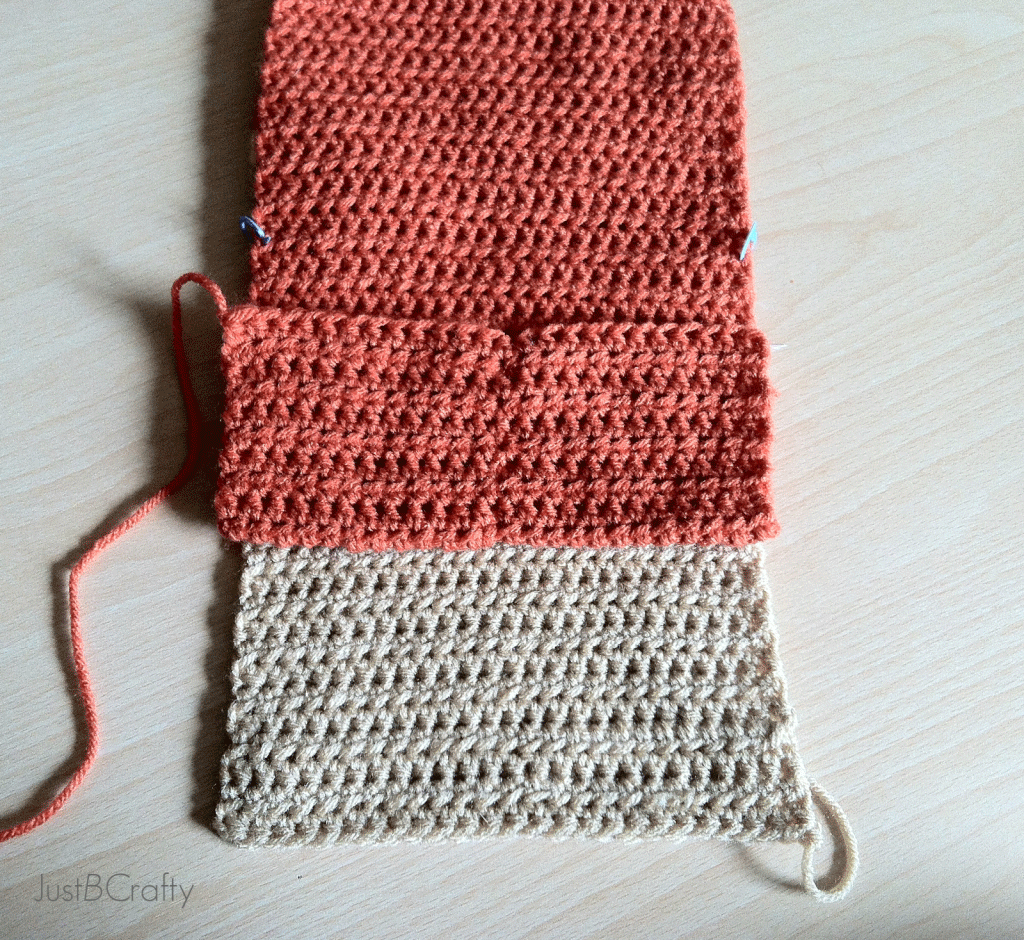
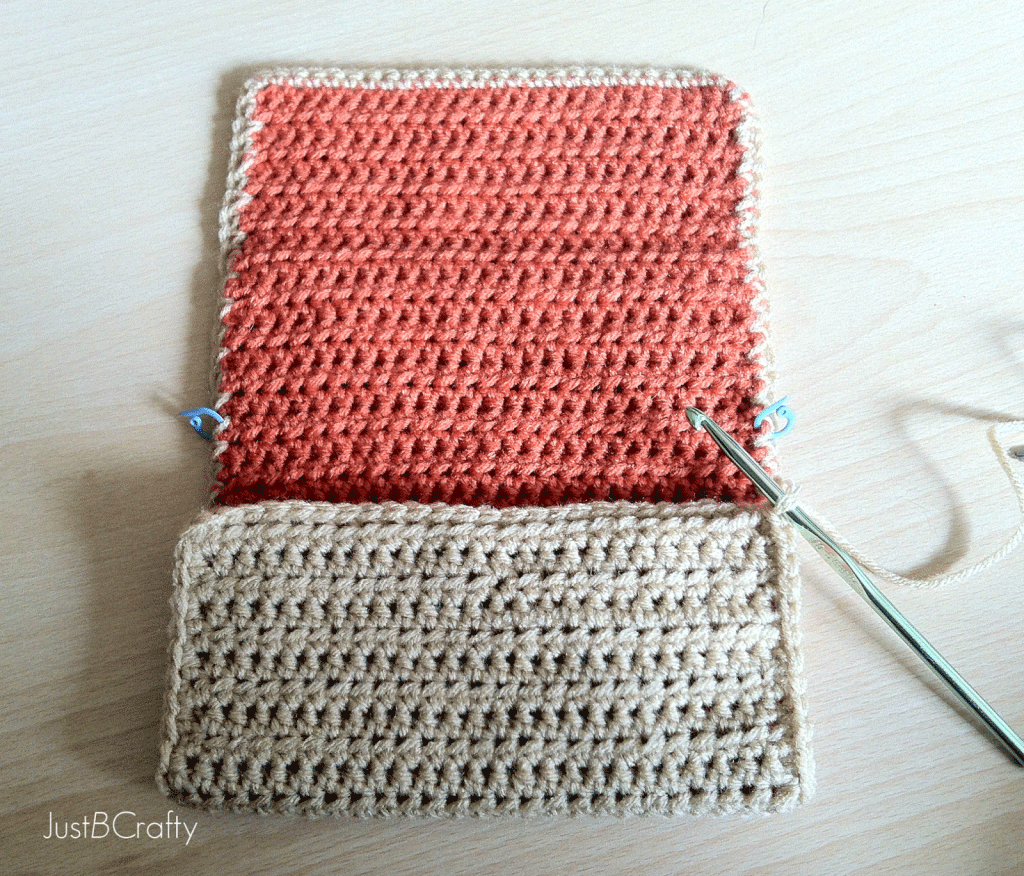
Take the lining piece you just made and measure 5.5 inches from one of the ends, and mark it with a stitch marker on both sides just like I did in the picture below. The markers are a place point for where the edge will be folded up to in order to form the pocket. This side will be for the credit card slots.
On the other end, measure 6.5 inches from the edge and mark it with stitch markers on both sides, this slot will be for your checkbook or cash.
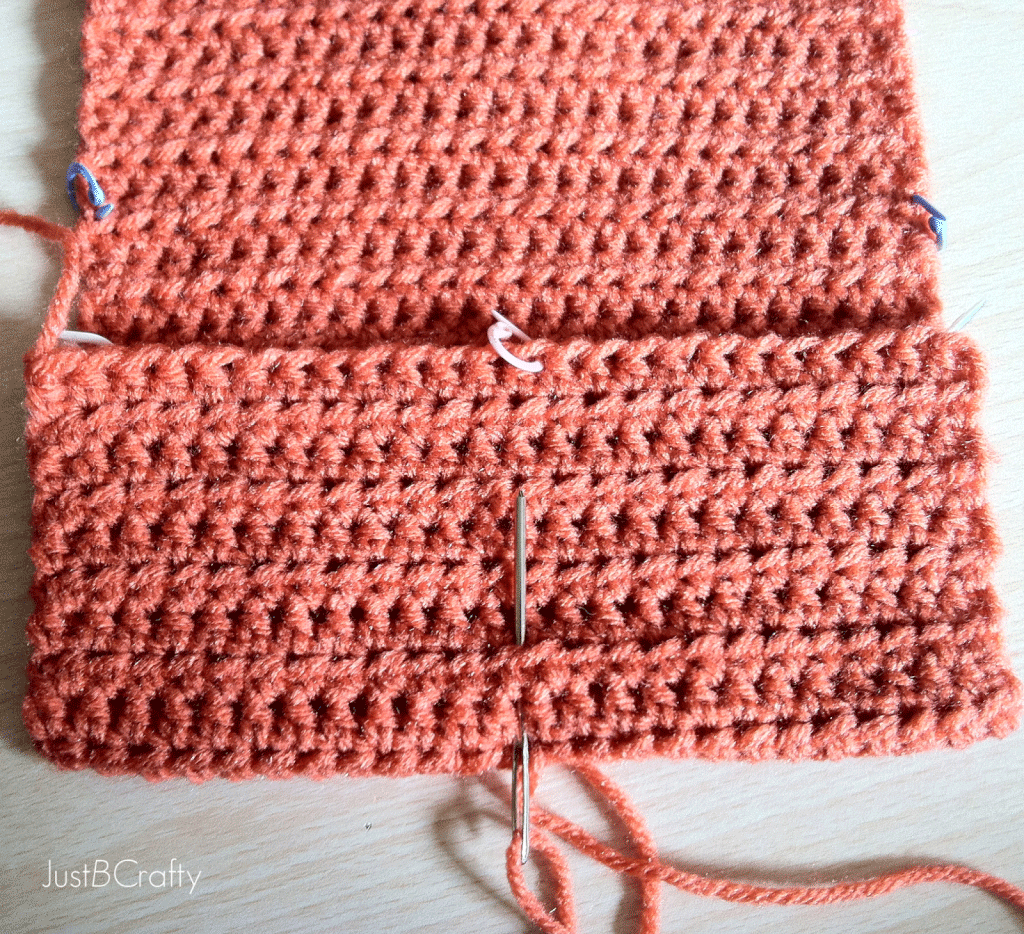
Turn the piece over to the credit card slot side. Mark the middle of the folded pocket flap, it should be the 13th stitch in. Mark the top and bottom of the pocket with stitch markers.
Use a yarn needle and scrap yarn starting at the bottom marker, working your way to the top marker. The stitching doesn’t have to be perfect, mine actually ended up a little crooked but thats ok because you wont see it anyways.
Once you reach the top marker, cut the yarn and secure the loose tail. Weave in the ends.
Wallet edging:
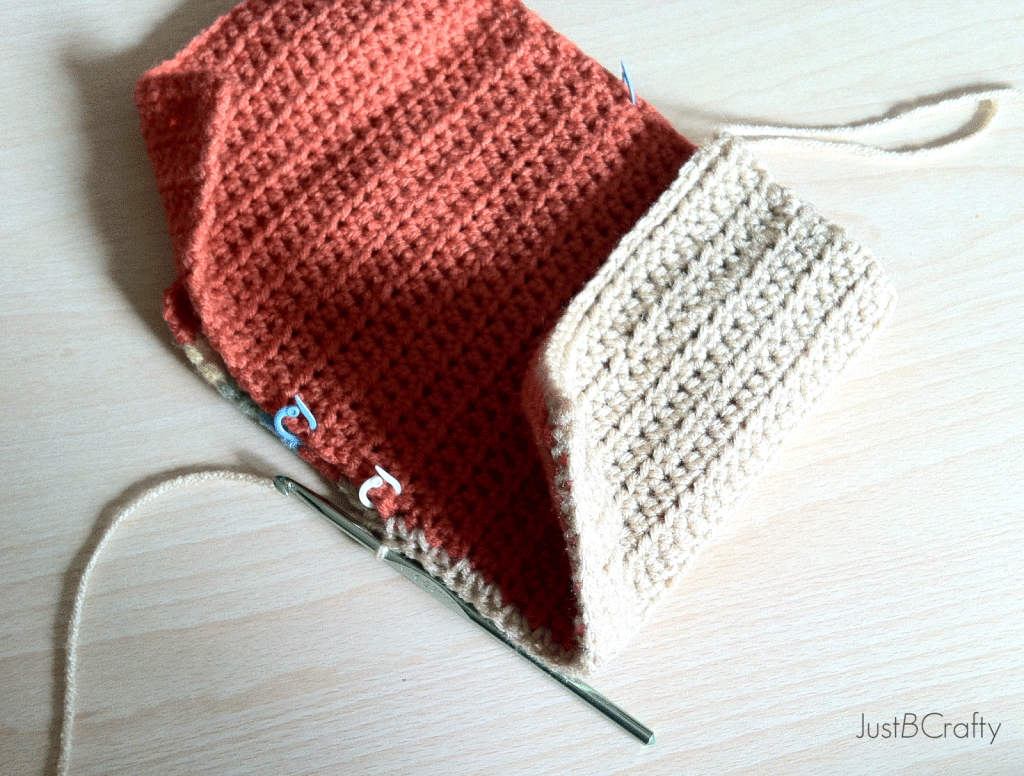
Take the inner lining and place it on top of the outer piece.
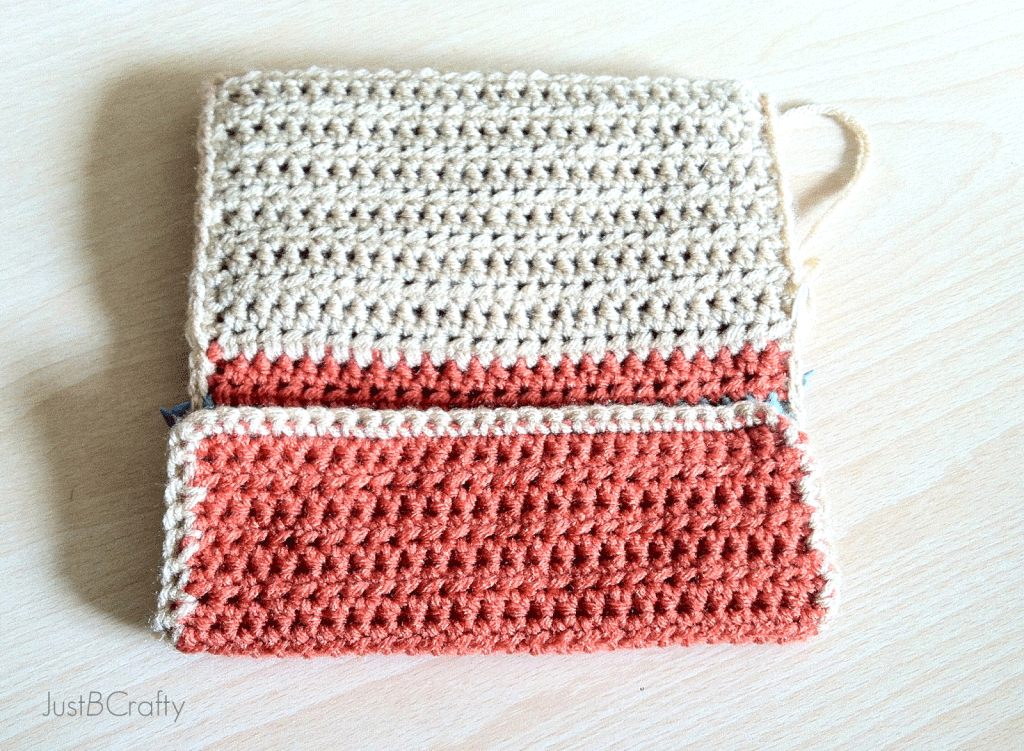
Fold the outer piece so it lines up with the pocket fold of the inner lining. Start at right side of the pocket edge. Single crochet the two pieces together by just crocheting the outer loops only.
Single crochet in each of the 25 stitches across the top pocket fold.
Continue to single crochet down the side of the pocket in each row of the flap.
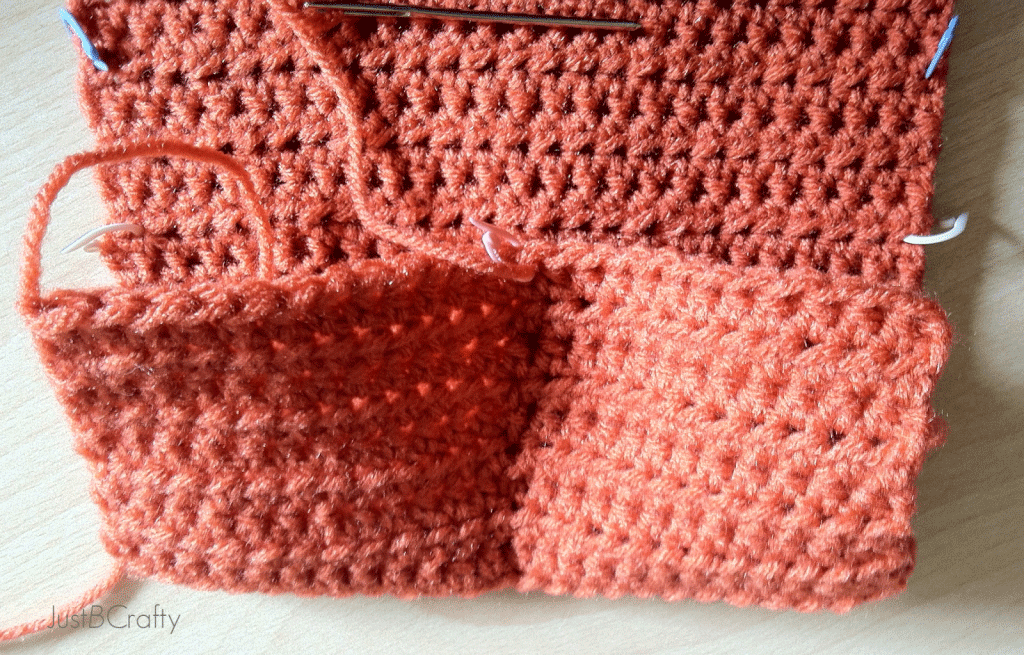
As you single crochet in each row, the wallet should start to look like this.
Continue single crocheting down the side of the wallet…
Across the other edge…
Down the other side…
Until you meet back up to where you started. Join your last stitch with the first by a slip stitch.
Stitching up the sides of the wallet pockets:
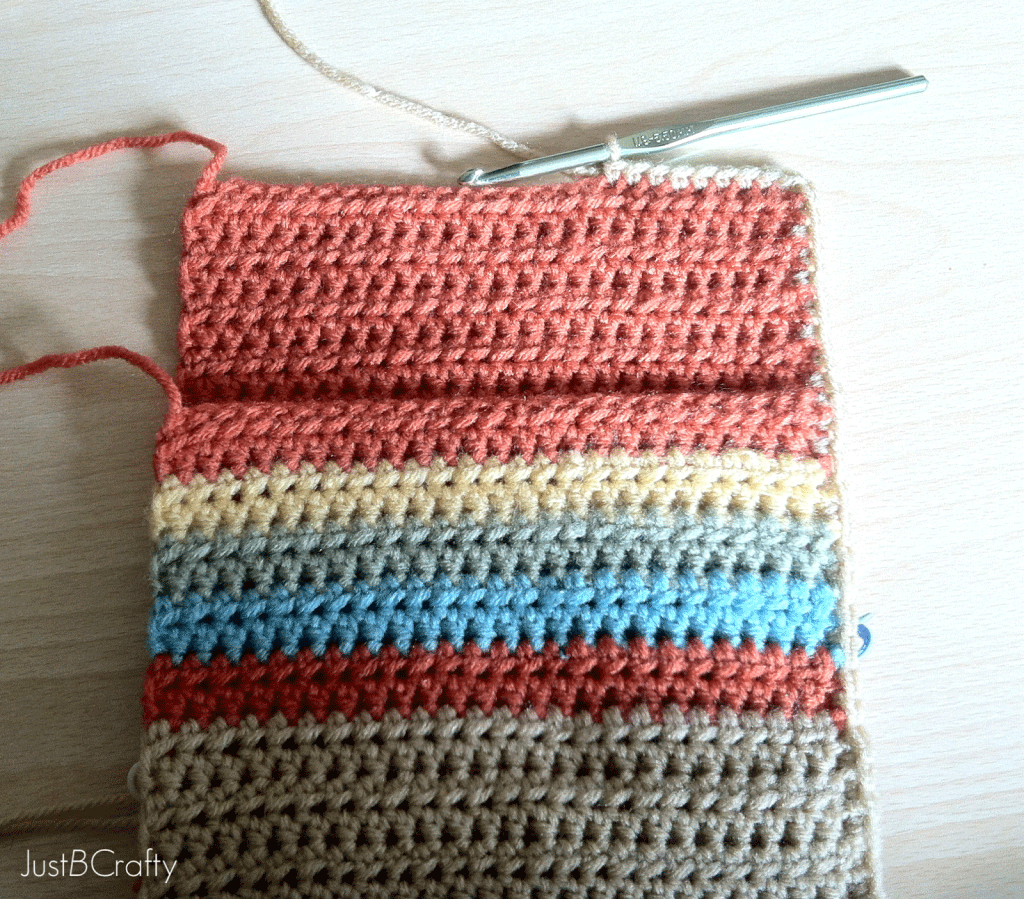
Flip the wallet over so the striped side faces up.
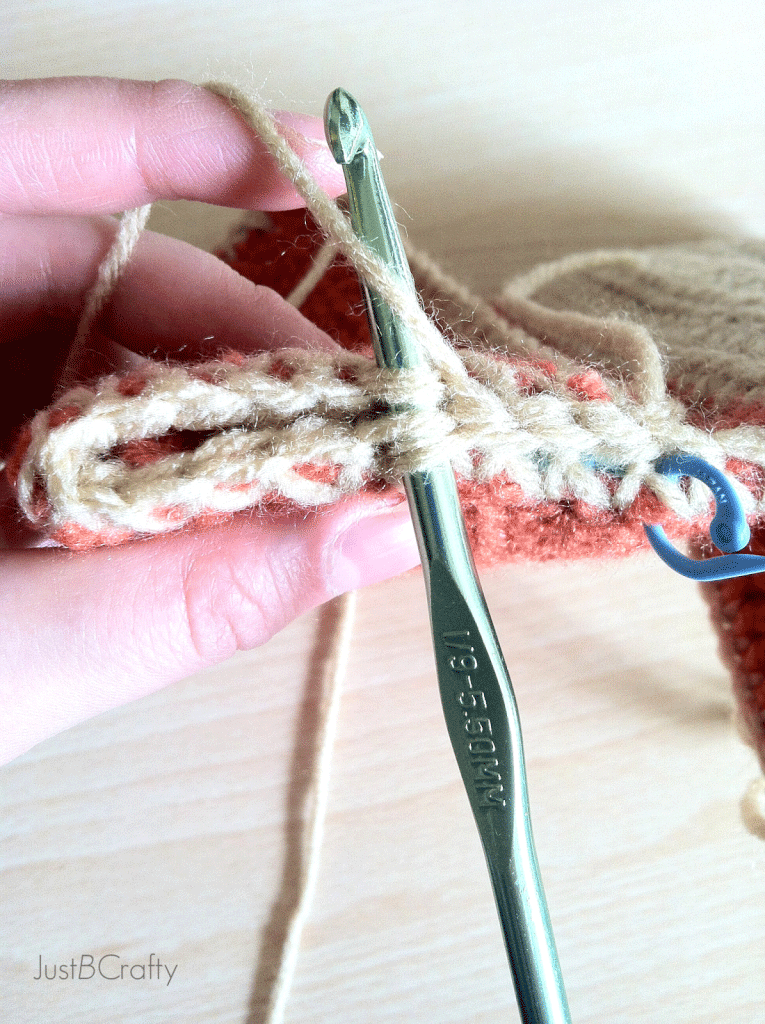
Fold the flap up to your stitch markers. The right sides should now be touching.
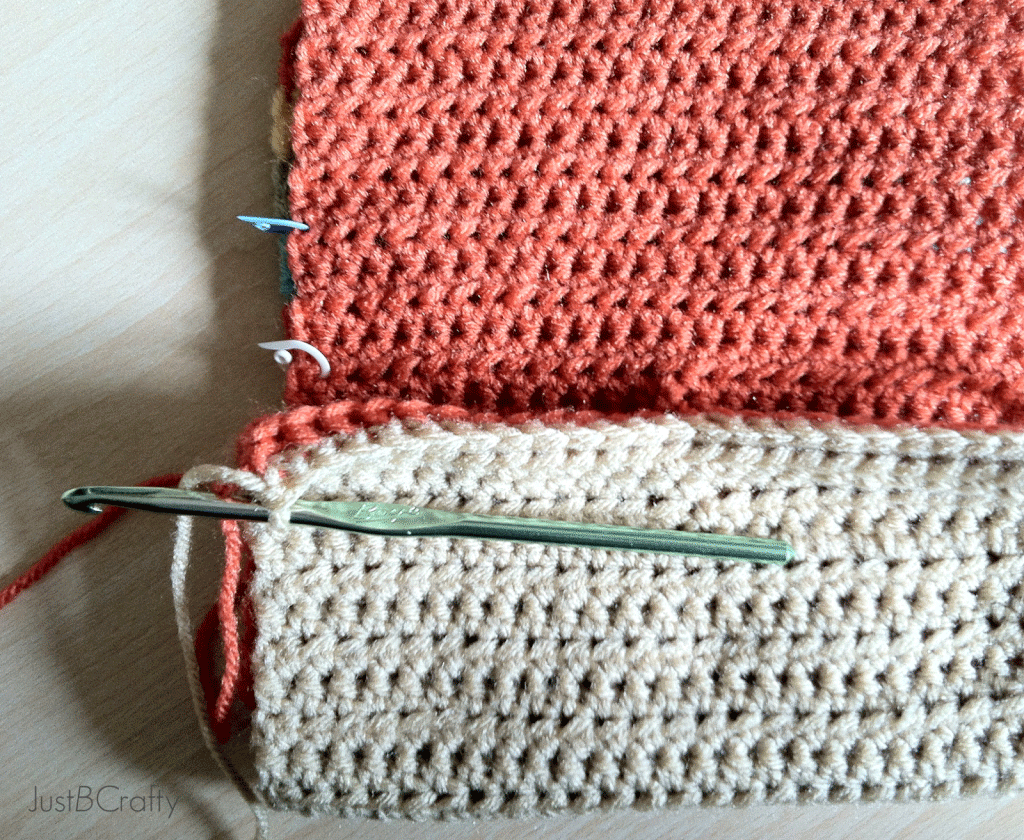
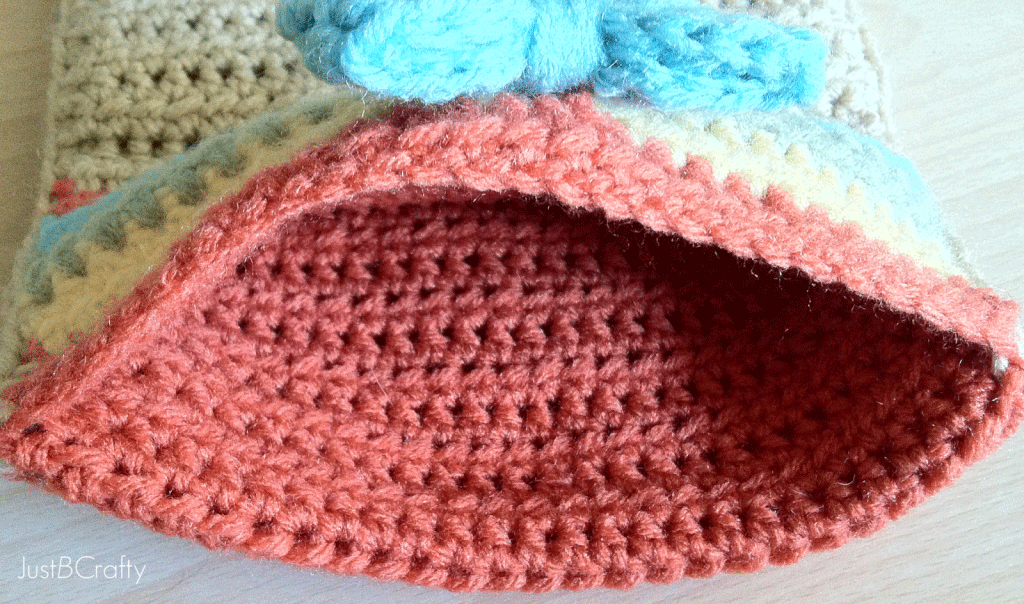
Use the hook to slip stitch the sides together, slip stitching in the outer loops only. Cut yarn, secure loose ends. Repeat on other side. Turn the pocket right side out. Repeat this process for the credit card slots.
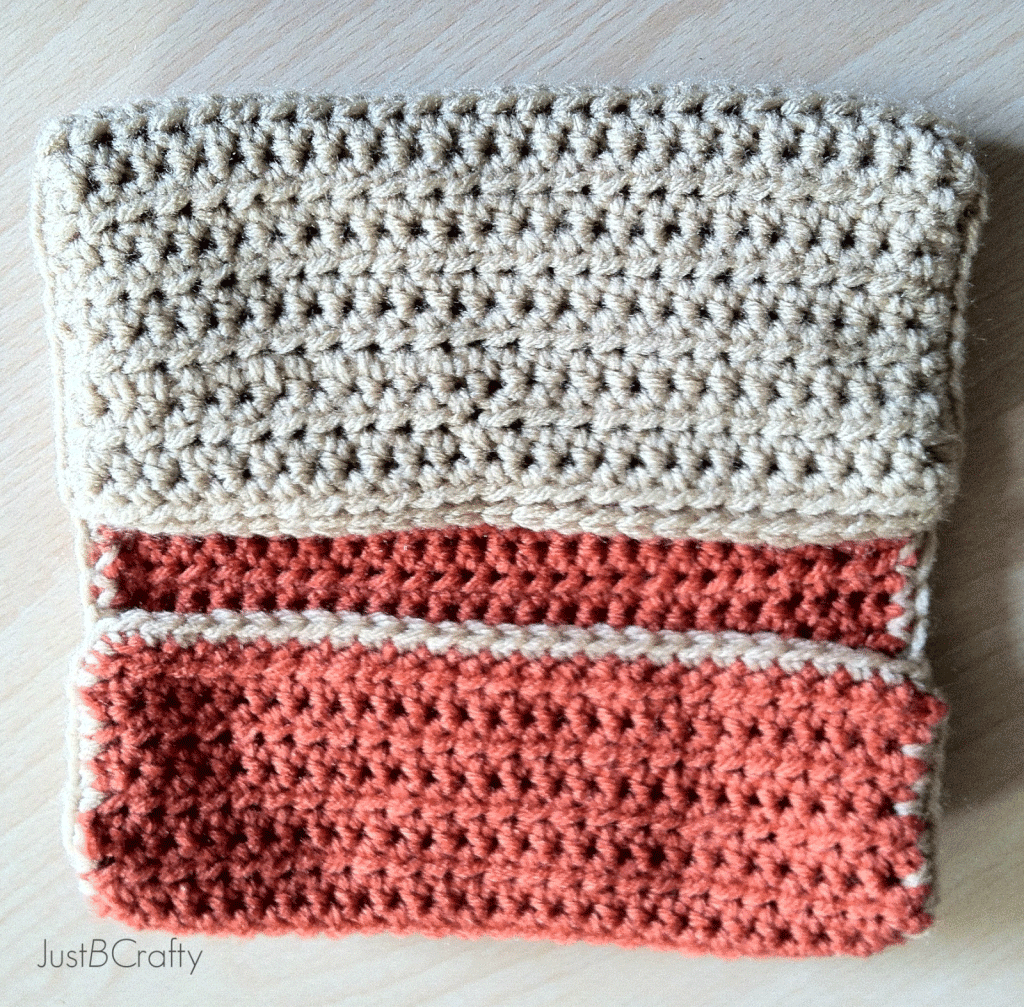
The wallet pockets are now completely formed and secured.
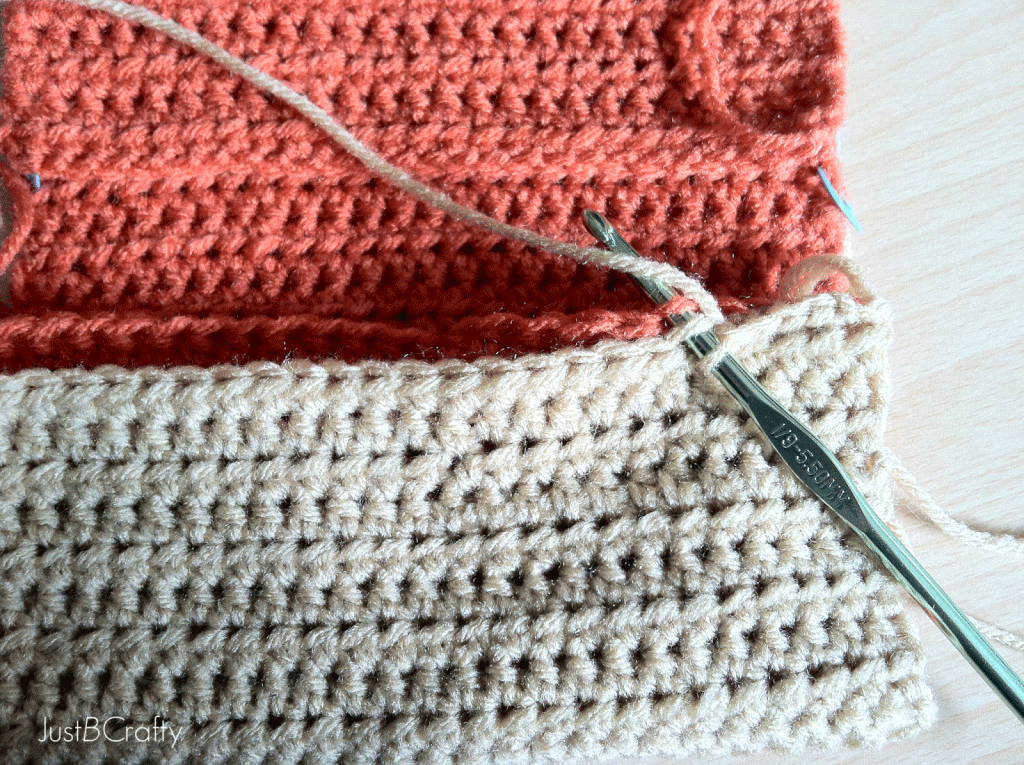
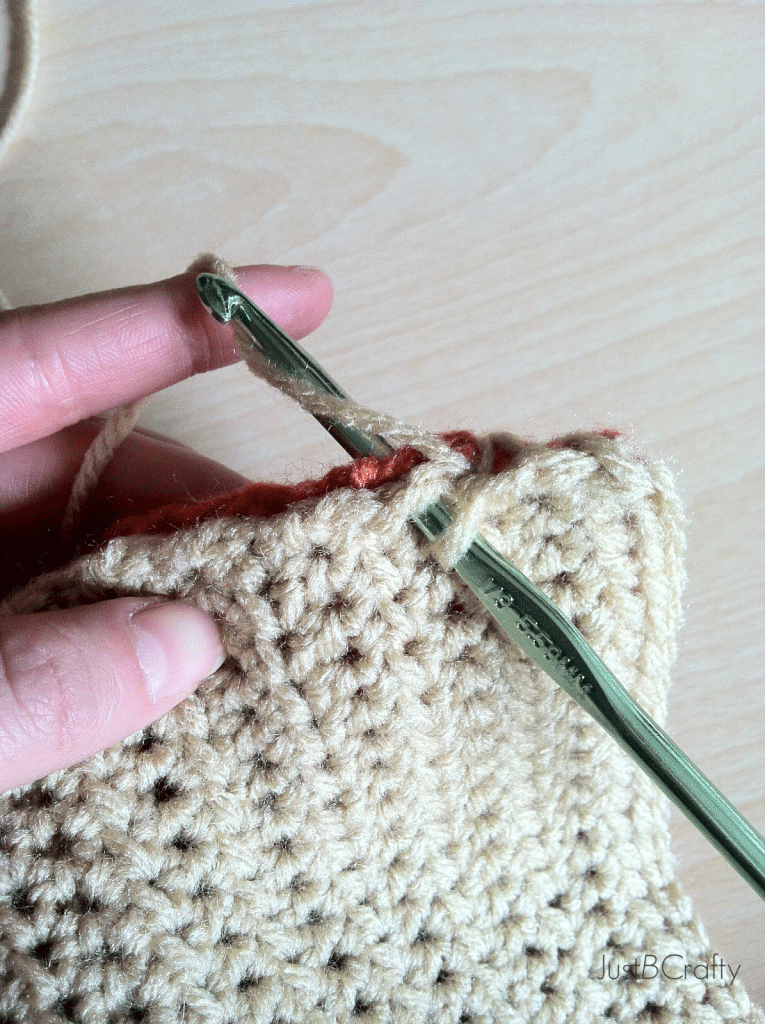
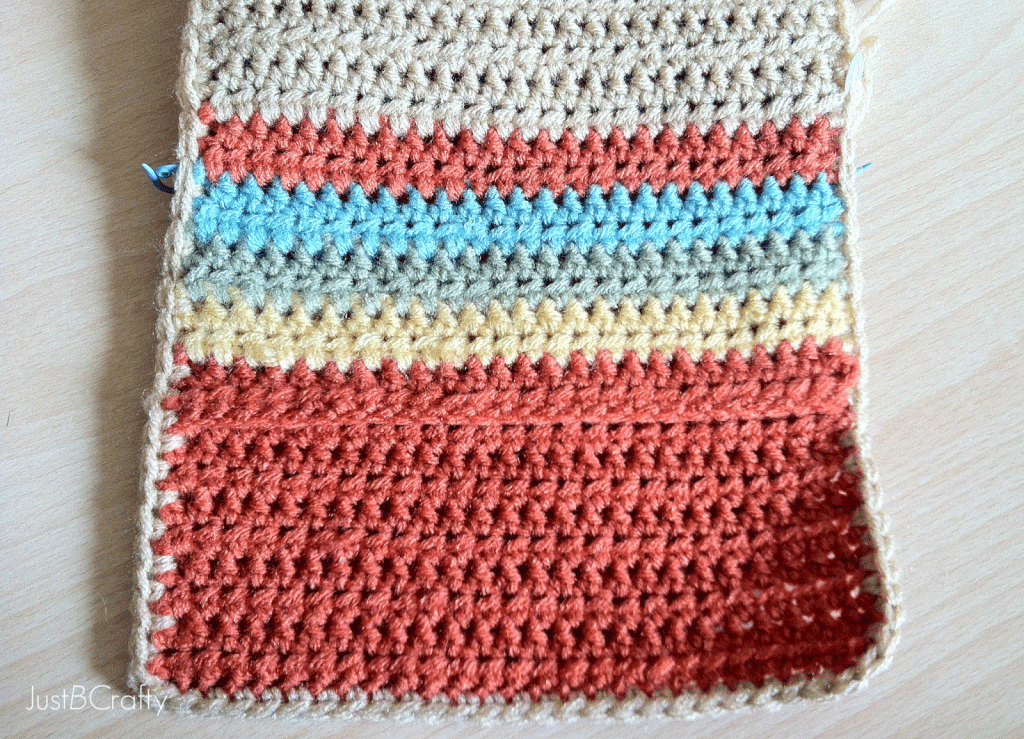
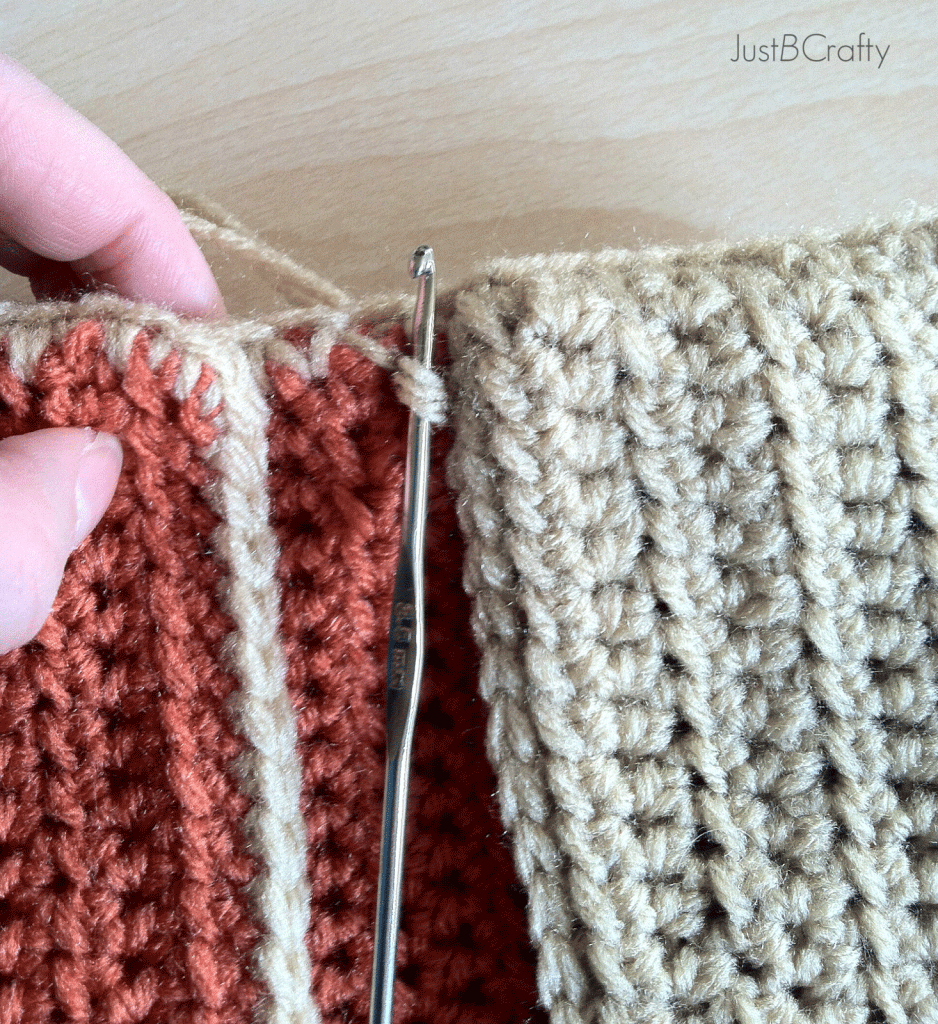
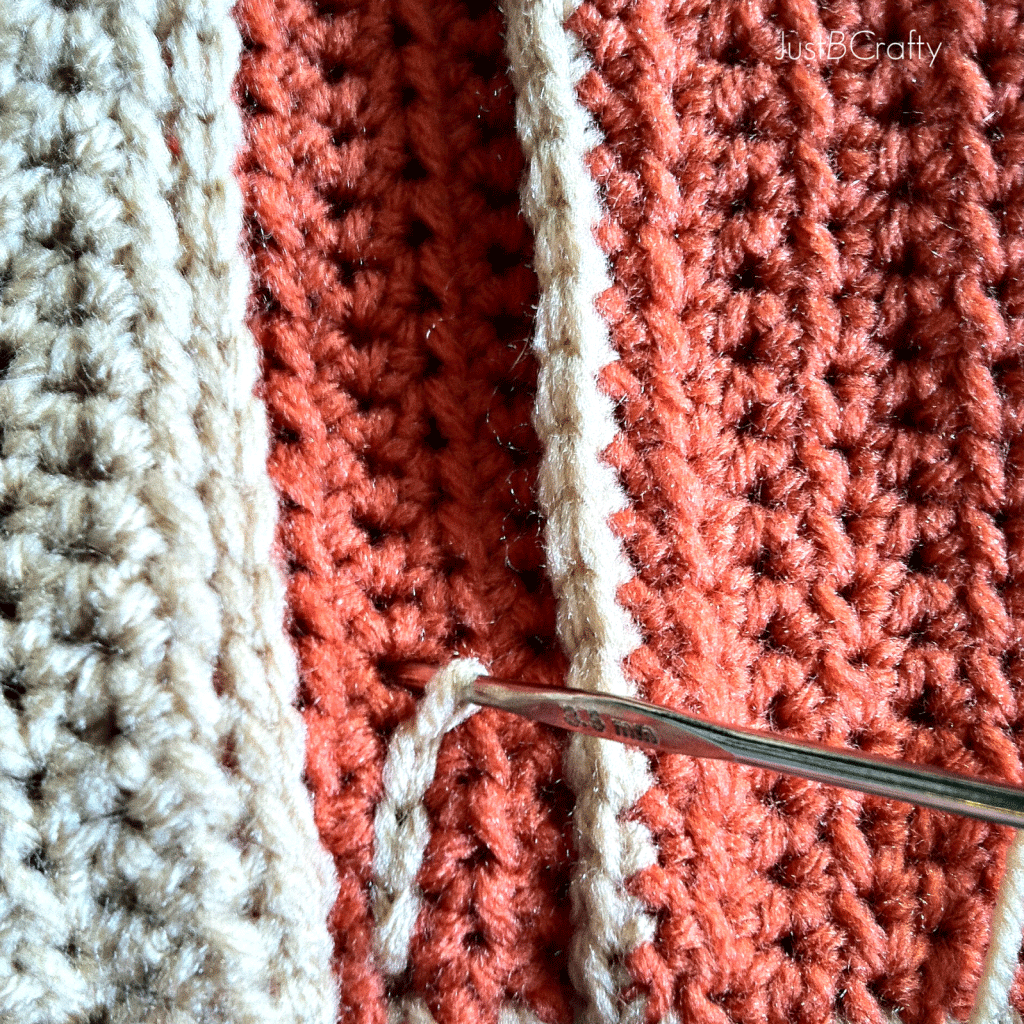
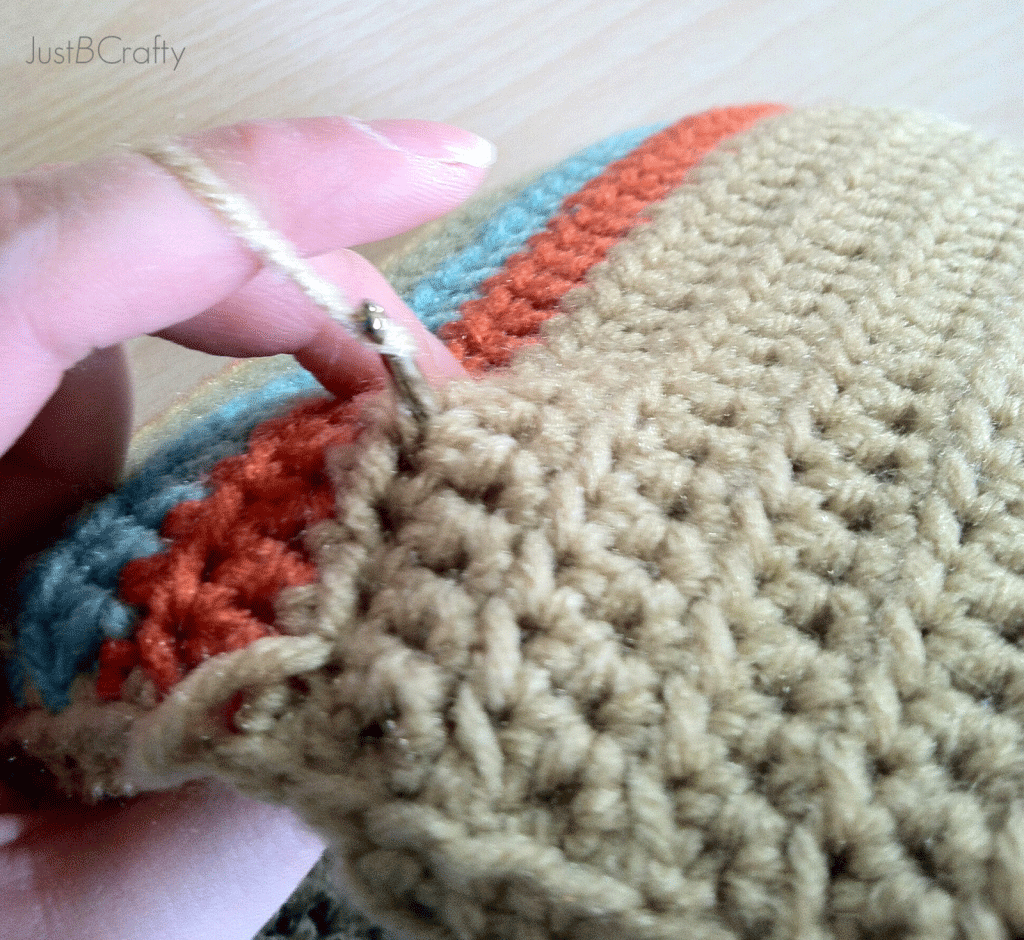
To make the little flap on the outside of the wallet a working pocket, using the taupe yarn, slip stitch along a row in the middle of the wallet. The following photos show how to do this.
Take your hook and insert it from the front of the piece into the back just like I did in this photo.
Loop your yarn around the hook and bring it up through the piece.
Insert the hook into the next stitch in the row
Loop your yarn around the hook on the back of the piece.
Bring the yarn back up through the loop.
And continue until you reach the other side of the wallet.
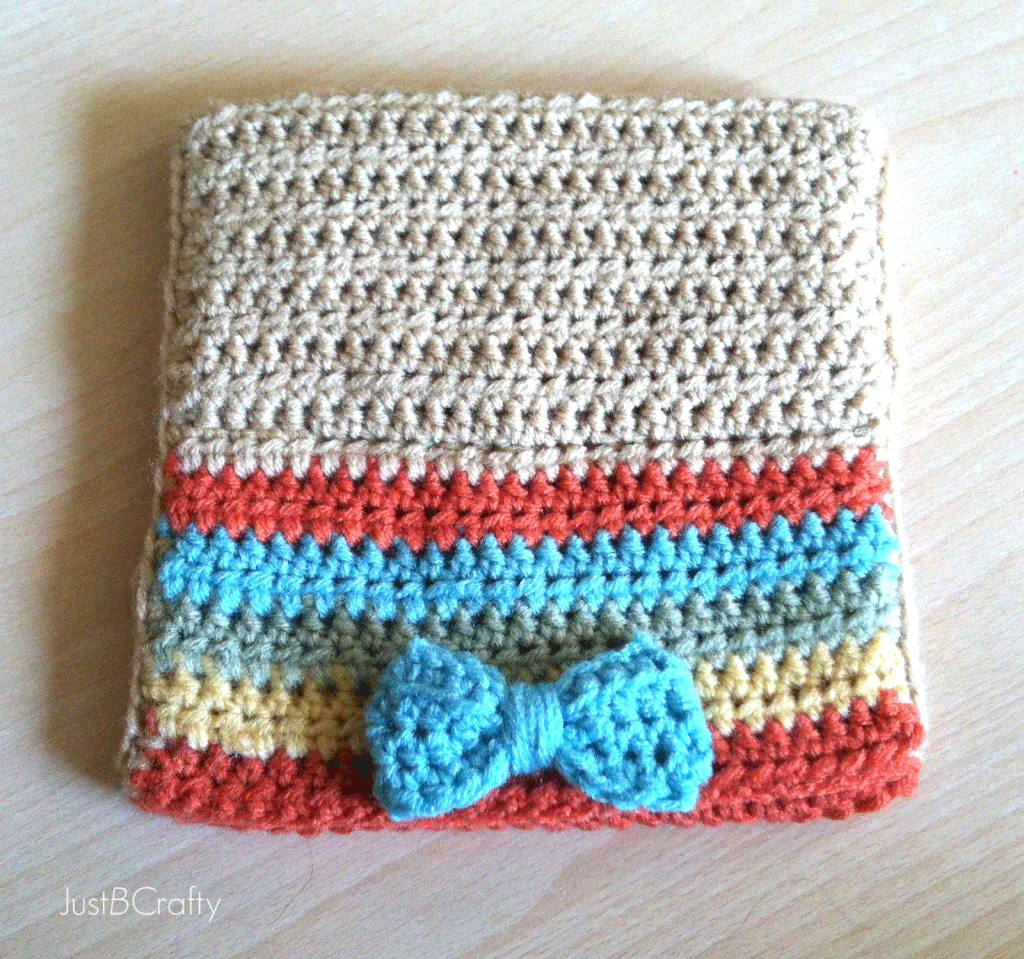
Now you have another functional pocket.
Make a crochet bow and attach it to the top of the wallet for a little added detail.
Fill the wallet with your shopping essentials, drop in your purse, and go shopping 🙂
Visit the shop!
Have a great day!









Hi there, I LOVE this crocheted wallet you made! Thanks too for sharing the tutorial. I love crocheting too! I saw this at Kathe party.
Julie @ Julie's Lifestyle
Hi Julie, thank you so much for stopping by! Glad you like it!! 🙂
This crocheted wallet is so adorable. The bow is too cute. I need to learn how to do this! Thanks for linking up at The Makers! Have a great week!
Corey @ TinySidekick.com
Thanks Corey! I'm so glad I found your party!! 🙂
What a functional and pretty pattern!! I love your tutorials. Found this over at Ginny's Yarn Along.
Thank you so much!! 🙂
Nic, this DIY, i will pin this!
Greets Sofie, from Belgium 😉
http://lekkerbekkenmaar.blogspot.be/
Oh, this is just darling! And I love how it seems like a completely manageable project that can be finished in a sitting. Pinning 🙂
Thanks so much Amy! And yeah it is totally manageable in an evening! 🙂
Thank you for your lovely idea. I really like it.
Adorable! Wish this was in my crafty realm. I just never learned how to knit or crotchet. Thanks SO Much for linking up to Hit Me With Your Best Shot! Hope to see you again soon!
I love your patterns! I'm currently working on your Ann Perkins' Afghan tutorial and this is definitely going on the list of things to do. Along with the tribal moccasins. Thanks for your tutorials!!
Awe thanks Jamie!! I am so glad you are enjoying them!! 🙂
This is a fabulous tutorial! I'd love it if you share it at my link party http://thecraftiestallie.blogspot.com/2014/02/worthwhile-wednesdays-6.html
I'm having troubles loading all the images. They seem to load only half way and then stop. I've tried 3 different browsers and even my phone and tablet but get the same problem. Wondering if anyone else is having this problem?
Yup I'm having the same issue :/
Hello, I love your wallet and have started the first couple of rows. At the end should it be ch 2 and turn or ch 1 with hd across?
I followed the directions, yet there is nothing to fold over when I place the inner lining onto the outer layer. Was there a section of instructions missing? My inner layer measured 13 1/4, outer layer 11.
I’m having the same issue. Did you figure it out?
I never did figure it out. I basically had to abandon the project
This is such an awesome pattern I am totally making this . I may put a small flower instead of the bow. Thanks for sharing this.
So cute XD … i wonder if it’s okay to make with just two colors .. i’ll try lol..
Thanks for sharing :*
Am need video tutorial ?
I made a similar wallet but I used rip cord fabric (I think it’s called) and made the lining.
Hello, I am wondering which measurement i should follow. The 11 inch or 24 rows. My piece is 24 rows, but only measures 9 1/2 inches.
Hi Cathleen! You will want to go by the measurement in this instance and not the row count.
Thanks!
Brittany
Yes it should work just fine.
I sewed two buttons on to make the outer pocket close-able. Next time, I think I will sew in a zipper.
Hi, i have quite a tight tension and so am wondering how wide it should be when finished? Thanks.