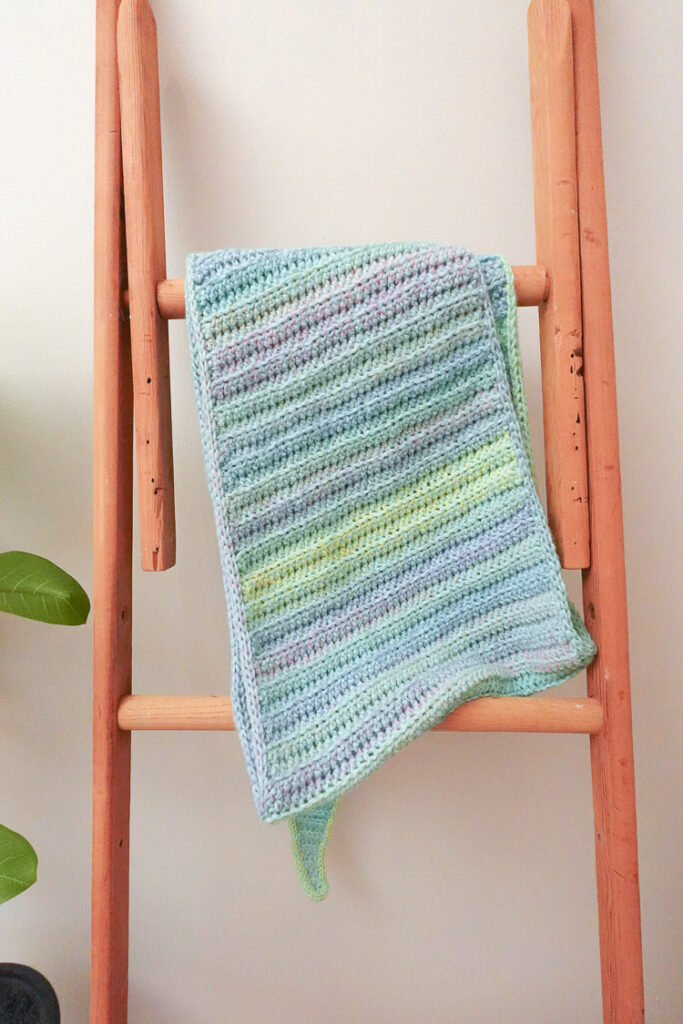
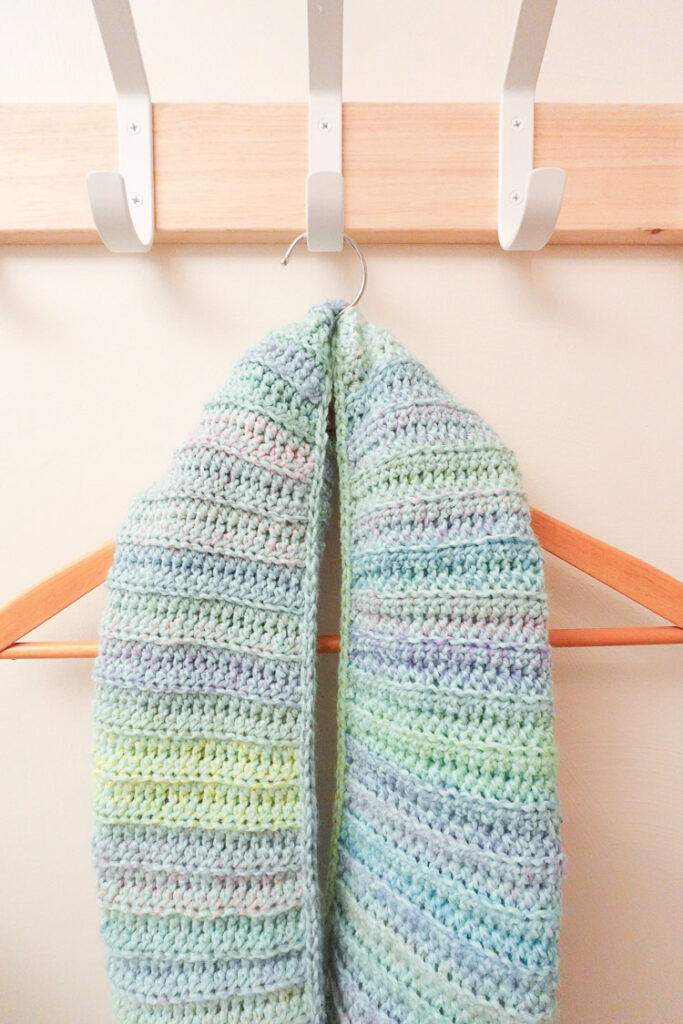
If you’re looking for an easy, lightweight crochet shawl pattern, you’re in the right place! The Watercolor Shawl is a simple, shallow triangle shawl with a soft ribbed texture and polished i-cord edging. It’s the perfect project for transitioning into spring—not too bulky, easy to style, and great for layering.
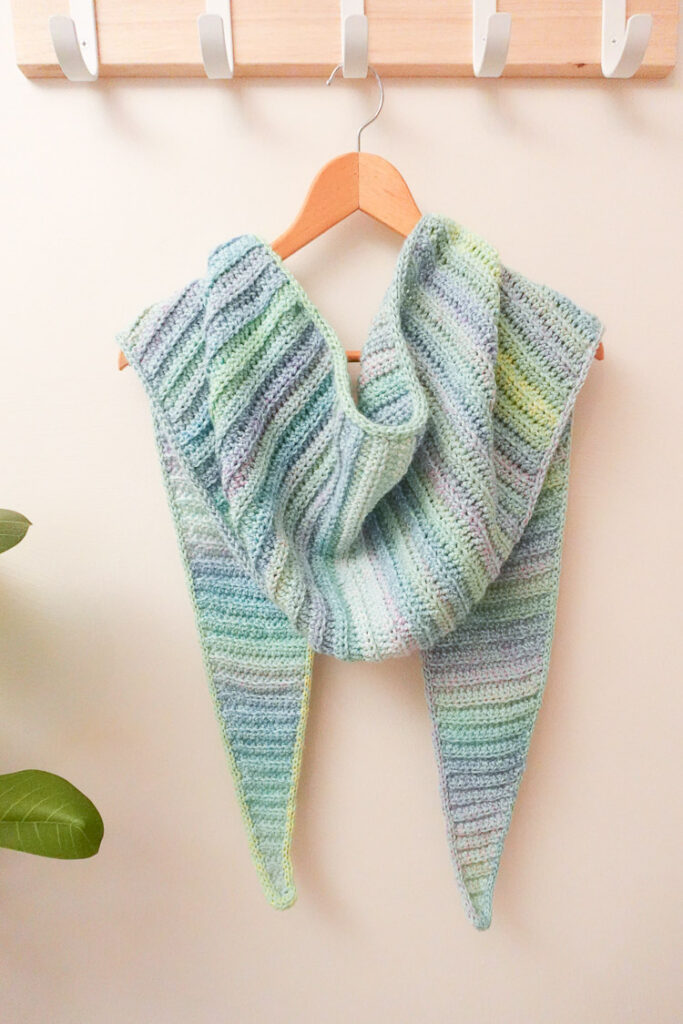
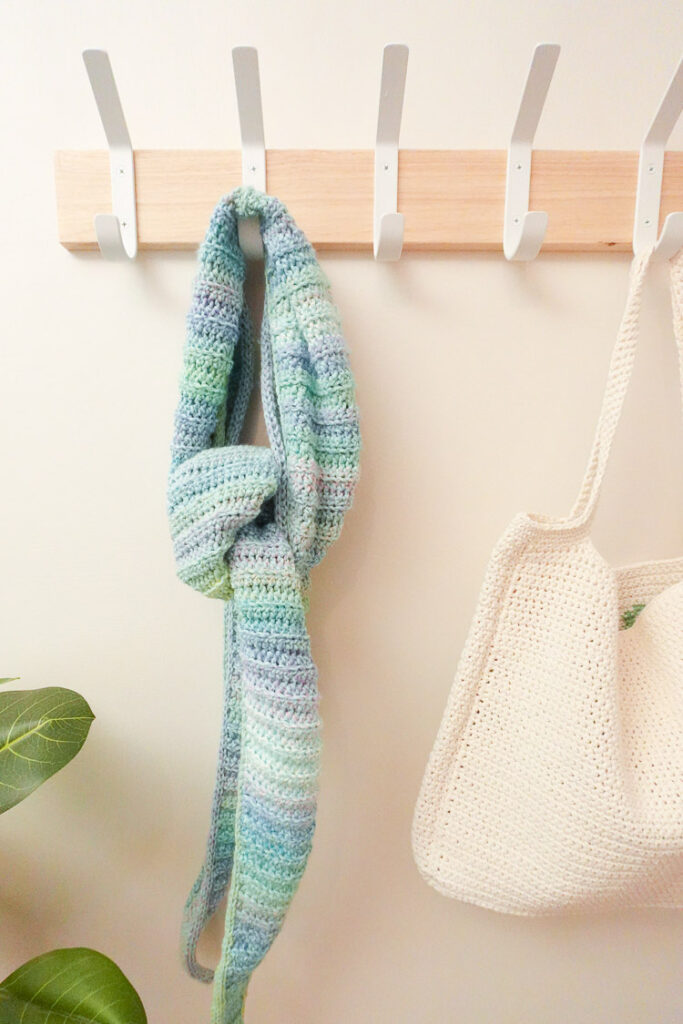
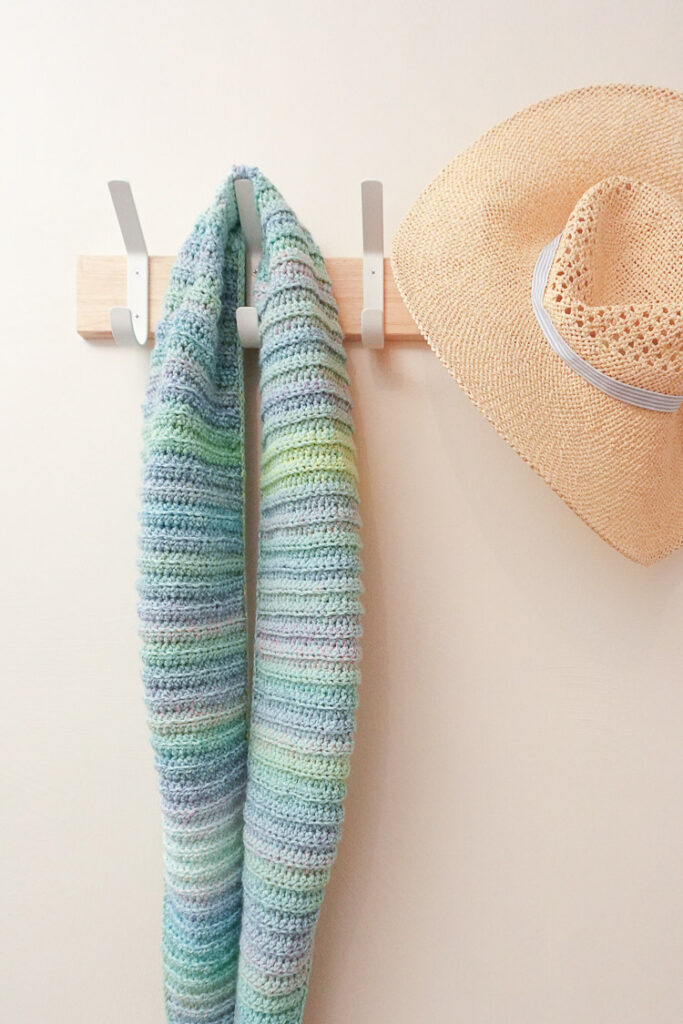
This shawl can be worn draped over the shoulders as a light wrap or wrapped around the neck like a scarf, making it super versatile. Plus, it’s made with just one stitch (half double crochet in the back loop), so it’s perfect for beginners or anyone looking for a relaxing, meditative project.
And the best part? It can be worked up in just a couple of weekends!
Why You’ll Love This Easy Crochet Shawl Pattern
- Beginner-Friendly – Uses only half double crochet in the back loop
- Lightweight & Versatile – Can be worn as a shawl or a scarf
- Beautiful Texture – Ribbed fabric + an i-cord edge for a polished look
- Perfect for Stash Busting – Uses about 1 cake of #3 lightweight yarn
- Great for Spring – Not too heavy, just enough warmth for in-between weather
Step-by-Step Video Tutorial
If you’re a visual learner, be sure to check out my full step-by-step video tutorial, where I walk you through every part of the pattern—including how to work the ribbed fabric and finish with the i-cord edging.
Grab The Written Pattern
The full free pattern is available right here on the blog. Keep on scrolling to start crocheting!
Prefer a printable version? You can purchase the ad-free, beautifully formatted PDF in my Etsy shop! Click here!
OR… gain instant access to this pattern PDF as well as my entire PDF pattern library! Click here for more information.
*This post may contain affiliate links. Please see my disclosures page for more information.
All patterns on this blog are for personal use only and may not be redistributed, copied, blogged, or sold as your own. You may sell items made by my patterns as long as the item is made by you personally (not mass produced) and that proper credit is given back to me and my site, Just Be Crafty. You may not use my photos for your online sales listings.
The Watercolor Shawl— A Free Easy Crochet Shawl Pattern
Skill Level: Beginner
Yarn
- #3-lightweight, 100% acrylic yarn (1071 yds, 339 g, 978 m)
Suggested Yarn
- 3 balls of Yarn Bee Chromatic Spectrum in Island Life (357 yds, 113 g, 326 m, each)
Suggested Hook
- 5.5 mm crochet hook (or size needed to obtain gauge)
- Knitting needle (no larger than a US size 8/5.5mm) for i-cord edging
Notions
- Scissors
- Yarn needle
- Locking stitch marker
- Measuring tape
- Blocking boards and T-pins (optional)
Finished Measurements
- Wingspan: 72”/183 cm
- Depth at apex: 13.75”/35 cm
Gauge
15 st by 10 rows = about 4”/10 cm in half double crochet back loop only (hdcblo)
Abbreviations
- ch chain
- dec decrease (crochet two stitches together as if they are one)
- hdc half double crochet
- hdcblo half double crochet back loop only
- RS right side (front of work)
- sl st slip stitch
- st stitch
- WS wrong side
- YO yarn over

Notes
Construction
- This shawl is worked flat in back-and-forth rows. Increases are made on one side of the shawl every other row until the widest point is reached. Then, the stitch count is decreased every other row to create a shallow triangle. Once the shawl is complete, an applied i-cord edging is added for a polished finish.
I-Cord Edging
- The i-cord edging is worked after the shawl is completed. Typically a knitting technique, i-cord is adapted here using crochet by slipping stitches between a crochet hook and a knitting needle to create the structured edge.
Blocking
- Blocking is essential to relax the fabric and restore the shawl’s intended shape, as the i-cord edging will initially shrink the piece.
- For acrylic fibers (steam blocking):
- Pin shawl to blocking boards at desired measurements.
- Gently steam the fabric, making multiple passes to allow fibers to relax.
- Be careful not to let the steamer touch the fiber directly.
- Allow to dry completely before unpinning.
- For natural fibers (wet blocking):
- Soak the shawl in cool water with mild soap or wool wash for 10 minutes.
- Remove excess water by pressing (not wringing).
- Roll the shawl in a towel and press again.
- Pin to blocking boards at desired measurements and let dry.
- For acrylic fibers (steam blocking):
Watercolor Shawl Pattern Starts Here:
Read entire pattern and notes before beginning.
TRIANGLE ASCEND
ch 4
Row 1: Starting in 3rd ch from hook, hdc across, turn. (2 st)
Row 2 (increase row-RS): ch 2, make 2 hdcblo in 1st st, hdc in next st, turn. (3 st)
Row 3: ch 2, hdcblo across, turn. (3 st)
Repeat Triangle Ascend Rows 2-3 until entire piece measures approx. 40”/101.6 cm), ending on a Row 3 repeat. To keep track of the RS, place a locking stitch marker on the front of your work. Increases will always occur on the RS.
TRIANGLE DESCEND
Row 1 (decrease row-RS): ch 2, hdcblo dec, hdcblo across, turn.
Row 2: hdcblo across, turn.
Repeat Triangle Descend Rows 1-2 until only 2 st remain, ending on a Row 1 repeat. Move your locking stitch marker up as you work to keep track of the RS.
Do not cut yarn. Remove locking stitch marker.
I-CORD EDGING
The i-cord edge is worked along the shawls side edges. Work 3 i-cord stitches per rib-section along the edge. For extra help, refer to the video tutorial.

I-Cord Steps
Step 1: With RS face up, ch 3, insert hook into 2nd ch from hook and draw up a loop, insert hook into next ch and draw up a loop. (3 loops on your hook.)
Step 2: Insert hook into the side of the next stitch and draw up a loop. (4 loops on your hook.)
Step 3: Put knitting needle in your left hand. Slide the first 3 loops from the crochet hook onto the knitting needle for safekeeping.
Step 4: Take the remaining loop off of the crochet hook and place a locking stitch marker on it to hold.
Step 5: Slide the next stitch from knitting needle back onto the crochet hook. Ch 1.
Step 6: Slide the remaining 2 stitches from the knitting needle back onto the crochet hook. YO, pull through 2 loops. (2 loops on your hook.)
Step 7: Insert hook into next side edge space, and draw up a loop (3 loops on hook).
Step 8: Slide first 2 stitches from the crochet hook onto the knitting needle for safekeeping.
Step 9: Ch 1 with the remaining loop, slide the 2 stitches from the knitting needle back onto the crochet hook. YO, and pull through 2 loops. (2 loops on your hook.)
Repeat Steps 7-9 until you work reach the opposite end (the starting edge).
At the starting edge, make 2 i-cord stitches per starting stitch to round the corner.
Continue the process until the edging is complete, making 2 i-cord stitches into the last stitch of the round.
To Finish I-Cord
Cut yarn leaving a 12”/30 cm) tail. Place the 2 remaining loops on a locking stitch marker.
Flip work WS up. If you look along the i-cord edge, you’ll see horizontal bars coming from each stitch.
Step 1: Remove locking stitch marker from the first i-cord stitch left on hold and place onto the crochet hook.
Step 2: Insert hook under the first horizontal bar, and sl st.
Step 3: Insert hook under the next horizontal bar and sl st.
Repeat Step 3 across the entire i-cord edge. You’ll now have 3 i-cord columns bordering the shawl.
Using a yarn needle, duplicate stitch the starting and ending i-cord edges closed. See video tutorial for help.
FINISHING
Weave in all ends. Block your shawl following the blocking instructions listed on page X. Note: The i-cord edging will slightly shrink the shawl, but blocking will help it relax and open back up.
Enjoy!
