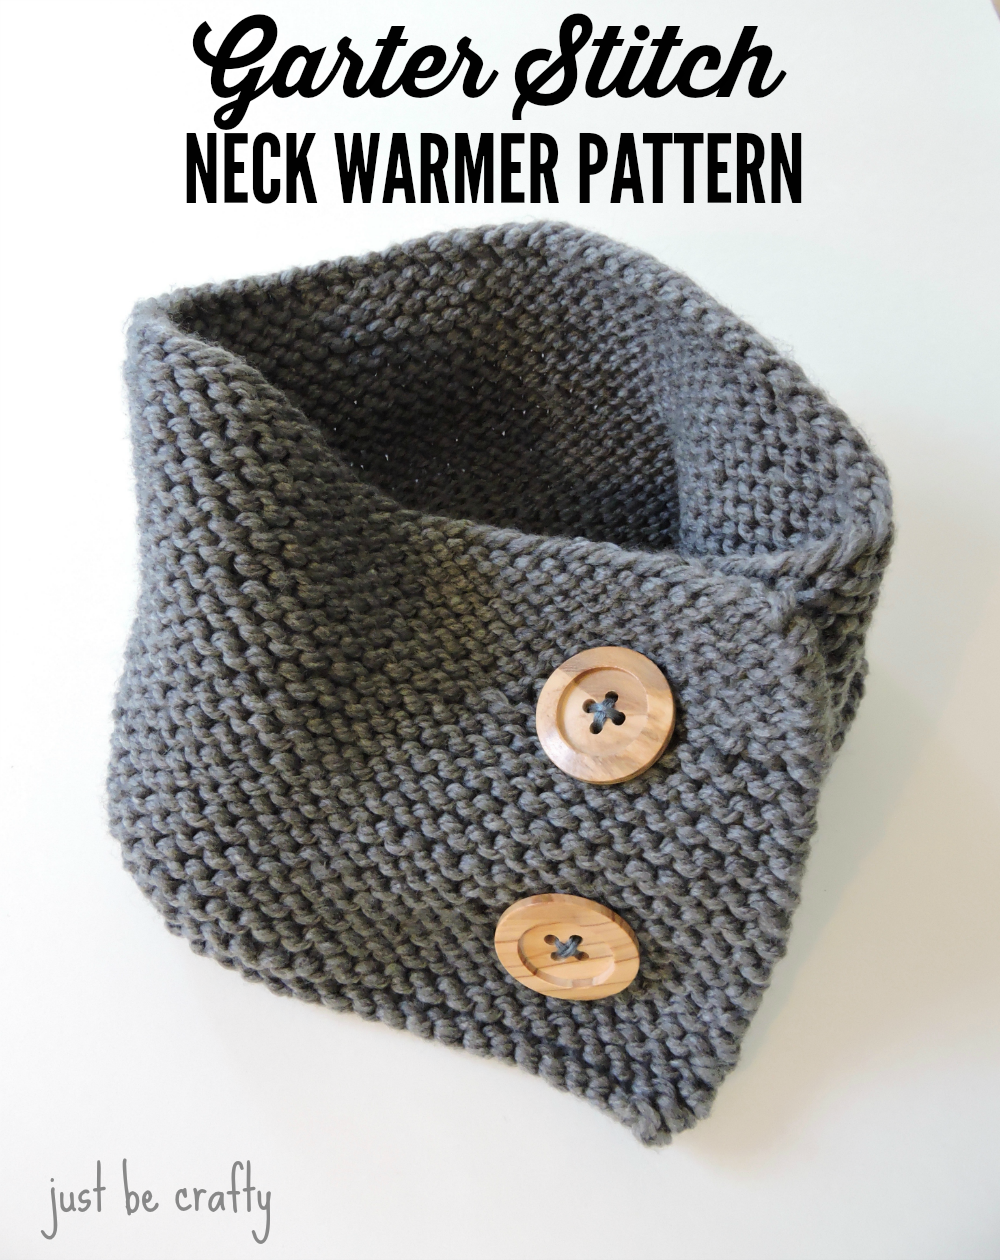
Today’s project was a long lost pattern I had made a few months ago, but forgot to post! Better late than never…right?? It was inspired by one of my boss’s cowls that she had worn to work this past winter. It was such a cute shape and a simple enough design that I knew I had to make one for myself! On my way home from work that afternoon I booked it straight to JoAnn’s and bought two wooden buttons and a couple skeins of yarn for good measure (impulse yarn purchase only… I already had what I needed for this. Ha!).
Over the next couple evenings I whipped up this cowl, and have to say it looks just like the original! I LOVED this project because once again, it knits up really quickly with the large knitting needles and chunky yarn. The entire piece is 26 inches long and when folded it fits snuggly to the neck, almost like a turtle neck. It would look really cute with a fitted black shirt!
To make your own, see the pattern below!
A printable PDF of this pattern is available for purchase here.
Garter Stitch Button-up Neck Warmer
Finished Measurement:
26 inches laying flat.
**Please note this piece fits snuggly to the neck almost like a turtle neck.**
Materials:
- 1 skein Bernat Collegiate Chunky Yarn in grey (you will need approximately 100 yards or 93 grams)
- US size 10 circular knitting needles – 29″
- Scissors
- Yarn needle
- Needle
- 2 wooden buttons (1 3/8″)
- embroidery floss in coordinating color
Key:
- Double YO – Double yarn over – knit up to the stitch before the yarn over, bring the yarn to the front of the work and wrap yarn around your right needle 2x, and continue pattern as written.
Pattern:
Cast on 80. You will be working back and forth in rows.
Rows 1 – 10: knit
Row 11: K7, bind off 2, knit to the end of row
Row 12: knit to the bind off, double yo, knit to the end.
Rows 13 – 26: knit
Row 27: Repeat row 11
Row 28: Repeat row 12
Rows 29 – 39: knit
Bind off. Weave in ends.
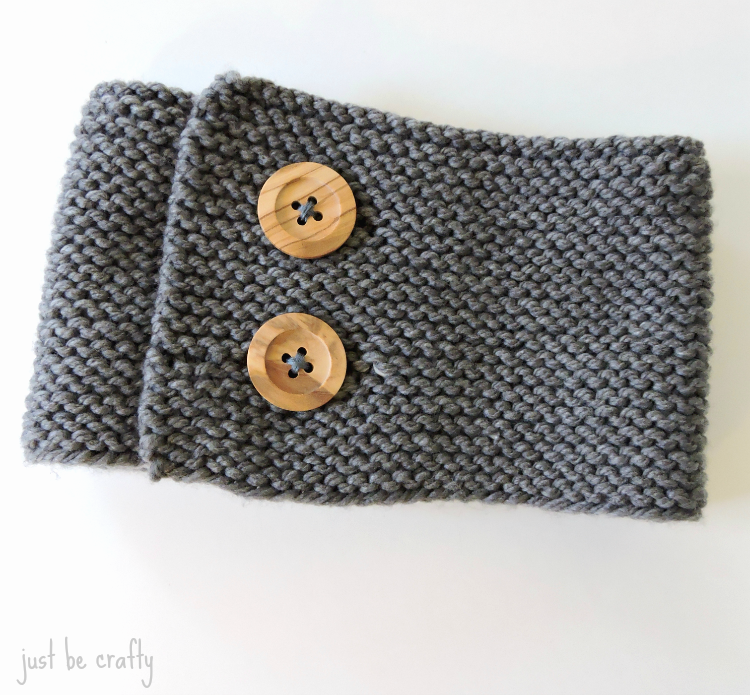
Positioning Buttons:
Lay piece flat, and on the opposite end of the button holes, line up your buttons so the center rests approximately 2 inches in from the sides and 6 rows from both the cast on and bind off edges. This position should line up your button with the holes. Just to make sure, you may fold your piece over to see if the buttons line up with the holes and if not, make adjustments so they line up.
Using your embroidery floss and needle, sew the buttons to the cowl.
Have a great day!