Granny squares are a crochet classic for a reason. They are simple, versatile, and great for everything, such as blankets, bags, scarves and even sweaters! If you’re brand new to crochet or just need a refresher, this updated Granny Square Crochet tutorial includes a full step-by-step photo walkthrough and complete video to help you make your best granny square ever.
Here’s a few details on the tutorial:
- Skill Level: Beginner
- Time to Make: ~15 minutes per square
- Includes: Photo Tutorial + Full Video instruction!
Video Tutorial
Visual learner?? I’ve got you covered. Watch the full tutorial below. I walk you through each step. Follow along with me to learn to how to crochet a granny square, the easy way!
Watch the Video Tutorial Here:
Enjoy this fun little inspo…
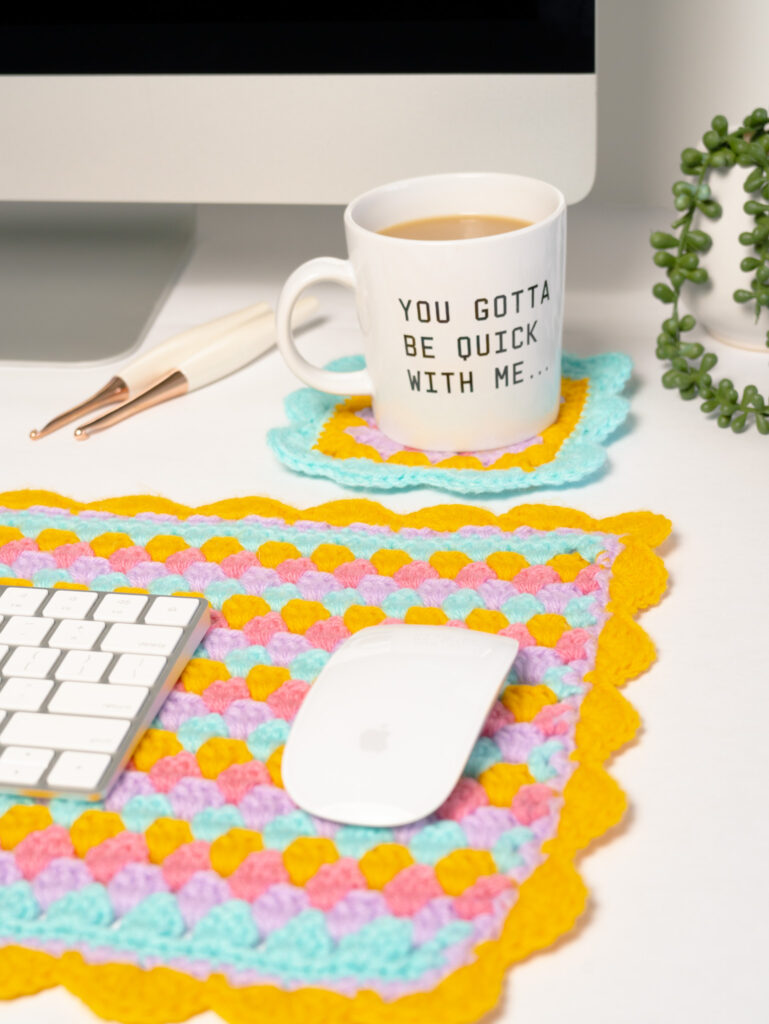
I love sitting at my desk to make granny squares while I watch fun YouTube videos. Check it out below!
Materials Needed:
- Any #4-medium weight yarn in 4 of your favorite colors (I’m using Big Twist Value)
- 5.5 mm hook
- Scissors
- Yarn needle
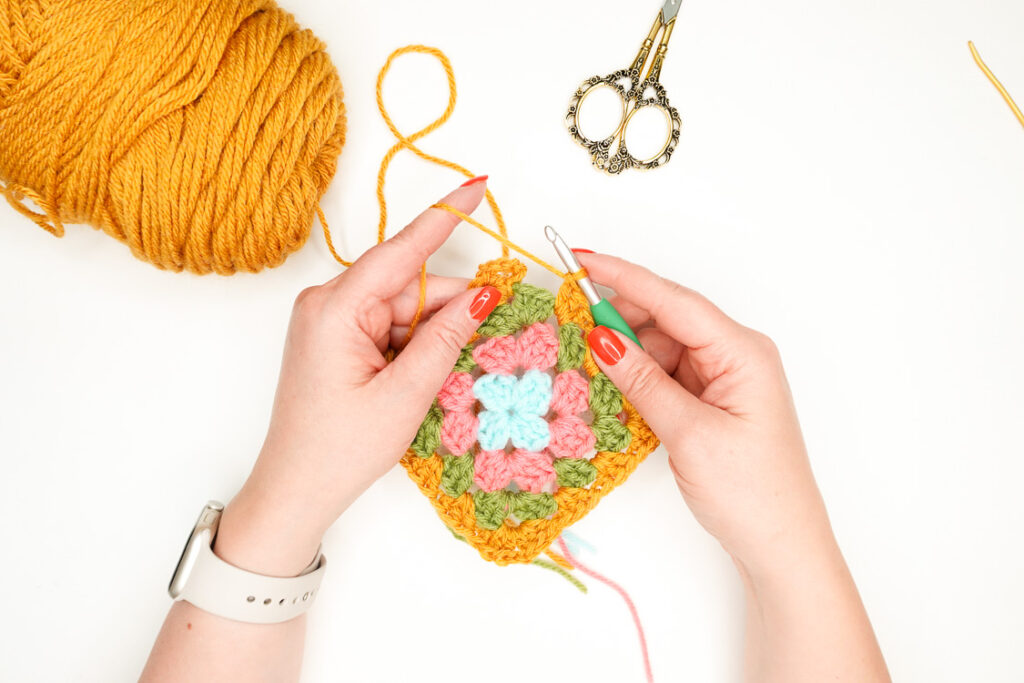
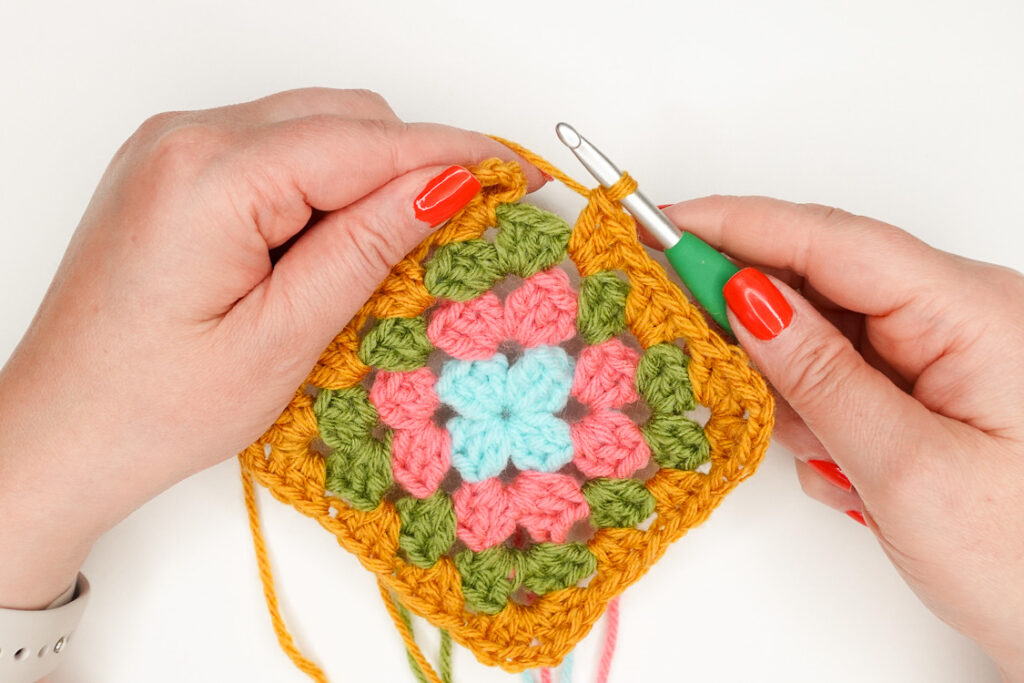
Granny Square Crochet Tutorial – Step-by-Step Instructions:
We are about to make a 4-round granny square. This size is great for many beginner projects like scarves, blankets, and bags!
Tip: Don’t worry if your first square isn’t perfect! Granny squares are super forgiving and easy to master with practice!
Classic Granny Square Crochet Tutorial: Round 1
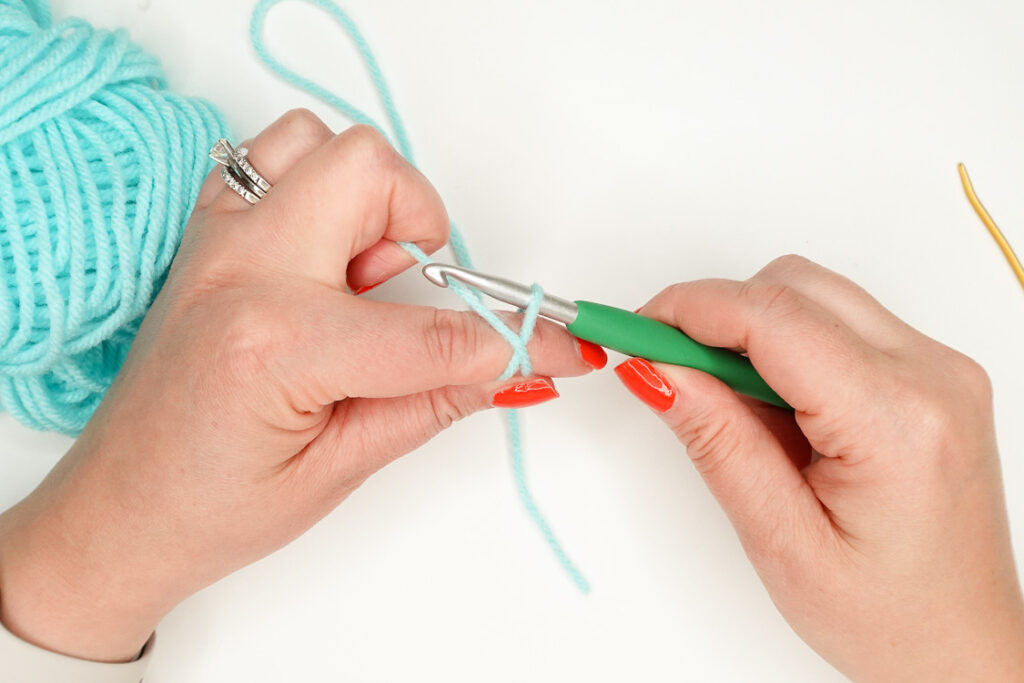
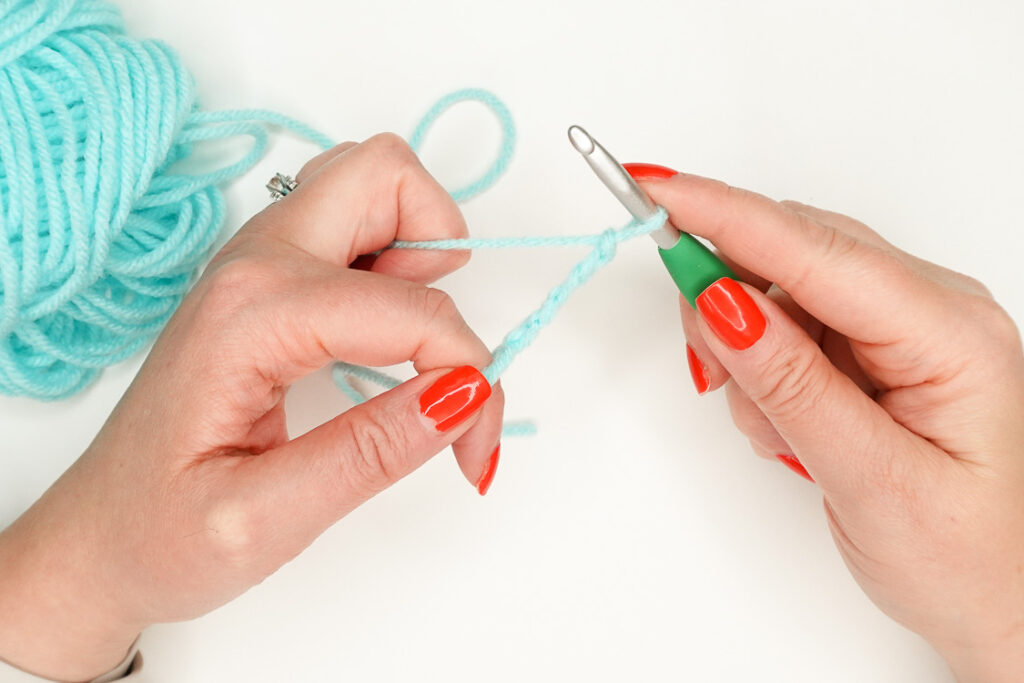
Step 1: With color 1, start with a magic ring
Step 2: In the magic ring, ch 5 (counts as a dc + a ch 2)
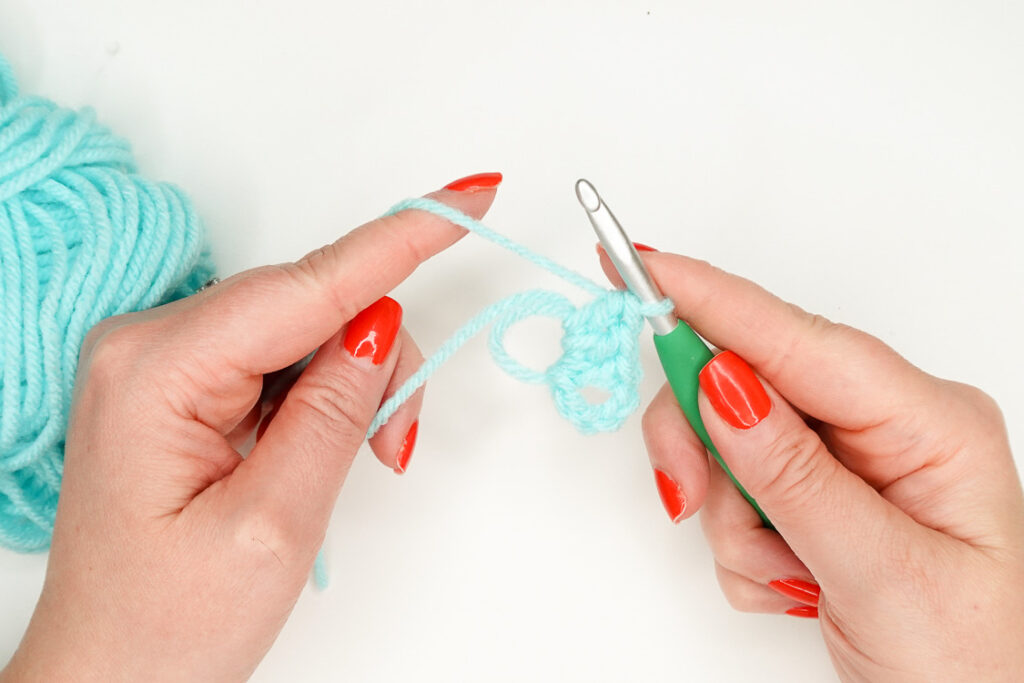
Step 3: Make 3 dc in the magic ring, ch 2
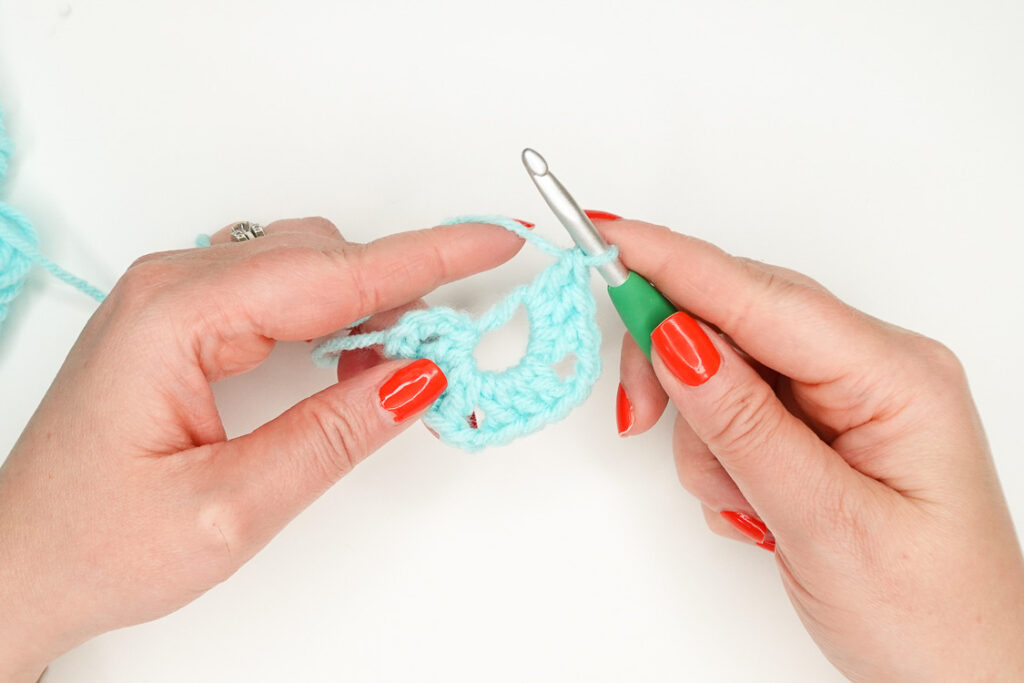
Step 4: Repeat Step 3 two more times
Step 5: make 2 more dc in ring. Join round by slip stitching into the 3rd ch of the starting ch 5.
Sl st into the next ch sp. Cut yarn and fasten off.
Step 6: Pull magic ring tail to cinch center of square closed.
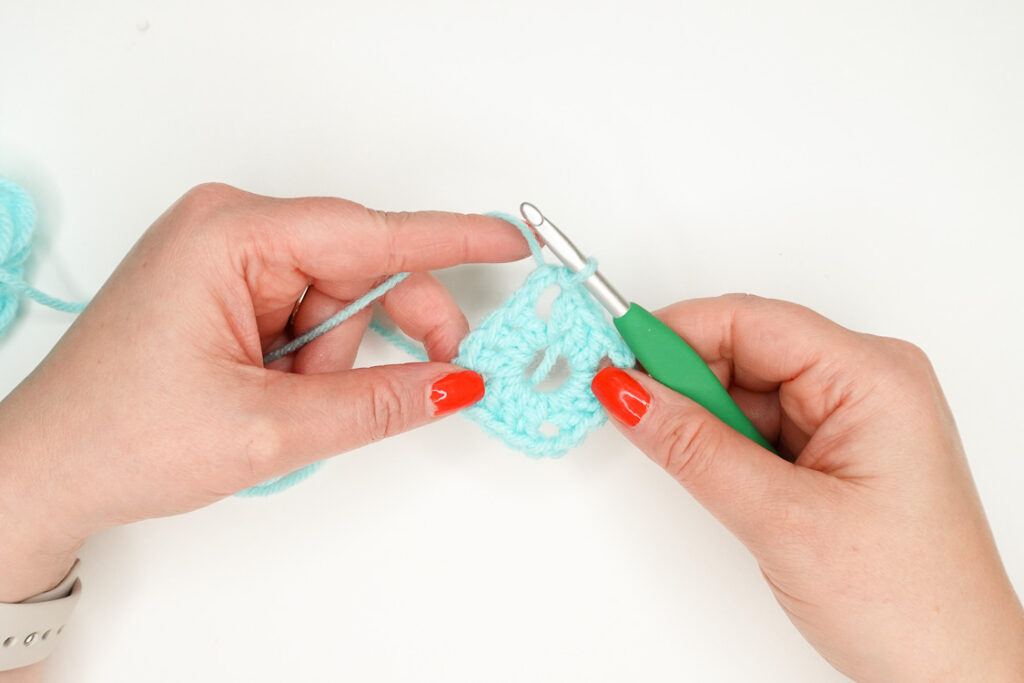
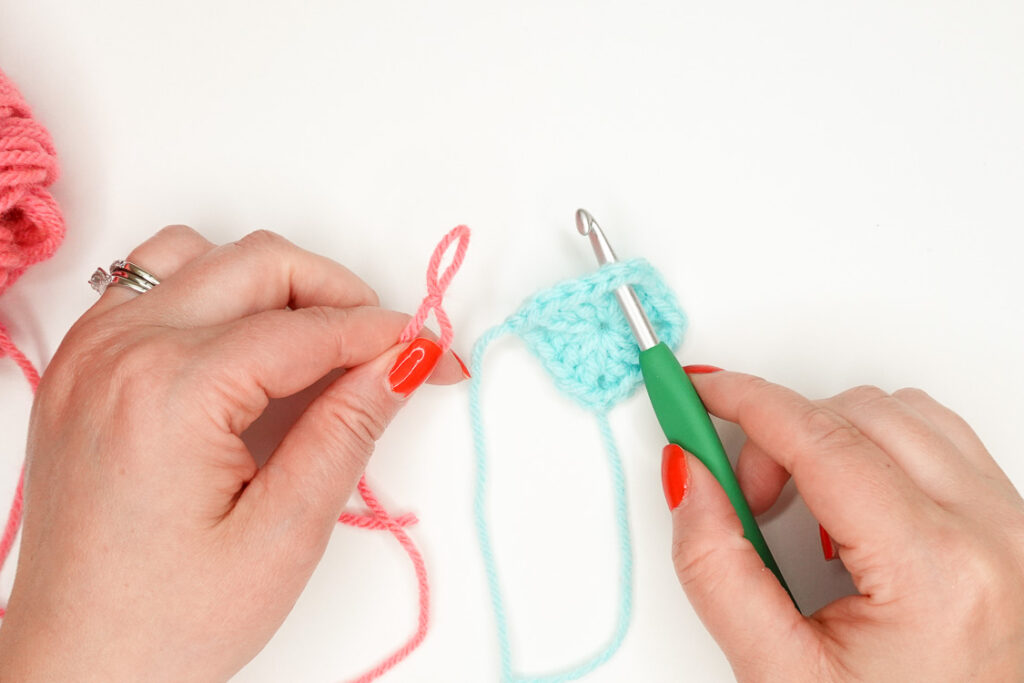
Classic Granny Square Crochet Tutorial: Round 2
Step 1: Insert hook into any corner sp. With new color, create a slip knot and slide onto hook. Pull through corner space to attach new color.
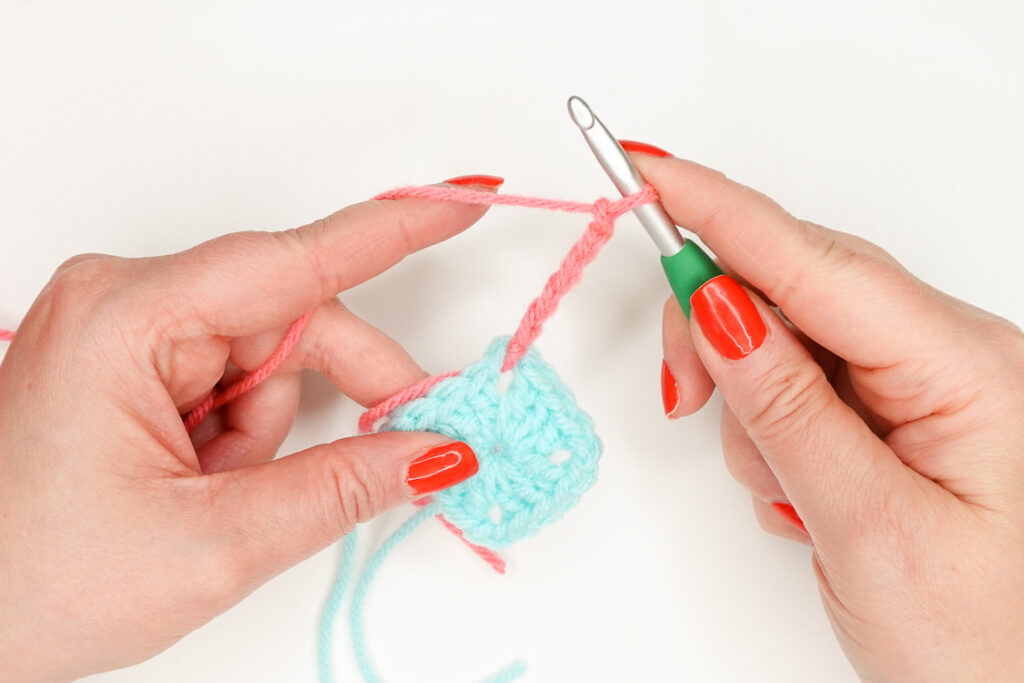
Step 2: Ch 5 (counts as a dc + ch 2)
Step 3: make 3 dc in same ch 2 corner sp
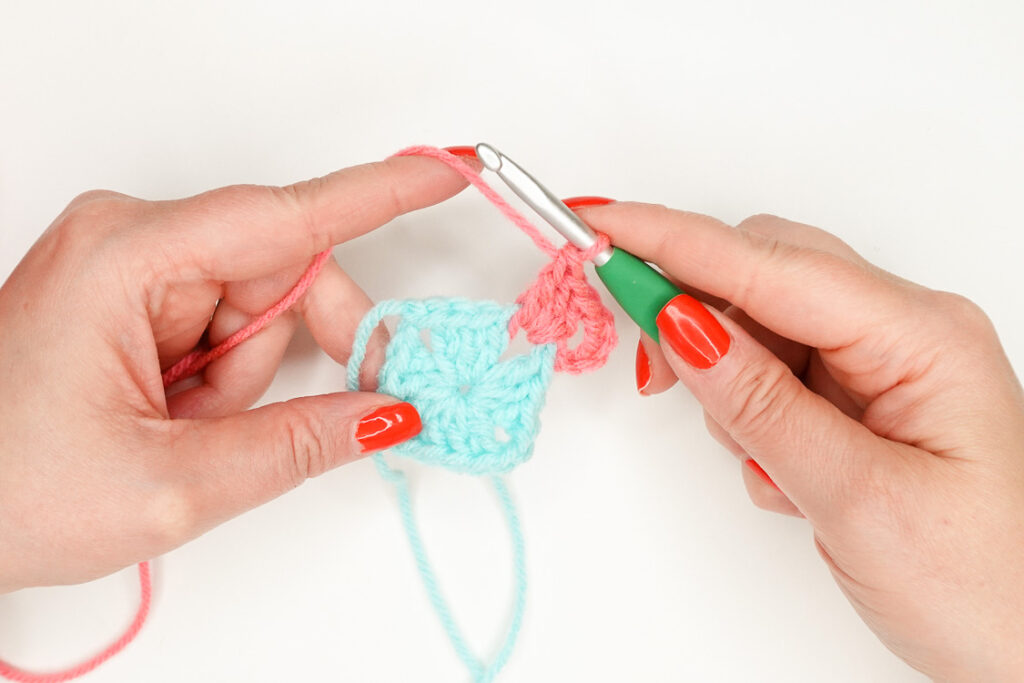
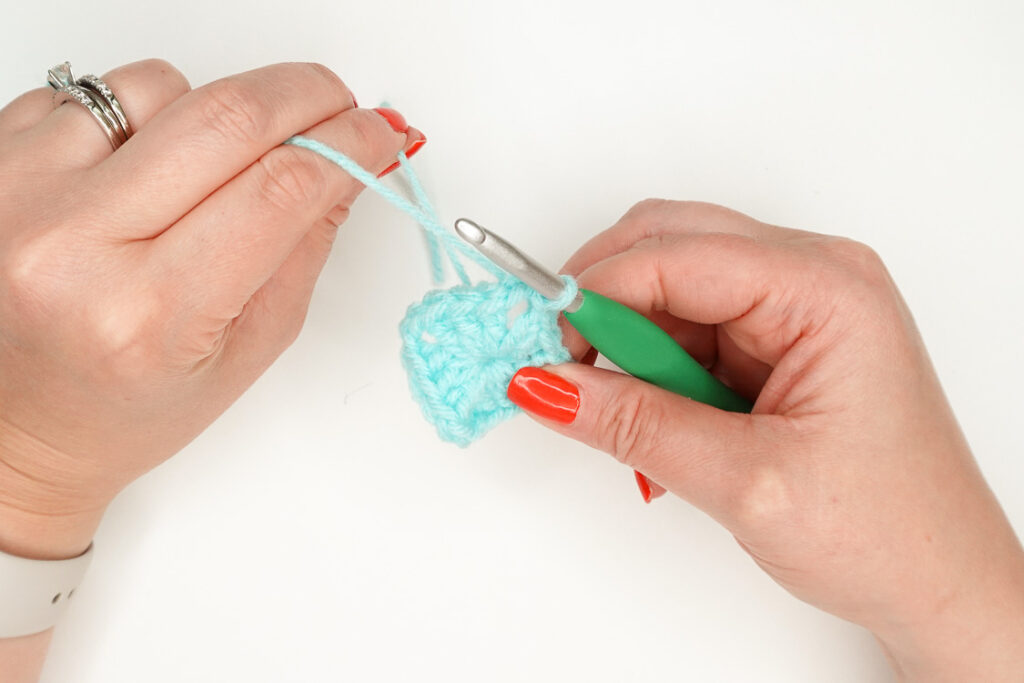
Step 4: In next ch 2 corner sp (make 3 dc, ch 2, 3 dc)
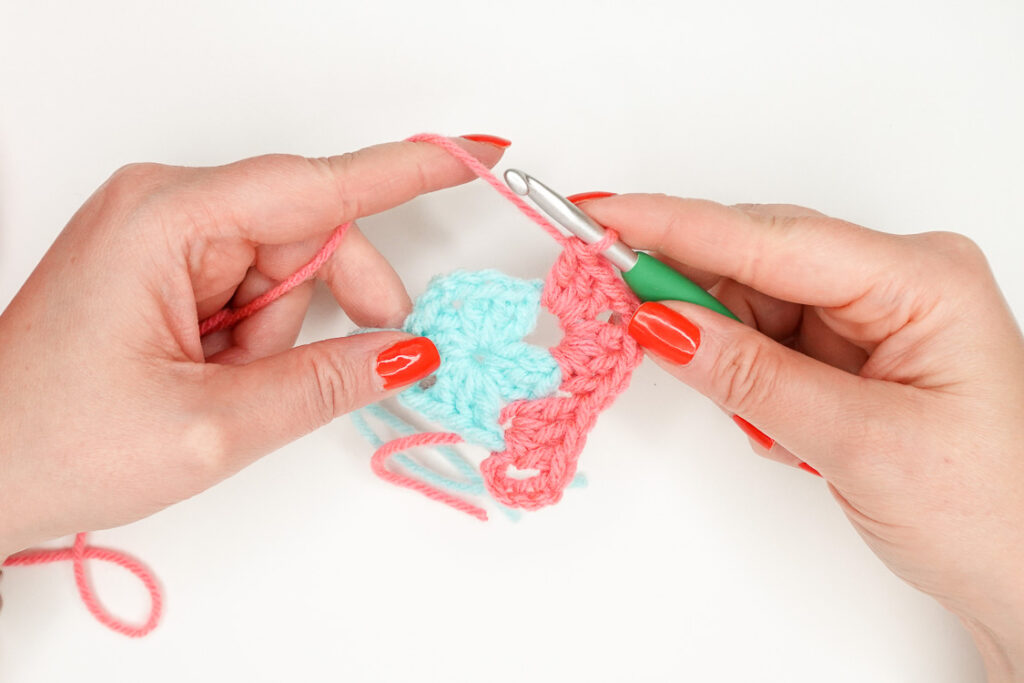
Step 5: Repeat Step 4 two more times
Step 6: Make 2 dc in first corner sp
Step 7: Join round by making a sl st into the 3rd ch of the starting ch 3; sl st into next corner sp.
Cut yarn and fasten off.
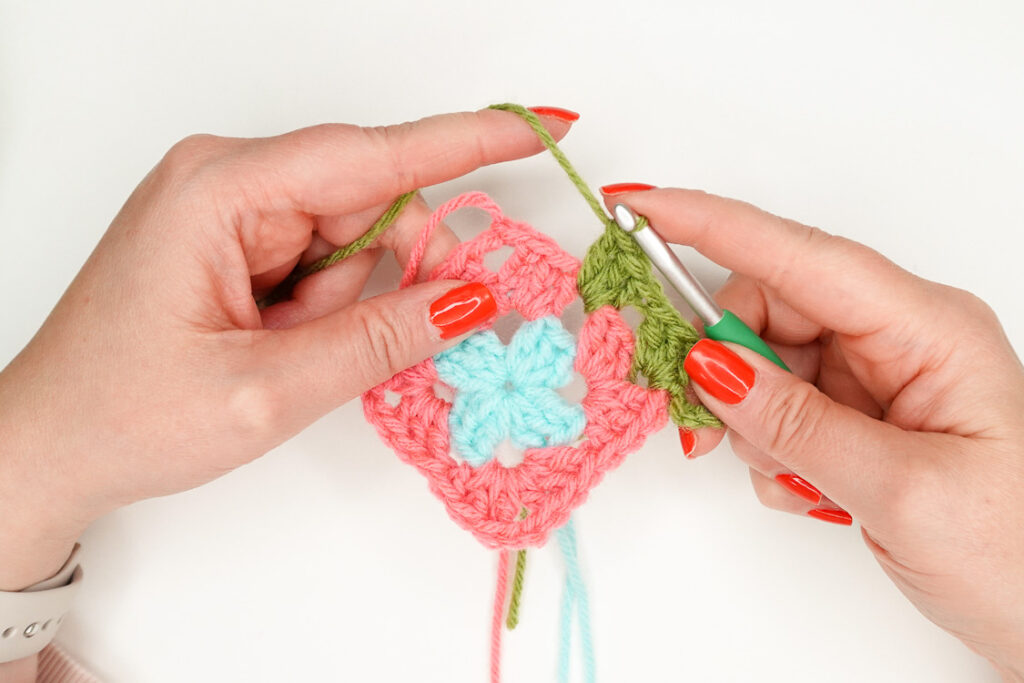
Granny Square Round 3
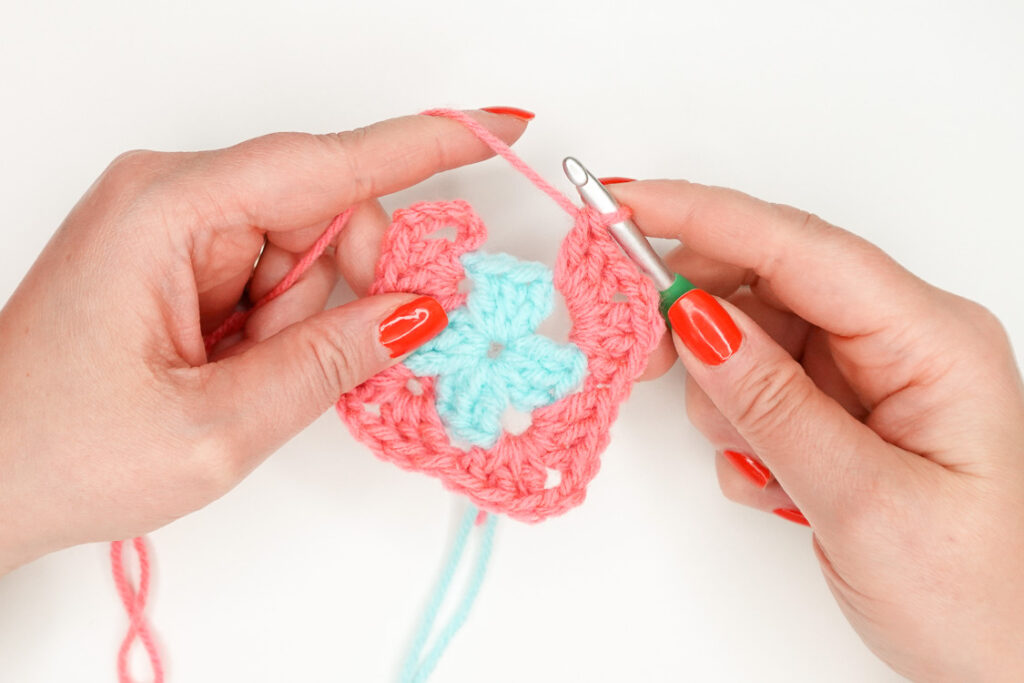
Step 1: Attach color 3 and ch 5 (counts as a dc + ch 2) and make 3 dc
Step 2: Make 3 dc in the next cluster sp
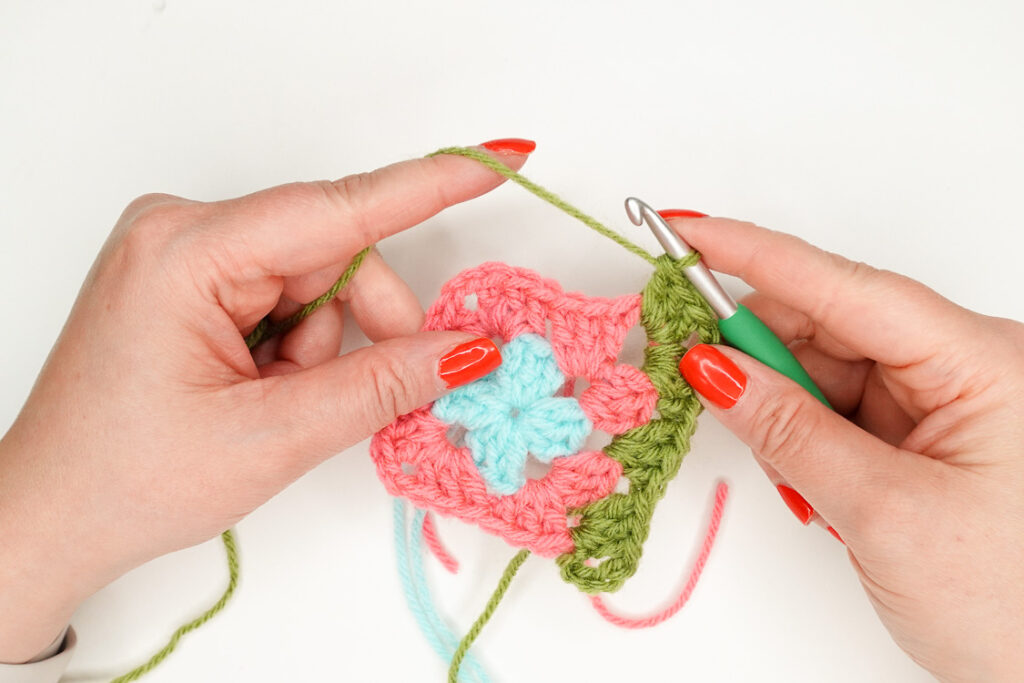
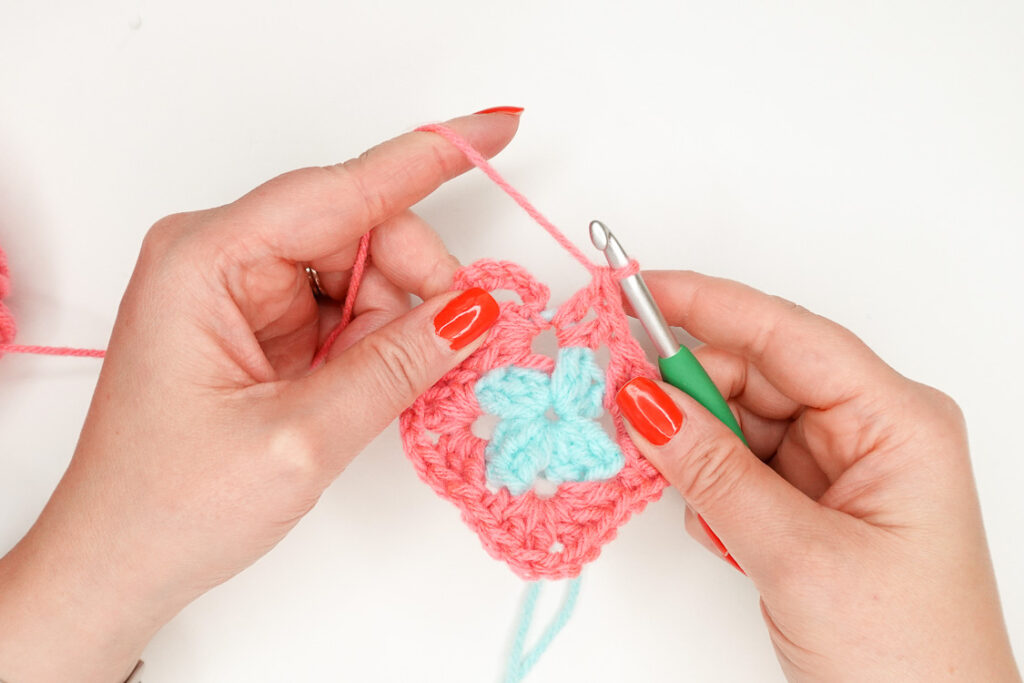
Step 3: in next corner sp make (3 dc, ch 2, 3 dc)
Step 4: Repeat process around. End round with 2 dc in first corner sp.
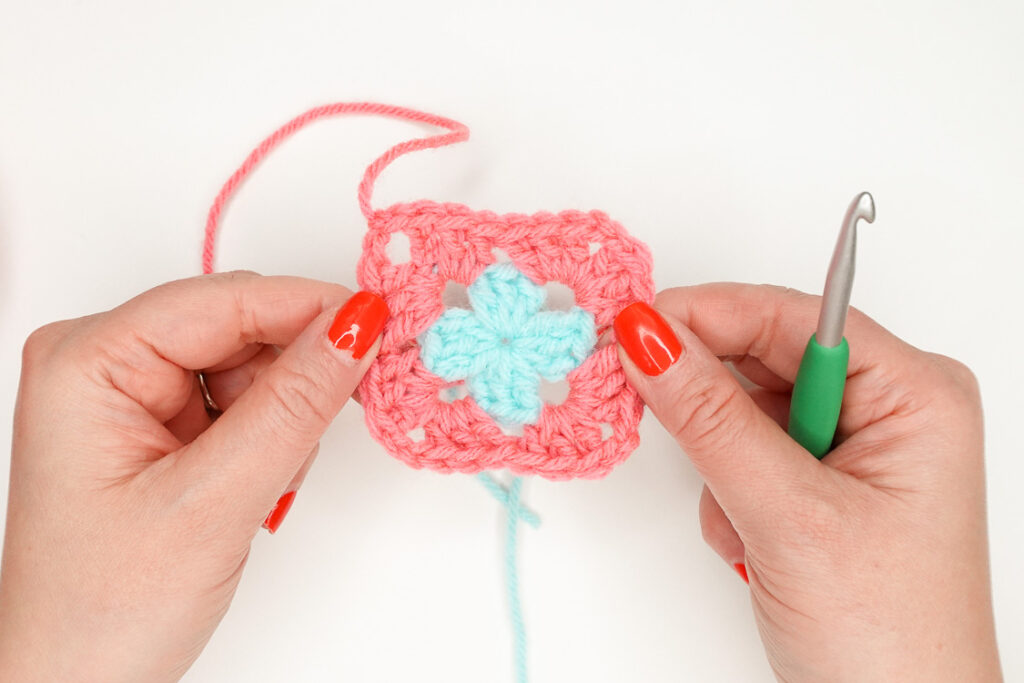
Join with the 3rd ch of the starting ch 5 with a sl st; sl st into next ch sp.
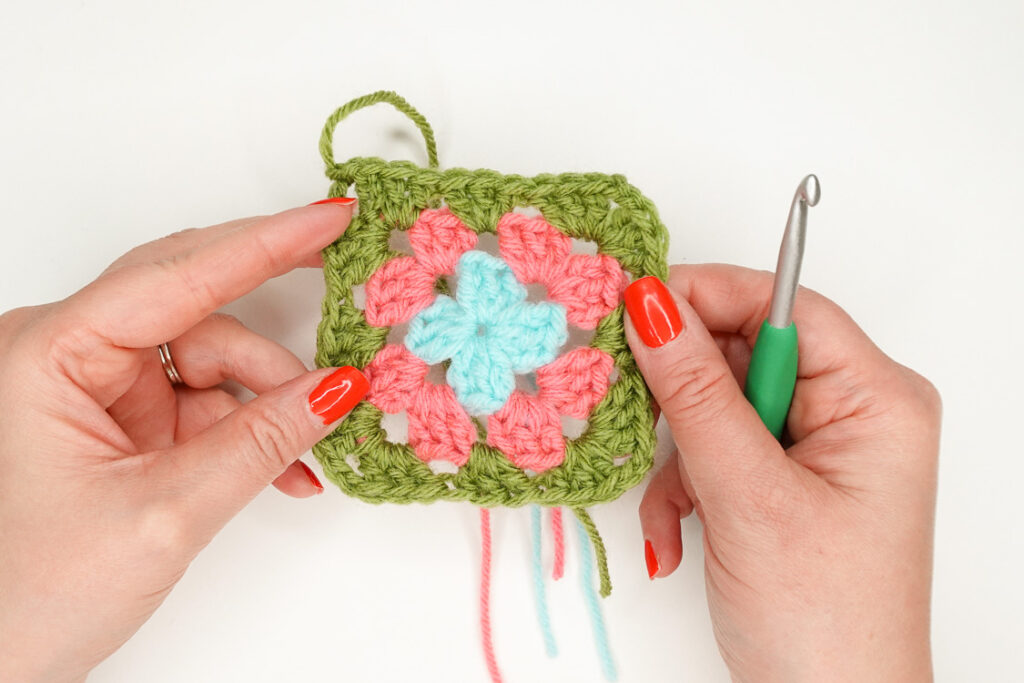
Cut yarn and fasten off.
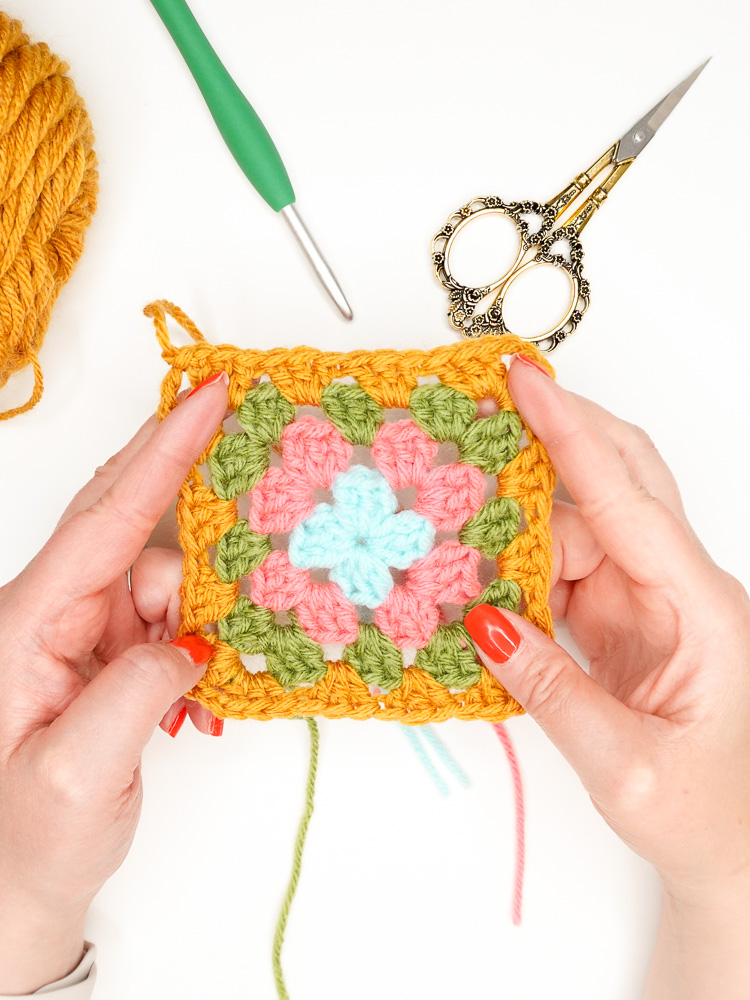
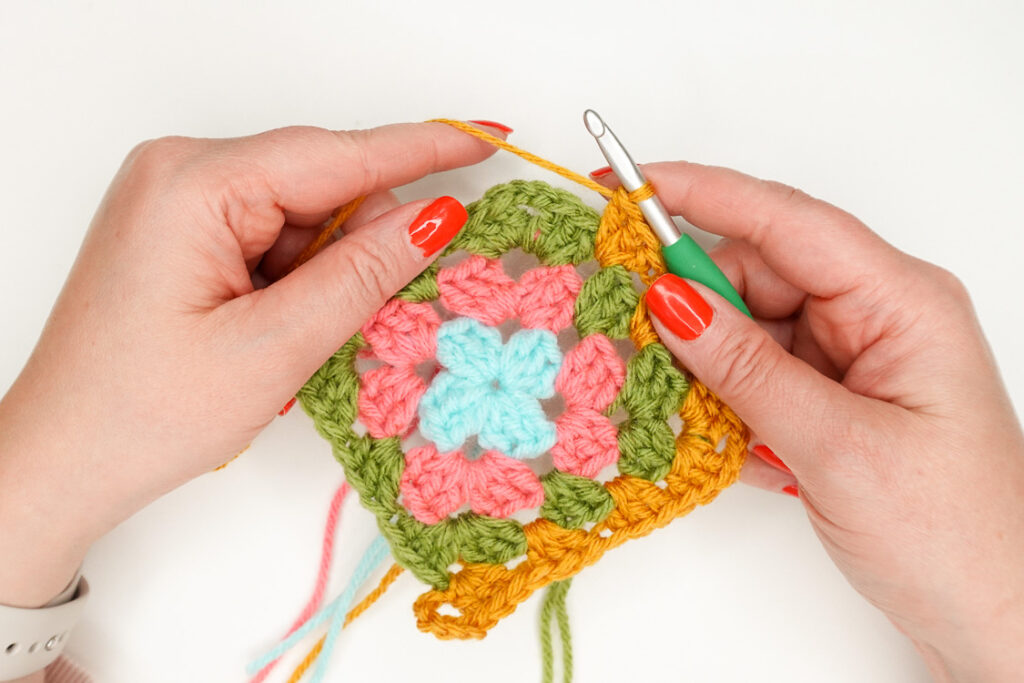
Granny Square Round 4
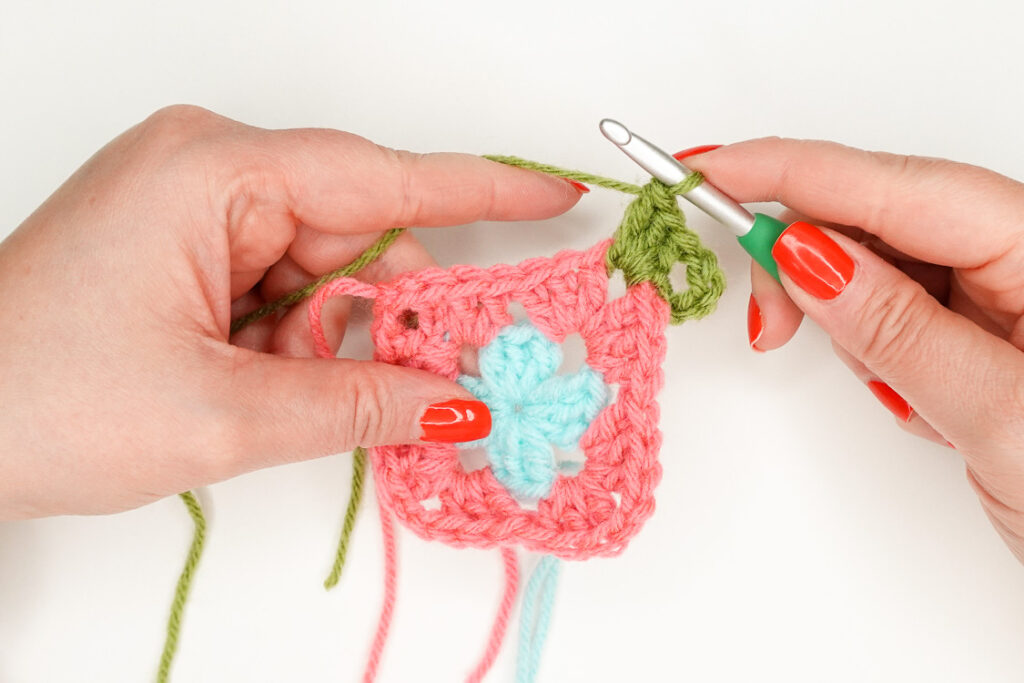
Step 1: In any corner sp, attach new color and ch 5 (counts as a dc + ch 2), make 3 dc in same corner sp, make 3 dc in each of the next cluster spaces, *in next corner sp make (3 dc, ch 2, 3 dc), make 3 dc in each of the next cluster spaces;
Repeat from * two more times.
Step 2: Make 2 dc in first corner sp. Join with the 3rd ch of the starting ch 5 with a sl st. Sl st into next corner sp.
Cut yarn and fasten off.
Repeat Round 4 instructions for all additional rounds.
Granny Square Tips and Tricks
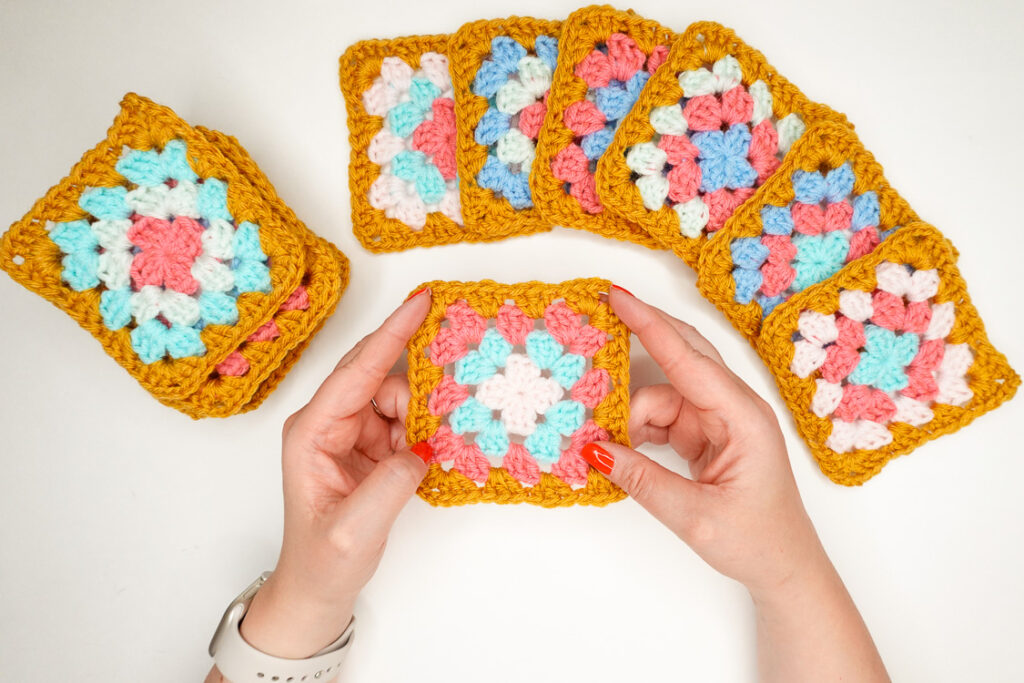
- Color Palette: Choose 3–4 colors for a fun, patchwork look
- Blocking: Lightly steam or wet block for polished squares. This makes them look way more even and professional!
- Tension: Try to keep your stitches even (practice helps!)
Save This For Later
Love this granny square crochet tutorial? Pin it to your crochet board so you can find it later!
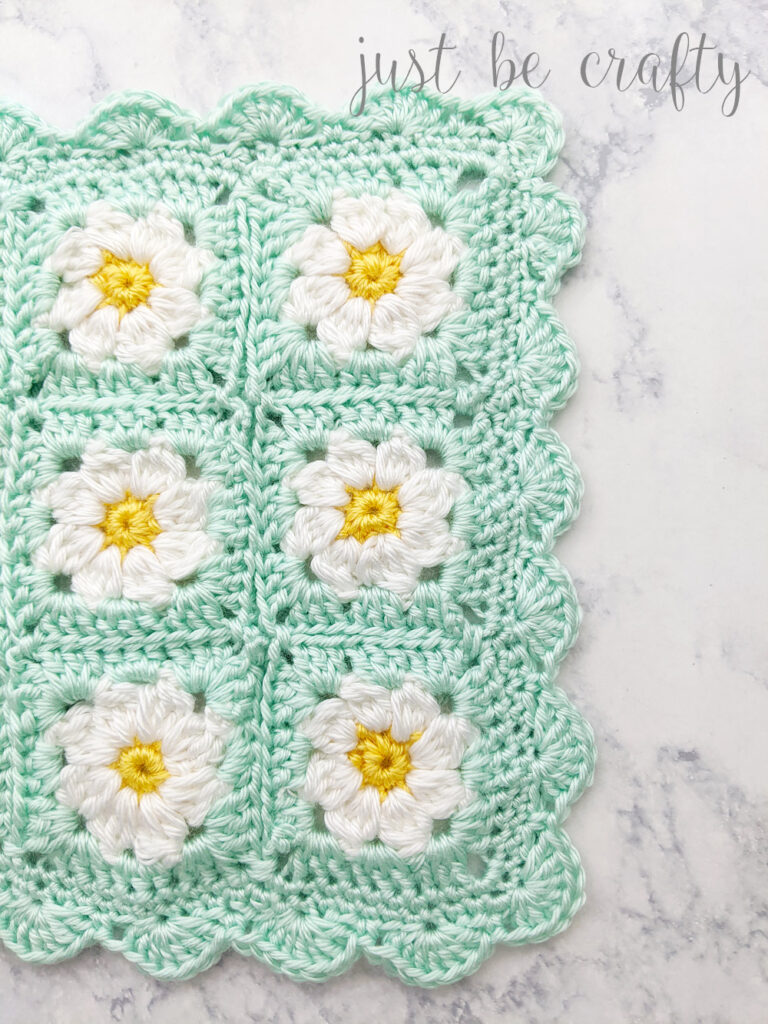
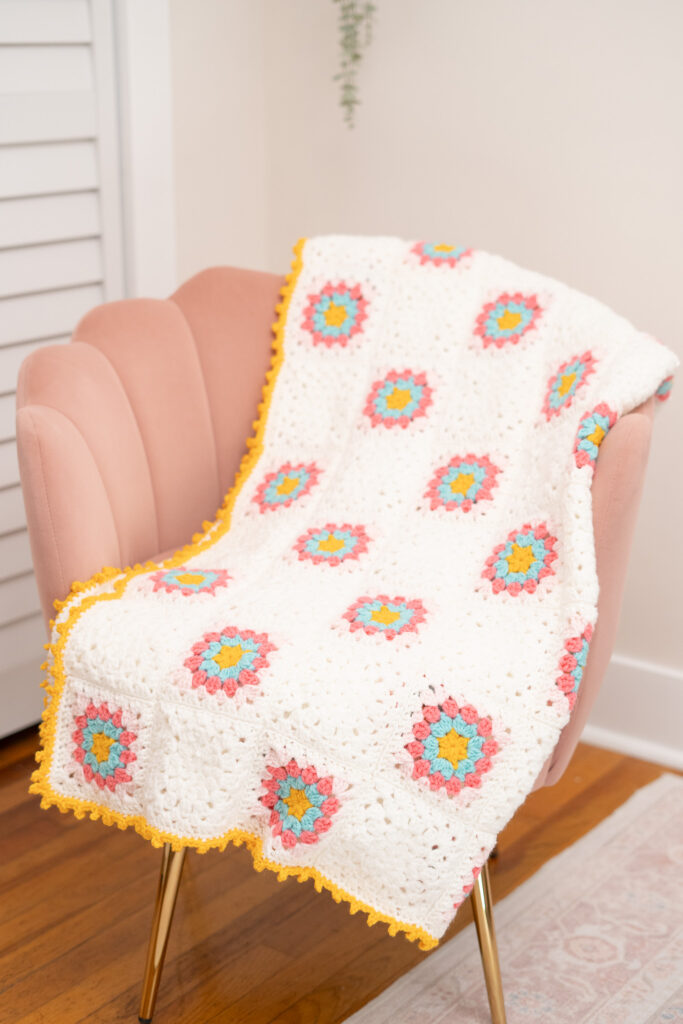
More Granny Square Projects You’ll Love!
If you enjoyed this granny square crochet tutorial, I know your going to love these fun granny projects too!

Get Fun Crochet Tutorials and Resources Straight to Your Inbox!
Join my Newsletter and get a FREE crochet essential supplies checklist! Grab your checklist here!
Tip: print out your checklist and take with you to the store, so you know exactly what to get in order to get started! Want to put together a complete beginner crochet kit? Check out this blog post here! I show you how to go into Michaels with a $20 bill and come out a crocheter!
Share Your Makes
Thanks for stopping by! I hope this Granny Square Tutorial made things a little more easy and way more fun. Leave a comment if you have questions, and check out my other tutorials for even more crochet fun! 🧶💛