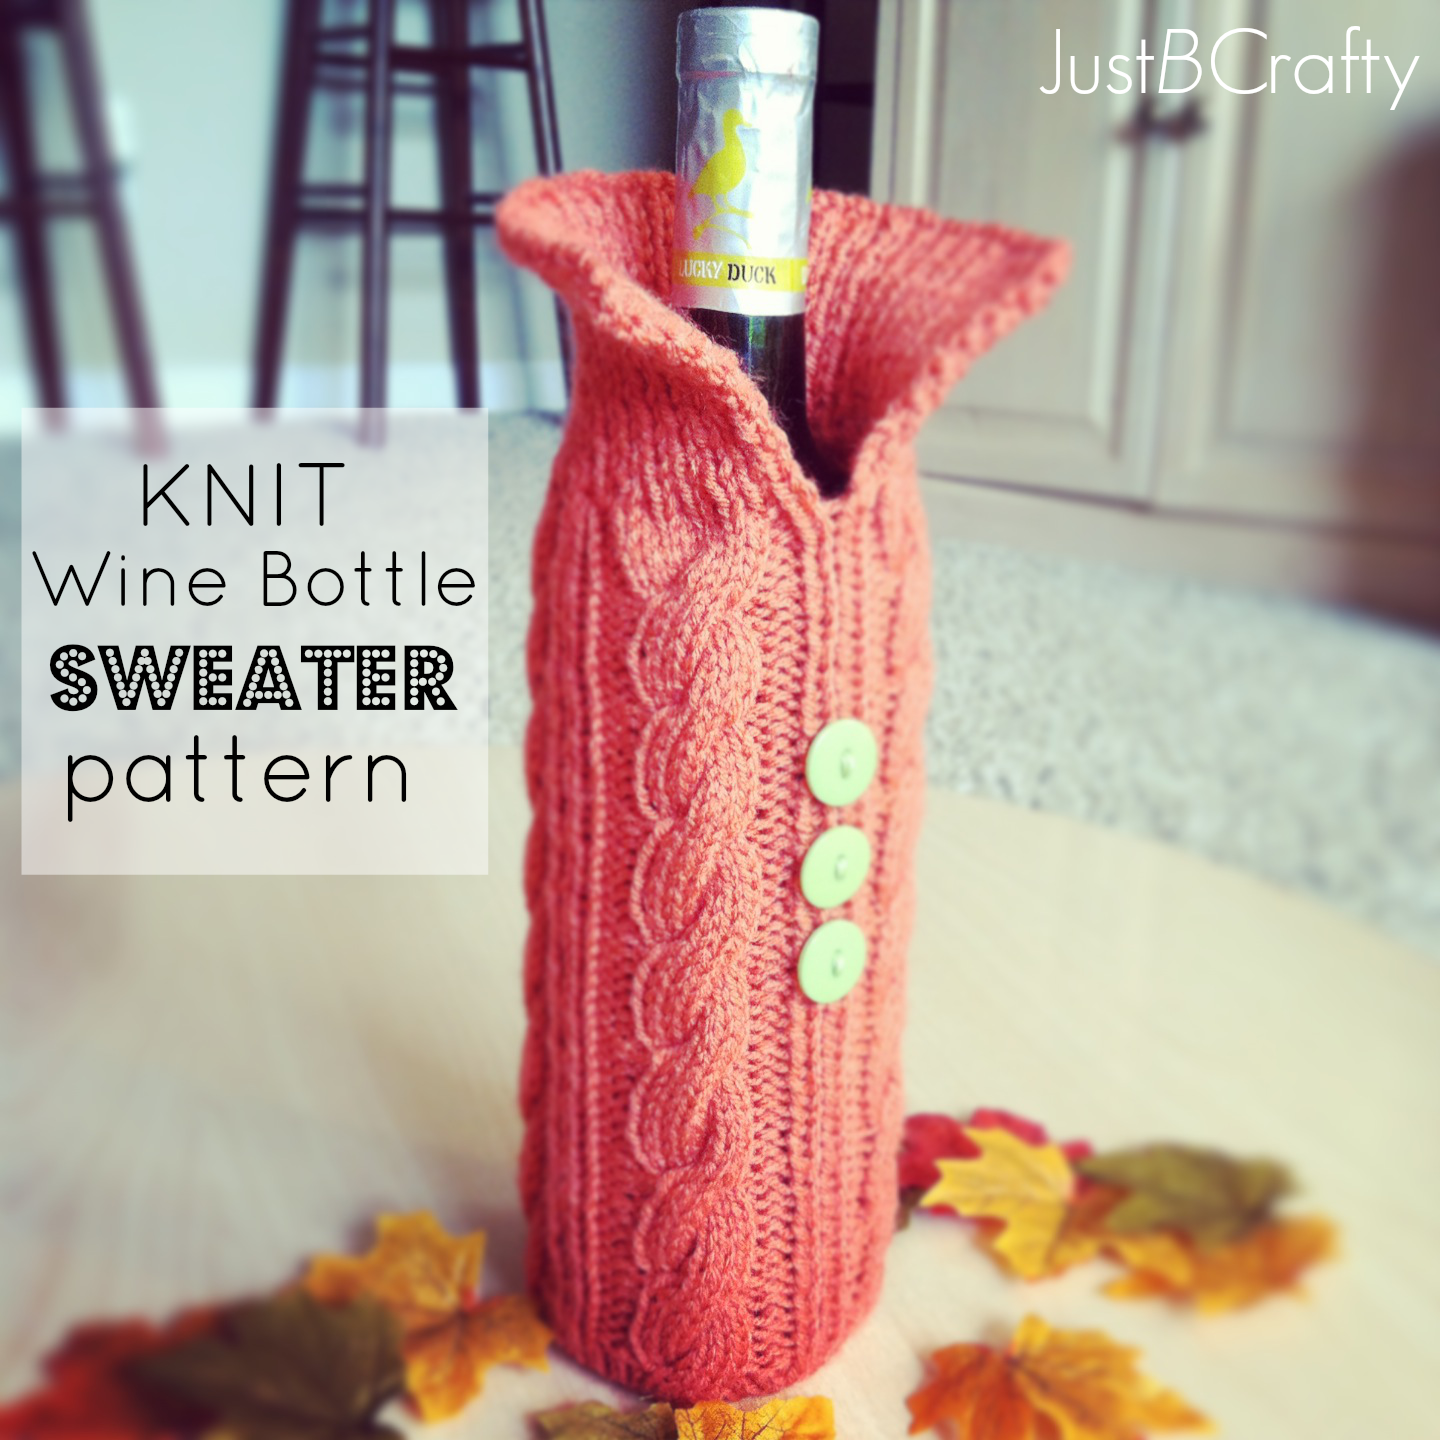
This Wine Bottle Sweater will make for the PERFECT handmade hostess gift for your next holiday party! Keep reading below for the free pattern!
Update: The formatting of this post has been updated to make it easier to read!
October flew by so fast, I can’t believe its the beginning of November already. Things have been a little quiet around here this past week as I was sick with stuffy nose and sore throat but am luckily feeling better now.
We had a nice night in for Halloween that consisted of cold medicine, tissues, popcorn, candy and of course scary movies. We watched The Conjuring and it was so good! If you are looking for something really really scary, check this film out. It will definitely not disappoint.
Fun fact, some scenes in the movie were filmed in Wilmington at the local university where I worked and took some classes. One of the scenes were even filmed in the building I worked in while I was working!
I knew camera crews were set up in the auditorium of my building and just thought they were shooting a commercial, but now I know Vera Farmiga and Patrick Wilson were just mere feet away from me filming a major motion picture! I totally wish I would have just snuck a little peak and maybe asked for an autograph, but that’s ok you live and learn.
Now that Halloween has past and Thanksgiving on its way, I wanted to make a craft that would be practical for the upcoming holidays. The pattern was inspired by this cute idea on Pinterest. I thought a little sweater would be a great way to dress up wine bottles to give as hostess gifts for Thanksgiving and Christmas parties. It’s a pretty quick project and can be easily knit over the course of a couple evenings.
Wine Bottle Sweater Pattern
This post contains affiliate links. For more information please see my disclosures page.
A printable PDF version of this pattern can be purchased here.
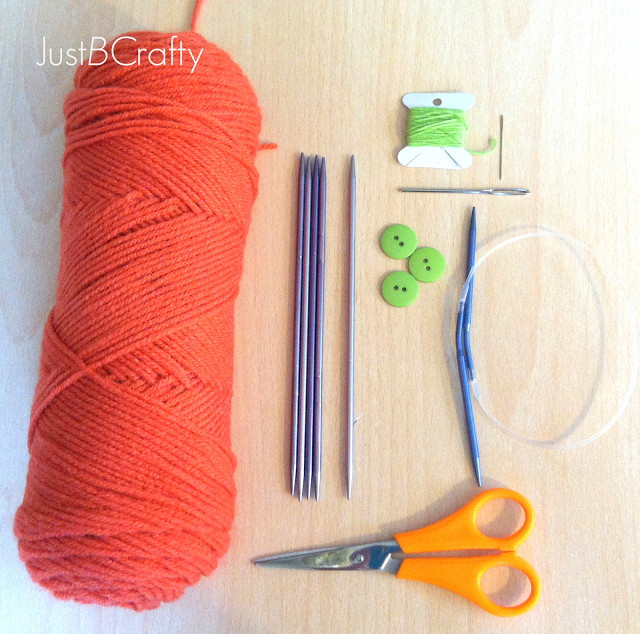
Materials
- Red Heart Super Saver Yarn in Coral (or any worsted weight acrylic yarn will do)
- 5 Double Pointed Needles, US size 5 (will need to purchase 2 packs of 4)
- stitch holder ( I just used a circular needle or extra dpn)
- yarn needle
- thread needle
- embroidery floss
- buttons
Key
- co – cast on
- k – knit
- p – purl
- kfb – knit in the front and back loops
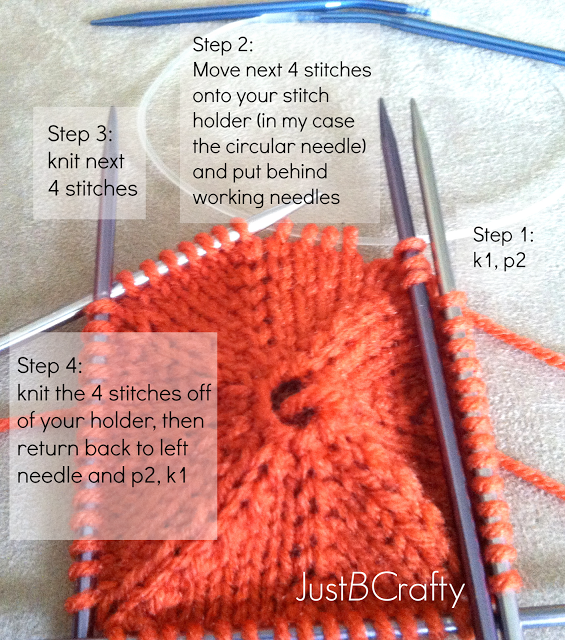
- C8R – 8 stitch right cable
PATTERN NOTE: “C8R” means 8 stitch cable to the right. To do this, move 4 stitches onto your stitch holder and put behind your working needles, knit 4 and then knit the 4 stitches off of the stitch holder. And there you have your C8R, easy!
Here is a photo of the process:
PATTERN STARTS HERE
[Bottom]
Co 8 st on 4 dpn with 2 stitches per needle (making sure you have not twisted your stitches)
Round 1: kfb in every stitch (16)

Round 2: knit in every stitch
Round 3: *kfb, k1; repeat from * to end of round (24)
Round 4: knit in every stitch
Round 5: *kfb, k2; repeat from * to end of round (32)
Round 6: knit in every stitch
Round 7: *kfb, k3; repeat from * to end of round (40)
Round 8: knit in every stitch
Round 9: *kfb, k4; repeat from * to end of round (48)
Round 10: knit in every stitch
Round 11: *kfb, k5; repeat from * to end of round (56)
Round 12: knit in every stitch
[Body]
Round 13: *k1, p2, C8R, p2, k1, repeat from *3 more times
Round 14: *k1, p2, k8, p2, k1, repeat from * 3 more times
Round 15-19: repeat Round 14
Repeat Rounds 13-19 until entire piece measures 9 ½ inches or desired length for your wine bottle
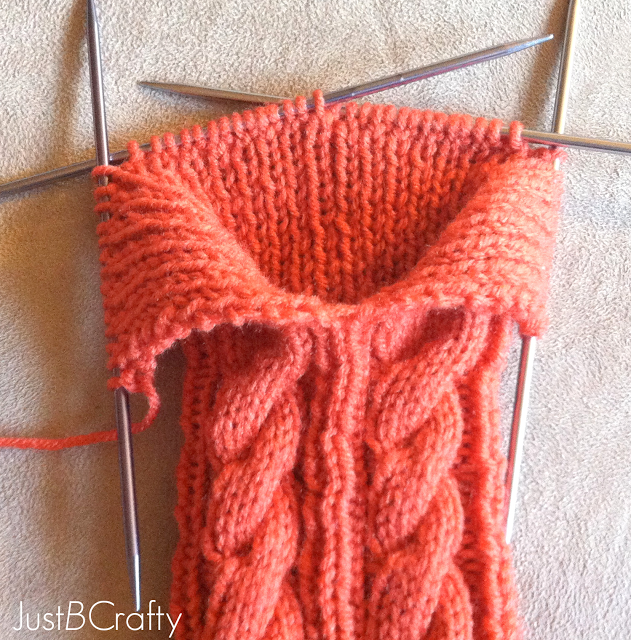
[Collar]
For the collar, work back and forth in rows by knitting all the way across the row and turning the work once you get to the last stitch. Then, knit your way back.
Row 1: turn work and k1, p1 to end of row, turn work
Row 2: k1, p1
Keep repeating k1, p1 until ribbed collar measures 2 ½ inches
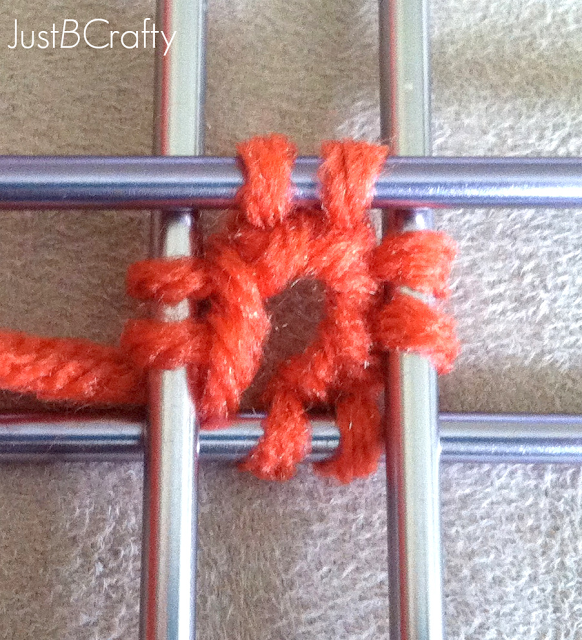
Your collar should look like the photo below:
Bind off and weave in loose ends. For a little added character sew on a few buttons with a coordinating embroidery floss.
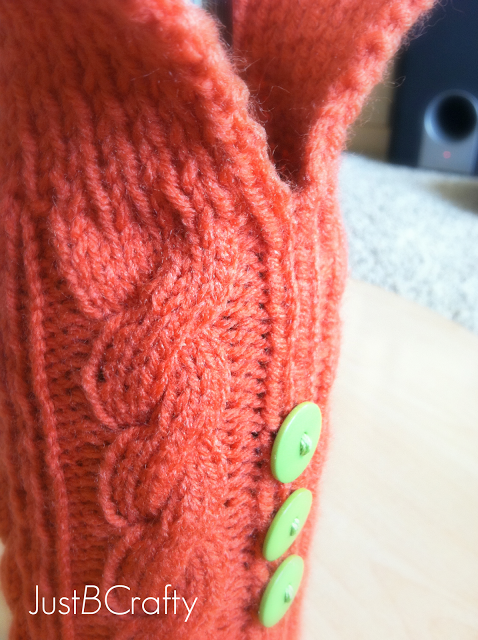

Enjoy!