Loopy Bath Time Mitts + GIVEAWAY Winner!
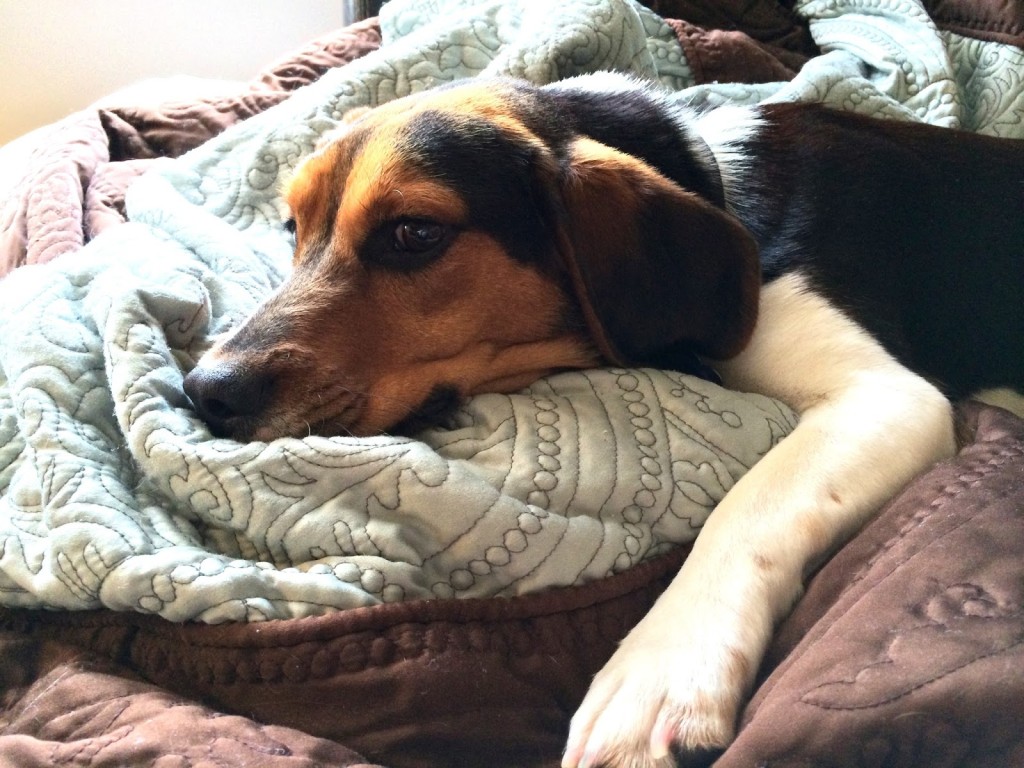
Good afternoon friends! I have some exciting non blog related news I would like to share with you today! We adopted a beagle! His name is Jake and he’s a rescue dog from the Triangle Beagle Rescue of North Carolina. If you live in the Raleigh area and are looking into getting a little doggy of your own I strongly suggest you check them out! If you’re interested, more info can be found here. It’s a really great organization!
Triangle Beagle Rescue has a thorough application and adoption process that ensures only best and most deserving homes get the privilege to adopt their beagles. They want to make sure their beagles will be loved and cherished forever! Owners that truly love their dogs will want to treat them to food that they will love and protect their health. Products such as Ultimate Pet Nutrition Canine Detox are proving popular for this express reason – owners want to take care of their pets’ health so that they can enjoy a good quality of life for longer.
Jake was living with a very loving foster family who were sad to see him go, but happy to find him a home. They brought him over to us last night where we finalized his adoption. Jake is a wonderful addition to our little family, we’re so happy to have him. He’s already fitting right in!
See…Jake’s been helping me edit photos and write up the post!
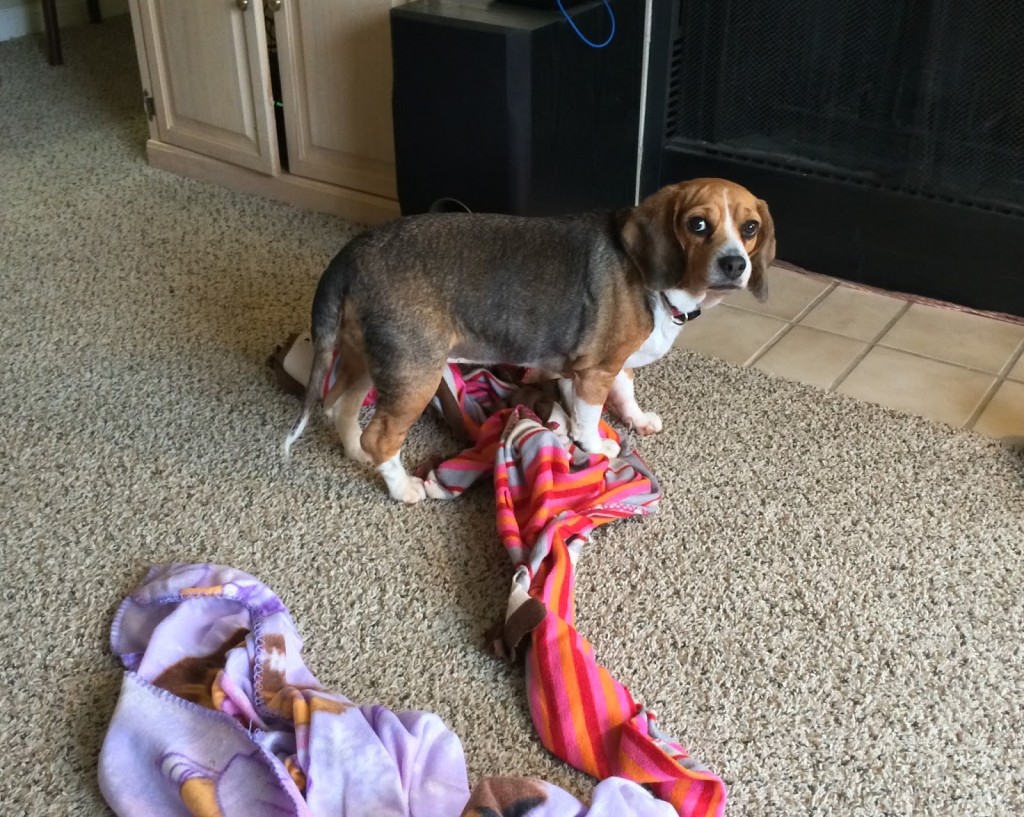
And Sadie’s just been supervising, haha.
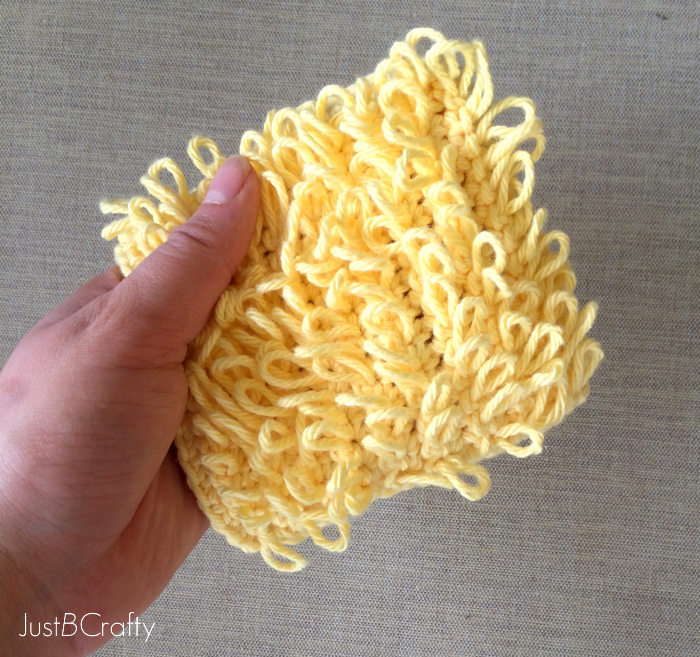
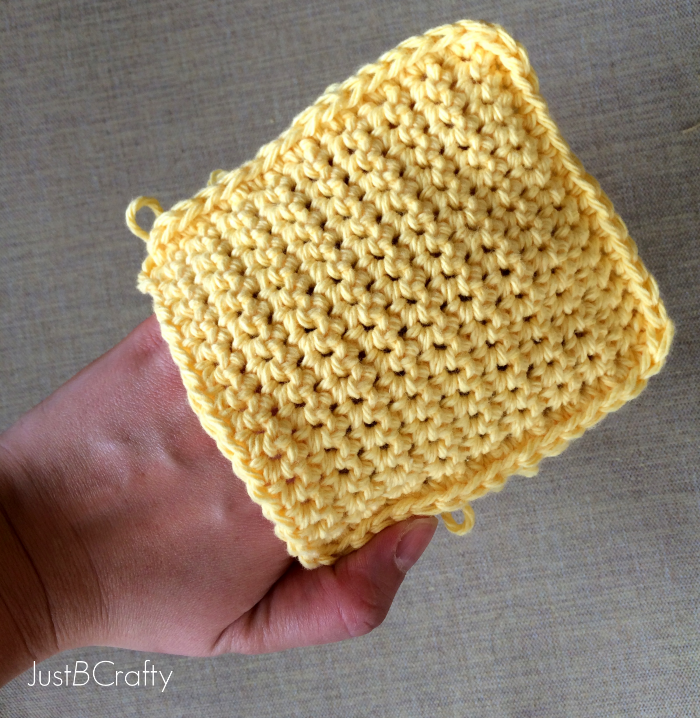
In the midst of all these beagles beagling about, I’ve been crocheting up these Loopy Bath Time Mitts! They are crocheted with Lily’s Sugar’n Cream 100% cotton yarn and will be the perfect addition to any bath routine.
Great for all ages, these fun mitts feature a loopy side that’s great for building a luxurious lather…..
….And a flat side fit for exfoliating needs.
To make your own Loopy Bath Time Mitts here’s what you’ll need:
– US size 5.5mm crochet hook
– Lily Sugar’n Cream yarn
– scissors
– yarn needle
Loopy Bath Time Mitts Pattern:
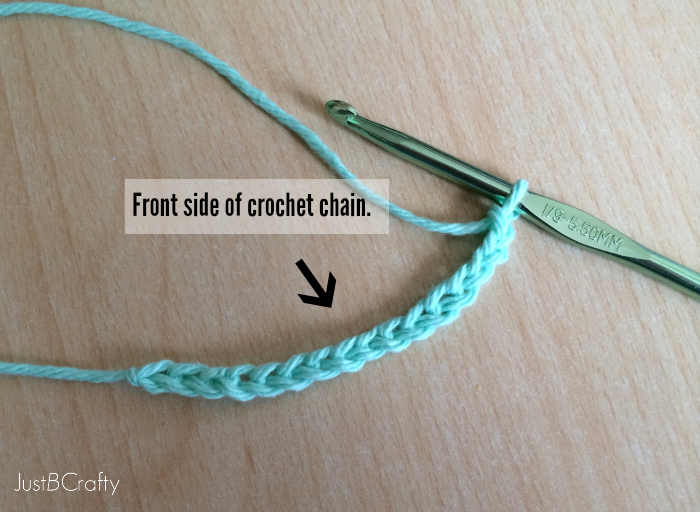
Chain 16
Flip the chain over so the back side of the crochet chain faces up. Notice the bar on the back of the crochet chain, this is what you will be crocheting into for the first row.
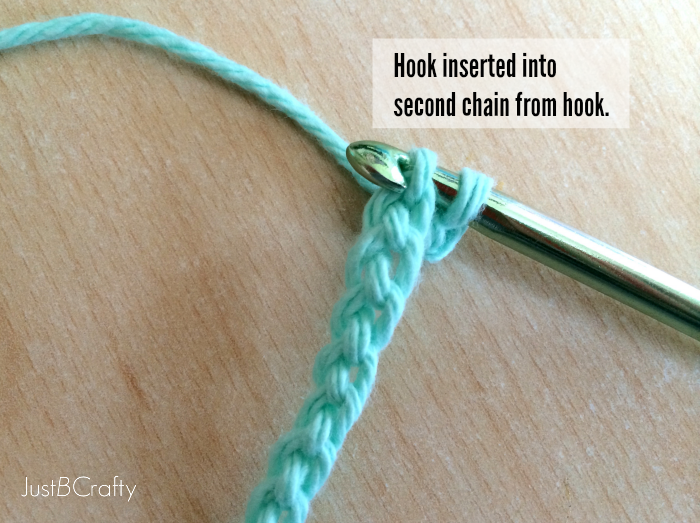
Row 1: Insert hook into the bar of the second chain from the hook. Single crochet into the back bar of each chain to the end of the row; Chain 1 and turn. (ch 1 does not count as a stitch (15 stitches))
Row 2: Crochet loop stitch into each single crochet across the row; Chain 1 and turn.
If you are unfamiliar with loop stitch, see the photo tutorial below.
Loop Stitch:
Step 1: Insert hook into the first stitch like you normally would.
Step 2: Have working yarn looped around your pointer finger with the hook in front just like I show in photo 2.
Step 3: Grab the working yarn that is resting behind your pointer finger with the crochet hook.
Step 4: Bring the yarn through the stitch. You will now have the yarn wrapped around your finger and two loops on your crochet hook.
Step 5: Grab the working yarn behind your finger loop with the hook, and bring through the two loops on your hook like your normally would in a single crochet.
Step 6: You’ve just completed loop stitch!
Having a hard time with loop stitch?? See this video tutorial here.
**Note: The first row of loop stitch will be super awkward and kind of annoying but I promise it gets much much easier!! Once you get the hang of it, you’ll find your rhythm and it’ll go much more smoothly.
Row 3: Single crochet across row; Ch 1 and turn (15 stitches)
Row 4: Crochet loop stitch across row; Ch 1 and turn (15 stitches)
Repeat rows 3 and 4 until the piece measures about 4.5 inches. End with a single crochet row.
Making the flat side:
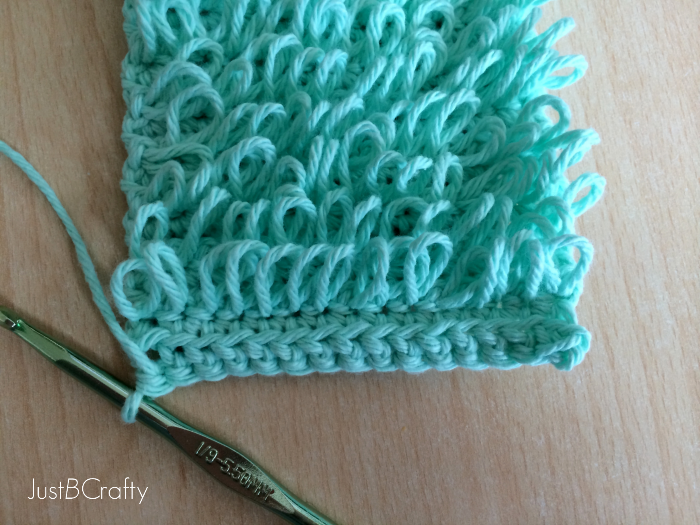
Single crochet across entire row into front loops only; ch 1 and turn. (Pictured below)
(After you crochet across the row in the front loops only, you’ll see you created a little shelf of loops to crochet across for the finishing touches)
Single crochet across entire row like you normally would into both loops; ch 1 and turn. Continue in rows until the flat side measures 4.5 inches.
1: Crochet piece should be about 9 inches long.
2: Fold piece in half and keeping the foundation end and last row end opened…single crochet in each row along the side of the work, connecting the two halves together.
3: Single crochet across exposed loops of the folded edge.
4: Single crochet down the other side of the mitt.
Cut yarn, and secure. Weave in loose ends!
Grab your favorite bath gel and enjoy!!
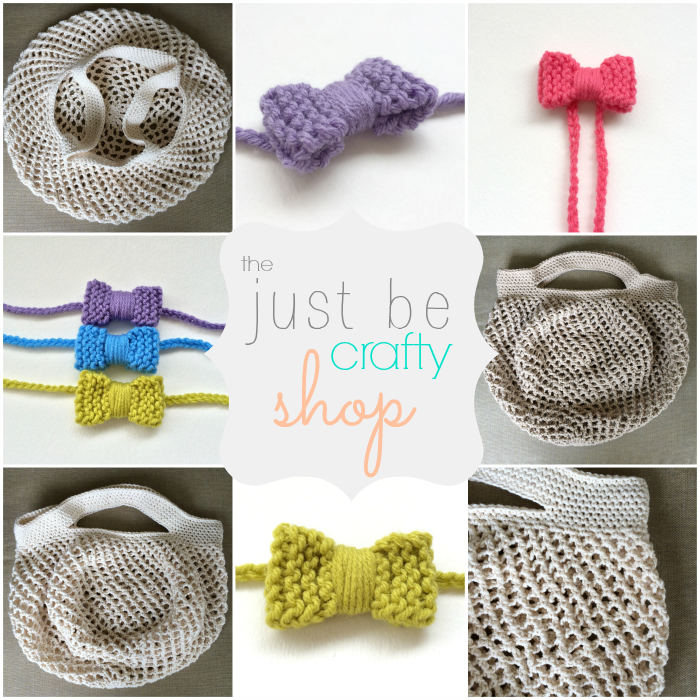
Now I would like to announce the winner of the three Textured Knit Mini Bow GIVEAWAY!
…..and the winner is…..
Sonnet O’Krane of the awesome blog SohoSonnet!!! She has endless posts of super fun and inspiring craft projects, so go over and check out her site!! Congrats Sonnet! Go ahead and pick out your colors!!
Visit the Shop!
Have a great day!
I link up here!






Those bath mitts are great!! You are very talented!! Also … Congrats on the puppy!!! It's so great that you got a rescue dog!
Thank you Katie!! 🙂
Nice tutorial! I love the mitts! And Jake is so cute!
Thanks Maria!!
What a great pattern idea, especially for those who are new to the loop stitch and want practice. And Jake is a real cutie pie — very lucky to have you as his mommy. 🙂
These are pretty awesome! I can't even believe some of the stuff you make, your so talented. Super excited about your new puppy! My dad loved beagles
Eeeeeee!! I am sooooo excited! I won I won I won! Imagine me doing a little happy dance and my arms are circling lol.. yes, I am excited. Thank you so much Brittany. Ok but seriously I LOVE These bath mitts, they are GENIUS!! Amazing
Love this pattern and will be trying it soon. Pinned.
What a fun idea! Your photos are great and very helpful. Thanks for this tutorial. :o)
Those are wonderful! Thank you for the lovely pattern- I can't wait to try some!
Very cute! I would love it if you joined and contribute your awesome posts at my link party at City of Creative Dreams on Fridays 😀 Hope to see you there at City of Creative Dreams Link Party.
Love these! Just found you through the Off the Hook Monday Link Party 🙂
I can't even tell you how much I LOVE this pattern. I added it to my round-up at MNE Crafts!
http://www.mnecrafts.com/2014/05/cotton-crochet-round-up-15-free-patterns.html
Thank you for this cute pattern, Brittany!
Congratulations on adopting Jake–he looks like a sweetheart!
Hi Marcia, thank you for stopping by! Your welcome, I’m glad you like it! And thanks, we really enjoy having him!! 🙂
Is there any pattern for knitting the loopy bathmits?
Unfortunately no, not yet. I haven’t designed a knit version of this…thanks for the idea! 🙂