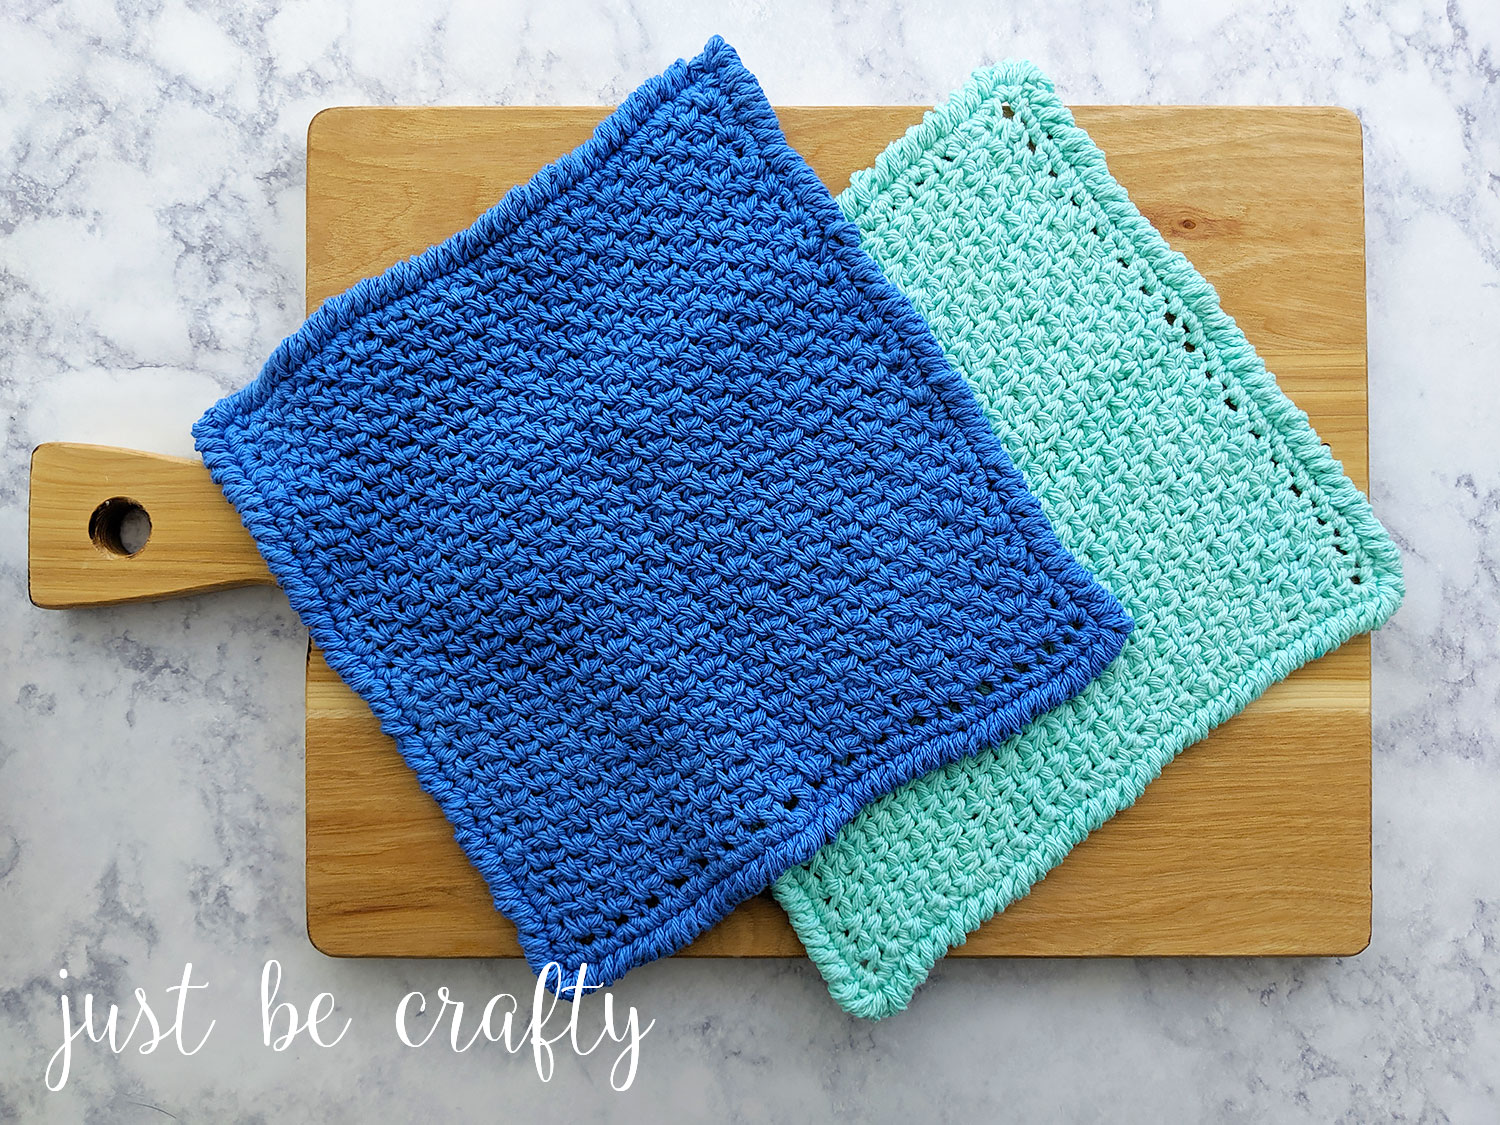
The Moss Stitch Dishcloth will be your new best friend in the kitchen. Learn how to make one of these for yourself along with me in the video tutorial! The ad-free printable PDF version of this pattern can be purchased here.
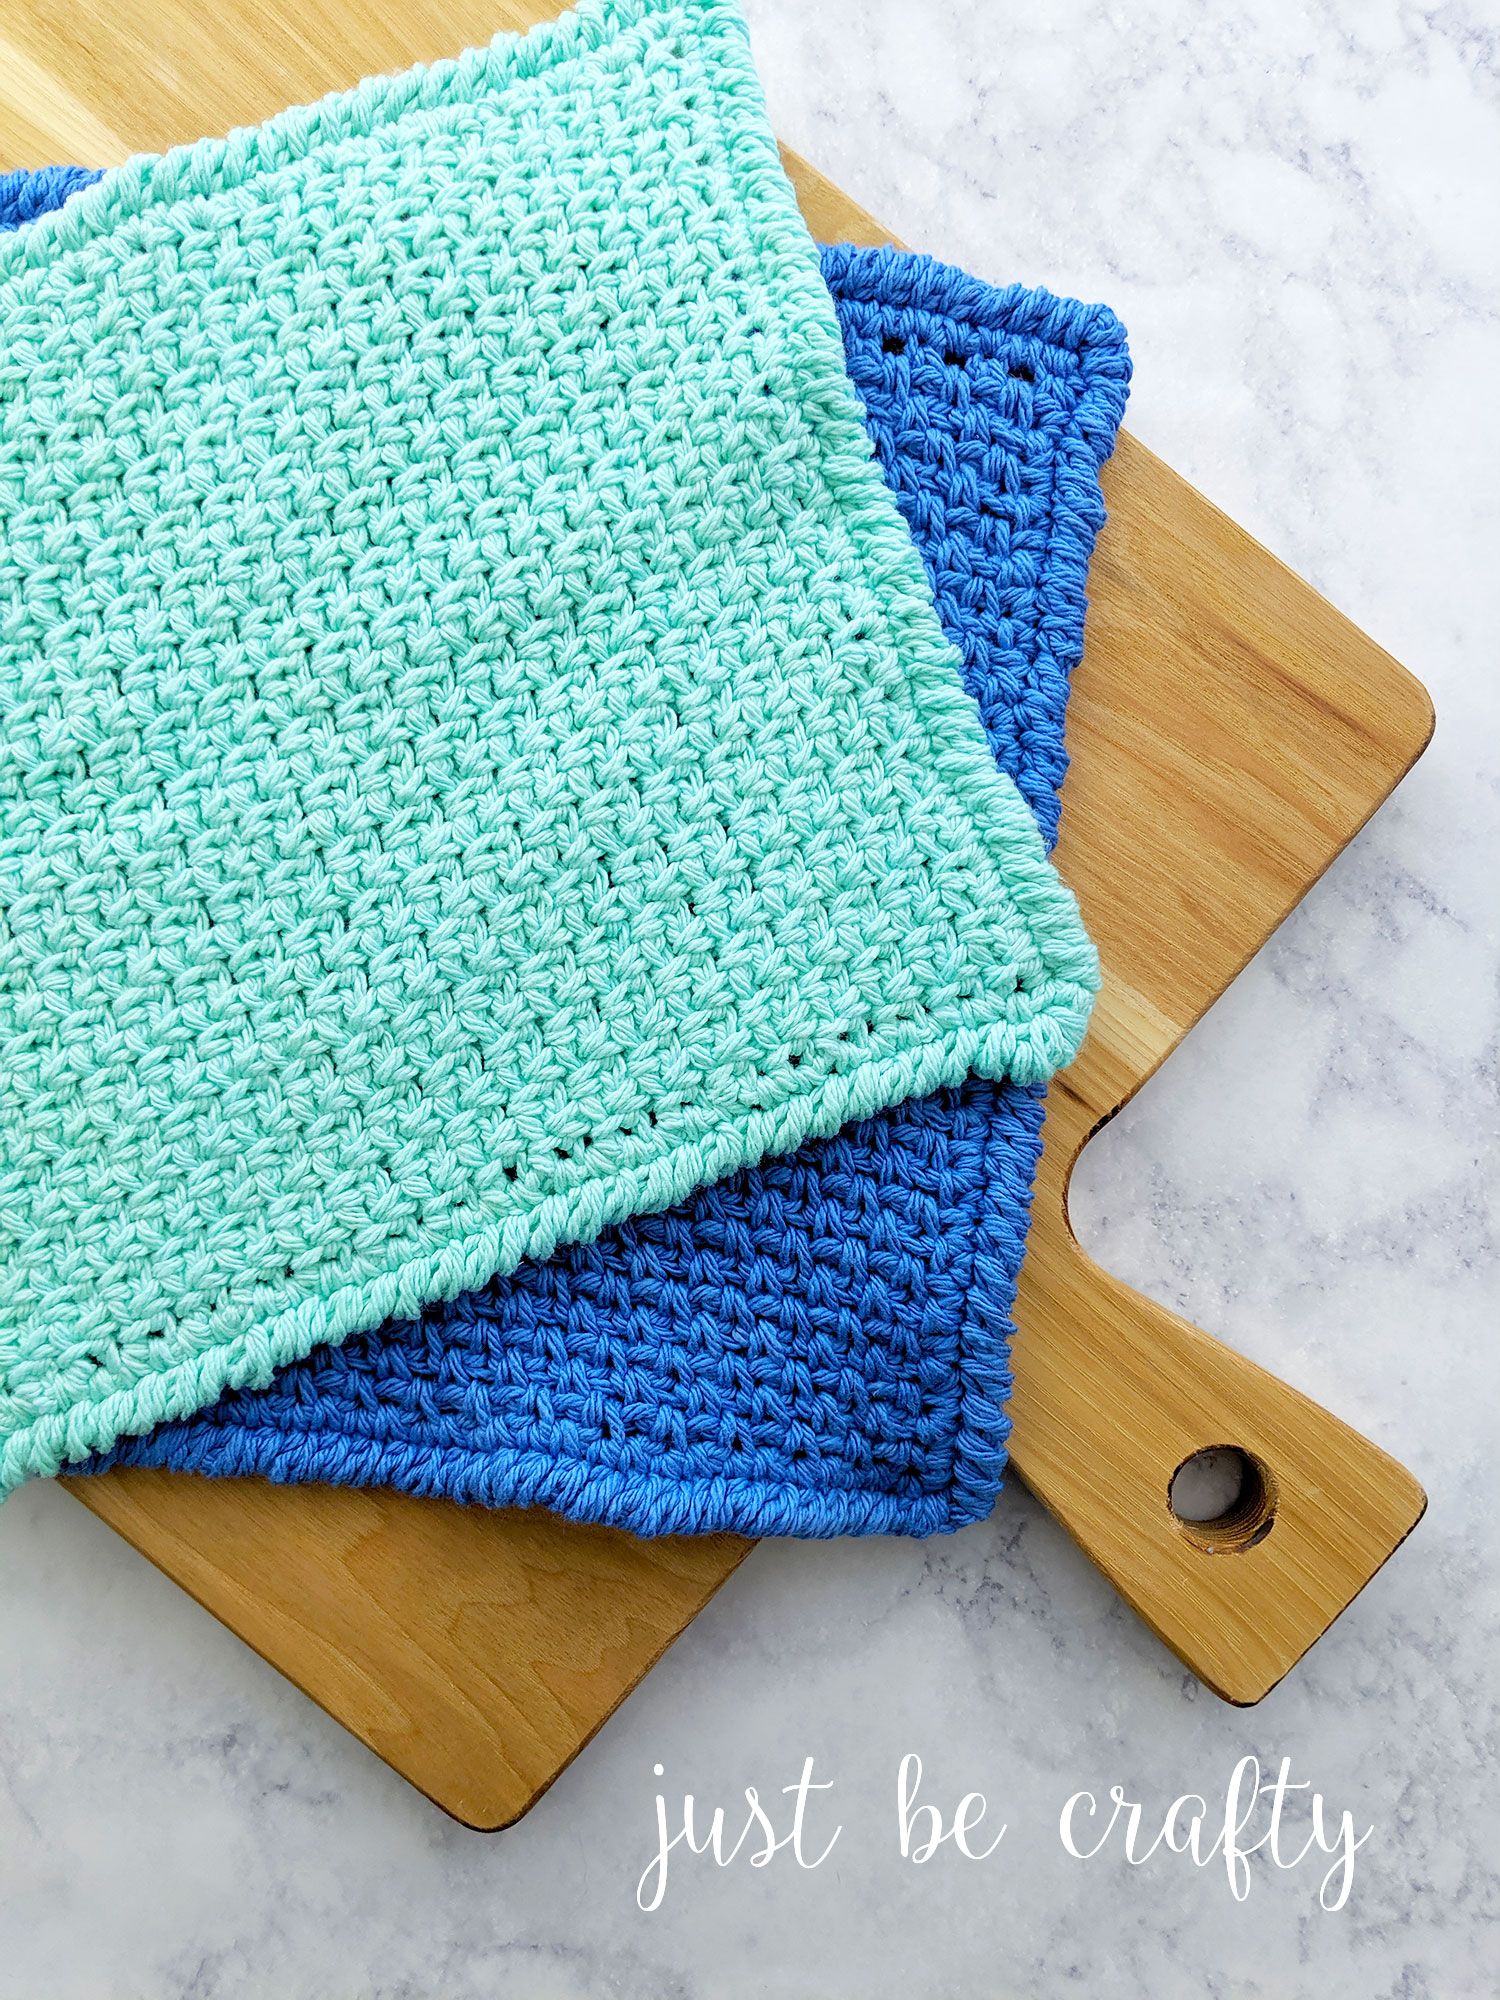
Hello and welcome to my blog and if you’ve been here before, welcome back! I’m so happy you are here because today I am sharing a fun new project – the Moss Stitch Dishcloth!
The dishcloth is simple in construction. We crochet a square of the moss stitch and apply a reverse single crochet (rsc) border.
Not, familiar with rsc? No problem! I talk about it more below, and will show you exactly how to do it my video tutorial.
The end result is a quite large and super absorbent dishcloth that is perfect for tackling any mess!
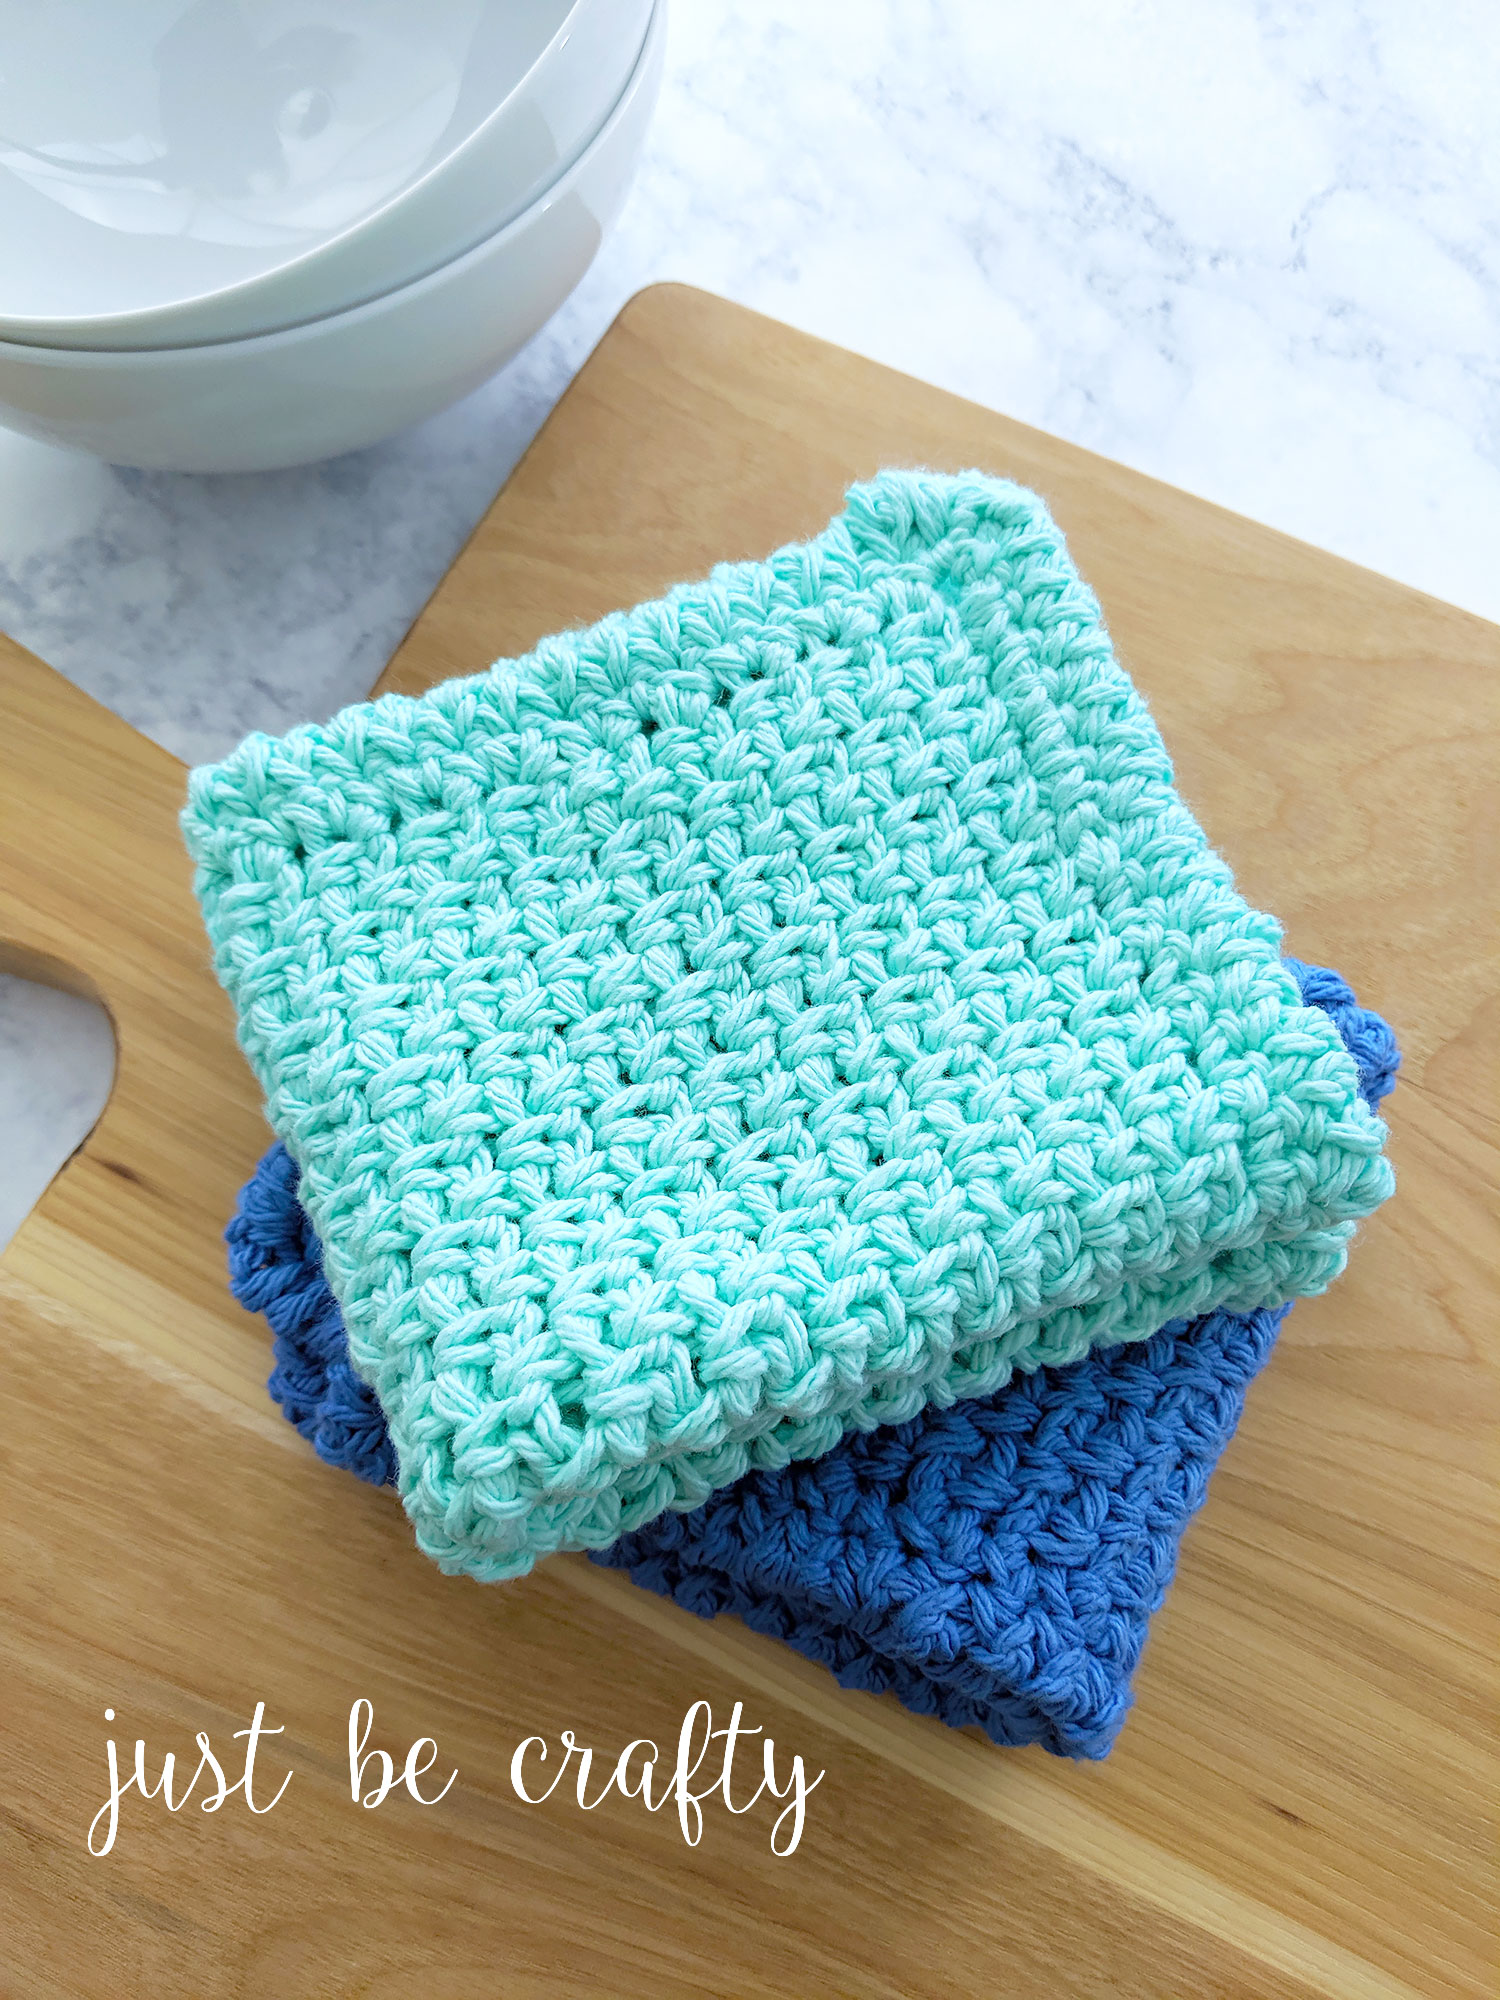
I have to tell you, handmade washcloths and dishcloths are the absolute best! They are my favorite go to for cleaning the house. Because of this, they are great to make a bunch of them so that way you have them on hand to use for yourself or to give as gifts!
Video Tutorial
In this video tutorial I go over step by step how to create the Moss Stitch Dishcloth! The moss stitch is pretty straight forward, but where things may get a little tricky is with the border. The border is made with reverse single crochet aka rsc.
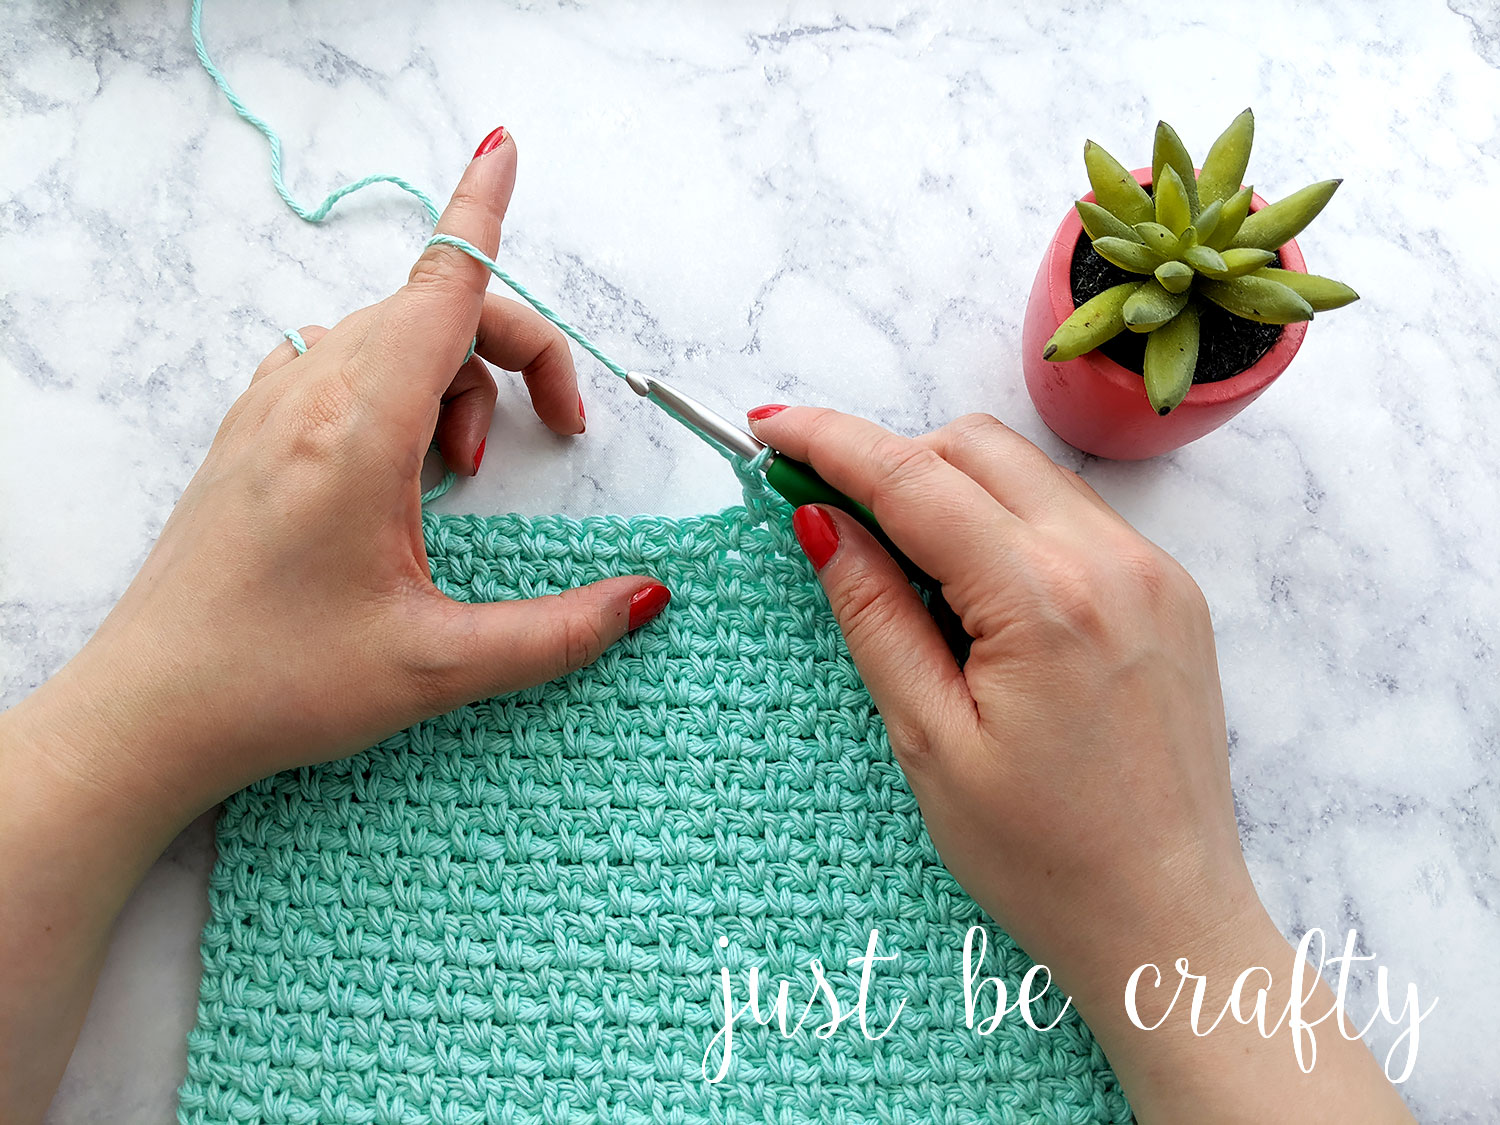
Have you tried rsc yet? It’s pretty cool! Just as the name implies, your single crochets are worked in the reverse direction. Instead of working right to left like we do with traditional crochet, in rsc we work from left to right.
The motion of the step is a little awkward at first, but I go over a couple tips and tricks to help you out in the video tutorial!
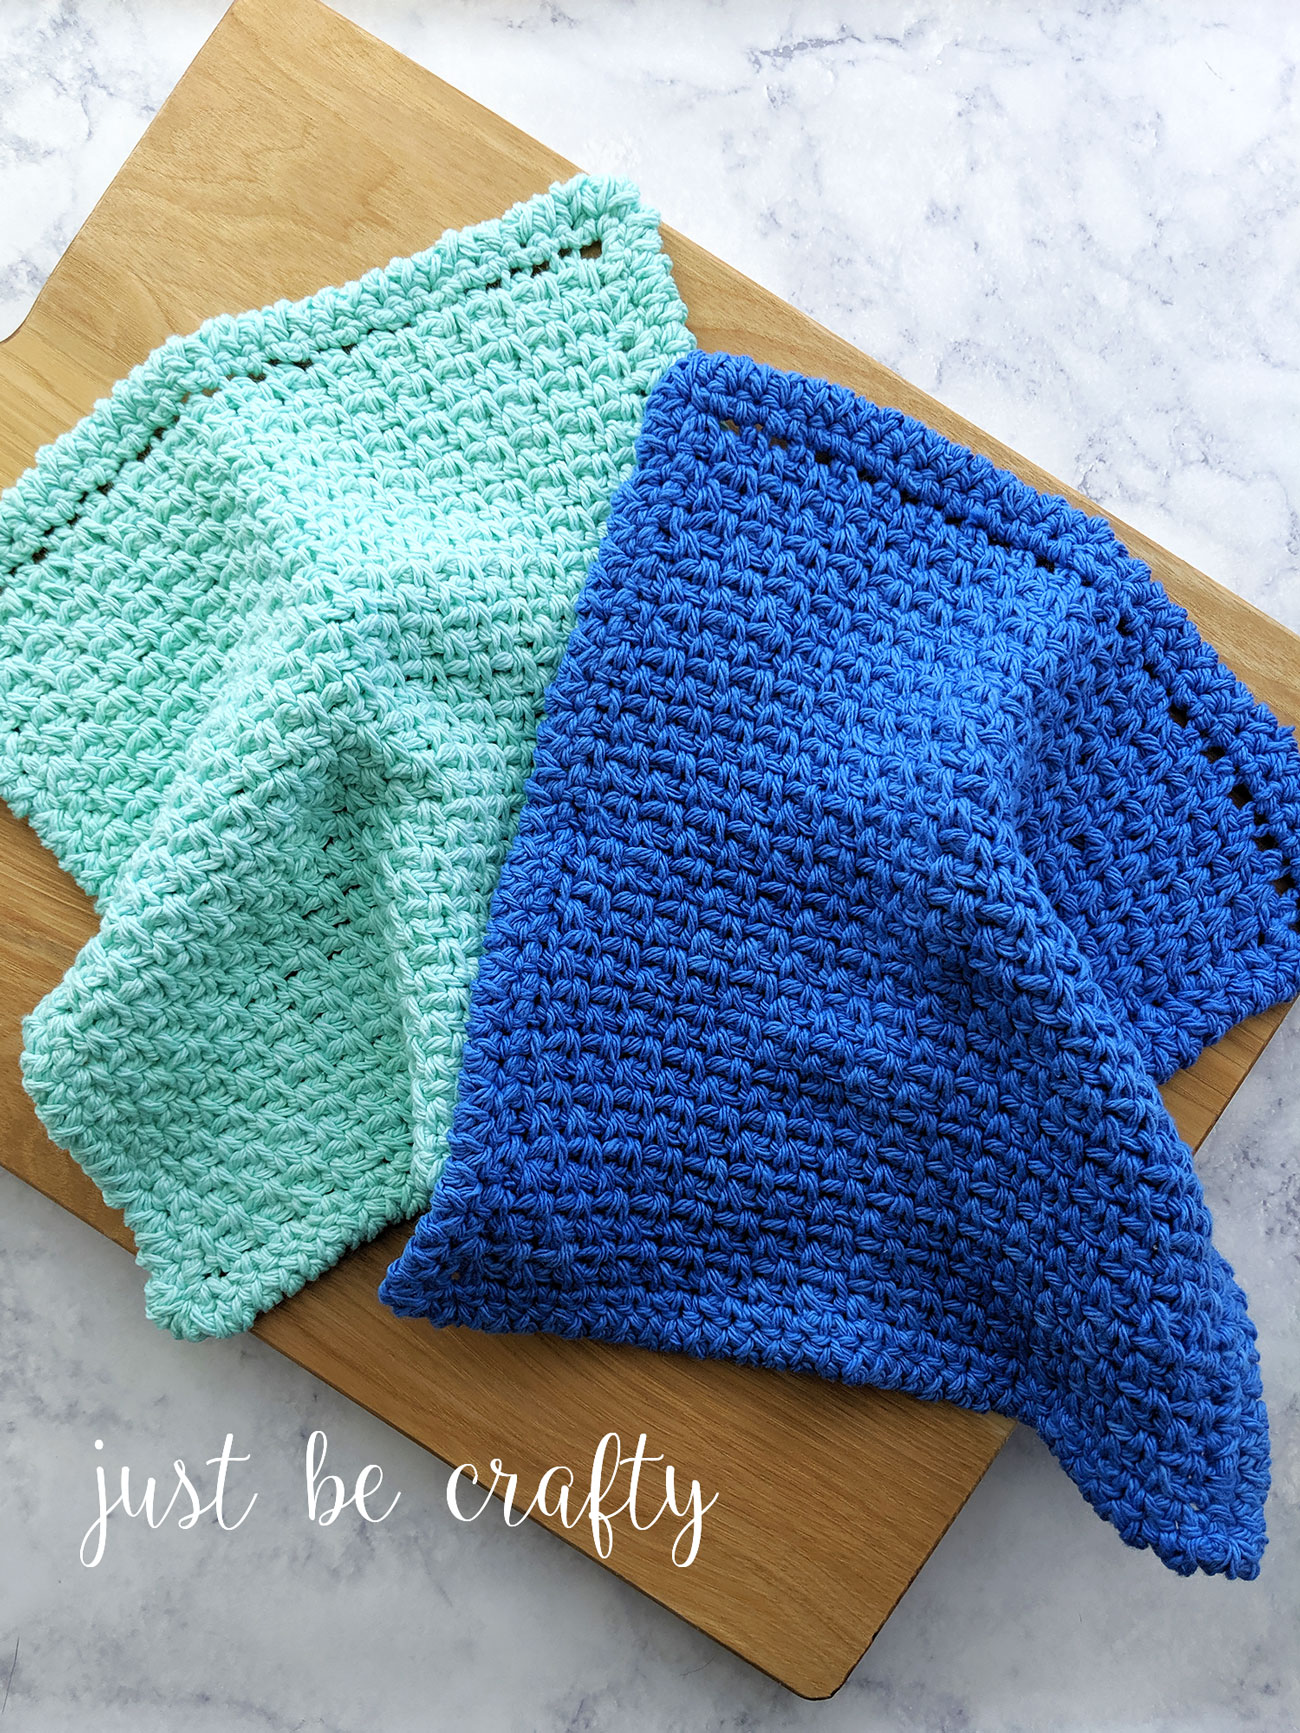
The ad-free printable PDF version of this pattern can be purchased here.
Moss Stitch Dishcloth – Written Pattern
*This post may contain affiliate links. Please see my disclosures page for more information.
All patterns on this blog are for personal use only and may not be redistributed, copied, blogged, or sold as your own. You may sell items made by my patterns as long as the item is made by you personally (not mass produced) and that proper credit is given back to me and my site, Just Be Crafty. You may not use my photos for your online sales listings.
Materials
- 5.5 mm crochet hook
- 1 ball Lily Sugar n’Cream Yarn (shown in colors:)
- Scissors
- Yarn needle
- Blocking board set (optional)
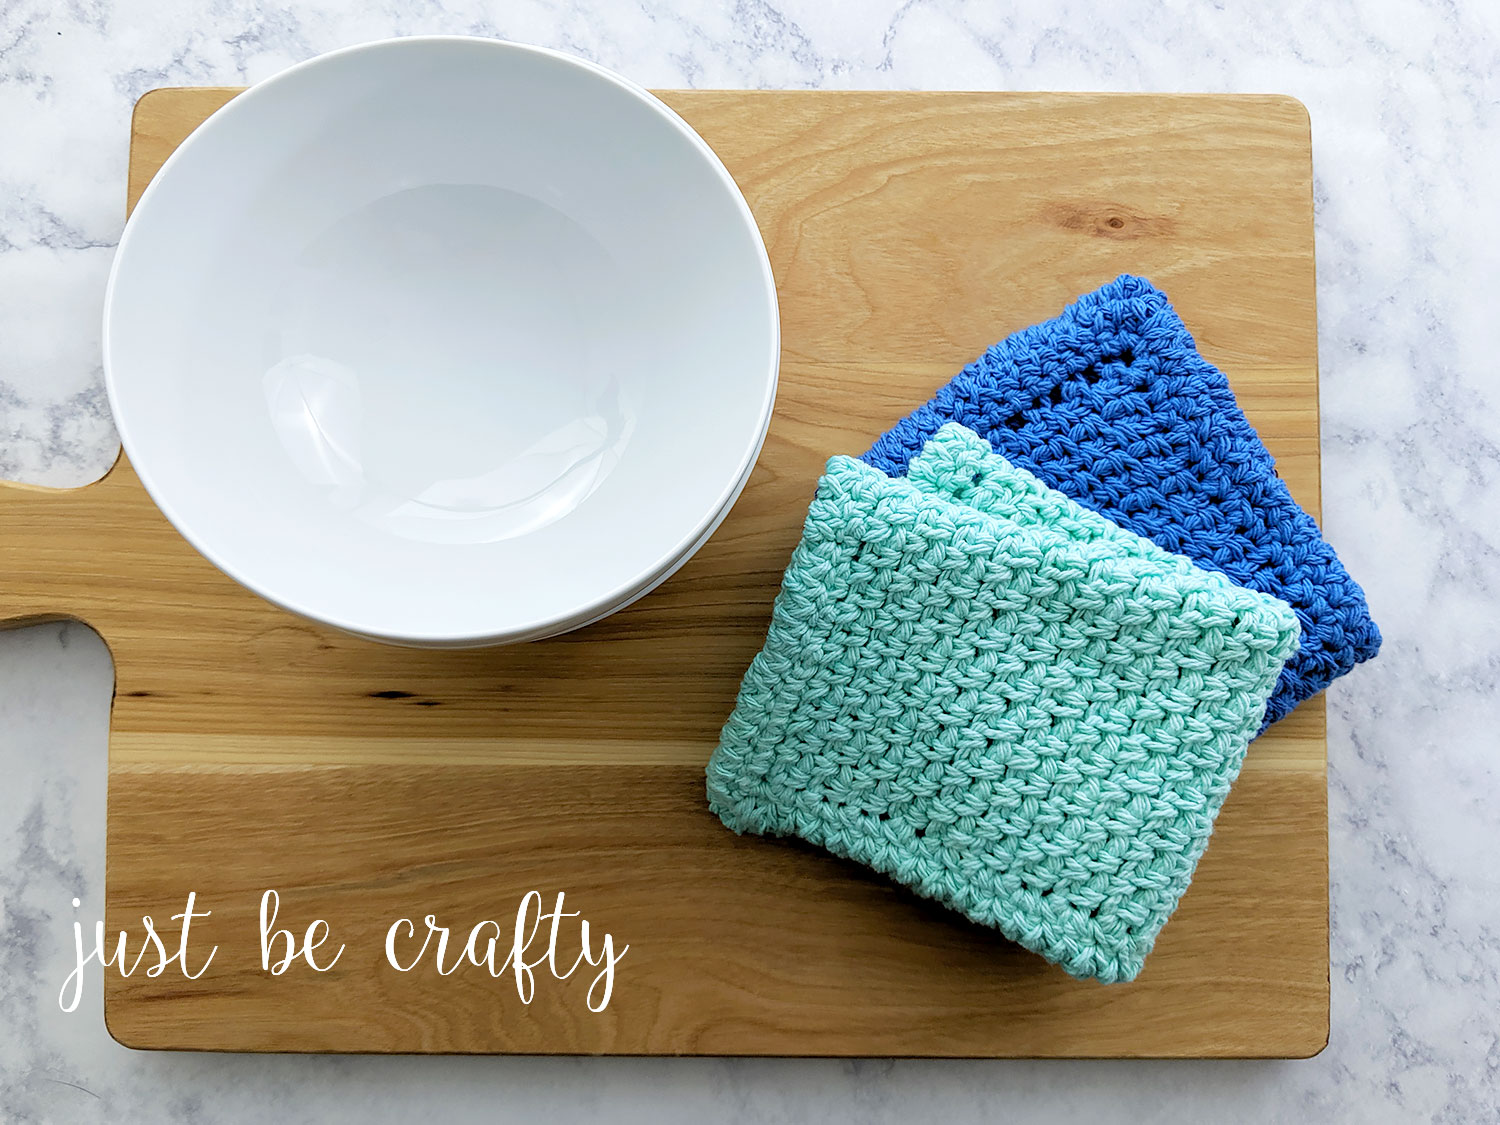
Finished Measurement
- Coming soon!
Gauge
- Coming soon!
Key
- ch – chain
- prev – previous
- rsc – reverse single crochet
- sc – single crochet
- sk – skip
- sl st – slip stitch
- sp – space
- st – stitch
Special Note
- RSC or Reverse Single Crochet – just as the name implies you will be creating single crochets in reverse direction. In traditional crochet, we work from right to left, but for this technique we will be working left to right. For a visual and more detailed explanation see my video tutorial!
Pattern
ch 36
Row 1: Starting in the 4th ch from hook, sc, *ch 1, sk a ch, sc in next ch; repeat from * across row; turn.
Row 2: ch 2, sc in next ch 1 sp, *ch 1, sc in next ch 1 sp; repeat from * to end of row; last sc of row should be placed in the starting ch sp from prev row; turn.
Repeat Row 2 until your piece measures approximately 8.5 inches from starting edge (or about 34 total rows).
[BORDER]
You will now be working in rounds.
Round 1: ch 1, sc in 1st st, *sc in ch 1, sc in next st, sc in ch 1; repeat from * to end making a (sc, ch 2, sc) in last st of row, sc evenly along side edge making making a (sc, ch 2, sc) in next corner st.
Make 32 sc’s total (including the 2 corner stitches); sc along bottom edge making a (sc, ch 2, sc) in last st; sc 32 st (again, this total includes the 2 corner stitches) evenly along next edge making your last sc in the same space you started your round, ch 2 and join with 1st st of round using sl st.
Round 2: ch 1, starting in the ch 2 corner sp (will be to the right of the st you’re in), rsc, ch 2, rsc in same corner sp, rsc in each st of round making a (rsc, ch 2, rsc) in each corner.
Cut yarn and secure. Weave in ends.
[Wet Blocking]
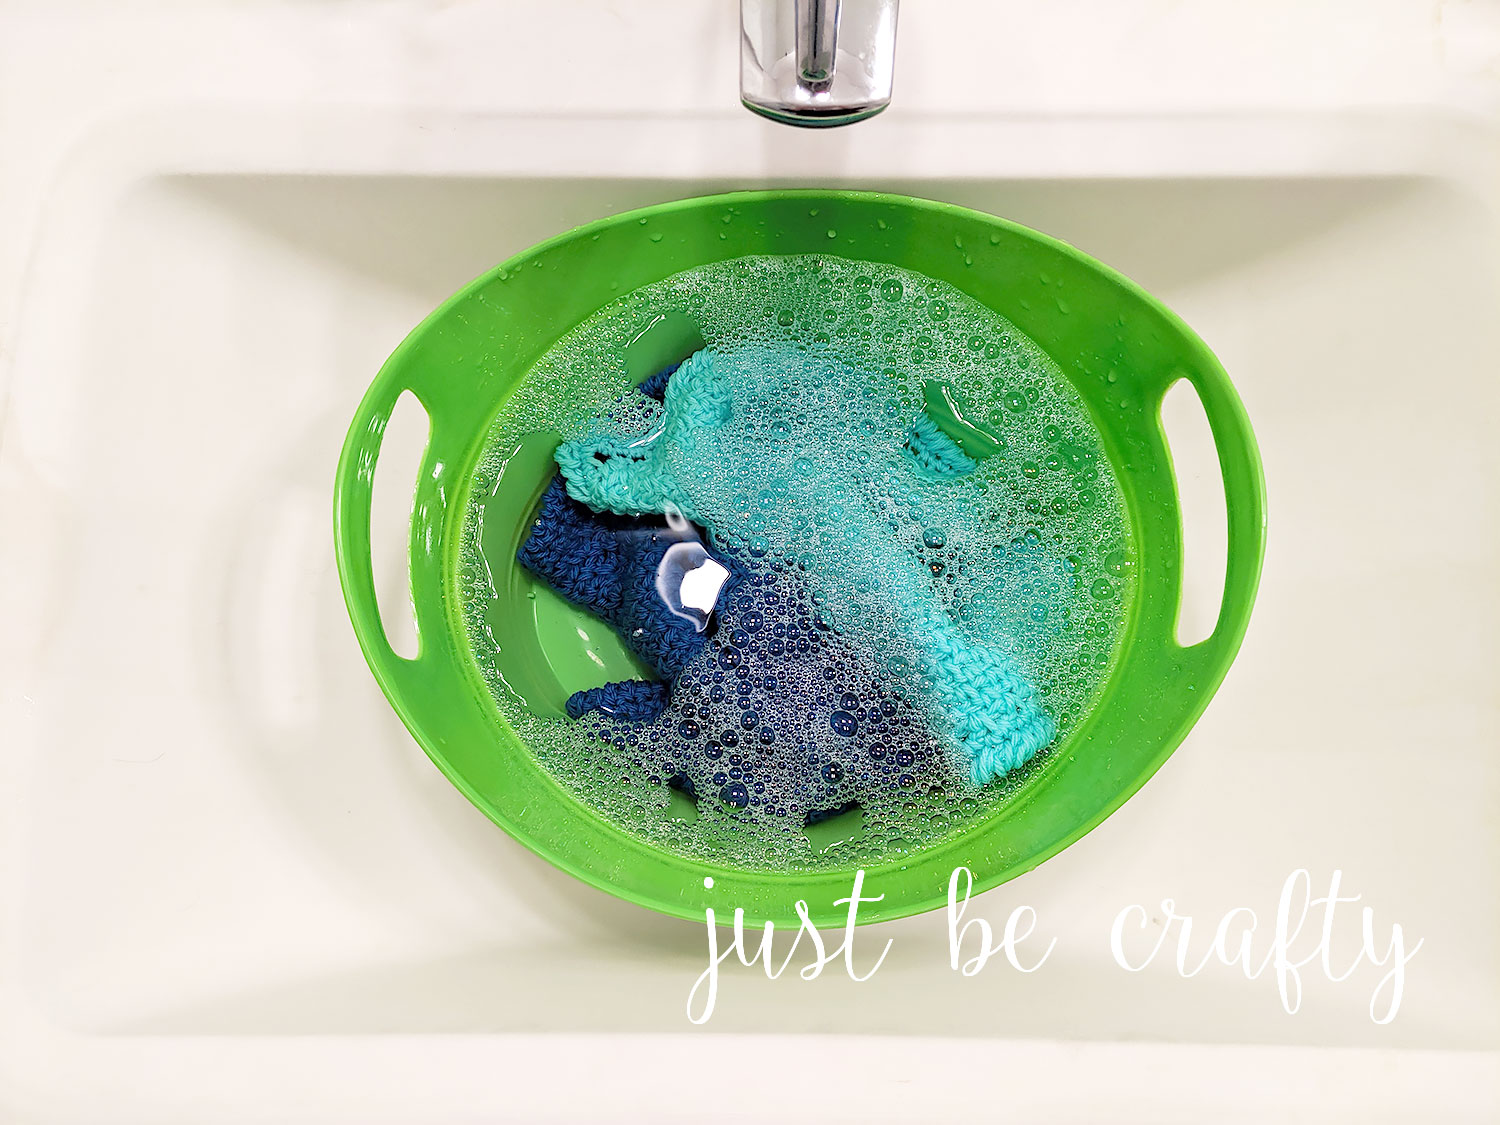
Is your dishcloth not laying flat or look a little misshapen? Wet blocking will take care of this! To wet block, follow the steps below.
Step 1: Soak your dishcloth in cool water along with a dab of your favorite detergent for about 10 minutes. This helps to relax your stitches.
Step 2: Remove from soak, and remove excess water. Do not wring project. Place project between towel folds and press out any remaining excess water.
Step 3: Pin in place to finished measurements using blocking board and pins. Lay in front of an oscillating fan if possible to help dry faster. Drying typically takes about 24 hours.
Enjoy!