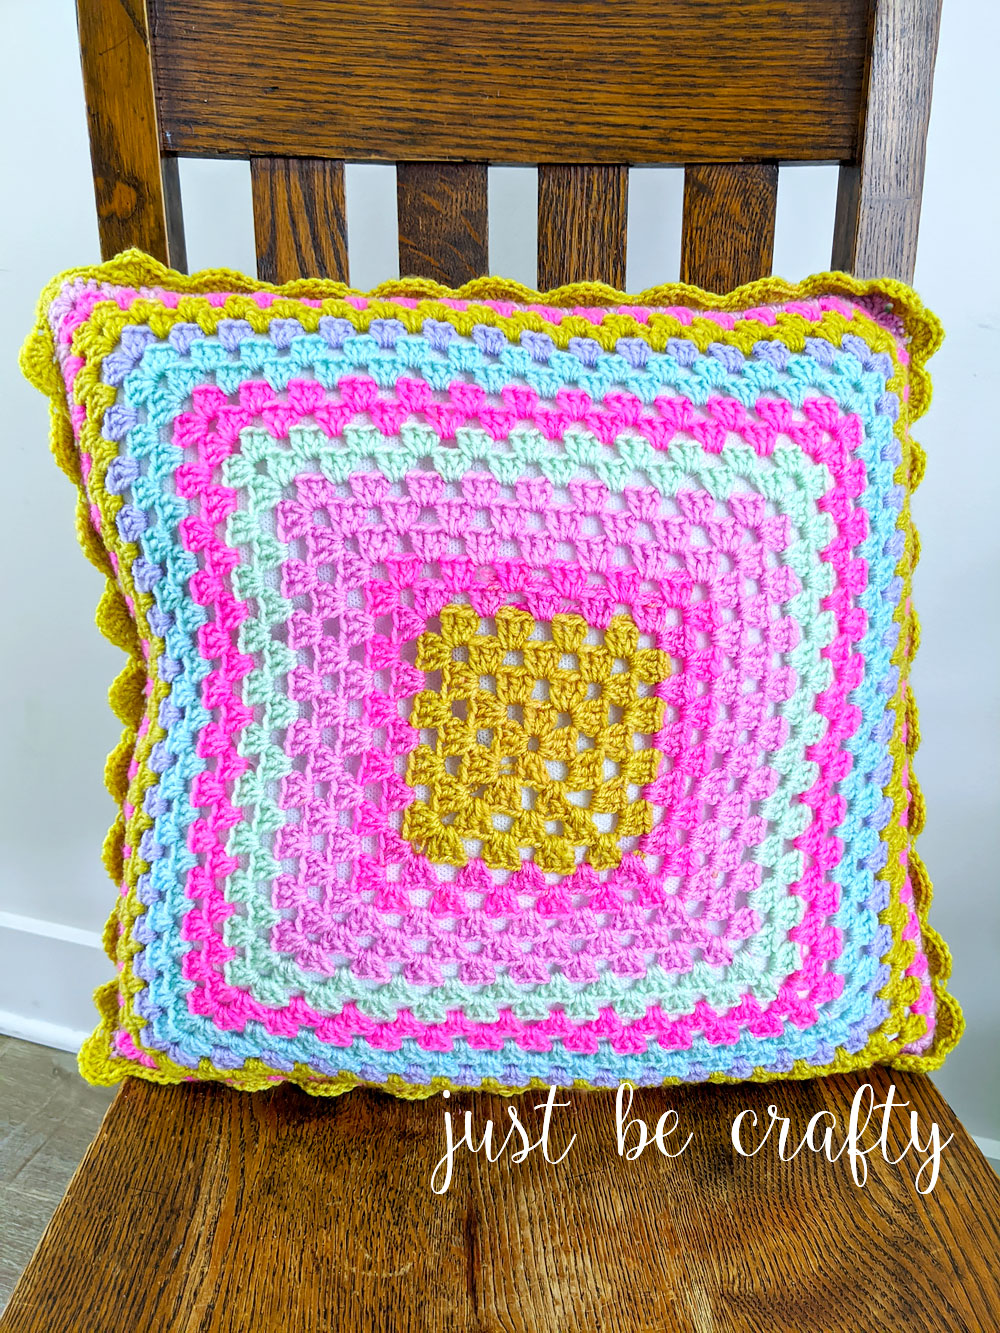
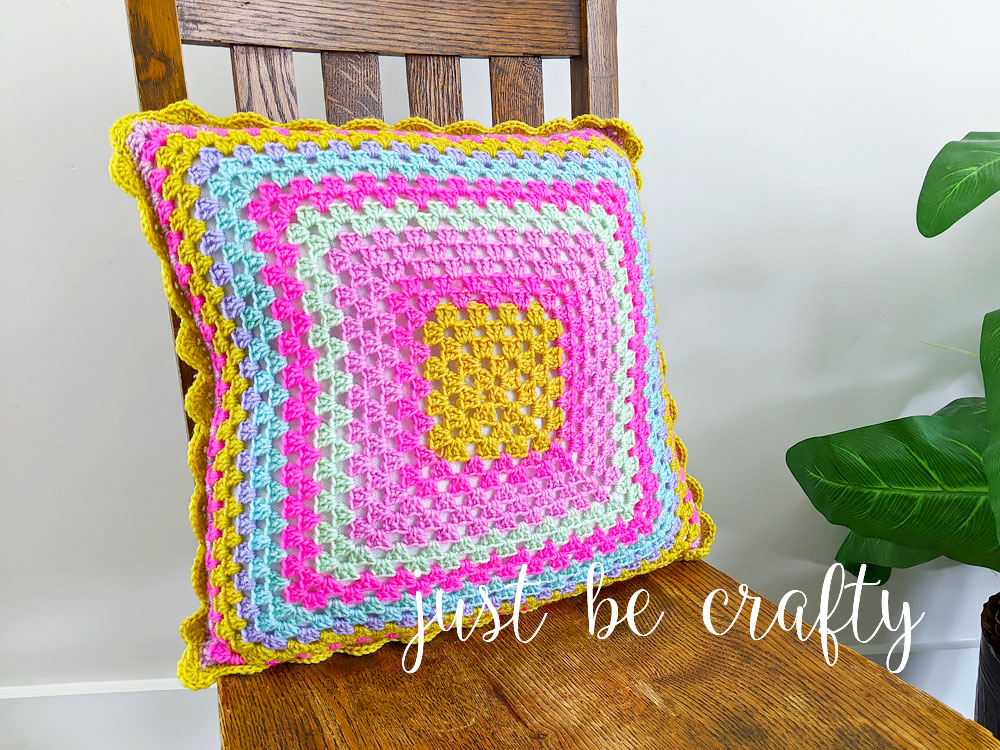
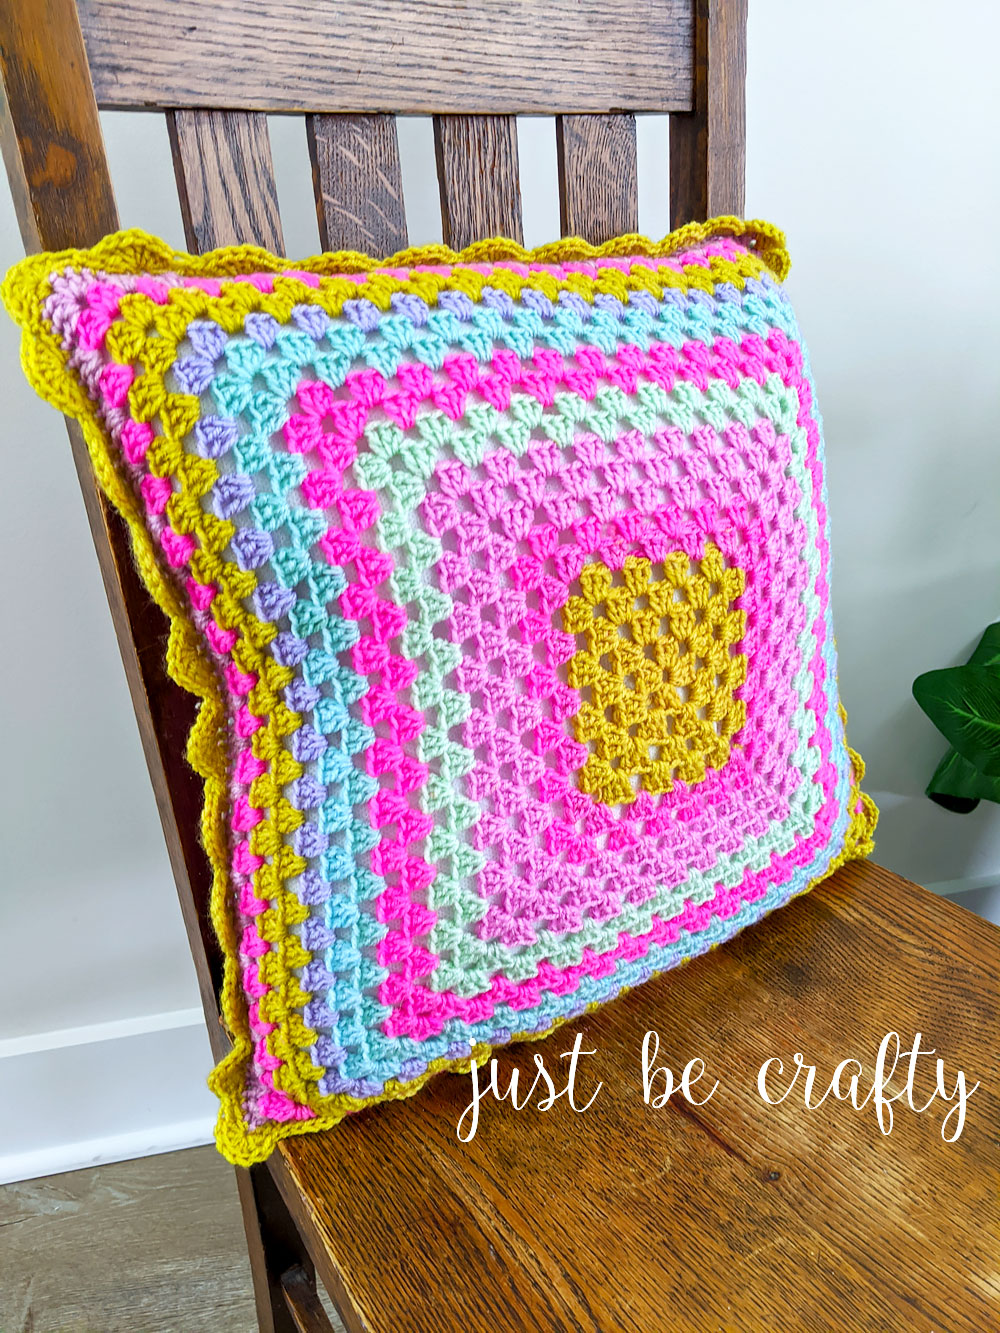
The Neon Bright Granny Square Pillow is the perfect project to keep your hands busy while you binge your favorite shows!

Hey there, I’m so happy you’re here! In today’s post we’re going to make this super fun Neon Bright Granny Square pillow to hopefully bring a little more sunshine into your house! Because right now – I think we all need it!
Yarn Cake Deconstruction
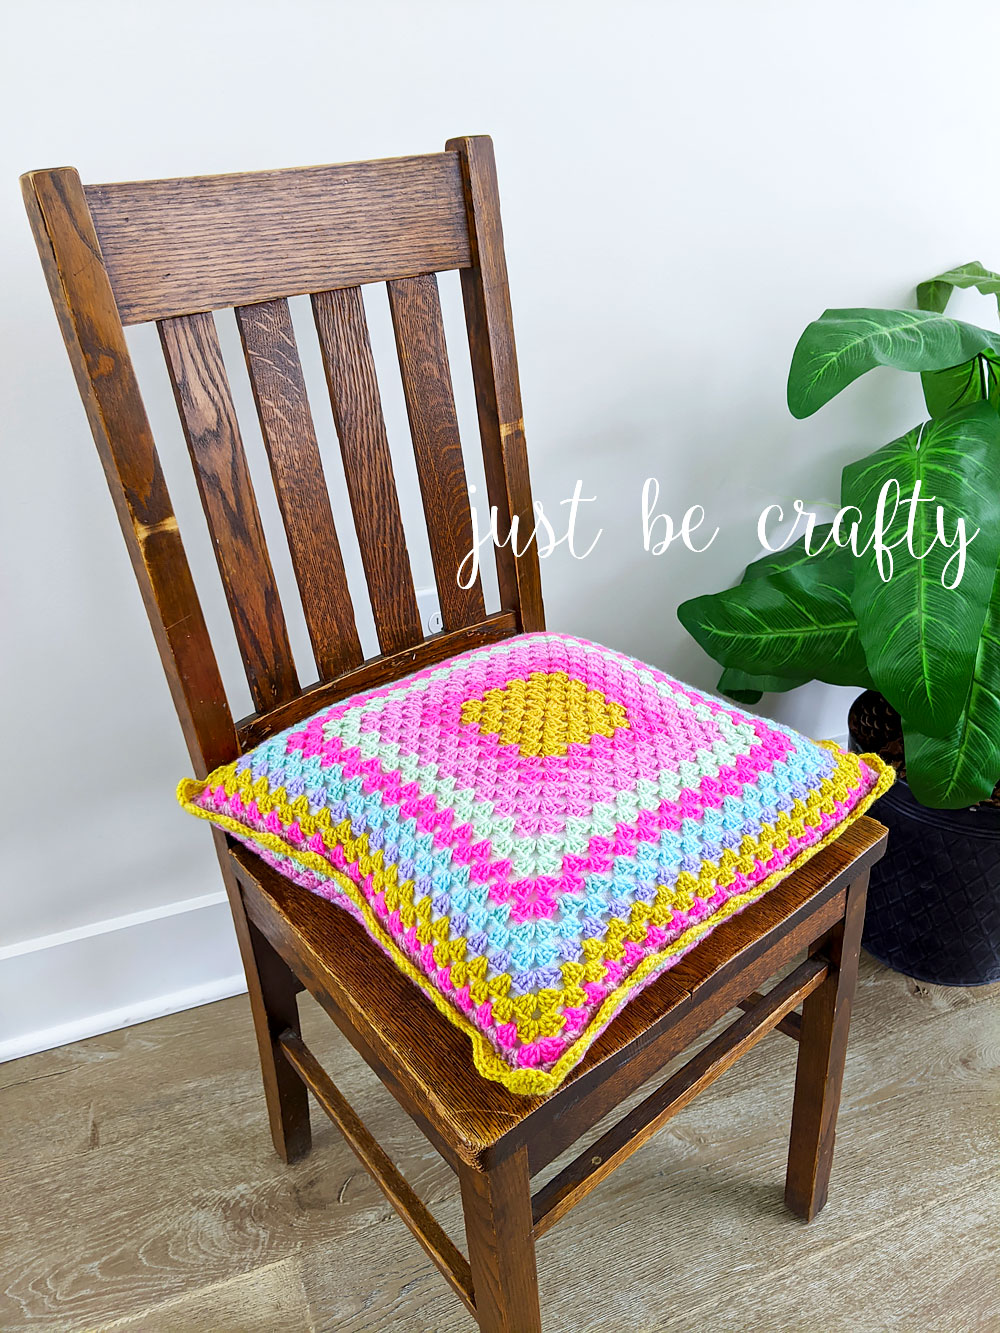
For this project we will be making two large granny squares and join them together at the end with single crochet and add a fun little scalloped edge detail!
I used Lion Brand Cupcake in the color Spring Break – which is a super fun cake yarn that’s full of bright colors. I highly recommend that you separate out each color and roll them all into little balls to keep organized. Trust me – it will make your project go much smoother!
Neon Bright Granny Square Pillow Video Tutorial
This video tutorial is geared towards intermediate beginners and higher and assumes you already know the following skills:
- Magic loop
- Chaining
- Single crochet
- Double crochet
- Slip stitch
And that’s it! Once you’ve mastered these basic skills I’m confident you can tackle this pattern.

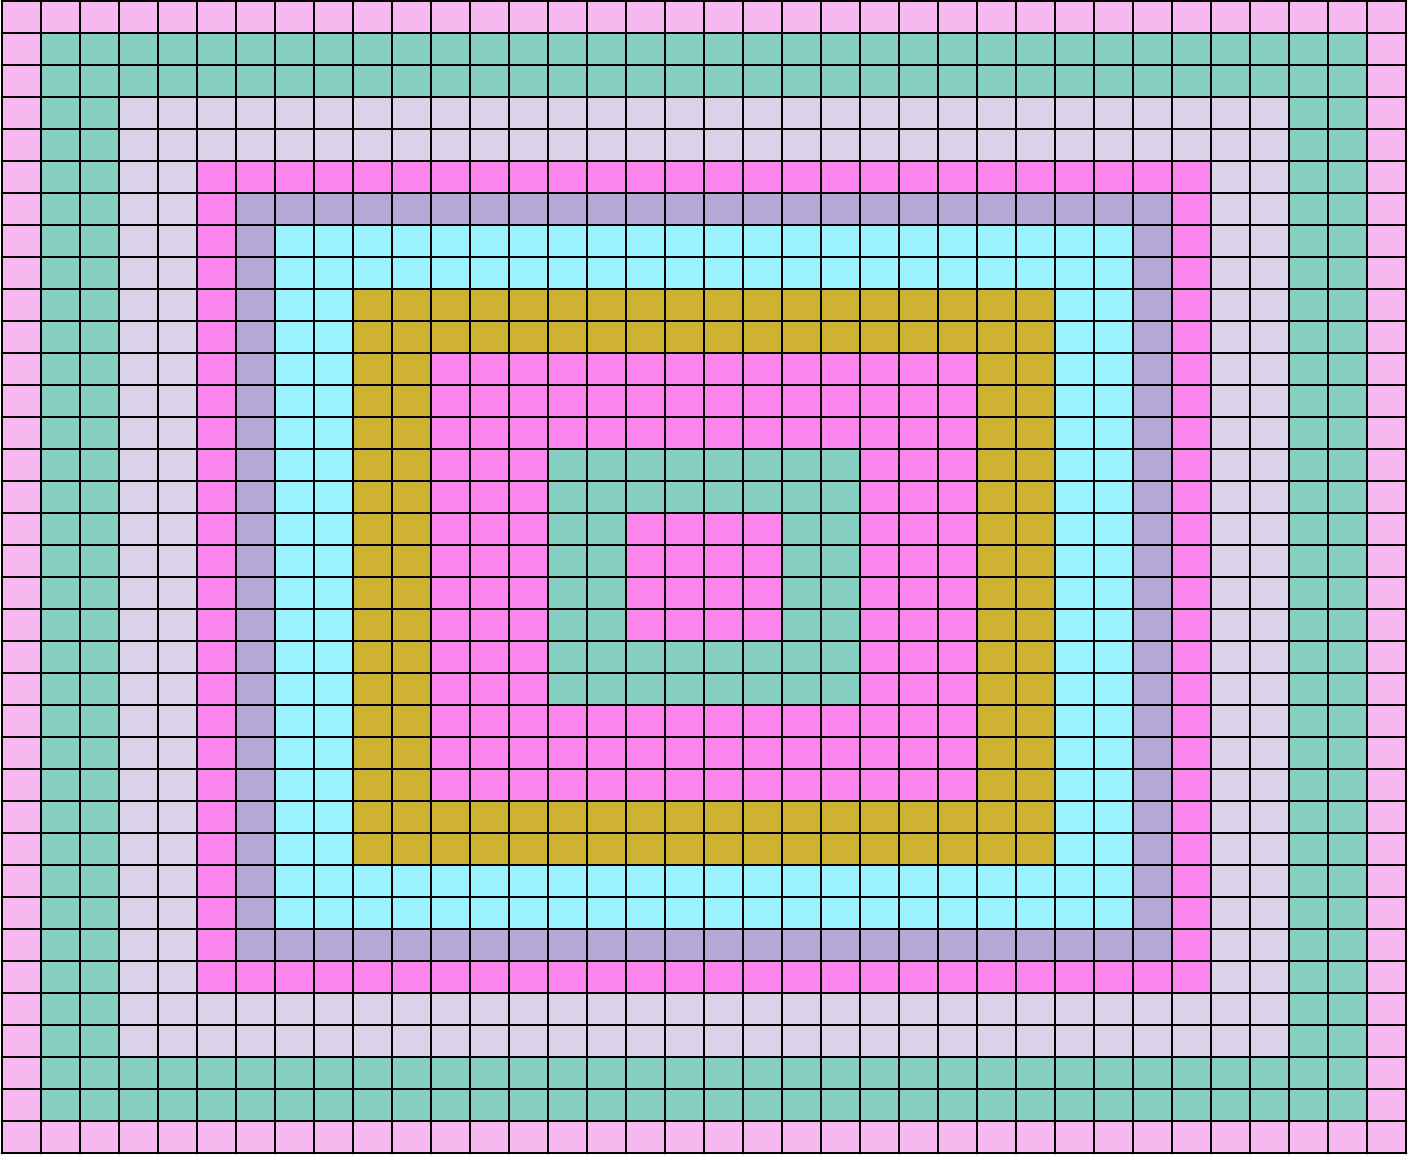
Color Schematic
Front:

Back (as shown in video):
Neon Bright Granny Square Pillow Written Pattern
Printable PDF – available soon!
Looking for a classic Granny Square tutorial? Check out this post here.
Materials
- 4.5mm crochet hook
- 2 balls of Lion Brand Cupcake in color Spring Break
- scissors
- yarn needle
- 15 inch pillow form
Finished Measurement
- 15 inches by 15 inches (not including scalloped border)
Key
- dc – double crochet
- sc – single crochet
- sk – skip
- ch – chain
- sl – slip
- st – stitch
- sl st – slip stitch
- yo – yarn over
Round 1: In magic ring, ch 5 (counts as dc + ch 2), 3 dc, ch 2, 3 dc, ch 2, 3 dc, ch 2, 2 dc. Join with 3rd ch of starting ch 5. Sl st into next ch 2 sp.
Round 2: ch 5 (counts as dc + ch 2), make 3 more dc’s in same ch 2 sp, *(3 dc, ch 2, 3 dc) in next ch 2 sp; repeat from * 2 more times. 2 dc in next ch 2 sp, join in 3rd ch of starting ch 5 with a sl st. Sl st into next ch 2 sp
Round 3: ch 5 (counts as dc + ch 2), 3 dc in same ch 2 sp; * 3 dc in next cluster sp, (3 dc, ch 2, 3 dc) in next ch 2 sp; repeat from *2x; make 3 dc in next cluster sp, make 2 dc in next ch 2 sp; join with 3rd ch of starting ch 5 using a sl st; sl st into next ch 2 sp
Round 4: ch 5 (counts as dc + ch 2), 3 dc in same ch 2 sp; *[3 dc in next cluster sp], repeat [ ] until you reach the next ch2 corner sp (3 dc, ch 2, 3 dc) in next ch 2 sp; repeat from * two more times.
[3 dc in next cluster sp], repeat [ ] until you reach the next ch2 corner sp; make 2 dc in next ch 2 sp; join in 3rd ch of starting ch 5 with a sl st. sl st into next ch 2 sp.
Rounds 5 – 20: Repeat Round 4 until you reach 15 inches the approximate measurement of your pillow form.
Color Changes
When completing the final sl st to join the end of your round, begin your slip stitch but don’t complete it. You should have 2 loops on your hook, YO with your new color. Cut old color.
Then slip stitch into the next corner space. You’ll want to do this for each color change.
Forming the Pillow Cover
With the right sides facing out, and wrong sides facing in, place your front square on top of the other. Line up your stitches as best you can, and begin in a corner.
Grab the color you’d like for the border and create a slip knot.
Insert your hook into the corner ch 2 sp, making sure that you go through both layers.
Slide sl st on your hook from behind the squares, pull up slip knot through the ch sp and ch 1 to attach your squares together. Ch 1 and make 3 sc in that same corner space.
With your stitches lined up, sc into each dc making sure that you go through both layers. Keep repeating this process until you have crocheted 3 sides together. making 3 sc’s in each corner.
Slide pillow form into the cover. Continue to sc your final edges together to stitch your pillow closed.
At end of round do not join.
Scalloped Edging
Sk two stitches. *Make 7 dc’s in same next stitch. Sk 2 stitches, sc in next st; Repeat from * until you reach the end of the round.

(Note, you may not have the exact stitches left at the end of the round and that’s ok. Adjust as you need to.)
Join with the first st of the round using sl stitch.
Cut yarn and weave in your ends. Enjoy!
