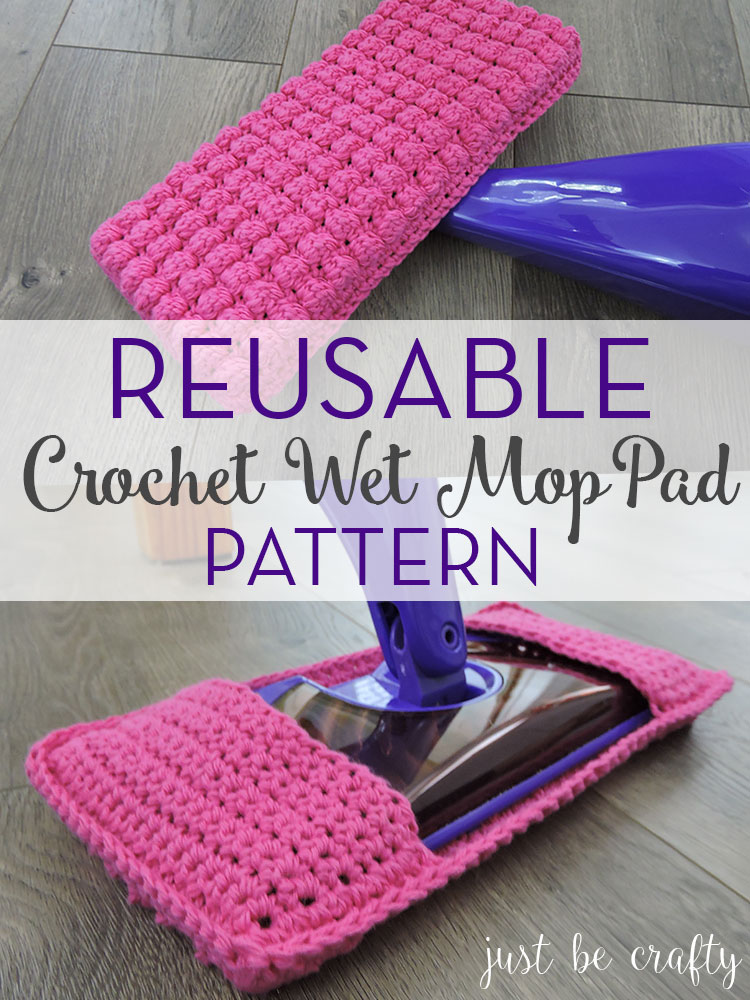
Today’s post is all about the Reusable Crochet Wet Mop Pad Pattern!
With the weather warming up and the new season in full swing my husband and I are starting the process of giving the house a major spring clean. There’s something about the warm air and bright cheery colors of spring that make me want purge the old and do a deep clean! Spring cleaning gives such a fresh start and sets us up for a great year to come!
As I have been gathering cleaning materials to get to work, I decided to whip up some of my own wet mop pads! I don’t know about you, but I hate spending money on wet mop pads (aka Swiffer Pads)! They are expensive, and I am constantly going through boxes like crazy so I thought it would be a good idea to make my own. Not only will the homemade version of these pads be more cost effective but it is better for the environment by creating less waste. Win win!
And the best part is, when I’m done with a pad I just take it off the Swiffer and drop in the washing machine!
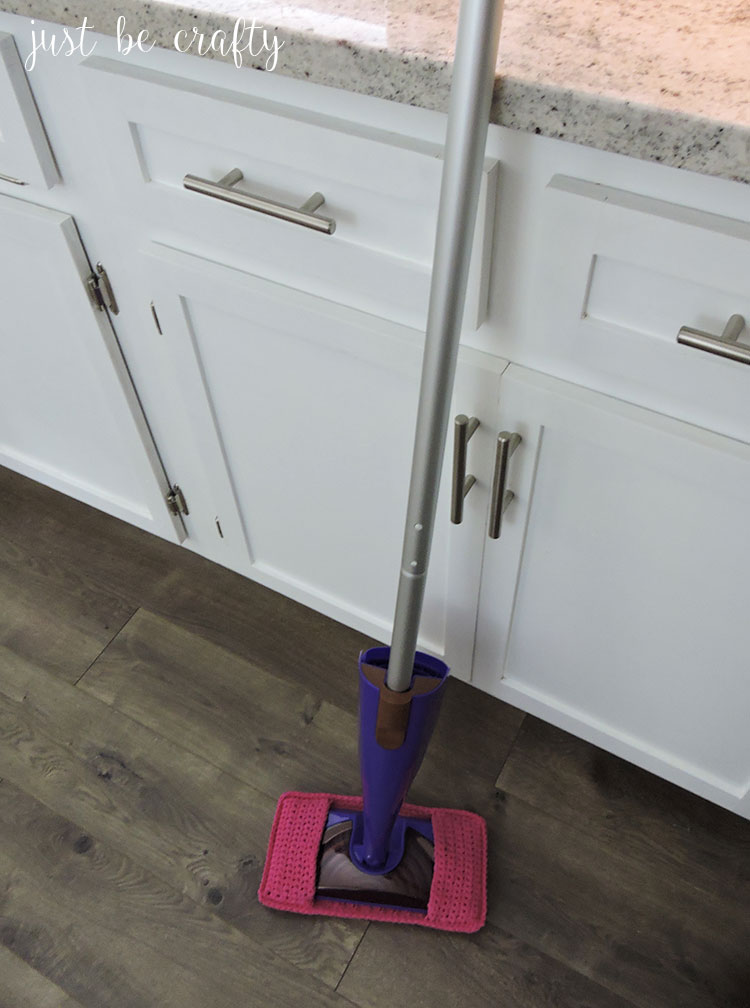
This pattern is designed to fit the Swiffer Wet Jet wet mop which measures approximately 10 3/8″ by 4 1/2″. The pad is designed to be a bit bigger than the Swiffer itself to make it easier to slide onto the mop and to account for any shrinkage that might occur with washings.
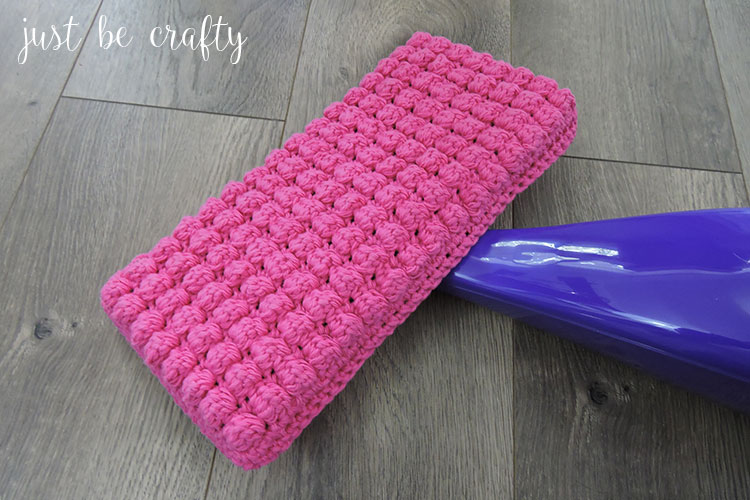
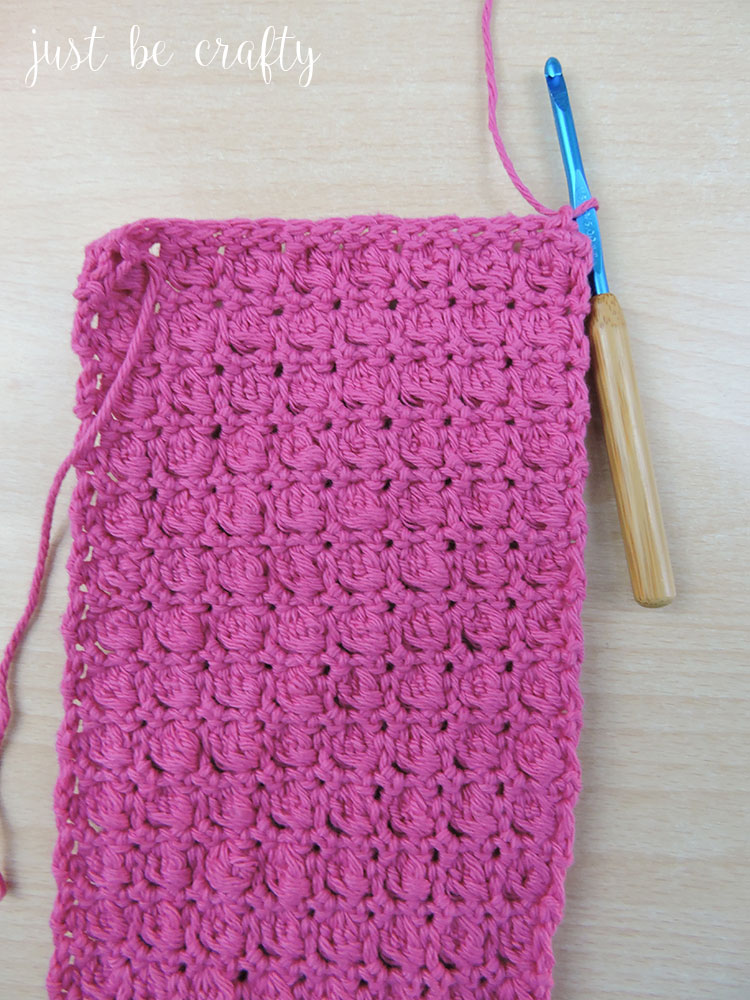
The pattern features the beautiful bobble stitch, which makes for an excellent scrubbing surface to give your floors a great deep clean.
To learn the Bobble Stitch, check out my video tutorial!
*This post may contain affiliate links. Please see my disclosures page for more information.
Psst! Looking for a quicker solution?
If you’re looking for a quicker solution and want clean floors while you crochet, I got you! Here’s something that I’ve been using when my handmade mops are in the wash – Turbo Mops! It’s another great option if you’re looking for something reusable.
They fit the Swiffer WetJet and work great dry for sweeping up dust and dirt as well as wet! You can find them on Amazon here.
Reusable Crochet Wet Mop Pad Pattern
Note:
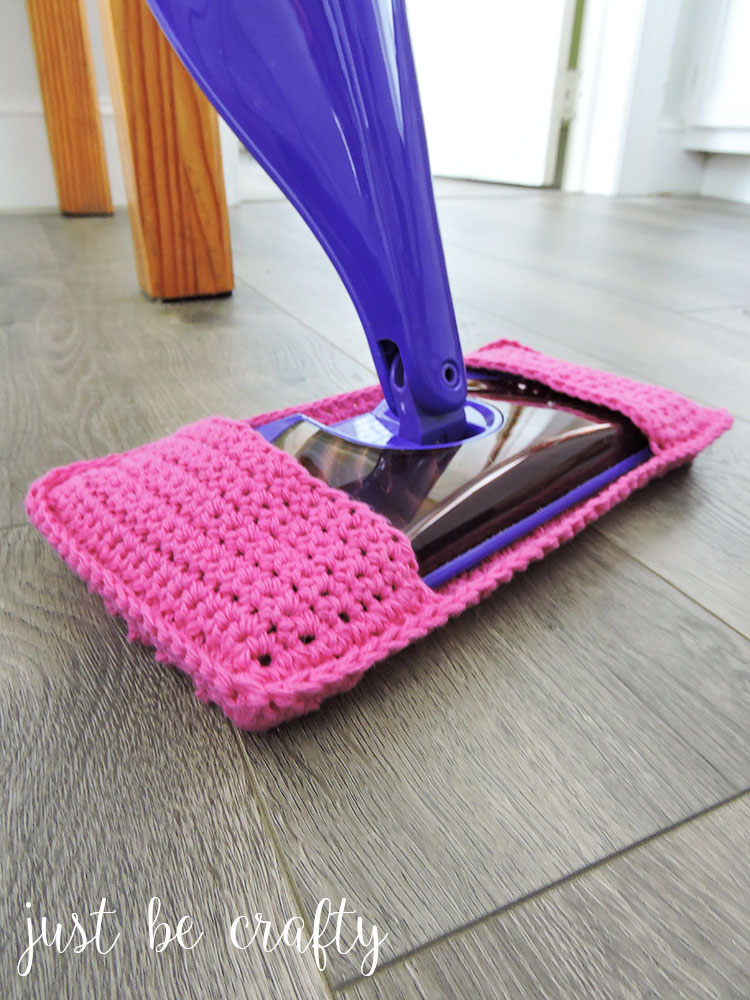
Please note this pattern is only compatible for older models of the Swiffer WetJet that have the sprayer in the center of the paddle head. Stay tuned for the the updated version of this pattern that will be compatible with the new Swiffer WetJet!
Materials:
- Size 5.0 mm hook
- One 4oz ball of Lily Sugar n’Cream Yarn in Hot Pink
- Scissors
- Yarn needle
Key:
- Bobble Stitch – start a double crochet by yarning over and inserting your hook into the stitch, grab working yarn with hook, yarn over, pull through two loops, yarn over, insert hook into same same stitch, grab working yarn with hook, yarn over, pull through two loops. Keep repeating until there are 5 loops total on your hook, yarn over, pull through all 5 loops. See this video for a visual. (The bobbles on the bobble stitch pop out on the back of your work. Because of this, we work the bobbles on the “wrong side” of the work so that the bobbles poke out on the “right side”.)
- ch – chain
- sc – single crochet
- yo – yarn over
- sl st – slip stitch
- st – stitch
Finished Measurement:
- Approximately 11″ x 6.26″ laying flat
Pattern:
ch 18
Row 1: starting in 2nd ch from hook, sc across row, turn (17)
Row 2: ch 1, *sc, bobble stitch; repeat from *7 x, sc, turn (17)
Rows 3 – 32: repeat Rows 1 and 2
Row 33: ch 1, sc across row, turn
Row 34: repeat row 33
Row 35: ch 1, sc in back loops only, turn
Row 36: ch1, sc across row, turn
Rows 37 – 44: ch 1, sc across row
Cut yarn and secure.
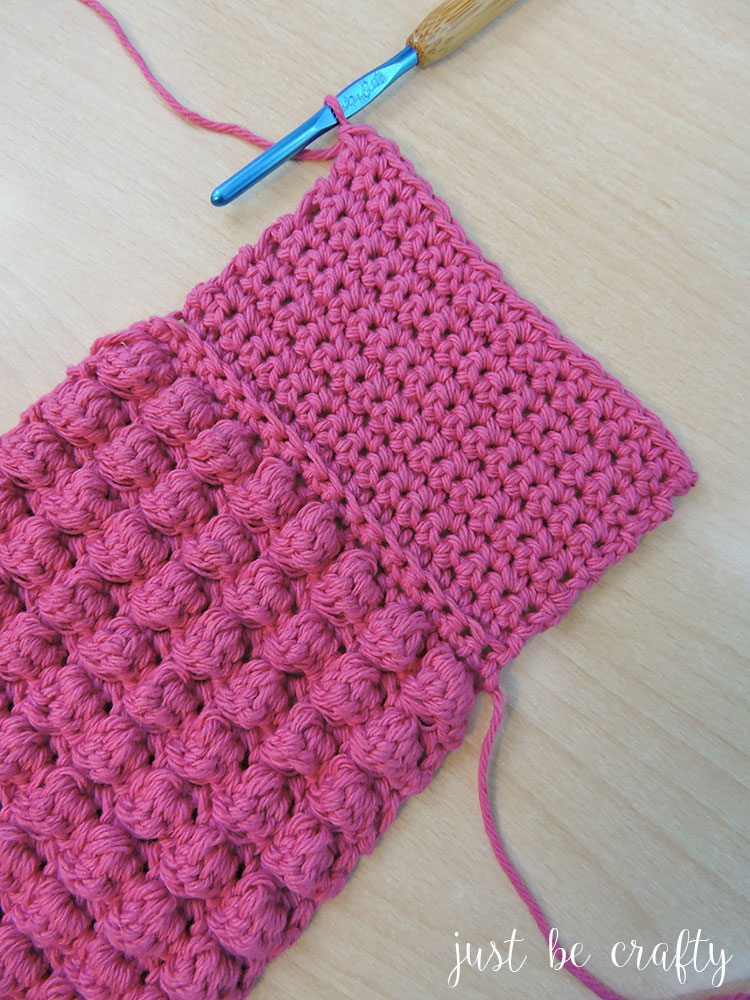
Flip over your work so that the bobble side is face down, and rotate work so that the starting end is facing towards you.
Insert your hook in the first stitch (as shown below), ch1, and sc across row, turn.
Repeat Row 35.
Repeat Rows 36 – 44.
You will now be working in rounds.
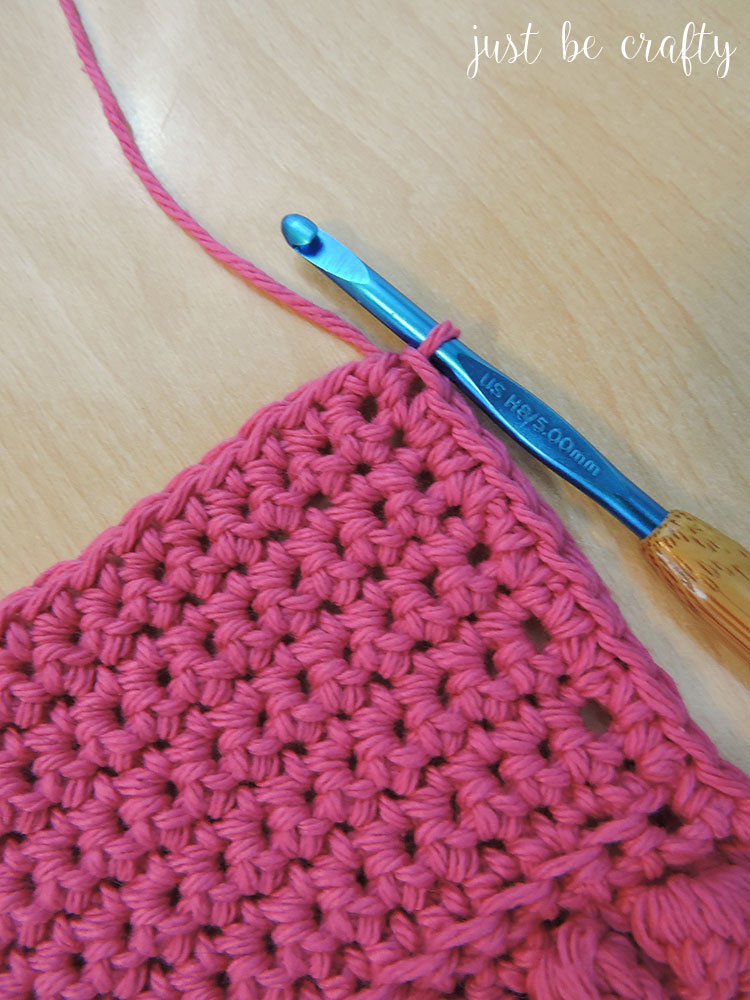
Round 1: ch1 and turn, sc in each stitch across row and make 2 dc in the 1st corner stitch.
Sc along edge, making one sc per row, make 2sc in the 2nd corner stitch; sc along other side, making 2 sc in the 3rd corner stitch, sc along other edge making 1 sc per row, and sc in the same stitch as the first stitch in 4th corner.
Join with the first stitch of the round with a sl st.
Cut and secure yarn.
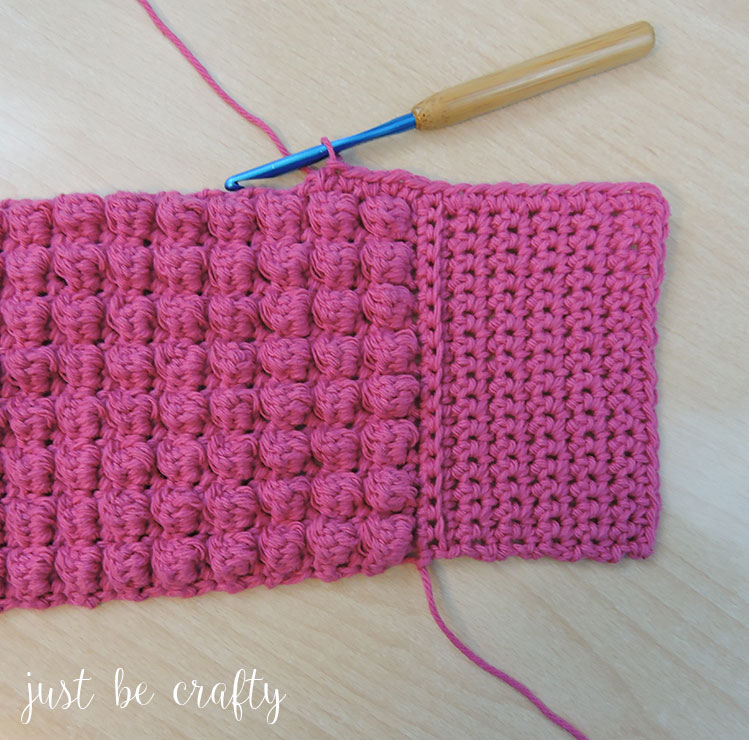
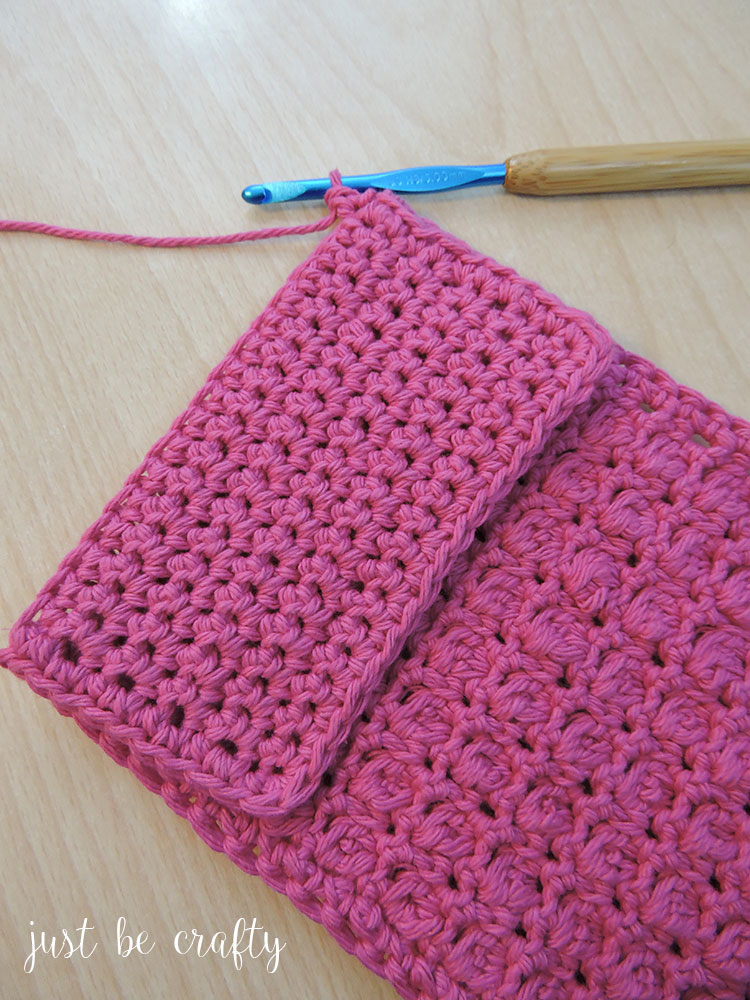
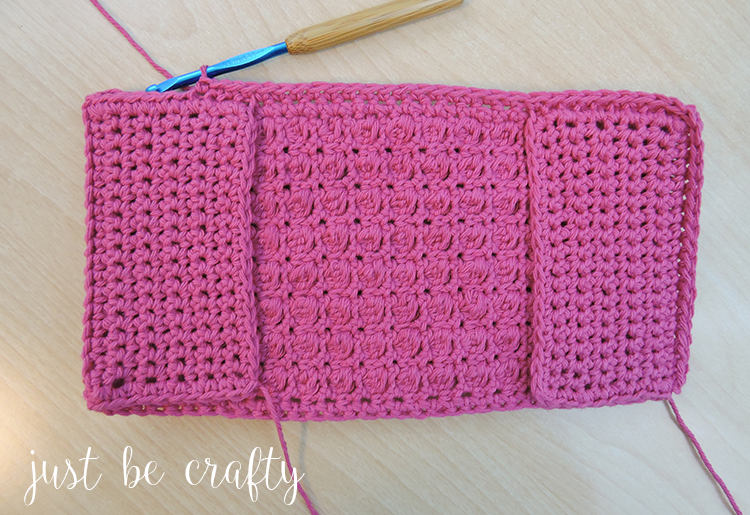
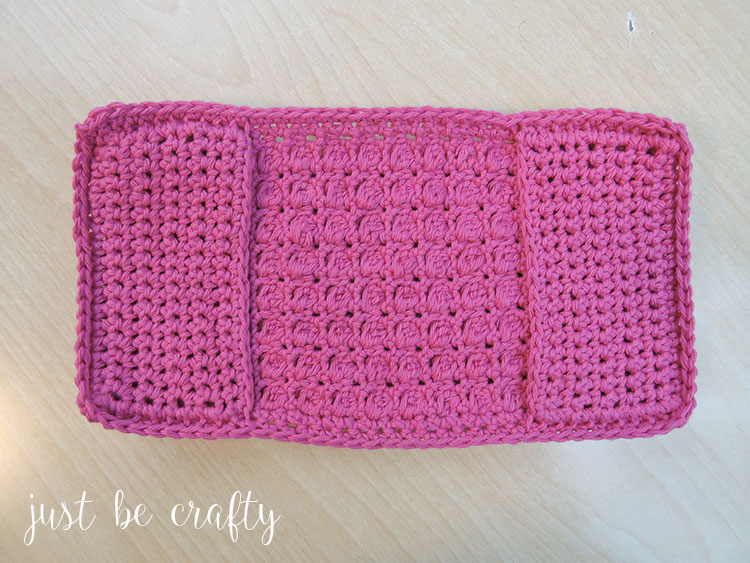
Turn piece over so that the bobble side is face down. Fold both side edges inward.
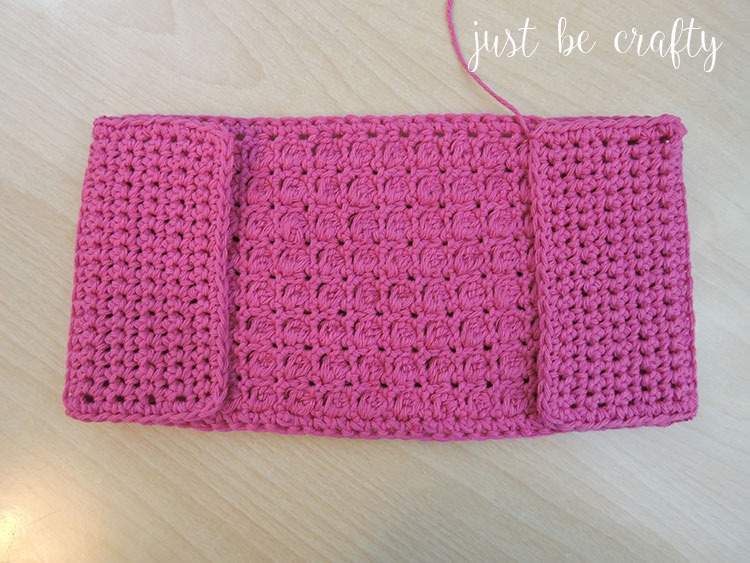
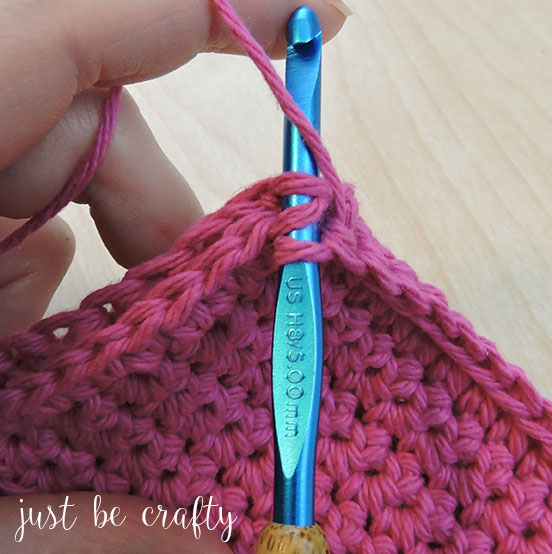
Remember when we single crocheted in the back loops only for one row on each of the side flaps? And did you see how we formed a little line on both sides of your flaps? We are going to single crochet along that line. Starting at one of the corners insert your hook into the 1st stitch on one of the side flap lines (shown below).
ch 1, and sc across the side, then line the stitches of side flap with the body of the pad, and sc the side flap to the body (crocheting in the outer loops only).
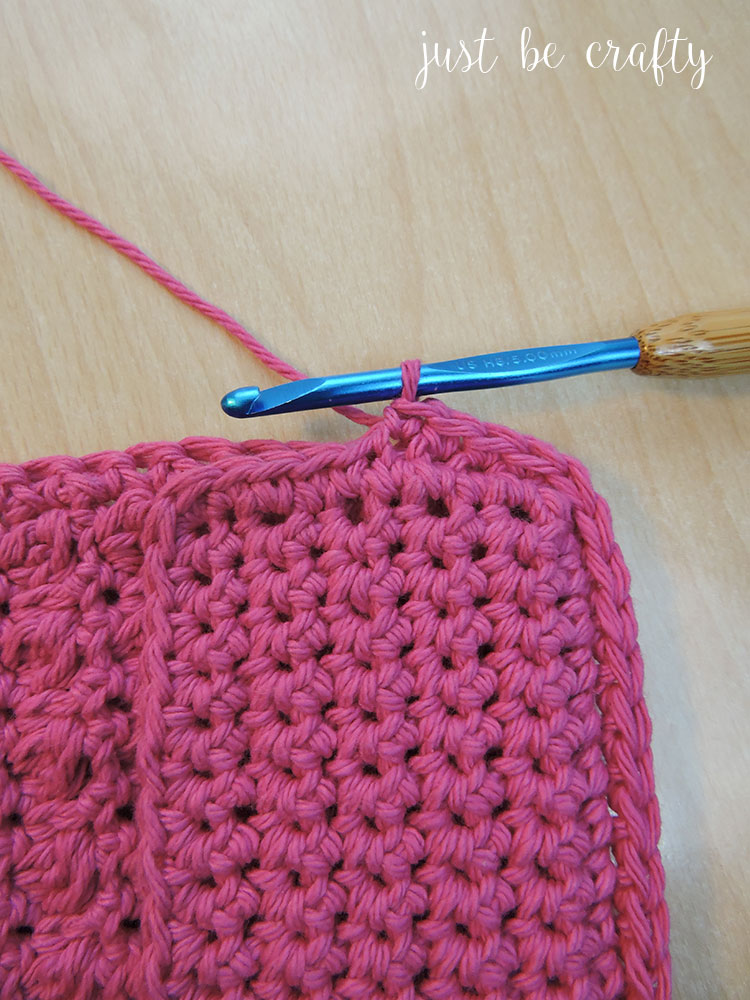
Once you reach the end of the 1st folded over flap, sc along edge as usual until you reach where the folded side flap meets the body.
Line stitches up and sc the outer loops together
Sc across second end of other side and repeat this process until you reach back around to where you started, join round with a sl st.
Cut yarn and secure. Weave in any ends.
Enjoy!!