Meet the Textured Woodland Cowl! With its combination of texture, fringe and beautiful amethyst color, this cowl will add a style pop to your wardrobe!

Hello there and welcome back to my blog! Today I am sharing the Textured Woodland Crochet Cowl Pattern.
On my last trip to JoAnn Fabrics I picked up a few skeins of Big Twist Premium in the color Passion Flower. If you have not worked with this yarn yet I highly suggest it! It is affordable and 100% acrylic but is super soft and plush. The yarn beautifully shows the definition of each stitch, which in my opinion gives this cowl a lot of character!
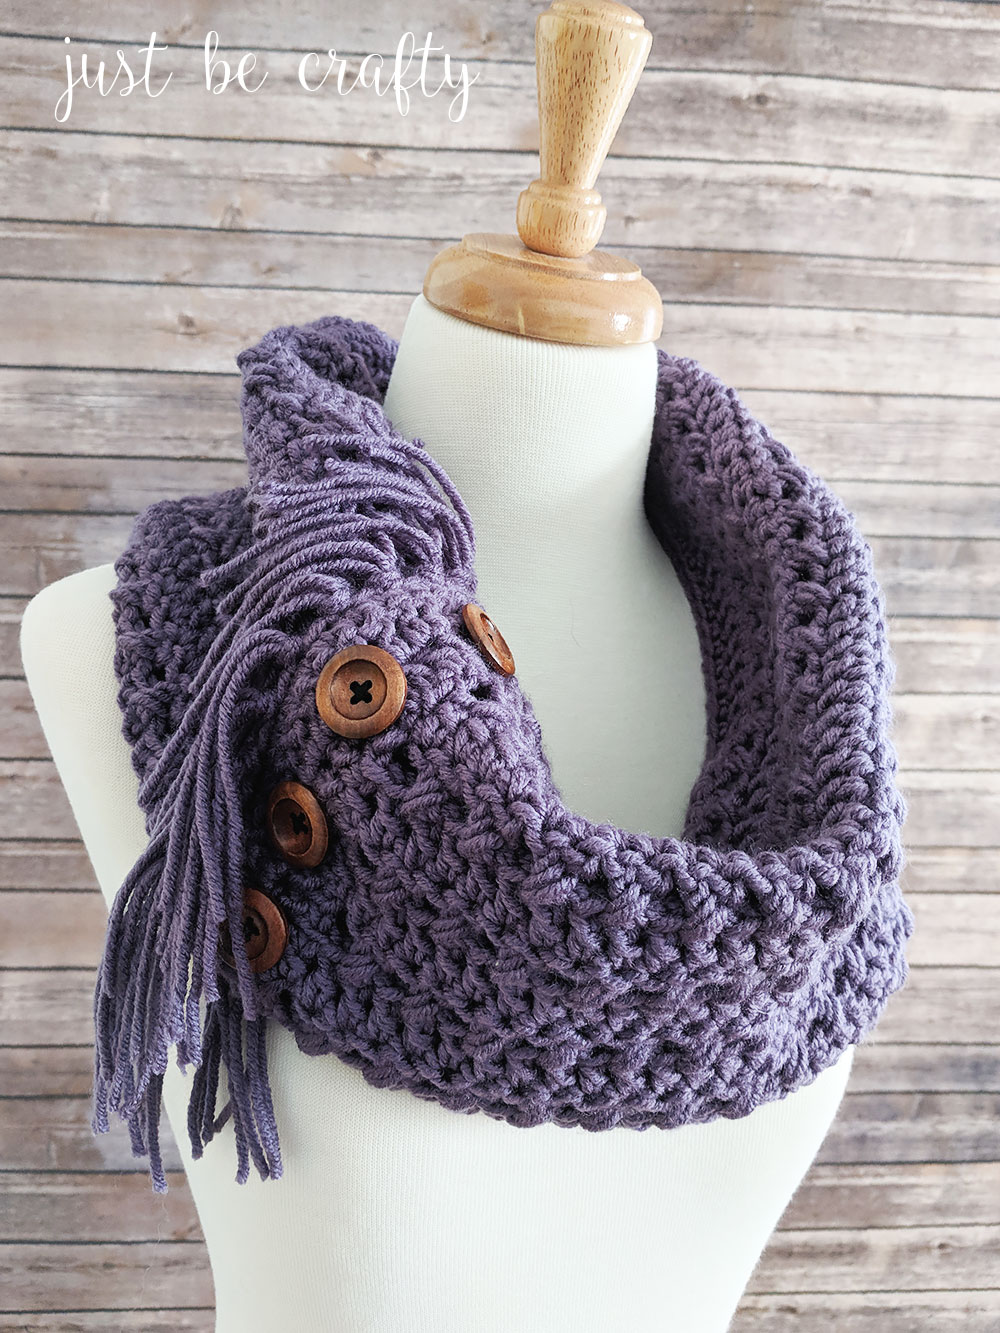
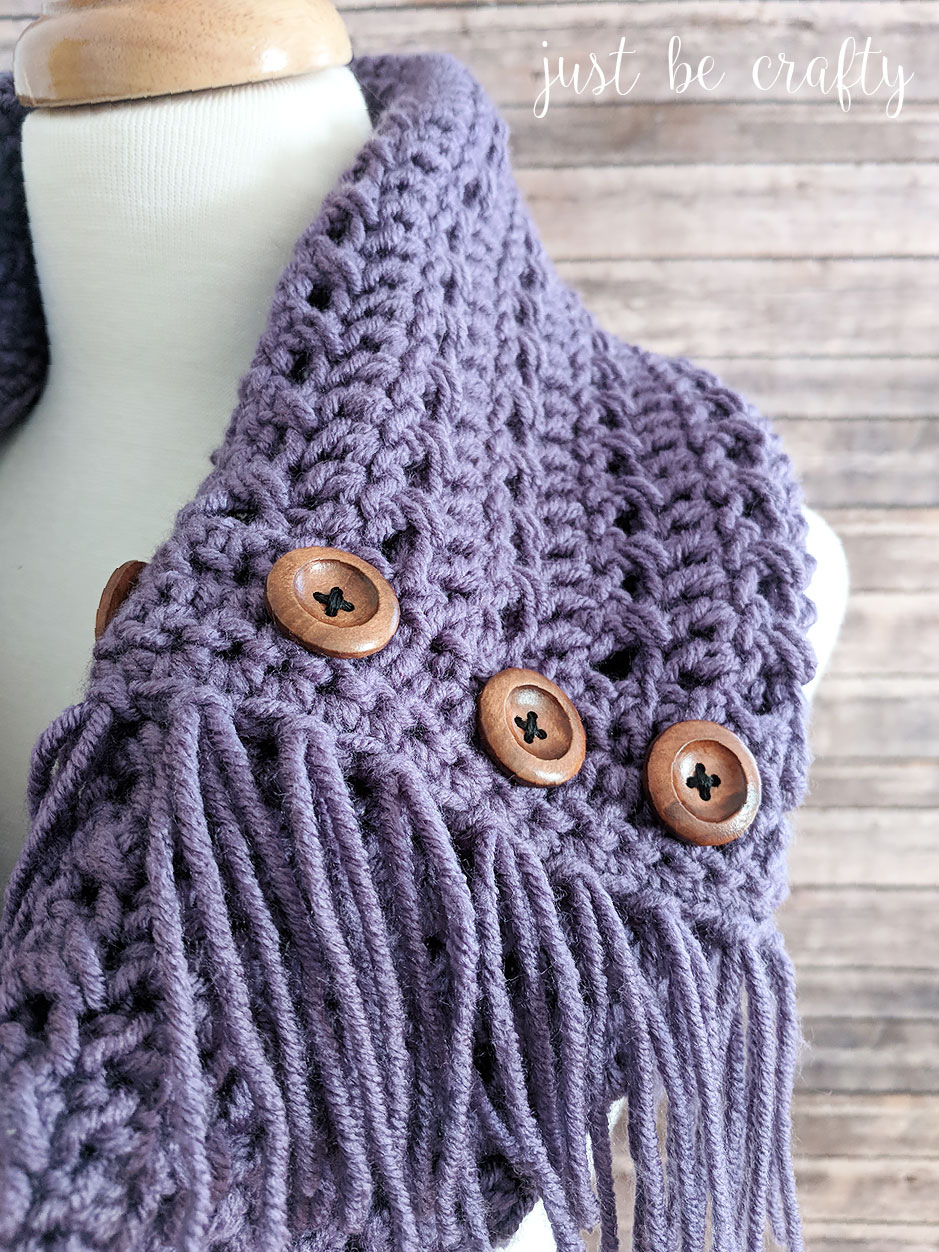
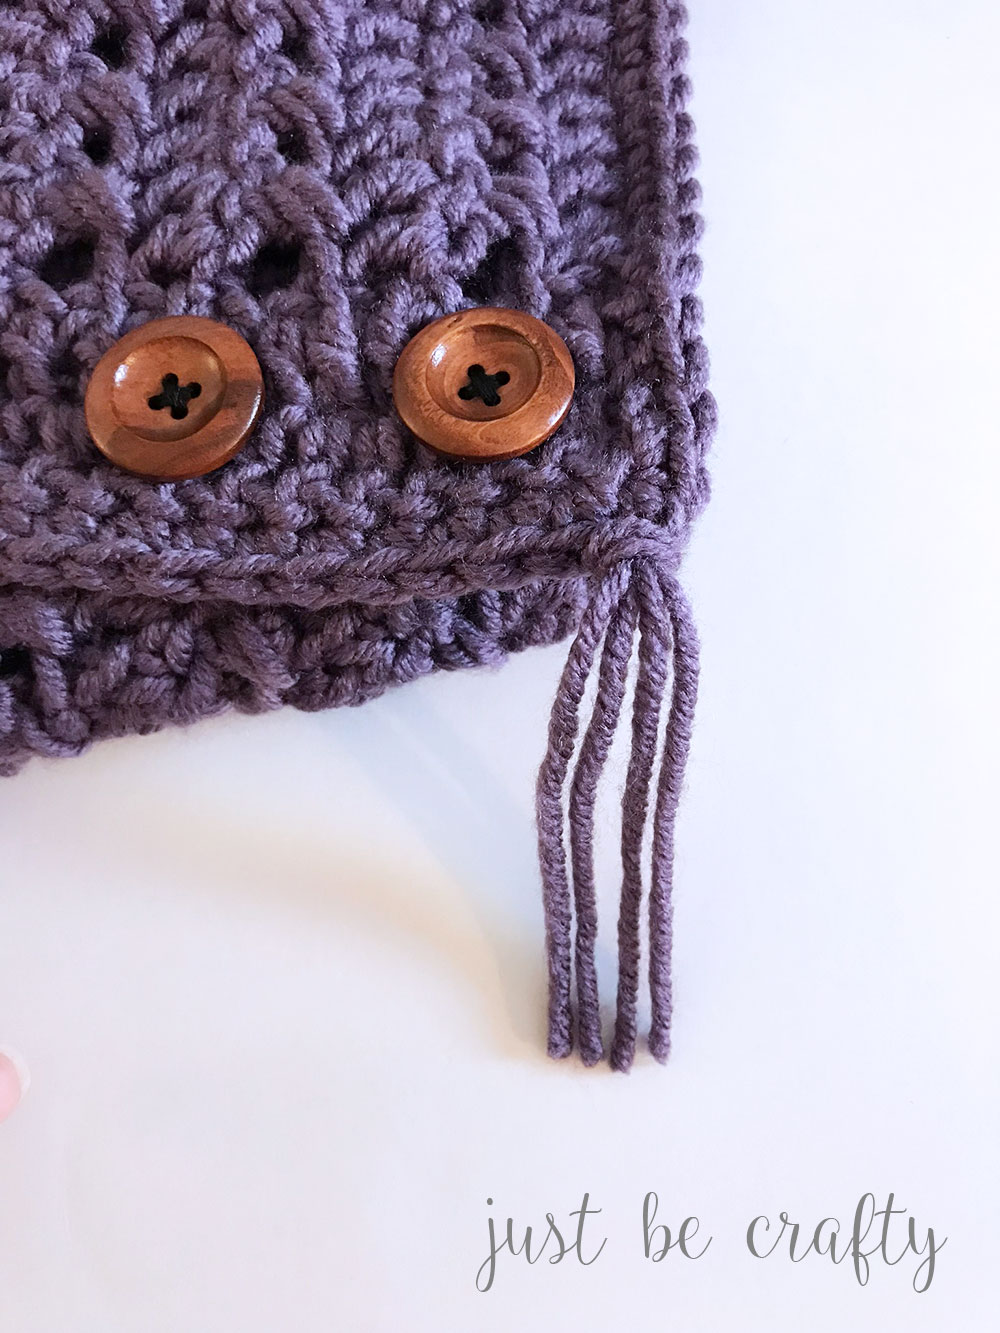
In addition to the pretty texture, I have been wanting to incorporate fringe into one of my patterns and this cowl was the perfect opportunity! I was originally planning to add fringe along the bottom edge of the cowl as well, but after adding it to the button band edge, I thought the piece looked complete – so I stopped there.
What do you think of this pattern and how would you style it?
Want to make your own Textured Woodland Cowl? Keep on scrolling to view the pattern!
This post contains affiliate links. For more information please see my disclosures page.
Textured Woodland Crochet Cowl Pattern
Materials
- 3 skeins of Big Twist Premium in color Passion Flower (Please note – I actually used 2 skeins of yarn for this project, but once finished I had less than 24 inches of yarn left over. To be on the safe side, grab a 3rd skein!)
- 6.0 mm hook
- Sharp scissors
- Straight edge ruler
- Yarn needle
- 6 25mm wooden buttons
- Embroidery floss in a contrasting color (I used black)
- Sewing needle
- Straight pins
Gauge
- 11 dc stitches is equal to 4 inches
Finished Measurements
- 18 inches wide by 11 inches tall – flat
Key
- ch – chain
- dc – double crochet
- sc – single crochet
- sk – skip
- sl st – slip stitch
- st – stitch
Pattern
Cowl Body
Ch 100
Row 1: In 4th ch from hook make a dc, and dc in each ch across row, turn.
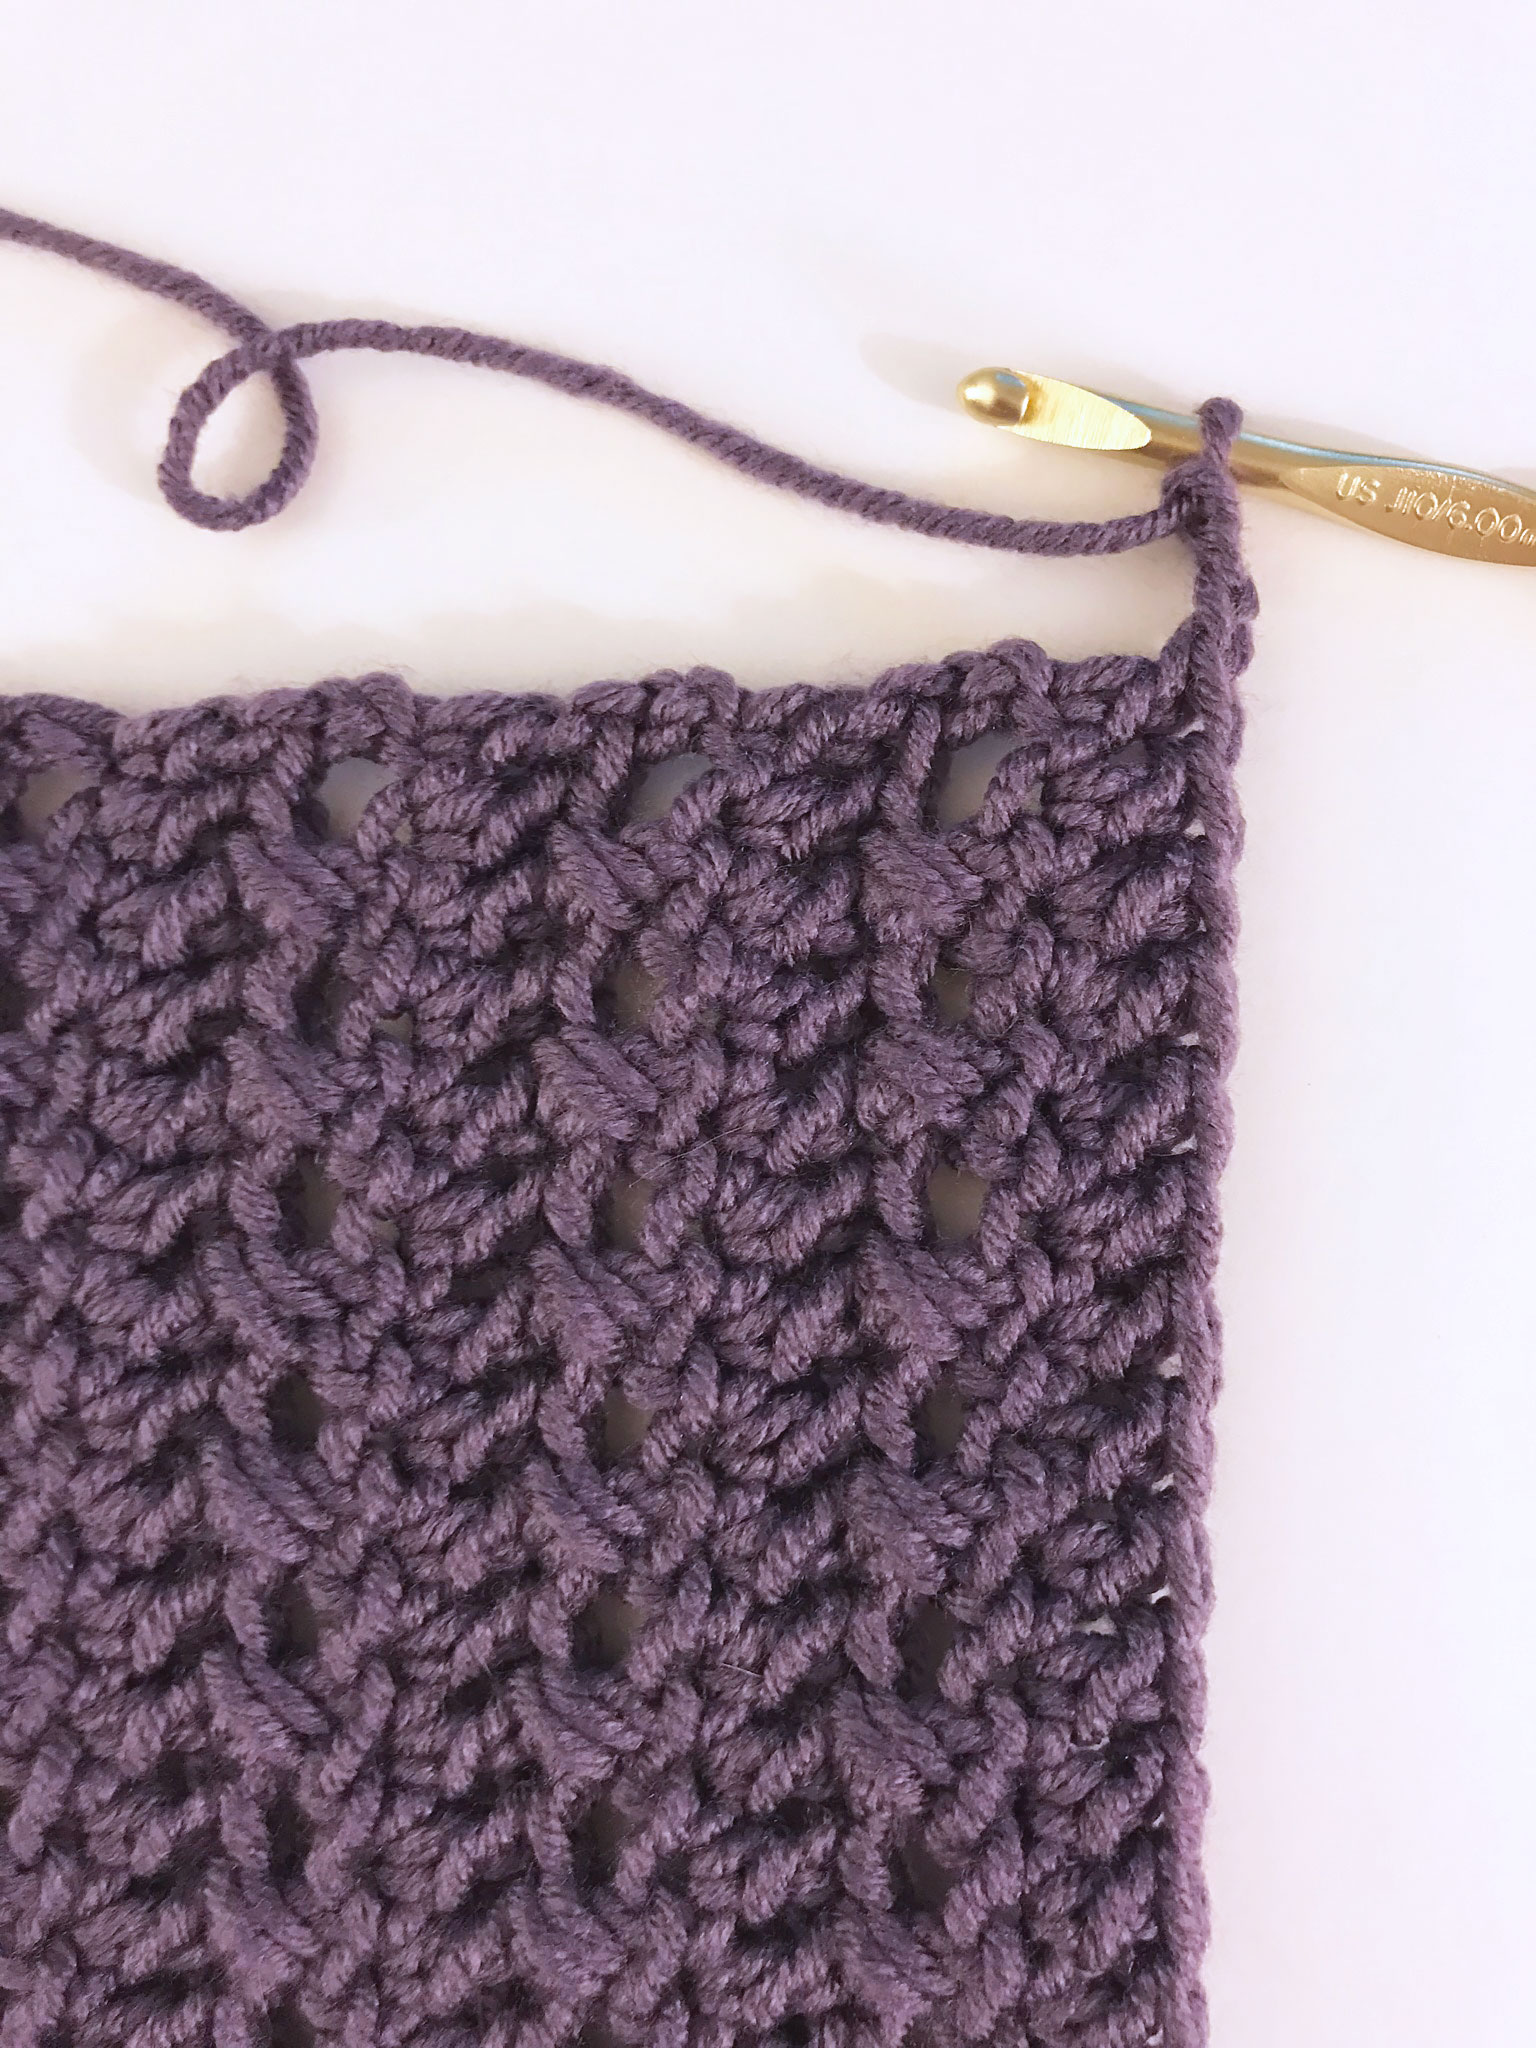
Row 2: Ch 3 (counts as 1st st), your starting point will be the next st after the ch 3, *sk next st, dc in next st, dc in skipped st; repeat from * to end, make a dc in the 3rd ch of previous row, turn. See below for a visual.

Row 3: Ch 3 (counts as 1st st), starting in next st after the ch 3, dc across row, last dc should be in the 3rd ch of the ch 3 from the previous row, turn.

Repeat Rows 2 and 3, 7 times. (For a thinner cowl, repeat rows less times – making sure to end on a Row 3.)
Button Band
Note:
- The buttons on this cowl are not functional, just for decoration. No button holes will be created.
Turn piece sideways so that the side edge is now the top edge.
Row 1: Ch 3 (counts as 1st st), and make 29 dc evenly across side, turn. (30)

Row 2: Ch 3, (counts as 1st st), starting in next st after the ch 3, dc in each st across row, last dc should be in the 3rd ch of the previous row, turn. (30)

Border Edging
You will now be working in the round.
Ch 1 (this does not count as a st), and sc around entire piece, making a “sc, ch 1, sc” in each corner. Make 30 sc along side edge opposite of button band edge. Once you reach back around to the beginning, join with 1st stitch of round using a sl st.
Joining the cowl
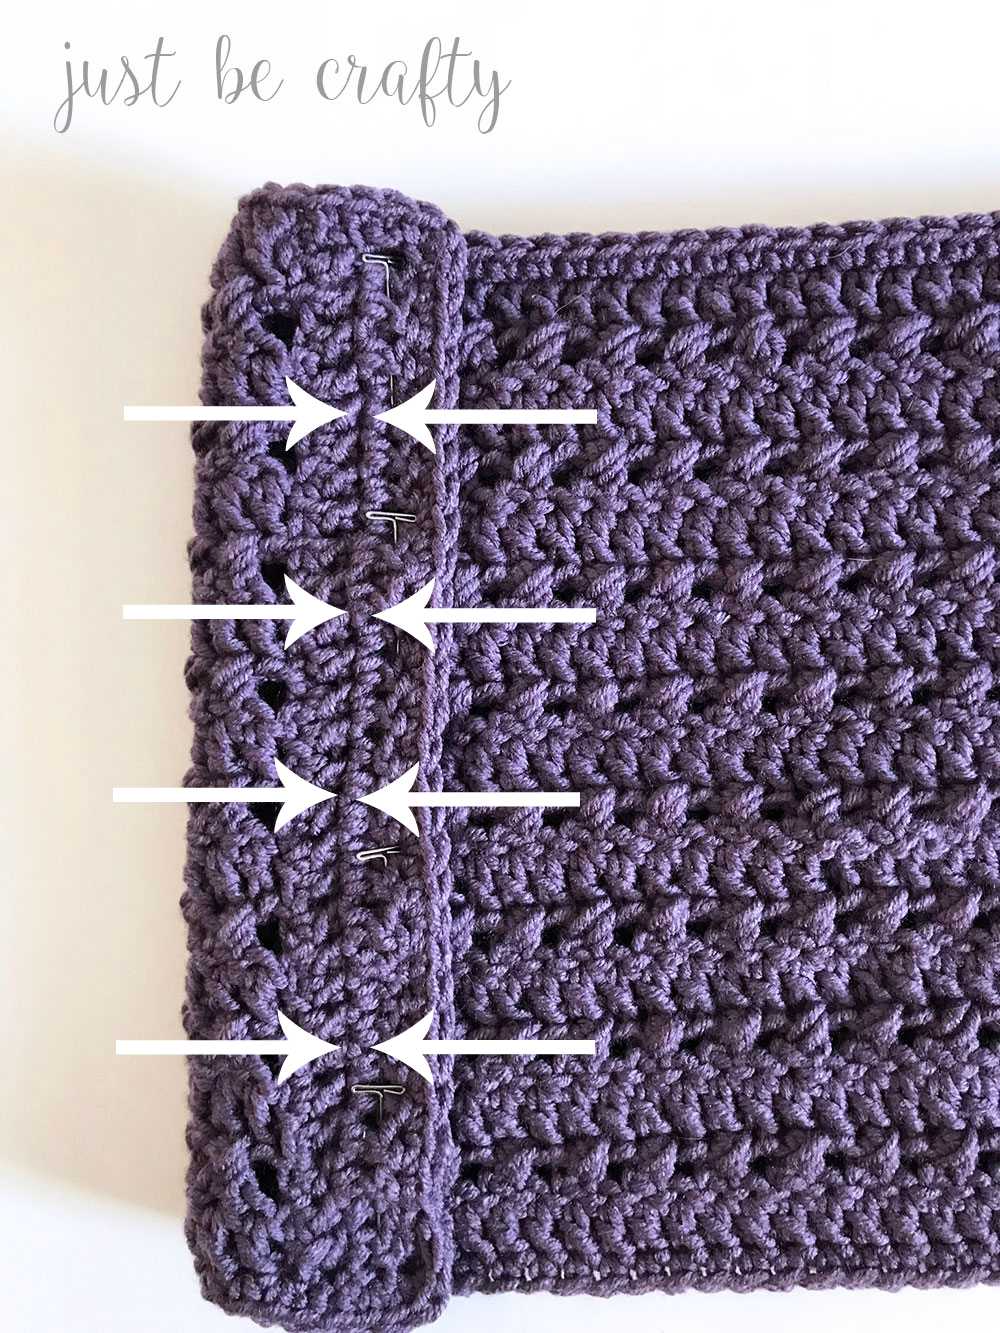
Lay piece flat out in front of you horizontally with the wrong side facing up and the button band positioned to the left. Fold opposite side edge inward toward the button band and position this side edge to be 2.5 – 3 inches inward from the edge of the button band as shown below.

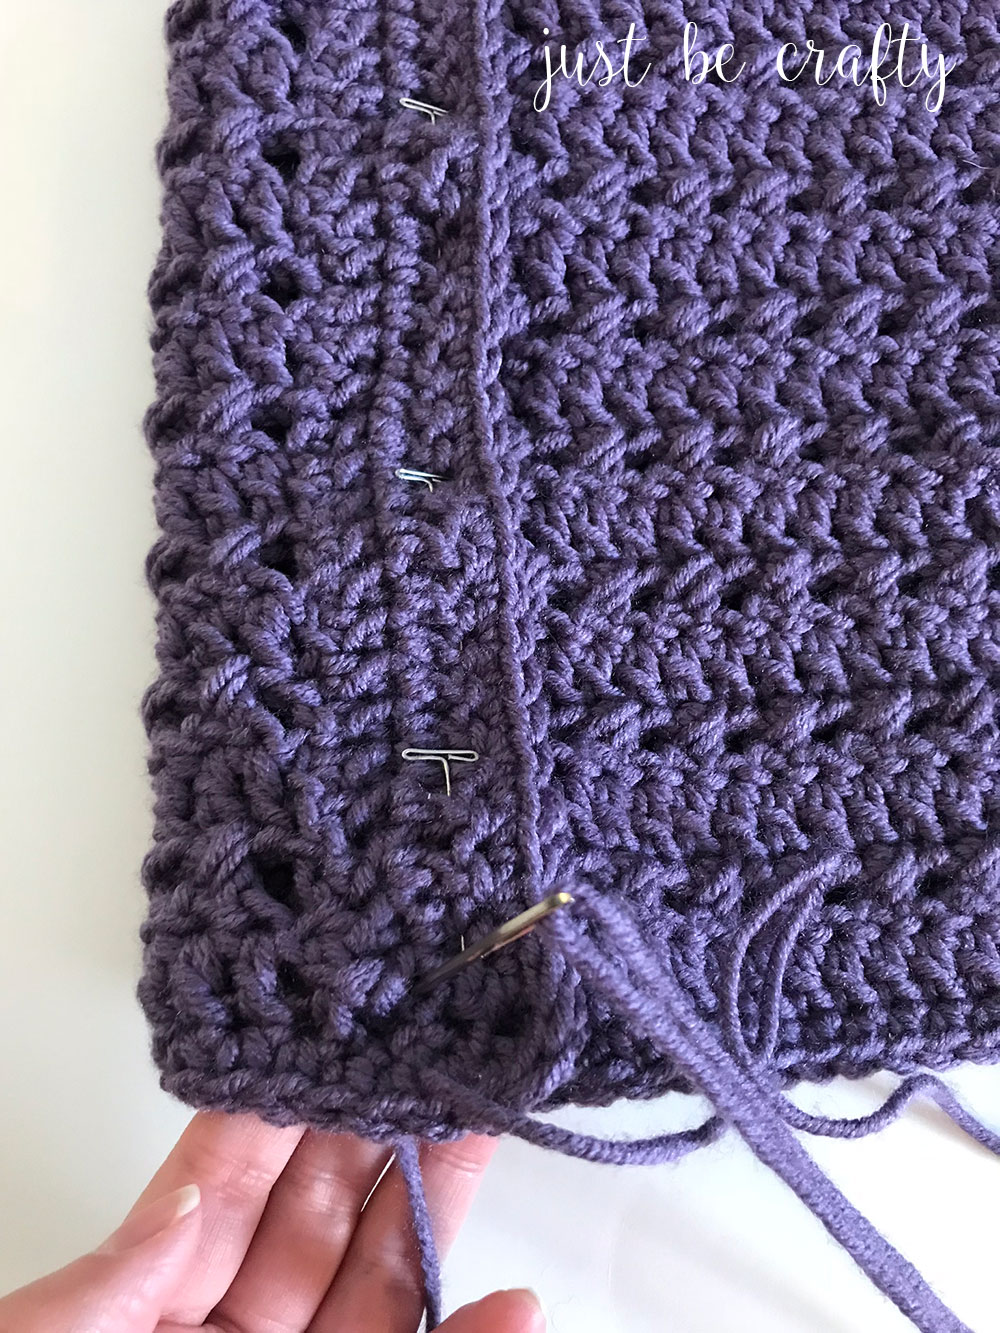
Fold button band over opposite edge. Pin piece in place.
Use yarn needle to stitch the two ends together using the photo below for reference for seam placement. The arrows are pointing to the visible line that you will be stitching along to join the cowl edges together.
Secure ends.
Buttons
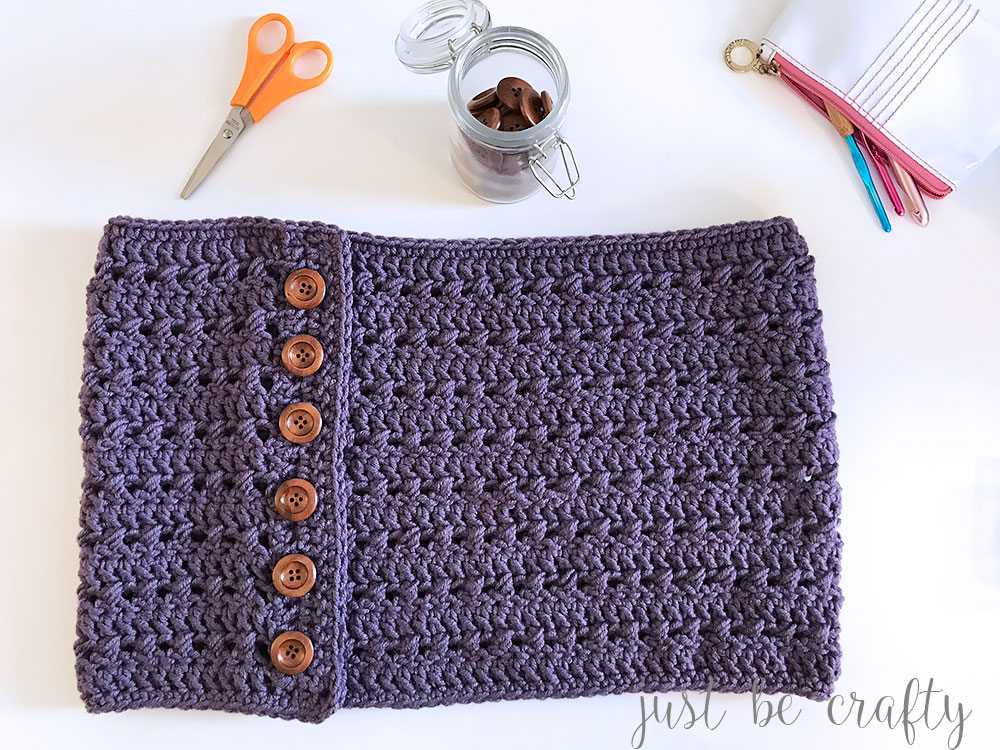
Position 6 buttons in place on the button band. With sewing needle and embroidery floss, stitch buttons to cowl – stitching through both layers.
Fringe
Using a ruler to measure and sharp scissors, cut 32, 8 inch strips of yarn. Starting at the first stitch of the button band edge make your first fringe knot. And make a fringe knot in every other stitch across the button band edge – 16 fringe spaces total.
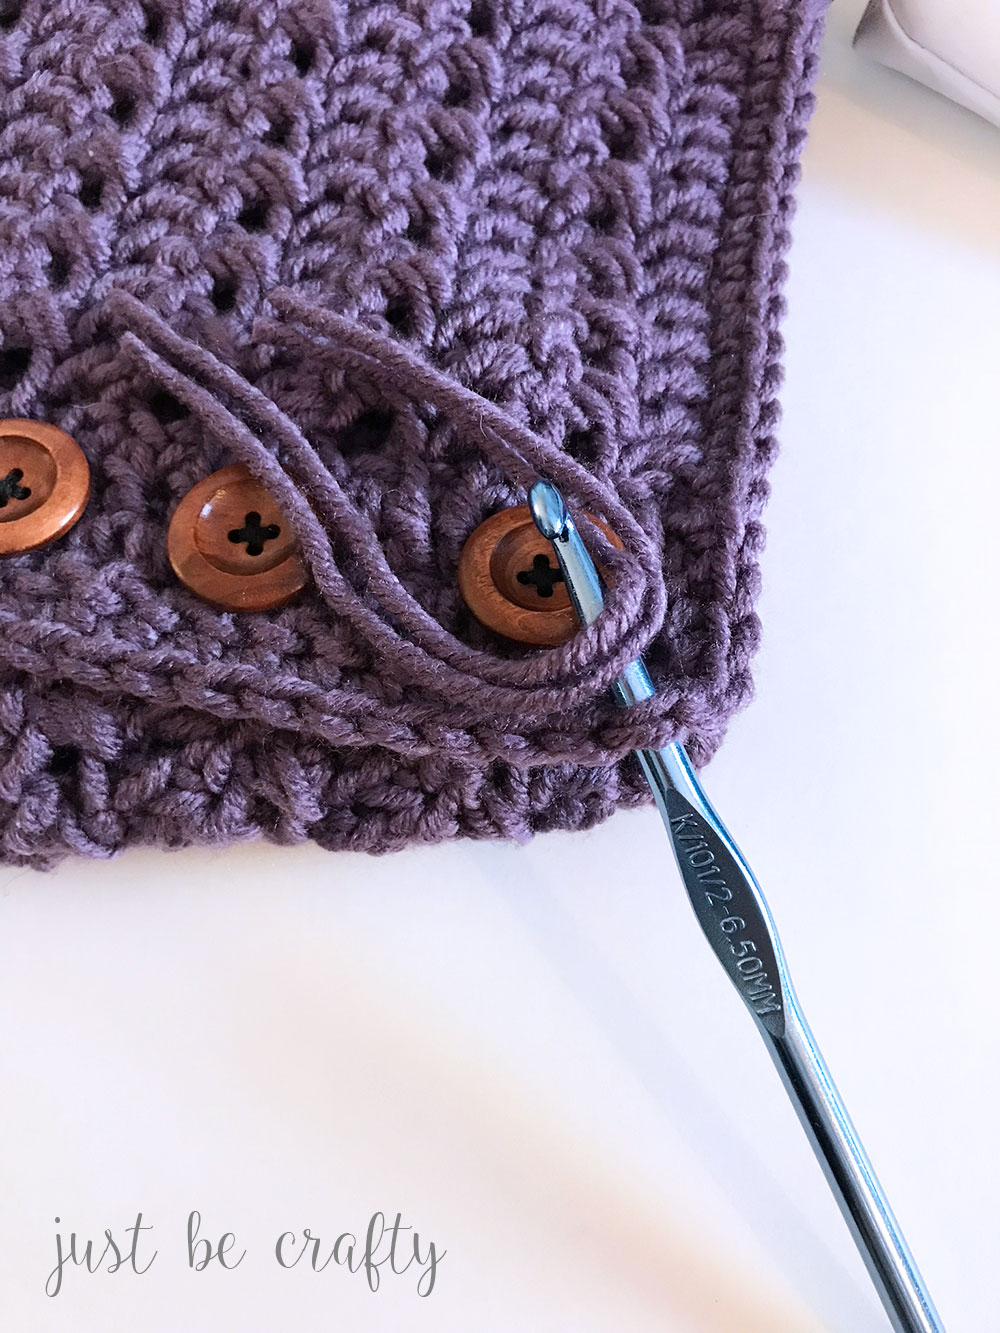
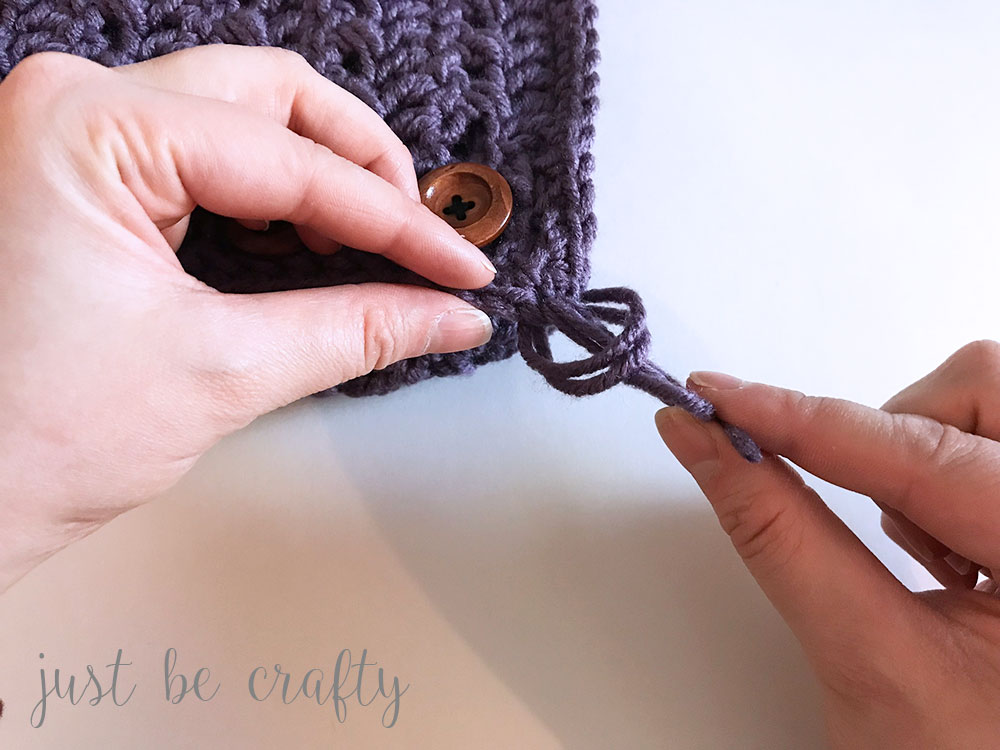
Fringe Knot – take two strands of fringe, fold in half. Using crochet hook, pull the center of the folded strands though the button band stitch from front to back. Pull ends of fringe through the loop and pull tight to secure the knot.

Weave in all ends.

Enjoy!