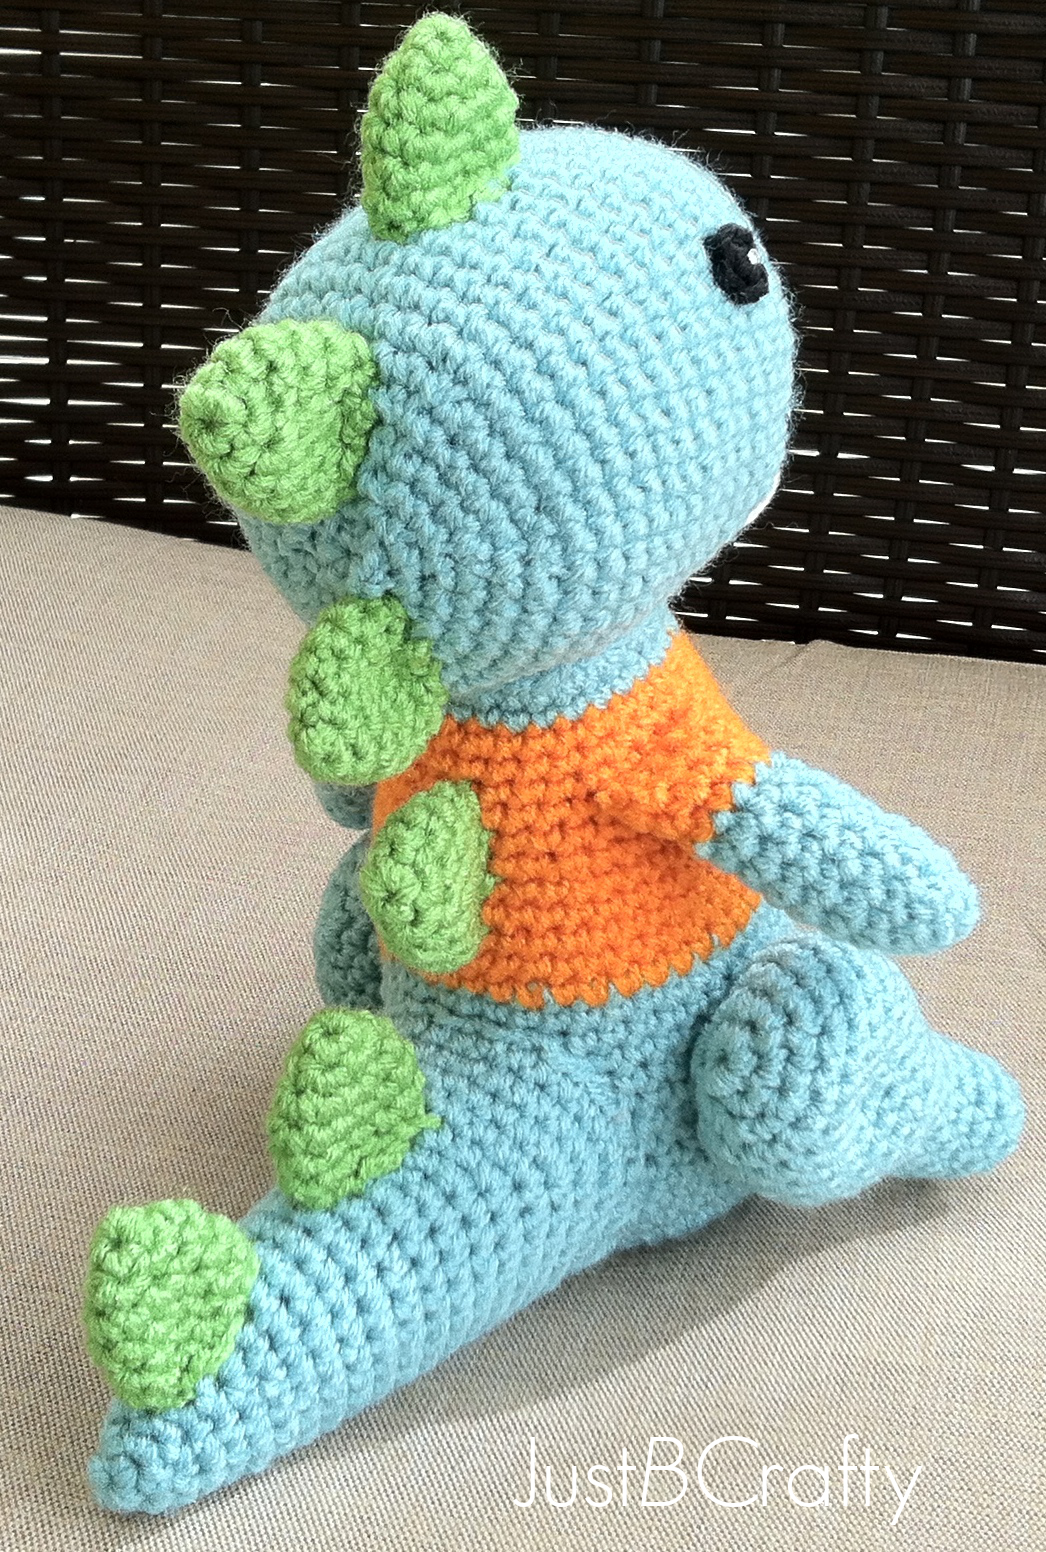
Looking for the best tutorial on how to attach amigurumi limbs to your crochet dolls? You’re in the right place! Whether you’re making a crochet dinosaur or your latest cuddly creature, assembling limbs can make or break your project. After years of trial and error, I’m sharing the simple tips that finally made my amigurumi look polished and symmetrical, every time.

How to Attach Amigurumi Limbs (The Easy Way!) 🧵
Struggling to get your amigurumi limbs to look even and secure? Whether you’re crocheting a cute dinosaur, bunny, or bear, how you attach the arms and legs can make or break the finished look of your project.
After lots of trial and error, I’ve figured out a simple, repeatable method for attaching limbs that makes my projects look polished and symmetrical—every single time.
5 Tips for Attaching Amigurumi Limbs
If you’ve ever finished crocheting the body of a doll only to stress about limb placement, this is for you. Here’s exactly how to line everything up evenly and secure those limbs for a clean, professional finish.
1. Measure for Symmetry
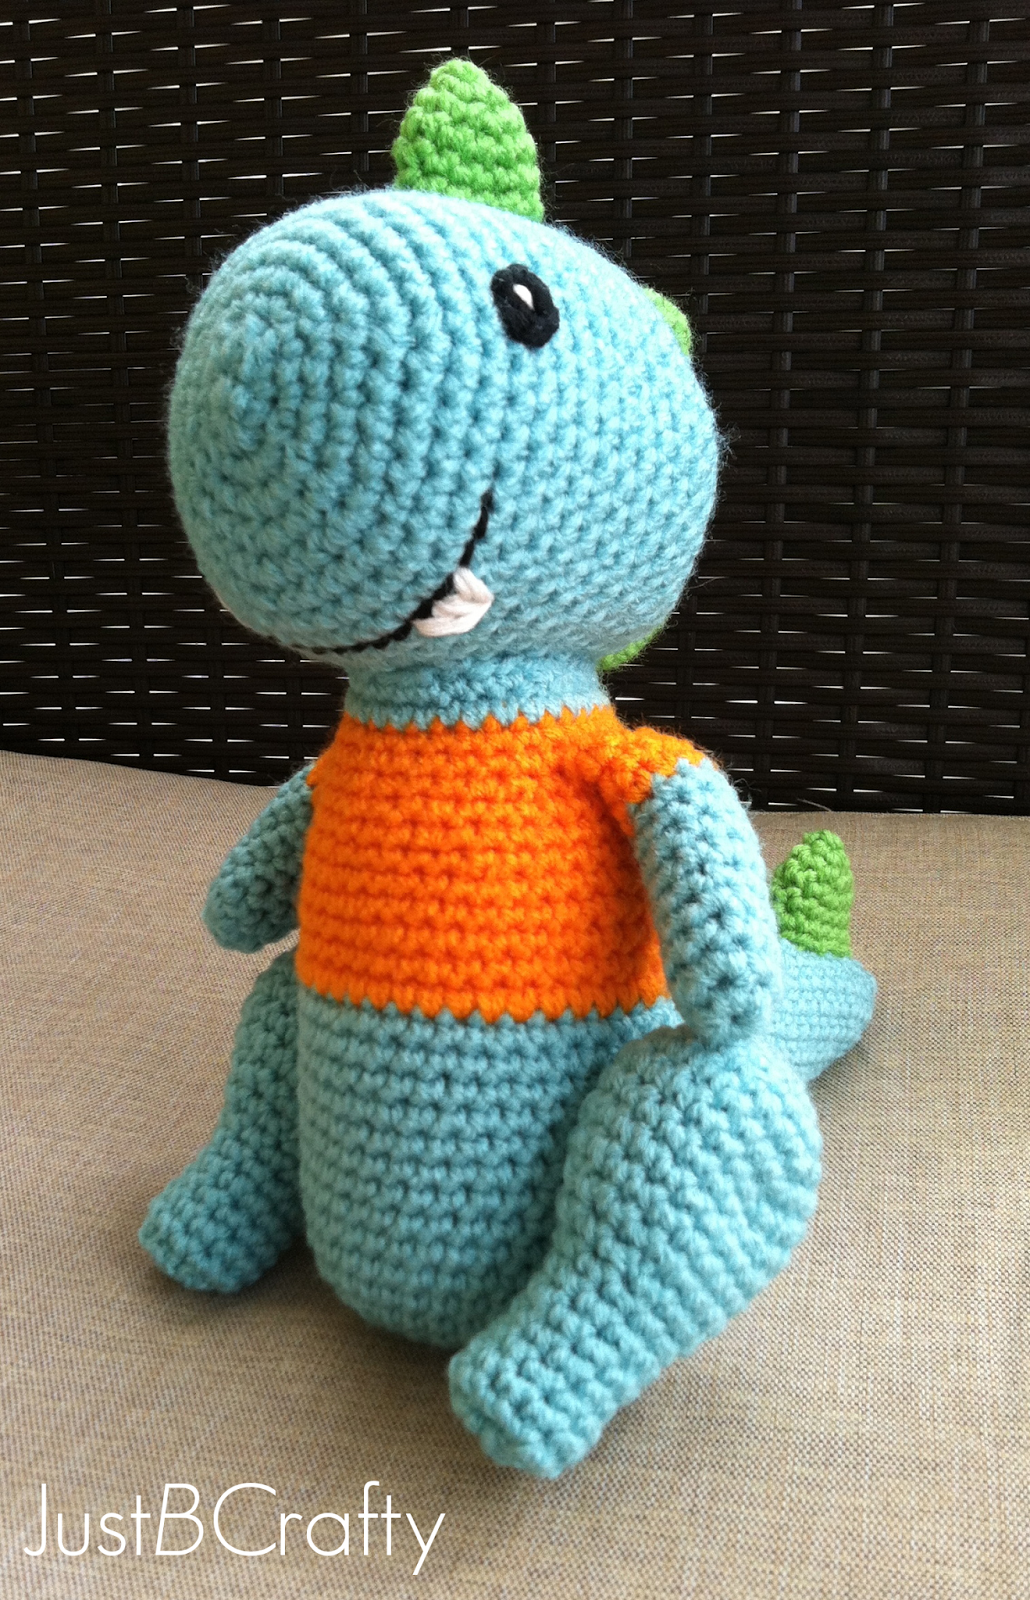
Choose a reference point on the body (like a stripe, button, or center of the chest) and measure out from that point to where you want the limb to begin. I usually go about 1 inch out on each side for arms, but this may vary depending on your project.

2. Mark the Spots
Use stitch markers to mark both the start and end of the limb on the body. This helps you visualize placement before you commit with stitching.

3. Mirror the Other Side
Follow the same horizontal row across the body and measure to mark the same limb placement on the opposite side. Use markers again so everything lines up perfectly.

4. Stitch It On
Use a whip stitch to sew the limb onto the body, pulling your stitches tight and clean. Make sure your first and last stitches align with the stitch markers so nothing shifts out of place. Tie off your tail securely under the limb to hide it.

5. Take Your Time
Assembly is one of the most important parts of any amigurumi project. Take a deep breath, grab a cup of tea, and go slowly—you’ll thank yourself later!

Why This Matters
It’s frustrating to spend hours crocheting something adorable only to end up with wobbly arms or lopsided legs. Taking the time to plan and measure limb placement transforms your project from “homemade” to handmade—and gives it that polished, store-bought finish.
