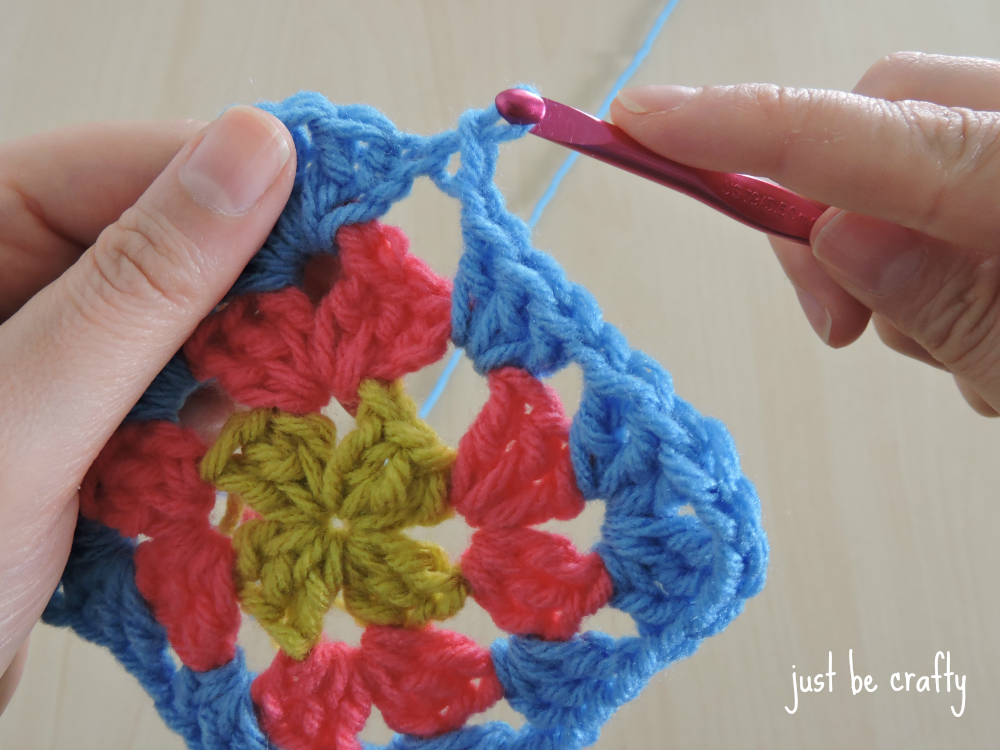
Tuesdays on the blog are now going to be dubbed Tutorial Tuesday! Each Tuesday I will be sharing a new crocheting or knitting technique and this week’s topic is the basic granny square pattern. Granny squares are an essential crochet technique for any crocheter’s knowledge base.
They are customizable in both size and color and the possibilities are endless! Once you have the granny square technique down, it will open up a whole new world of creativity and ideas for designing your own patterns or following complex patterns!
The below tutorial shows how to make a three round granny square but you can use these directions to make really any size square you want. To make a bigger square, simply keep adding rounds to make your square as infinitely big as you would like it to be!
Basic Granny Square Pattern
Materials:
- any worsted weight acrylic yarn in three colors
- 5.5 mm crochet hook
- yarn needle
- scissors
Key:
- ch – chain
- dc – double crochet
- sl – slip
Round 1: Starting with color 1, in magic ring ch 5 (chain 5 counts as a double crochet plus a chain 2), 3 dc, ch 2, 3 dc, ch 2, 3 dc, ch 2, 2 dc; join with 3rd ch of the ch 5 from the start of the round; slip stitch into the next ch 2 space; cut yarn and secure; attach color 2
Round 2: In ch space, ch3, 2 dc, ch2, 3 dc, ch 1, *3 dc, ch 2, 3 dc, ch1; repeat from * two more times, join with 3rd chain of the ch 3 at the start of the round; slip stitch into the corner ch 2 space; cut yarn and attach color 3.
Round 3: Ch 3, 2 dc, ch 2, 3 dc, ch 1, 3 dc in next ch 1 space, ch 1, in next chain space *3 dc, ch 2, 3 dc, ch 1, 3 dc in next ch 1 space, ch 1; repeat from * twice; join with 3rd chain of the ch 3 from the start of the round; slip stitch into the next corner chain 2 space; cut yarn and secure ends.
Basic Granny Square Photo Tutorial
Round 1:
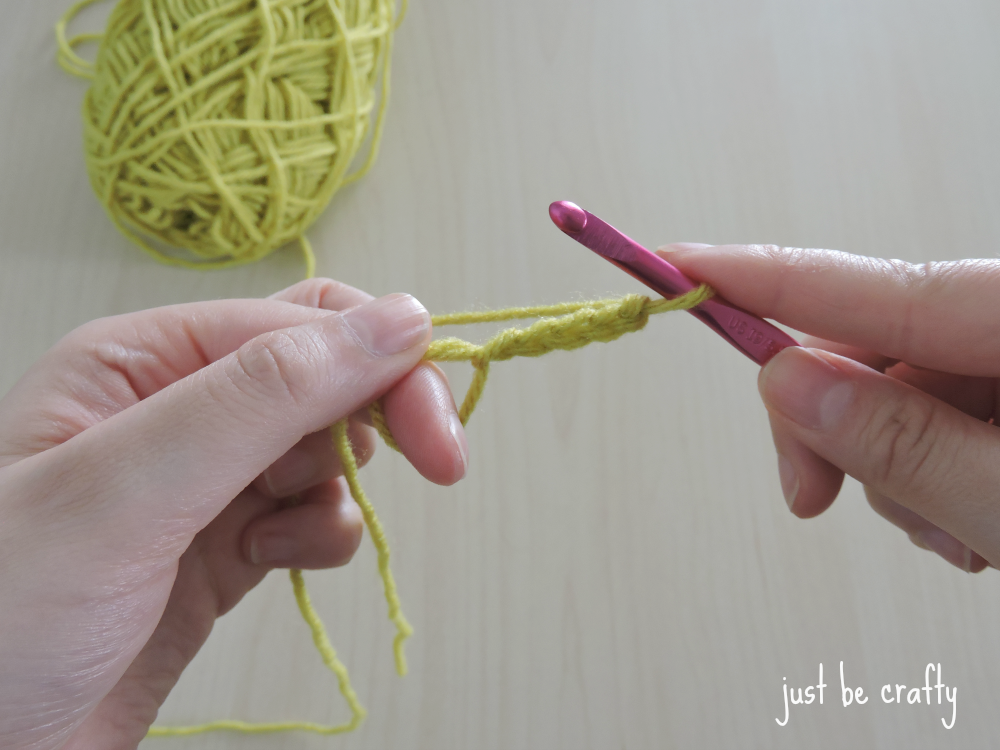
Step 1: In magic ring (see this video tutorial for help if you need it!), Chain 5. (The chain 5 counts as a double crochet plus a chain 2)
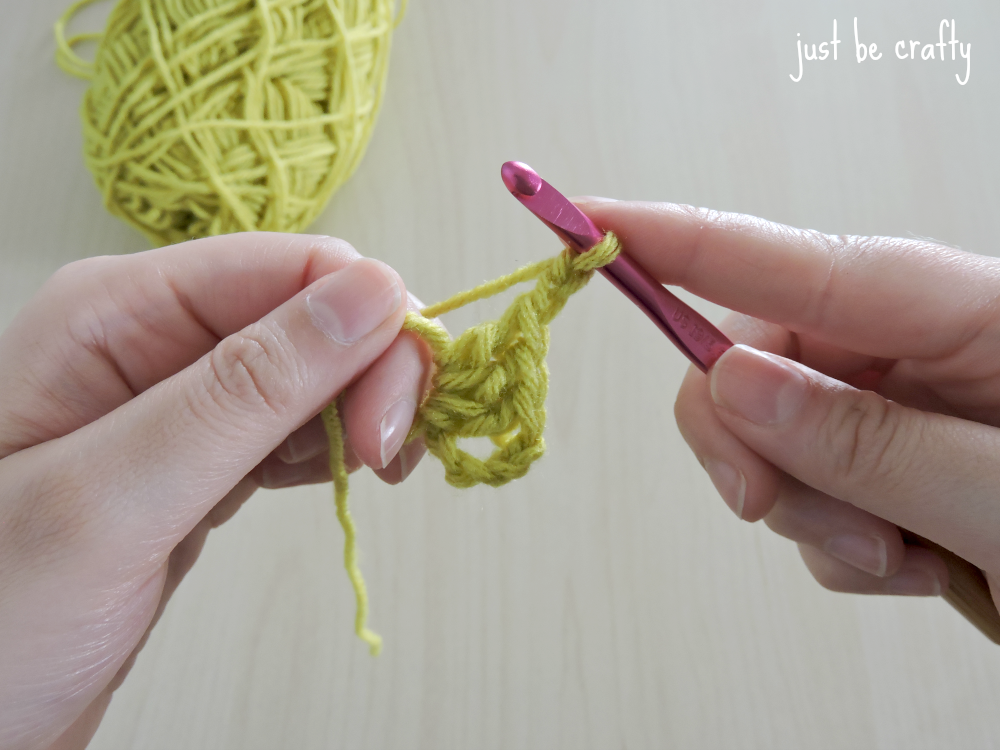
Step 2: make 3 dc
Step 3: ch 2, 3 dc, ch 2
Step 4: 3 dc, ch 2, 2 dc. Pull magic ring tail to tighten your circle.
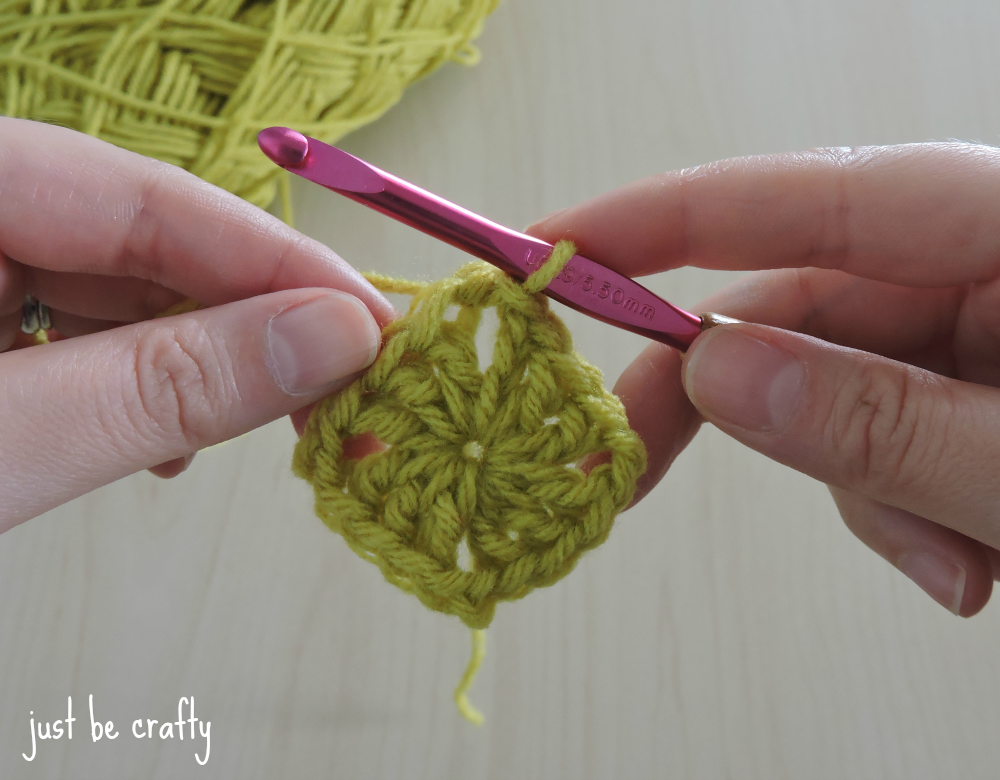
Step 5: Join with the 3rd chain of the ch 5 from the start of the round using a slip stitch. Slip stitch into the next ch 2 space. Cut yarn and secure.
Round 2
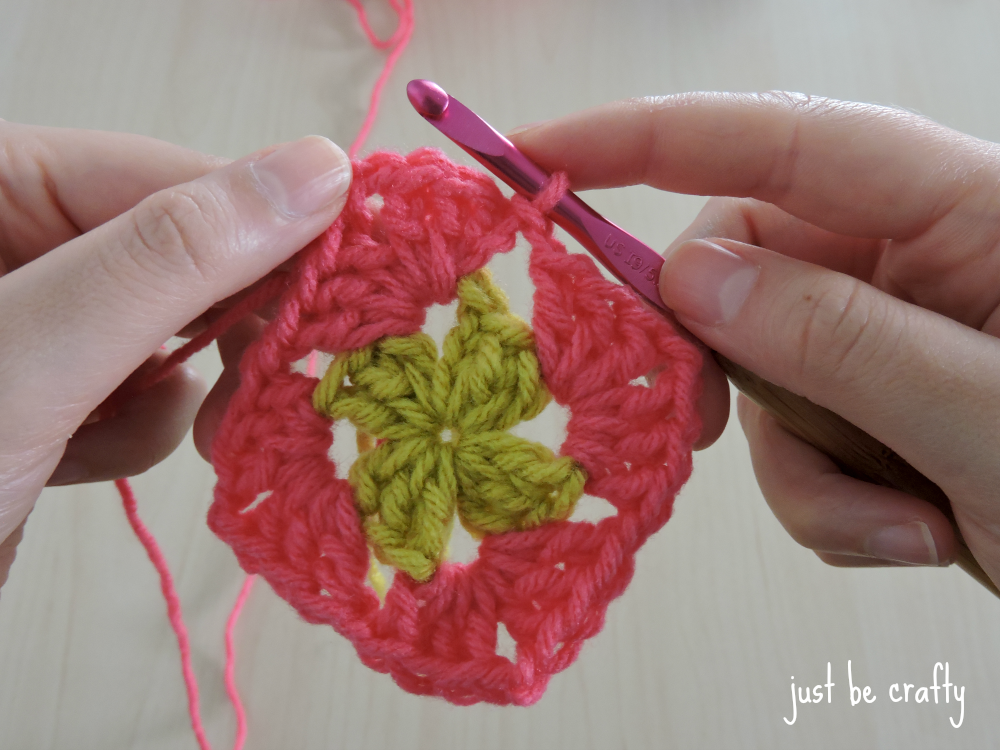
Step 1: Attach color 2, and ch 3
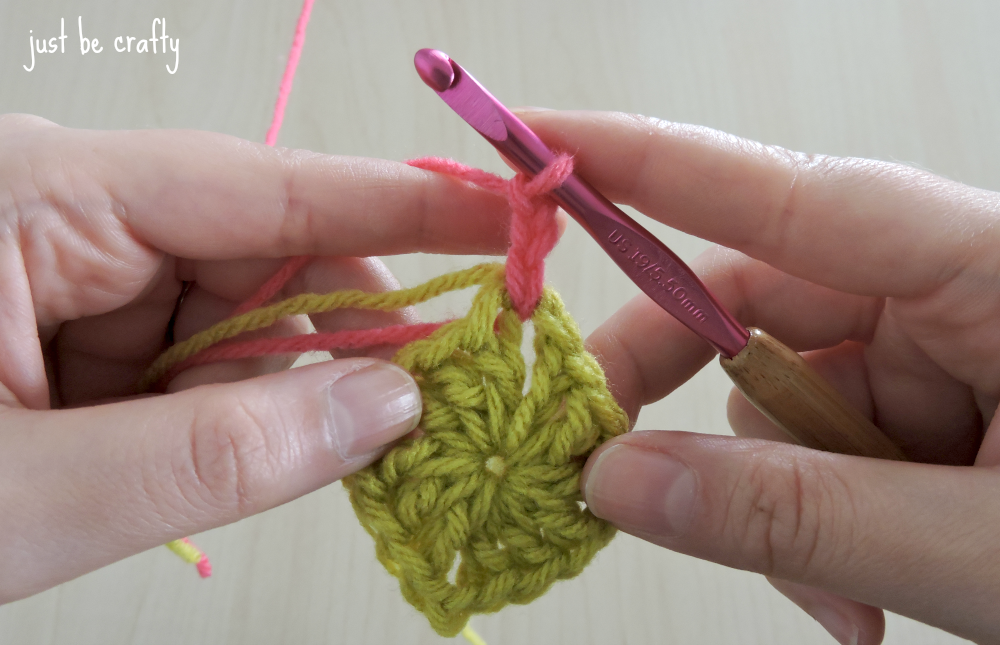
Step 2: 2 dc, ch 2, 3 dc, ch1
Step 3: in next ch sp, *3 dc, ch 2, 3 dc, ch1; repeat from * two more times
Step 4: join with 3rd chain from the ch 3 from the start of the round with a slip stitch
Step 5: slip stitch into the next corner ch 2 space; cut yarn and secure
Round 3
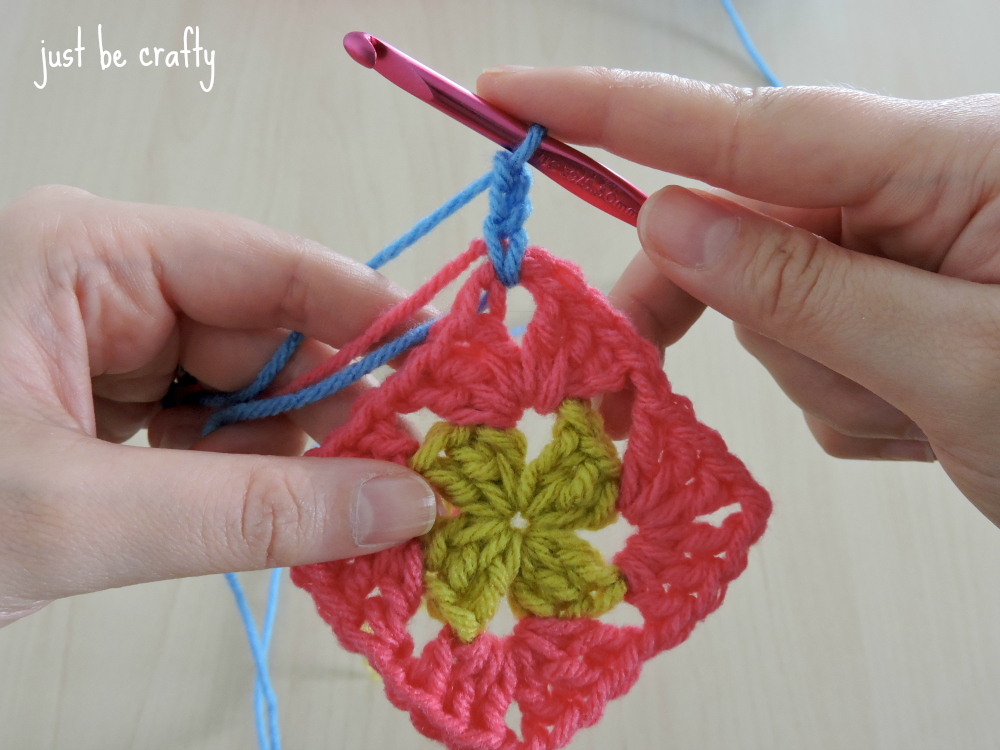
Step 1: Attach color 3, and ch 3
Step 2: 2 dc, ch 2, 3 dc, ch 1
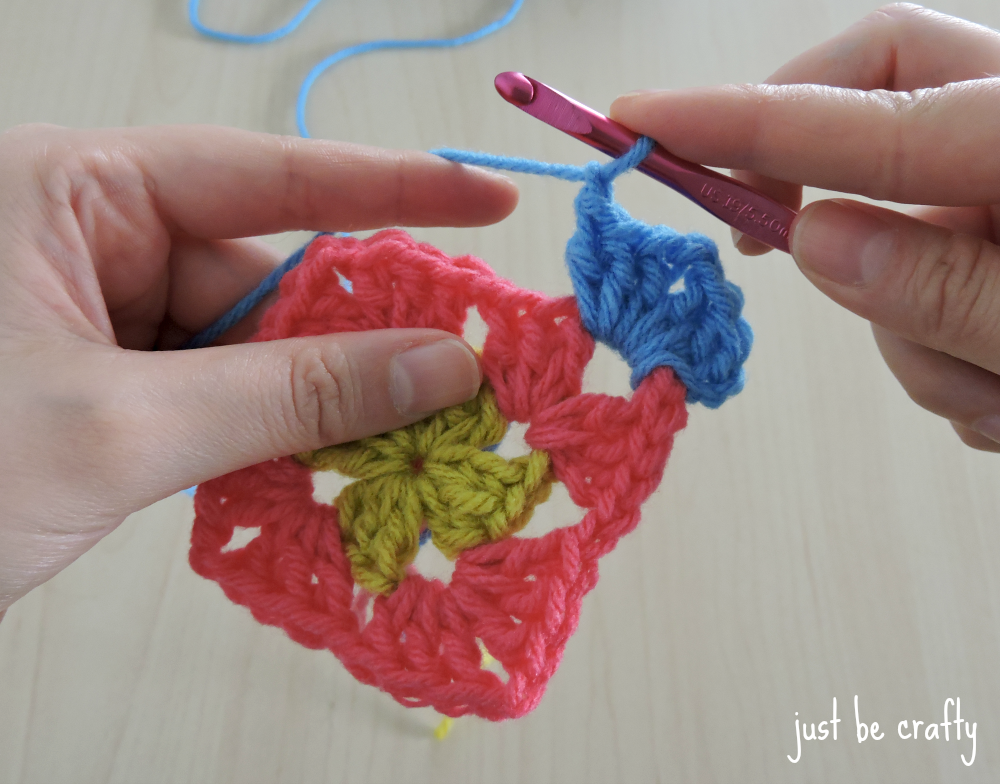
Step 3: 3 dc in next ch 1 space, ch 1
Step 4: in next chain space, *3 dc, ch 2, 3 dc, ch 1
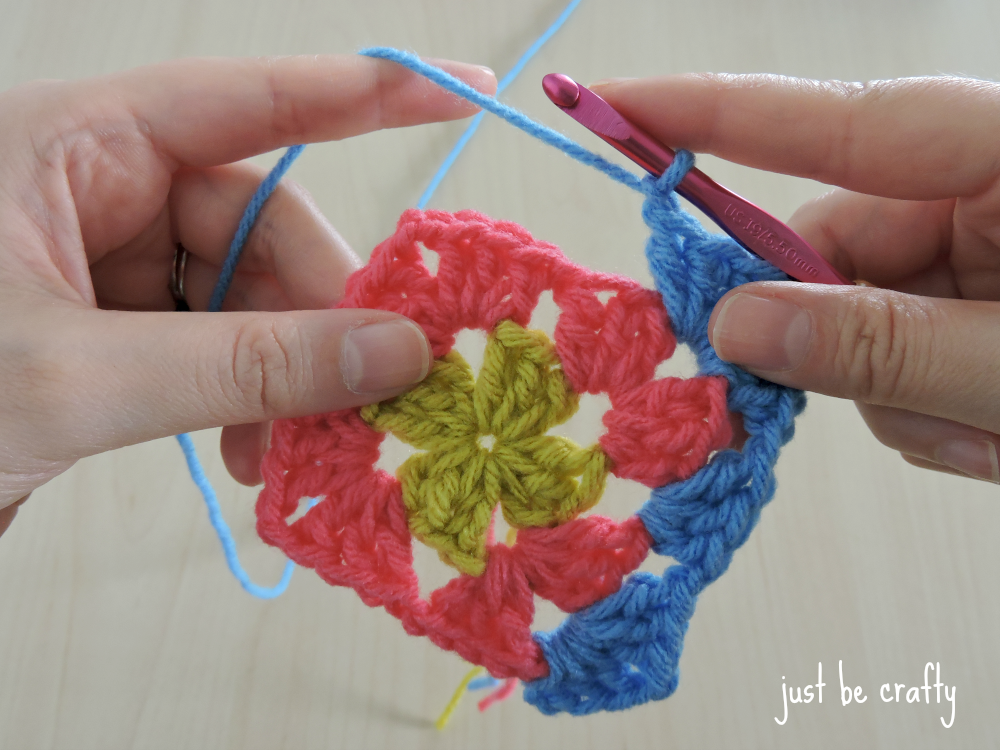
Step 5: 3 dc in next ch 1 space, ch 1; repeat from * twice; join with 3rd chain of the ch 3 from the start of the round; slip stitch into the next corner chain 2 space
Step 6: cut yarn and secure ends.
Enjoy!

