This post contains affiliate links. For more information please see my disclosures page.
This past weekend we took a trip to Wilmington to spend some time with Trisden’s family. On Saturday we spent the entire afternoon fishing on the Kure Beach Pier. I should say everyone else was fishing, I spent most of my time knitting but I’ll get to that later. I am so mad at myself because I forgot my camera!
There were so many good photo opportunities that I would have loved to share but can’t. Of it is always the times that you forget your camera that something crazy happens and this was one of those times. It was a beautiful day out perfect temperature, the fish weren’t really biting, but that was ok, it’s just nice to sit out there and enjoy the waves. After we were sitting out there for a while probably around dusk, we saw a shark!
Trisden noticed he had a sting ray attached to his hook and then we saw some big light colored thing circling around the sting ray, and realized it was a shark! It was probably about 5 feet long, were not sure what kind, but does it really matter? It’s a shark. But Trisden reeled in the little sting ray. It was so cute, they look like their undersides have a little smiley face, but anyway we untangled it from his hook and when he threw it back into the water the shark swooped in gobbled it up.
It was crazy, I have gone swimming there countless times and there were surfers that were not too far away from the pier. The scary part was that we were fishing in the surf and not that far off from shore! It’s kind of creepy to know what you’re swimming with at the beach. But in addition to that shark, I guess Trisden had seen 3 earlier that day swimming around the pier so we are pretty sure that the fish weren’t biting that day because of the sharks. Sorta scary!
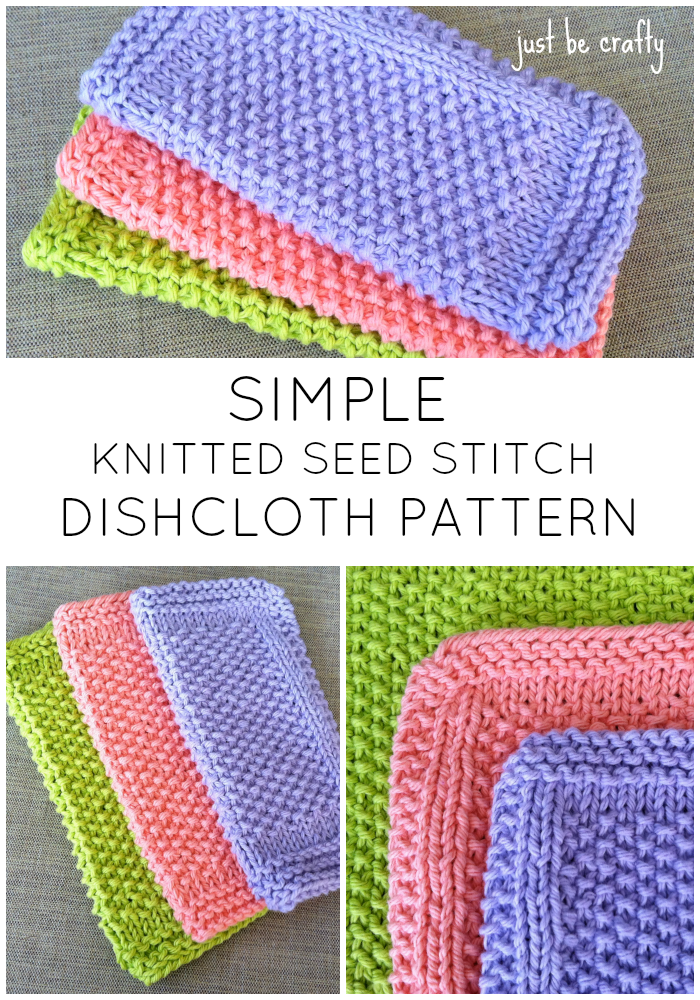
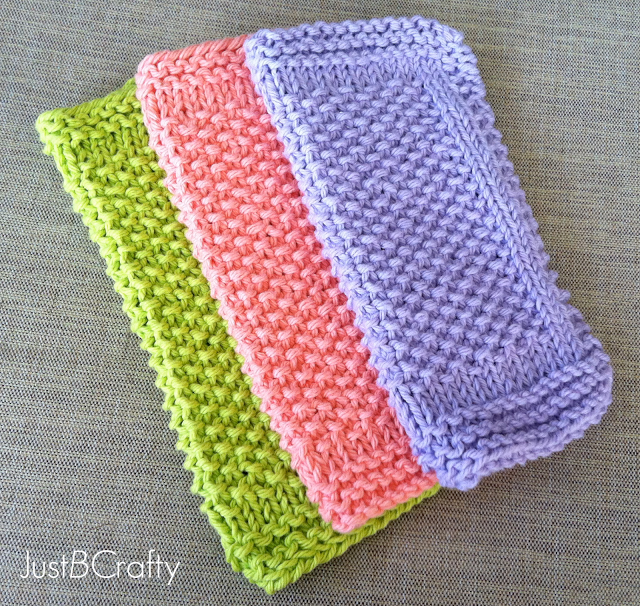
But anyways back to knitting. I have been wanting to make some of my own dishcloths for a while now and I finally came up with simple little pattern. The majority of the cloth is made up of seed stitch which is really nice because because it is double sided and will make for a good scrubbie surface for washing dishes. They knit pretty fast, and make for excellent gifts. Knit them in all sorts of pretty colors to brighten up your kitchen.

Need help with the seed stitch? Learn more about this stitch in the video below!
A printable version of this pattern is available for purchase here.
OR… gain instant access to this pattern PDF as well as my entire PDF pattern library! Click here for more information.
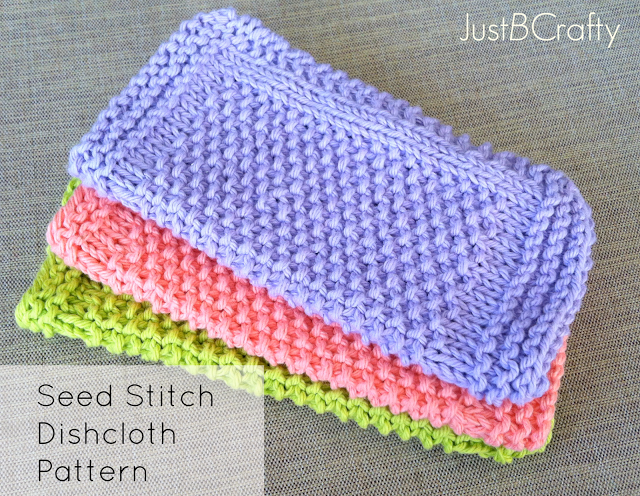
Seed Stitch Dishcloth Pattern
Materials:
- US size 8 straight knitting needles
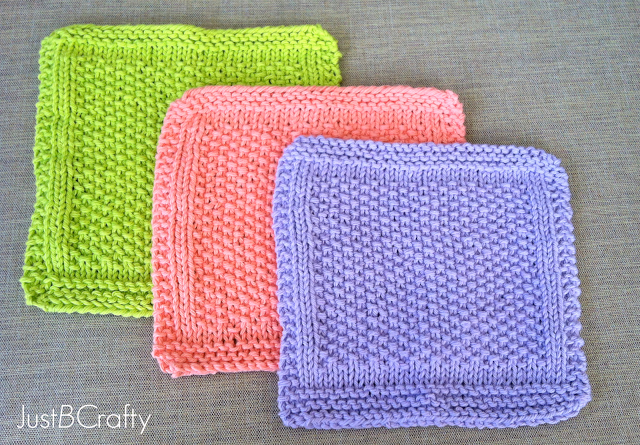
- Lily’s Sugar and Cream Yarn – Worsted weight 100% cotton yarn (pictured in Tea Rose, Hot Green, and Soft Violet)
- Scissors
- Yarn needle
Finished Measurement:
- Approximately 7 inches by 7 inches
Key:
- k – knit
- p – purl
- right side – front of work
- wrong side – back of work
Pattern:
Cast on 31 stitches
Rows 1 – 5: knit
Row 6: k2, purl to last two stitches, k2
Row 7: knit
Row 8: k2, p2 *k1, p1; repeat from * to last 5 stitches; k1, p2, k2
Row 9: k4, *k1, p1; repeat from * to last 5 stitches; k5
Row 10: k2, p2 *k1, p1; repeat from * to last 5 stitches; k1, p2, k2
Repeat Rows 9 and 10 until piece measures about 6 inches from cast on edge. Your last row should be a repetition of Row 9.
Your piece should now look like this:
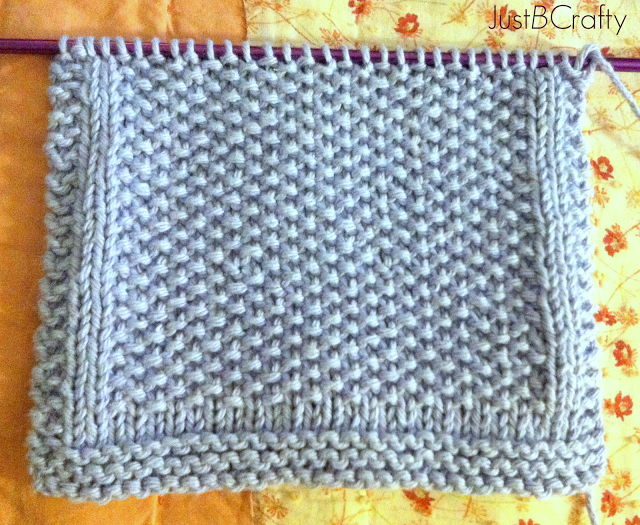
You should be starting on the “wrong side” of work.
K2, purl up to last 2 stitches; k2
Knit the next 5 rows.
Bind off. Weave in ends, your done!
I’m looking for pattern testers and now accepting applications! Click here to learn more information!
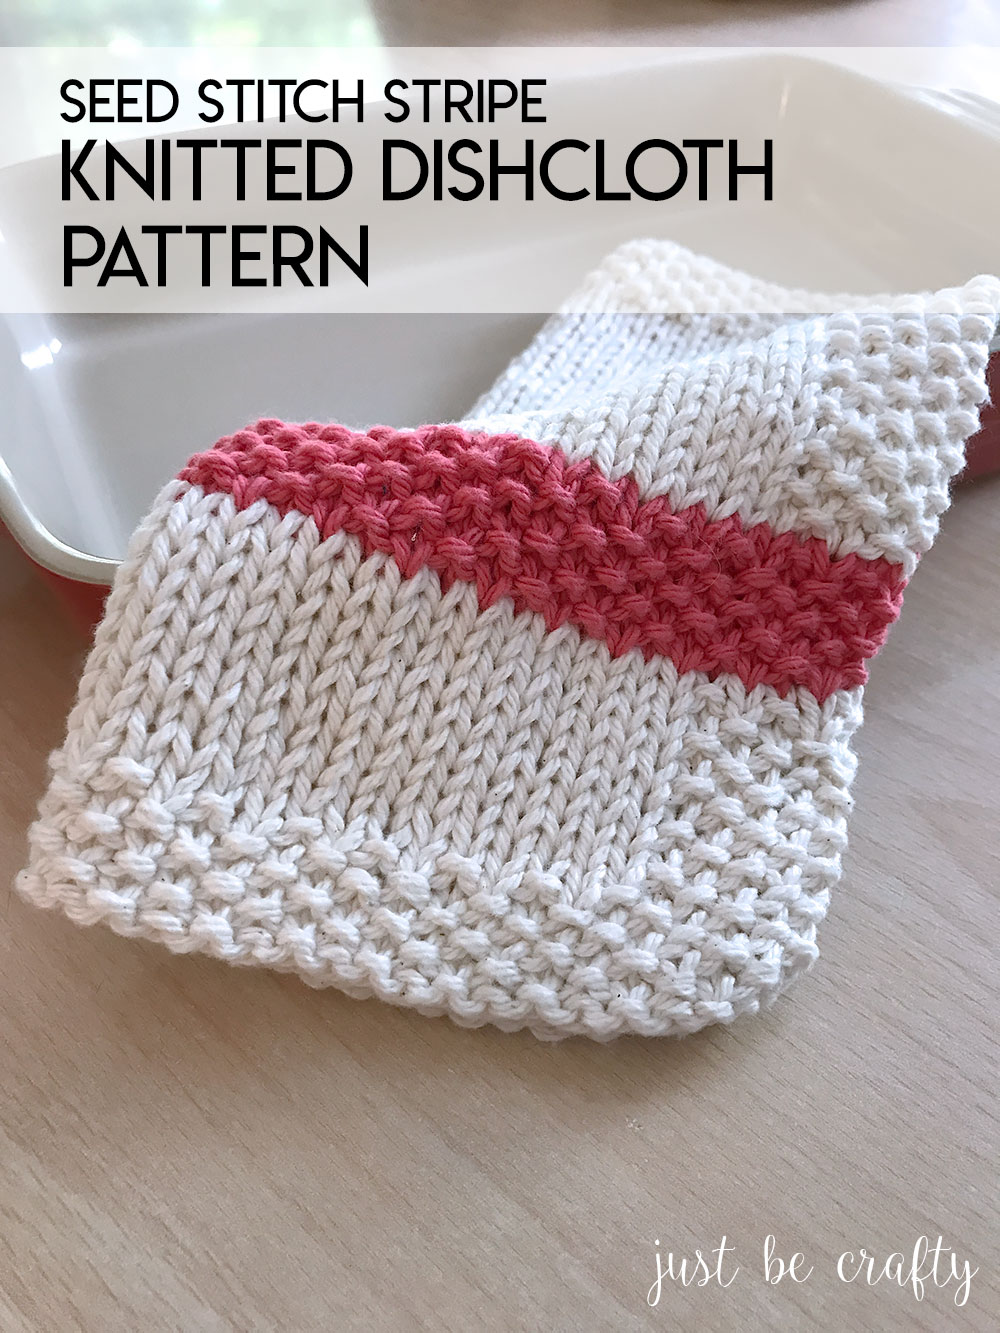
If you enjoyed this pattern, check out my newest dishcloth to feature the seed stitch!