DIY: Embroidered Geometric Canvas Tote
Hello friends, happy Friday! I hope everyone had a great week. Today I would like to share with you this embroidered canvas tote I’ve been working on the past few days. I love having bags of all shapes and sizes and for all different sorts of purposes. Last week I shared this Crochet Mesh Market Tote which is great for grocery shopping or carrying whatever you like.
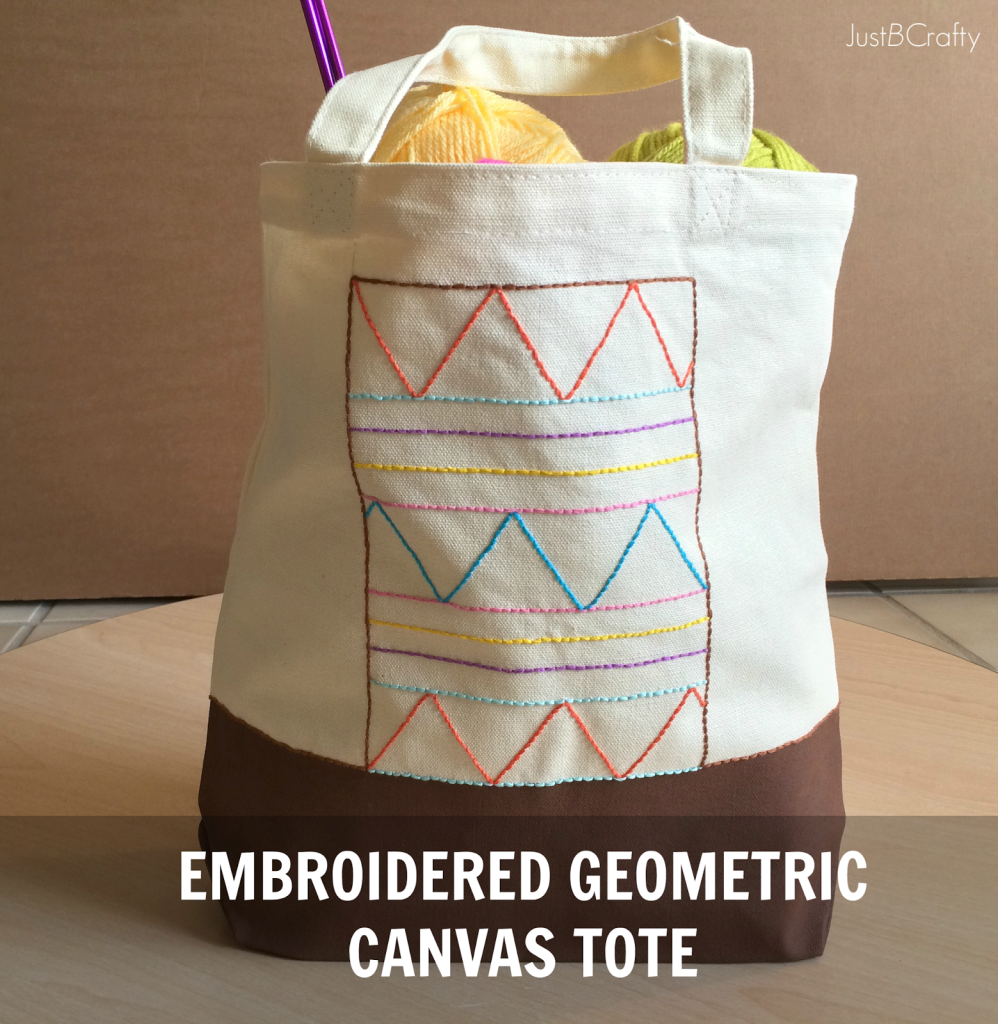
I made this bag as an activity bag to stash my current knitting or crochet project for an easy grab’n go thing. But really it could be used for any purpose. This tote features a trendy geometric design and a faux leather bottom.
This project racked up a grand total of about $2. The tote was $3.99 but I had my trusty 40% off coupon. (A little tip, never go to Michaels, AC Moore, Hobby Lobby, or JoAnn’s without your coupon!!) Then the paint, brush, and embroidery floss I already had on hand. You can’t beat a project that only costs $2 and supplies you with hours of entertainment and a functional purpose! You just can’t.
To make your own embroidered tote, here’s what you need:
-Canvas tote (from Michaels)
-Brown acrylic craft paint
-Paint brush
-Embroidery floss
-pencil
-ruler
-needle
-scissors
Planning your design:
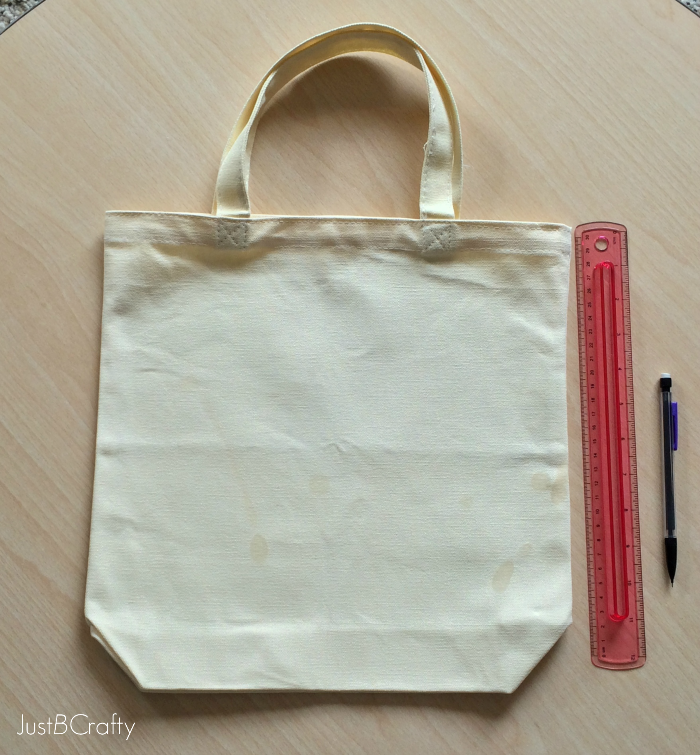
Flatten out your tote, and iron if needed.
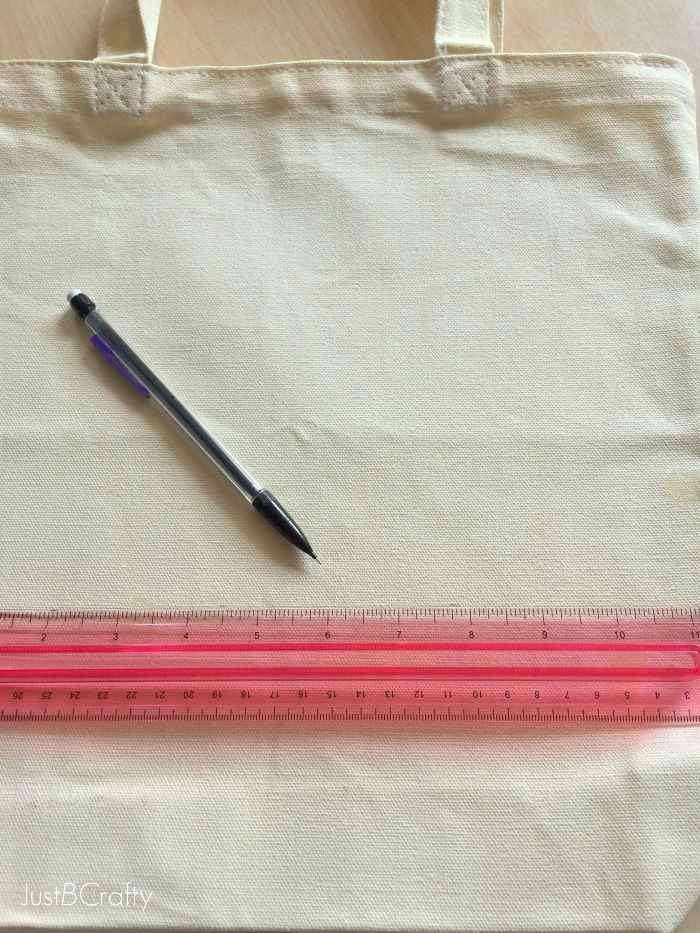
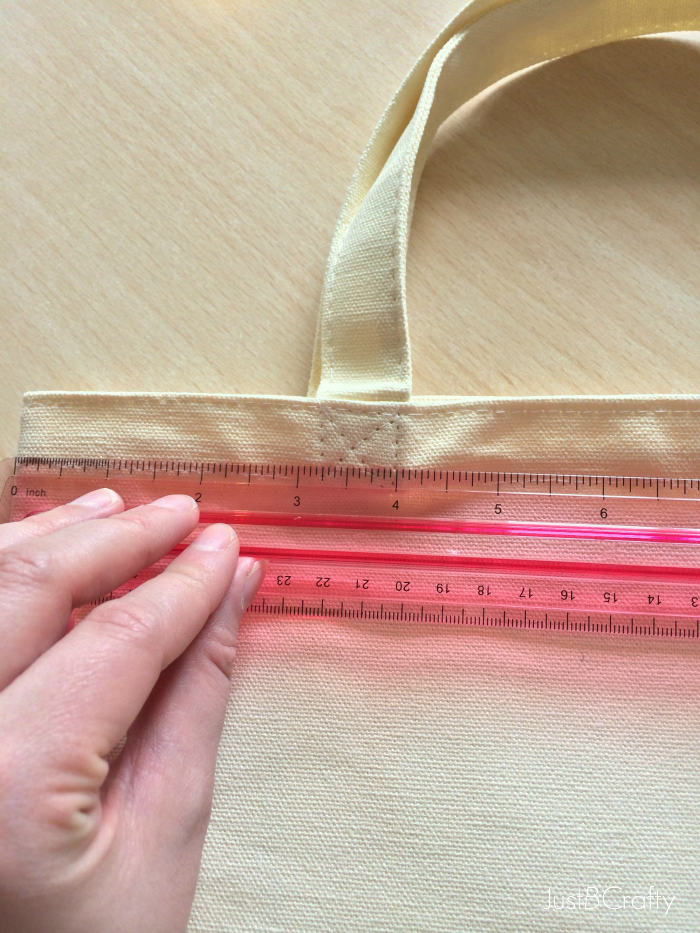
To mark the upper limit of the painted bottom, measure 4 inches from the bottom of the tote and mark with a pencil. To ensure you have a straight line, mark 4 inches of the bottom in at least 3 different spots. Connect the dots by drawing a straight line across your measured markings.
I wanted the geometric design to line up with the handles, so I measured the distance between the side of the bag to the inner part of the handle which happened to be 4 inches as well. Mark 4 inches with a pencil. Repeat on the other end of the handle. Draw a straight line on either side of the handle until it meets with the line you drew in step 1.
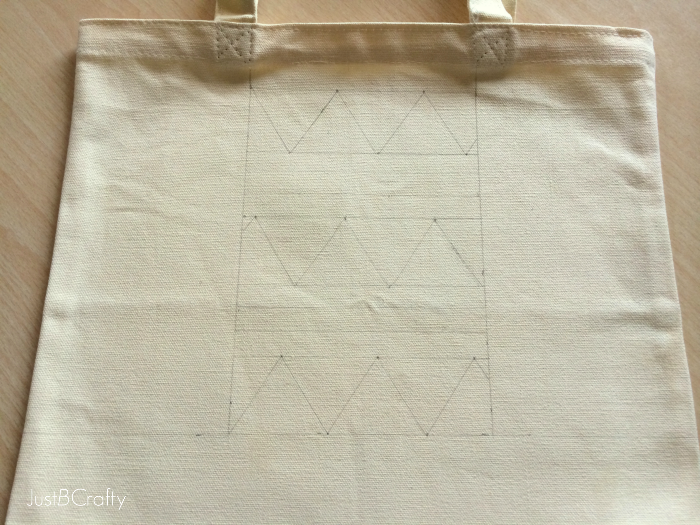
The pencil markings on your tote should now look like this.
For the design, I just used my ruler to draw straight lines and zig zags.
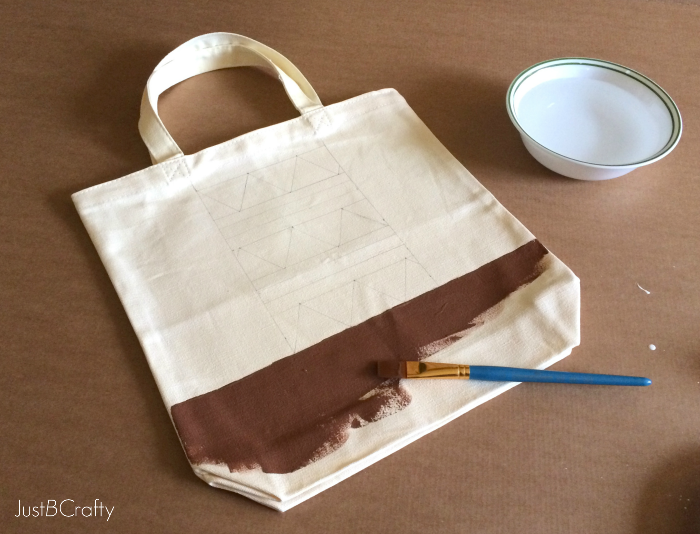
Take your brown paint and paint the bottom of the tote. If you are worried about getting a clean edge you can use tape, but I didn’t find it necessary, I just took it slow. I applied two coats of brown paint, letting it dry an hour between coats. This part took forever, but totally worth it.
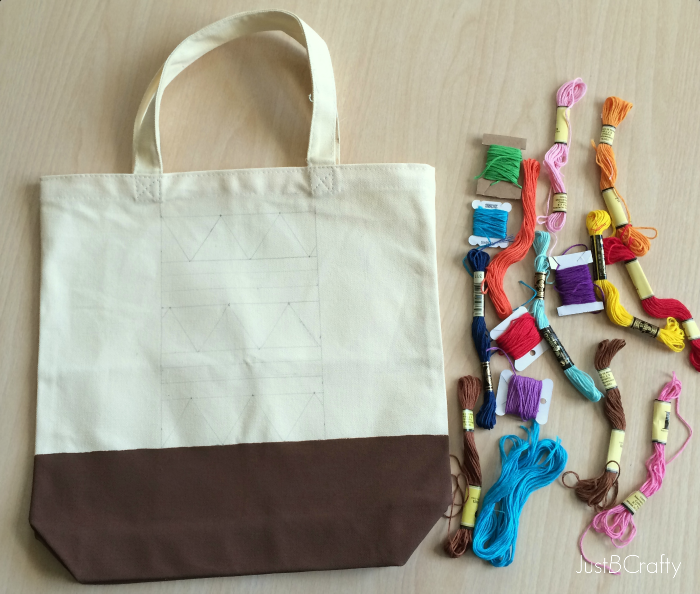
Pick out your favorite embroidery floss colors.
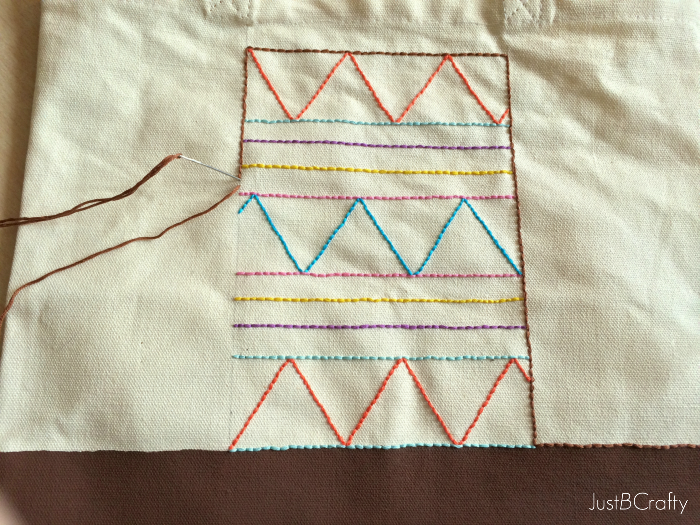
Start embroidering your design on the canvas. I used the same technique that I used on my Embroidery Hoop Clock Tutorial which you can check out if you need some help.
I was planning on using an embroidery hoop to help with the embroidering but this fabric was just a little too thick and stiff. It was just easier to skip it, and it turned out fine without it.
After I finished the design, I outlined it with some brown floss. As you can see I also embroidered over the painted edge of the bottom of the bag. It really cleans up that bottom edge and gives it a more finished look.
Embroidering is done!
Fill your tote with your favorite on the go goodies! Enjoy your new bag!
Visit the Shop!
Have a great day!
I link up here!







Love love love!!! The colors and the geometric pattern are amazing! This is so simple, I really need to make one of these for my groceries. I am thinking I might do an arrow or a couple feathers…. fun fun fun! Thanks for sharing the tutorial.
Thank you! And arrows and feathers would be really cute too!! I think I might need to make a couple more!! 🙂
Wow you did such an amazing job with this. I think this might actually be a sewing project I can do!!
Thanks Courtney! And you should, it's super easy!
Brittany, this is such a cute idea! I have yet to explore the world of embroidery but you are making me want to right this very instant 🙂 Love the pops of color on the neutral canvas.
Amy | Club Narwhal
Thanks so much Amy!! I hope you do, its a fun thing to do while winding down for the evening!
This is so sweet! I love how modern it is – I tend to not picture embroider that way! Wonderful project!
*embroidery
Thanks Brynne, that's exactly what I was going for! Its so fun to take age-old crafts and make them current!
Ah! Love this, Brittany. The colors and design are just perfect. And I totally thought the brown paint was leather. Thanks so much for sharing it at The Makers. 🙂 (Pinning!)
Thanks so much Alexis! As always I look forward to your link party each week, thanks for hosting!
This is so lovely I had to pin it on two boards, Embroidery and Bags! I don't think there is anything I don't love about it.
Thank you Julie, you are too sweet!!!
This is lovely and just my style. Handcrafted, but modern. Love it and pinning. Thanks for partying at The Makers!
Corey @ TinySidekick.com
Oh my goodness. I keep seeing this all over the place and totally fell in love. I can not believe the bottom is not leather, it totally looked like it! I love the pattern you choose for the embroidered portion, too! Thank you for sharing at our link it or lump it party!
Amy @ Delineate Your Dwelling
I just pinned this! So pretty.
This is so cute! Thanks for sharing with us at Your Designs This Time!
Emily and Erin @ elizabethjoandesigns.com
Thanks for hosting!
I LOVED this bag and it's featured today on our Link It or Lump It party. I also just pinned them to our feature board! Be sure to stop by and grab a feature button. http://www.delineateyourdwelling.com/2014/04/link-it-or-lump-it-party-number-33.html
Thank you so much Amy, I really appreciate it!!