Crochet Granny Square Stash Basket
Learn how to make a super simple granny square stash basket! Try this new quick win project that is both fun and functional!

About the pattern
Granny squares are super versatile. They are easy to make and work up pretty fast. For this project I wanted to design something quick that utilizes the simplicity of a few granny squares but to assemble them into an unexpected shape.
Typically granny squares are joined into things like blankets and pillows which take a quite a bit of time, and I wanted a quick win project. So got to thinking and the Granny Square Stash Basket was formed!
Techniques
This project is geared towards intermediate beginners and higher and assumes you already know the following skills:
- Magic Ring
- Chaining
- Double Crochet
- Slip Stitch
If you are comfortable with the above crochet skills, I am confident you can tackle this project!

Granny Square Stash Basket Written Pattern
Prefer to print? Learn about my membership program. Get big discounts on patterns or gain instant access to all my patterns and ebooks in one place! Click here to learn more information.
Just want the Crochet Granny Square Stash Basket Pattern? Purchase the printable PDF here!

*This post may contain affiliate links. Please see my disclosures page for more information.
All patterns on this blog are for personal use only and may not be redistributed, copied, blogged, or sold as your own. You may sell items made by my patterns as long as the item is made by you personally (not mass produced) and that proper credit is given back to me and my site, Just Be Crafty. You may not use my photos for your online sales listings.
Skill Level
- Beginner / Intermediate
Materials
- Acrylic worsted weight yarn in 5 colors of your choice (pictured in Big Twist Value in colors Medium Rose, Ivory, Varsity Gold, Soft Purple and Aqua)
- 5.0 mm hook (I use this set)
- Scissors
- Yarn needle
- A package of pipe cleaners – optional (Use pipe cleaners to give your basket a little more rigidity if you so choose, but not necessary!)
- For Blocking (optional)
Gauge
- 5-round granny square = approximately 5 in. (13 cm)
Finished Measurements
- Approximately 7 in. (18 cm) wide, by 4.5 in. (11 cm) tall, by 7 in. (18 cm) depth, assembled.
Abbreviations
- ch chain
- ch sp chain space
- dc double crochet
- sl st slip stitch
- sp space
- st stitch
Notes
- The basket consists of five, 5-round granny squares. The squares are then assembled together at the end to form the stash basket. Optionally at the end, you can weave in a few pipe cleaners to the inside of the basket to give it a bit more rigidity.
GRANNY SQUARE STASH BASKET PATTERN – Starts here:
THE GRANNY SQUARES
Make 5 squares.
Round 1: Starting with any color, in magic ring ch 5 (chain 5 counts as last dc of round plus a chain 2), 3 dc, ch 2, 3 dc, ch 2, 3 dc, ch 2, 2 dc; join with 3rd ch of the starting ch 5 using a sl st; sl st into the next ch 2 space; cut yarn and fasten off.
Round 2: Starting in any ch 2 corner sp, attach new color and ch 5 (counts as last dc of round plus a ch 2), make 3 dc in same corner ch sp; *(3 dc, ch 2, 3 dc) in next corner ch sp; repeat from * 2 more times; make 2 dc in starting corner ch sp; join with 3rd ch of starting ch 5 using a sl st; sl st into the next corner ch sp; cut yarn and fasten off.
Round 3: Starting in any corner ch sp, attach new color and ch 5 (counts as last dc of round plus a ch 2), 3 dc in same corner ch sp; *3 dc in next cluster sp, (3 dc, ch 2, 3 dc) in next corner ch sp; repeat from * 2 more times; make 3 dc in next cluster sp, make 2 dc in 1st corner ch sp; join with 3rd ch of starting ch 5 using a sl st; sl st into next corner sp; cut yarn and fasten off.
Round 4: Starting in any corner ch sp, attach new color and ch 5 (counts as last dc of round plus a ch 2), 3 dc in same corner ch sp; *make 3 dc in each of the next cluster sp’s until you reach next corner, (3 dc, ch 2, 3 dc) in corner ch sp; repeat from * 2 more times; make 3 dc in each of the next cluster sp’s, make 2 dc in 1st corner ch sp; join with 3rd ch of starting ch 5 using a sl st; sl st into next corner sp; cut yarn and fasten off.
Repeat Round 4 one more time.
BLOCKING (Optional)
Wet block your squares.
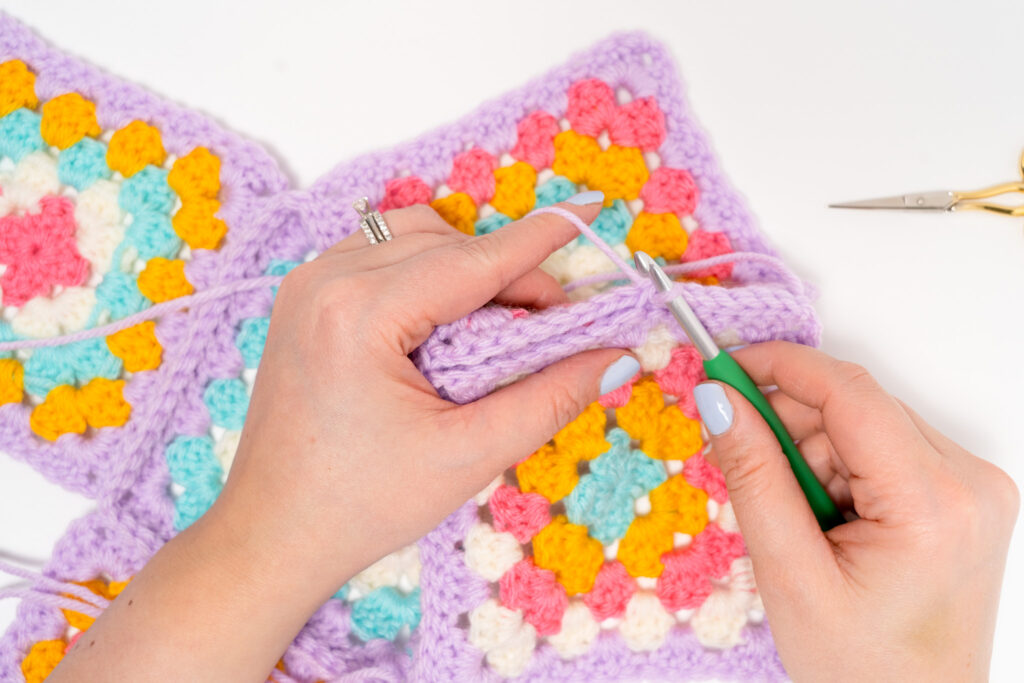
ASSEMBLY
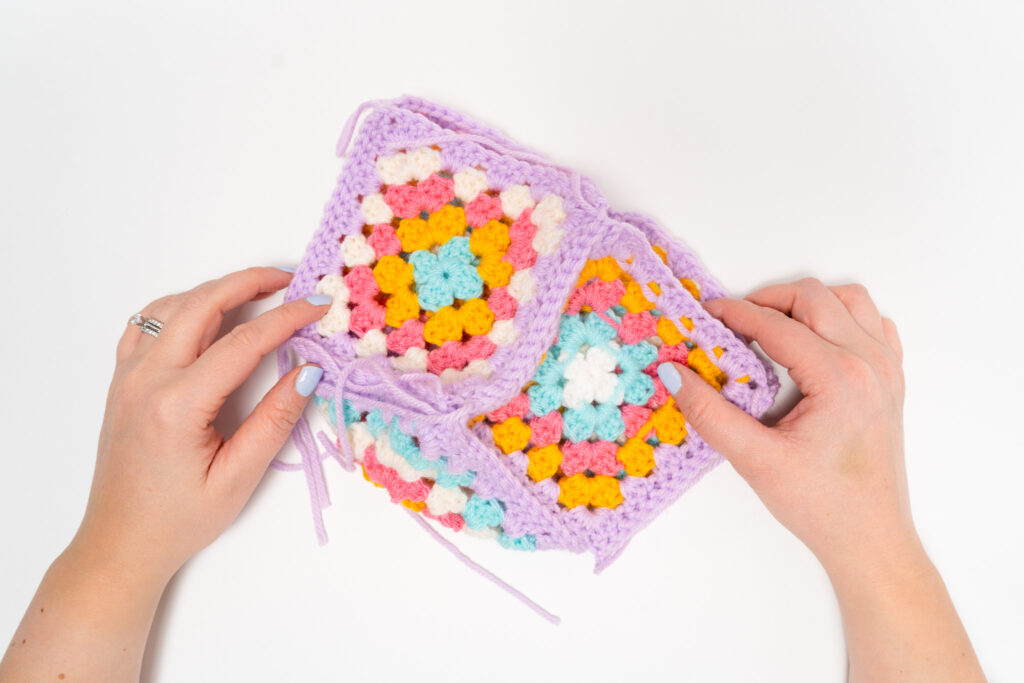
Lay granny squares flat out in front of you and arrange into a “plus sign” shape with the “wrong sides” facing up. There should be one square in the middle, with the four outer squares lined up with each of the four sides of the center square.
Line up your stitches, and slip stitch each outer square to each side of the center square to attach. The piece’s shape should still look like a “plus sign” and the slip stitch join should be on the “wrong side”. Cut yarn and fasten off.
With the wrong side still face up, begin joining the sides of the outer squares together using the slip stitch joining method to start forming the basket. Repeat for all sides until the basket is closed and formed. Cut yarn and fasten off between stitching each side together.
FINISHING
Weave in all ends. Weave in a few pipe cleaners along the inside of the basket walls to give the basket a little more rigidity if desired.