The Chunky Knitted Wine Bottle Sweater Pattern is the perfect last minute DIY gift idea for that special someone! So simple and easy, this project can be done in well under an hour.
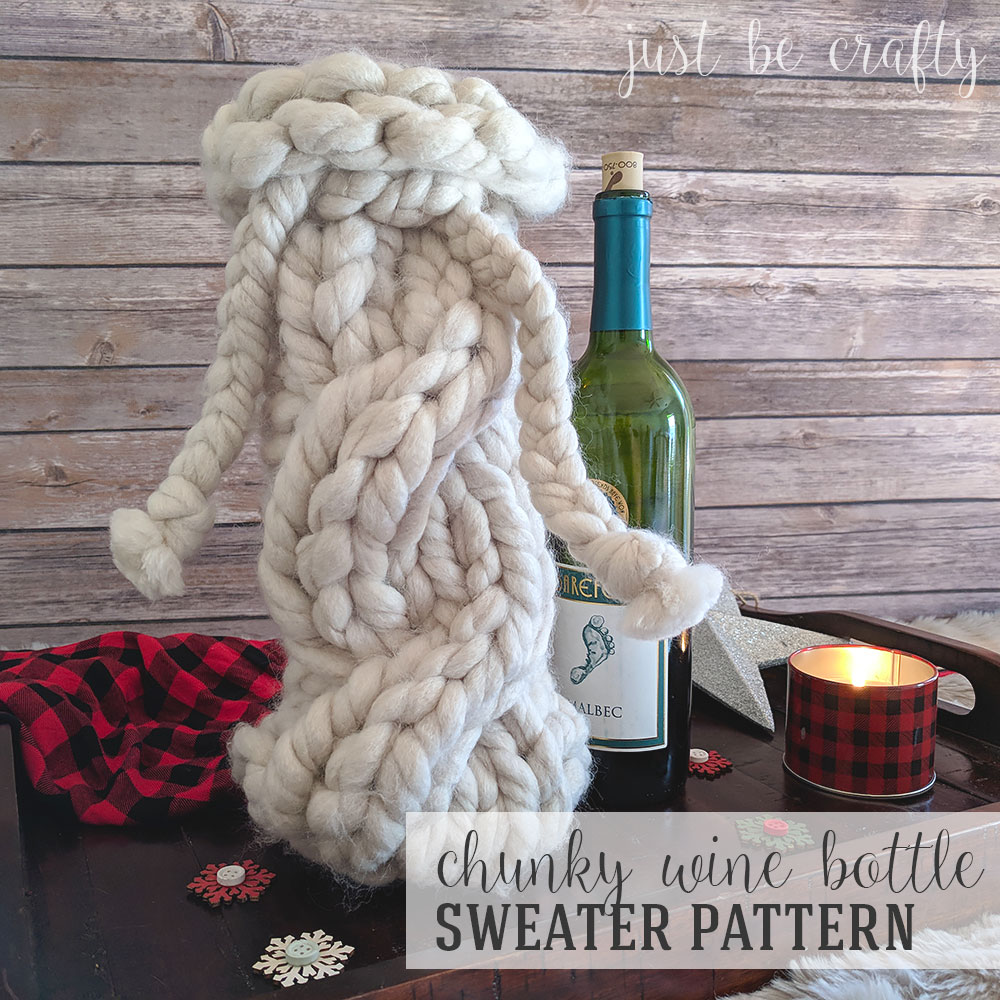
Birthdays, anniversaries, even Christmas comes round so quick to the point where it is pure stress to find everyone a gift in time, and a perfect gift at that. We’re rushing around buying toys, decorations, (such as these Chromaluxe metal prints), alcohol, food, and well, pretty much anything that we need for those special people. Well, there’s no need for that now because I’ve got the most perfect idea. If you are looking for a last-minute gift idea that is sure to impress look no further! The Chunky Knitted Wine Bottle Sweater is the perfect gift for the wine lover in your life, or would make as an elegant hostess gift at the next holiday party you attend!
The pattern is worked with Red Heart Irresistible, which is categorized as a jumbo weighted yarn. This is by far the largest yarn I have ever worked with! Because the yarn is so thick, the knitting needles used in this pattern are crazy big too! It did take a little while to get used to using the larger knitting needles, but after I got a few stitches under my belt it was smooth sailing.
A few years back I made another Wine Bottle Sweater that is totally adorable too! You are welcome to check it out here.
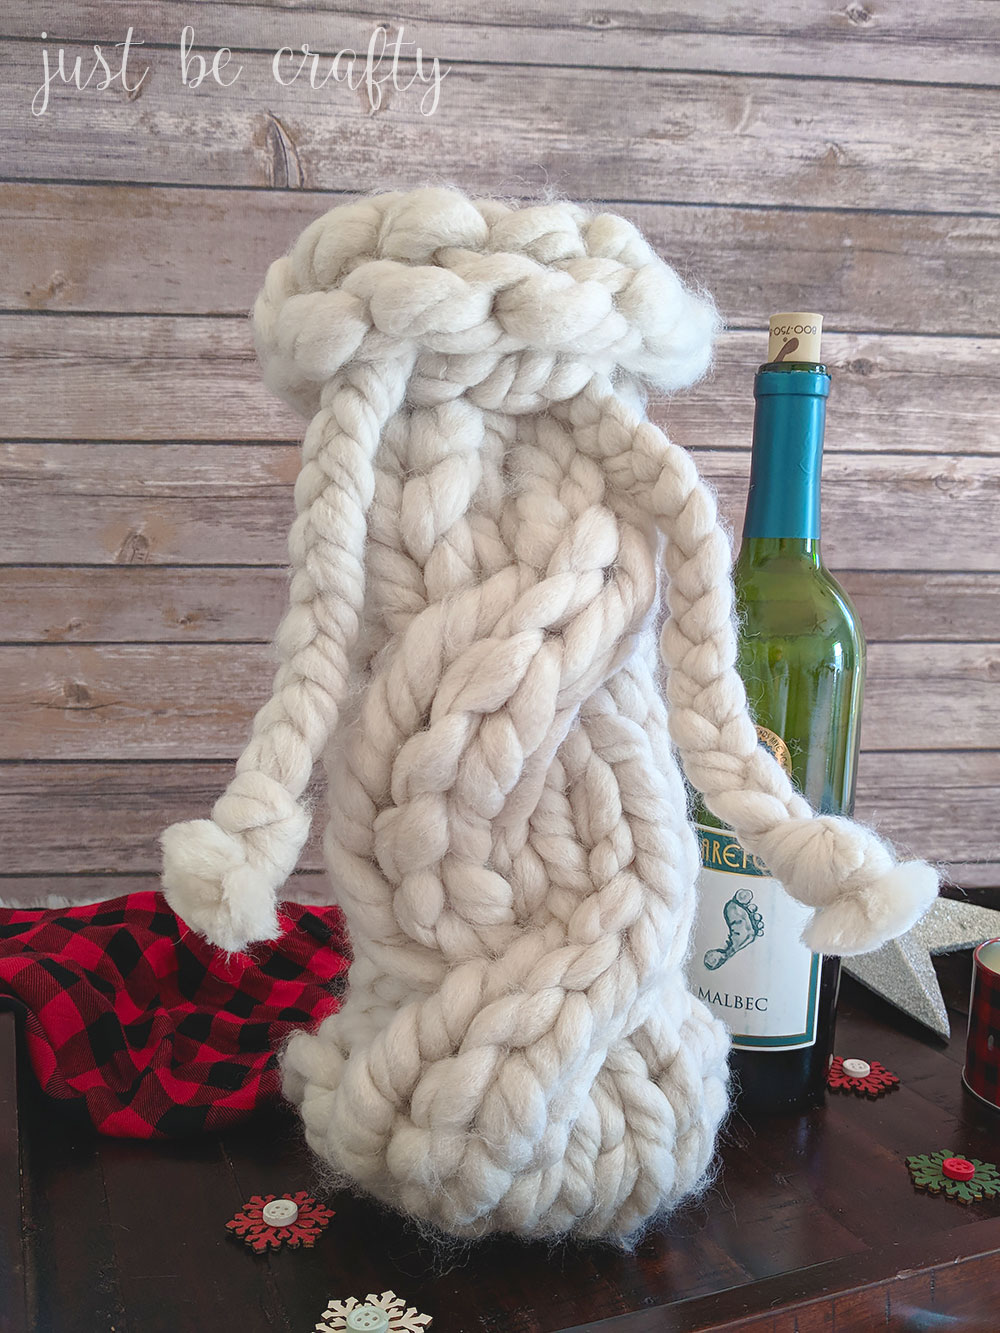
The finished product takes well under an hour to make so this is the absolute perfect go-to pattern for a last minute gift!
Are you ready to try making your own Chunky Knitted Wine Bottle Sweater? If so, keep on reading!
This post contains affiliate links. For more information please see my disclosures page.
Chunky Knitted Wine Bottle Sweater Pattern
Materials
- 2 skeins of Red Heart Irresistible in color Oatmeal (Each ball is 29 yds; Yarn weight: Jumbo – 7)
- US size 50 knitting needles
- US size 13 knitting needles
- A cable needle or 1 double pointed knitting needle (dpn) in any size
- Scissors
Gauge
- 4 stitches by 4 rows is equal to 4 inches by 4 inches in Stockinette Stitch
Finished Measurements
- Approximately 15 inches by 6 inches
Key
- bo – bind off
- c4r – cable 4 stitches to the right
- At c4r, slip two stitches onto cable needle or dpn, put to the back of your work (behind your working needles), knit next two stitches off of your working needle as usual, then knit the two stitches off of the cable needle (or dpn). Continue pattern as written.
- Please note: It may be a little tricky to knit the stitches off of your cable needle, so you might need to use your fingers to help loosen the stitches on the cable needle so that you can easily knit them off.
- co – cast on
- k – knit
- p – purl
- right side – front of work
- wrong side – back of work
Pattern
This pattern is worked flat, working rows back and forth.
[Main body]
Using larger needles, CO 12.
Row 1: p4, k4, p4
Row 2: k4, p4, k4
Row 3: Repeat Row 1
Row 4: Repeat Row 2
Row 5: p4, c4r, p4
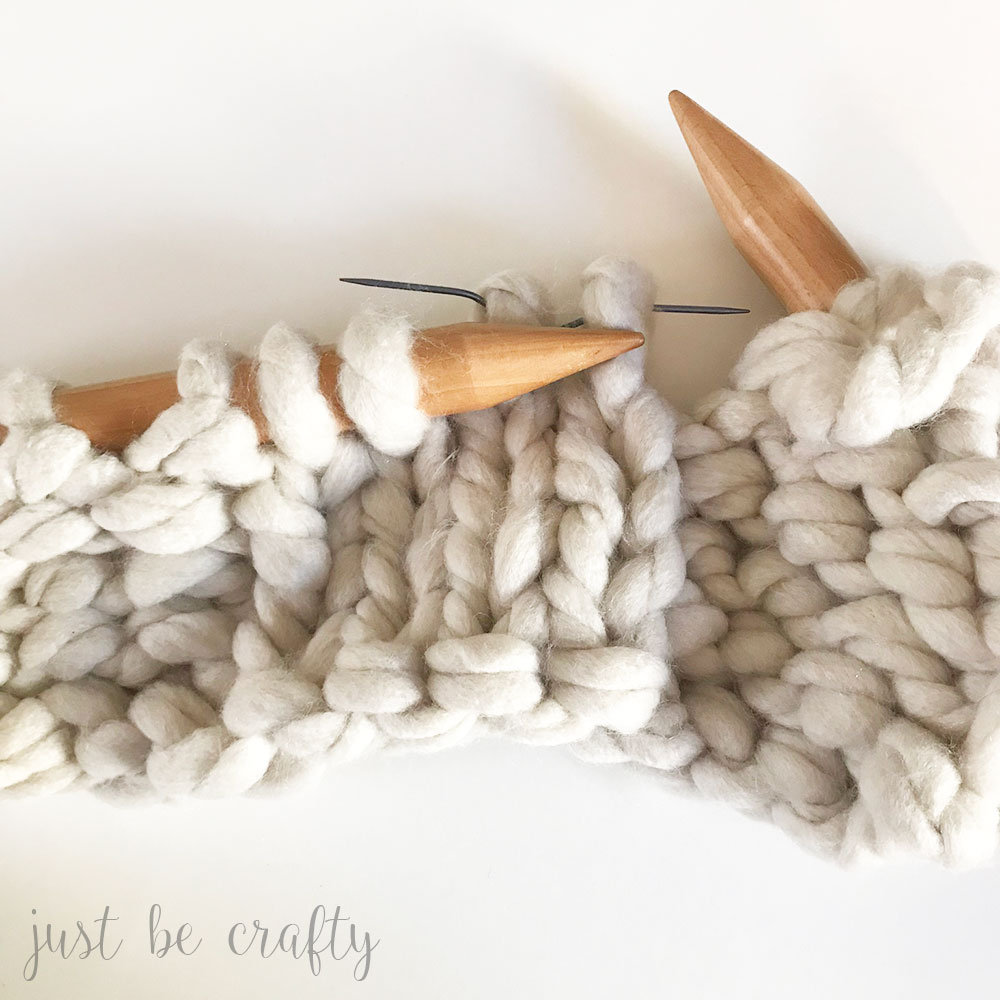
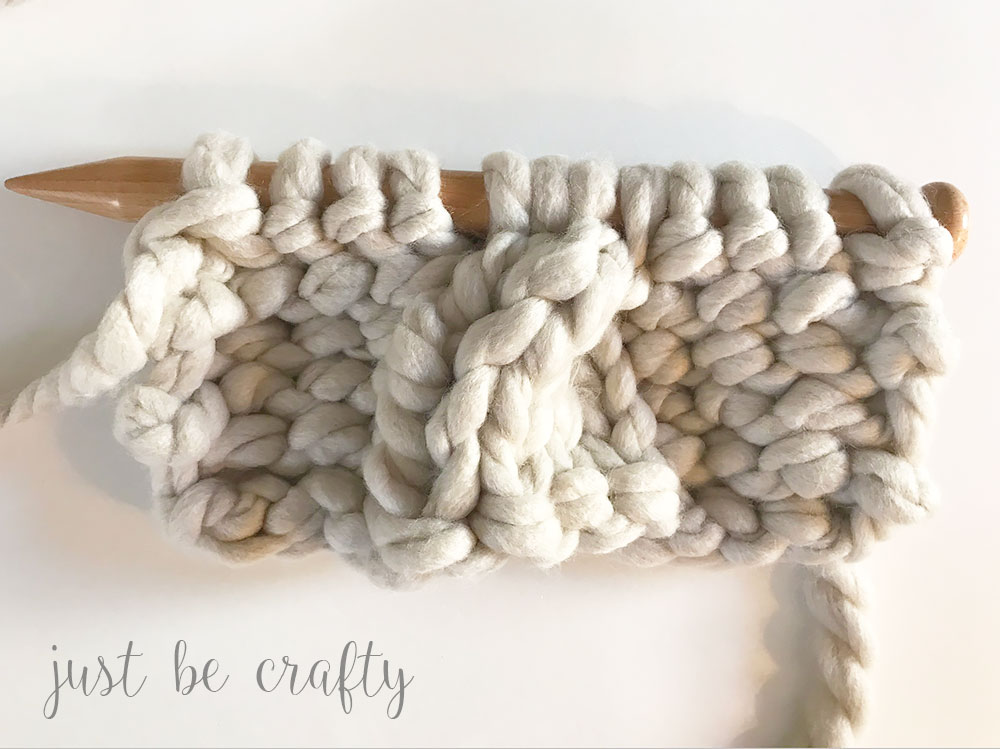
Row 6: Repeat Row 2
Rows 7 – 12: Repeat Rows 1 – 6.
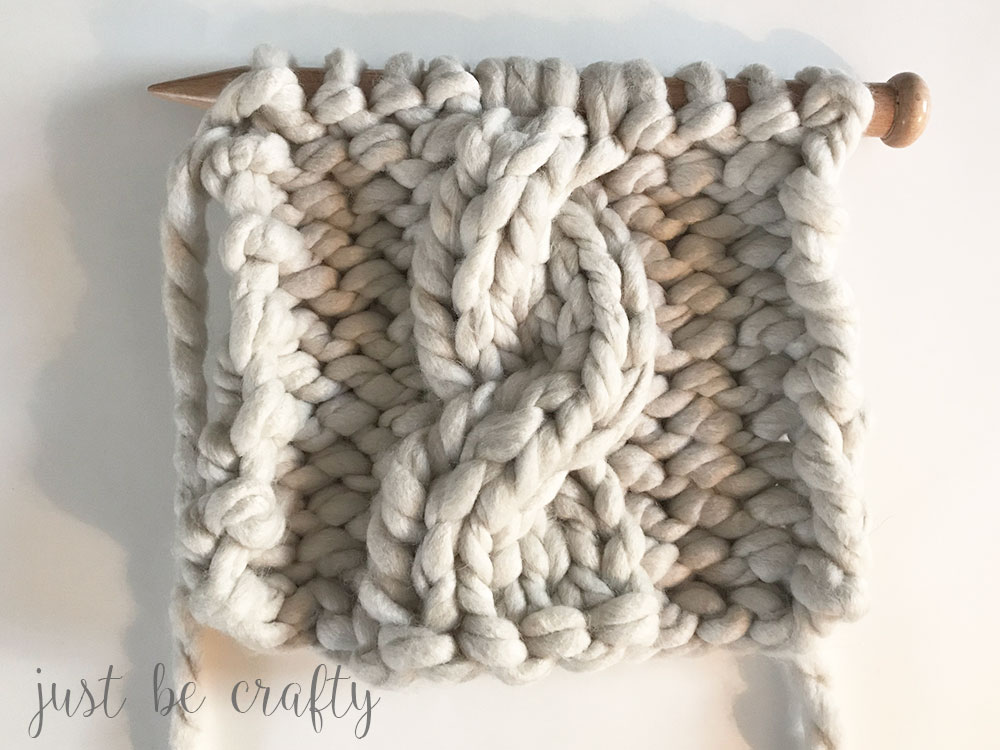
Row 13: Repeat Row 1
Row 14: Repeat Row 2
Row 15: Repeat Row 1
Row 16: Repeat Row 2
Row 17: Repeat Row 1
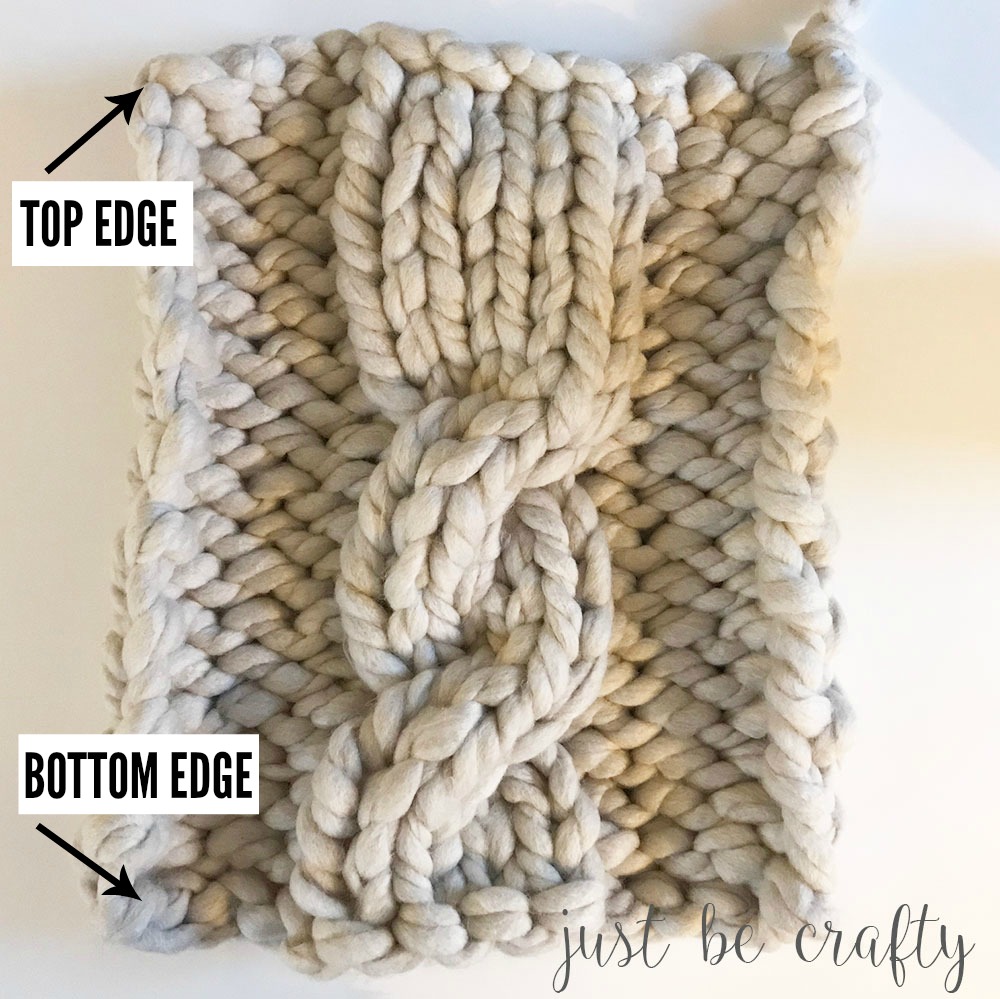
BO leaving a long tail. (You will use this tail a little later to stitch the wine sweater together.) Below is what your piece should look like at this point.
[Bottom flap]
Flip piece around, so that the bottom cast on edge is at the top (opposite of photo above). The right side of the work should still be facing you.
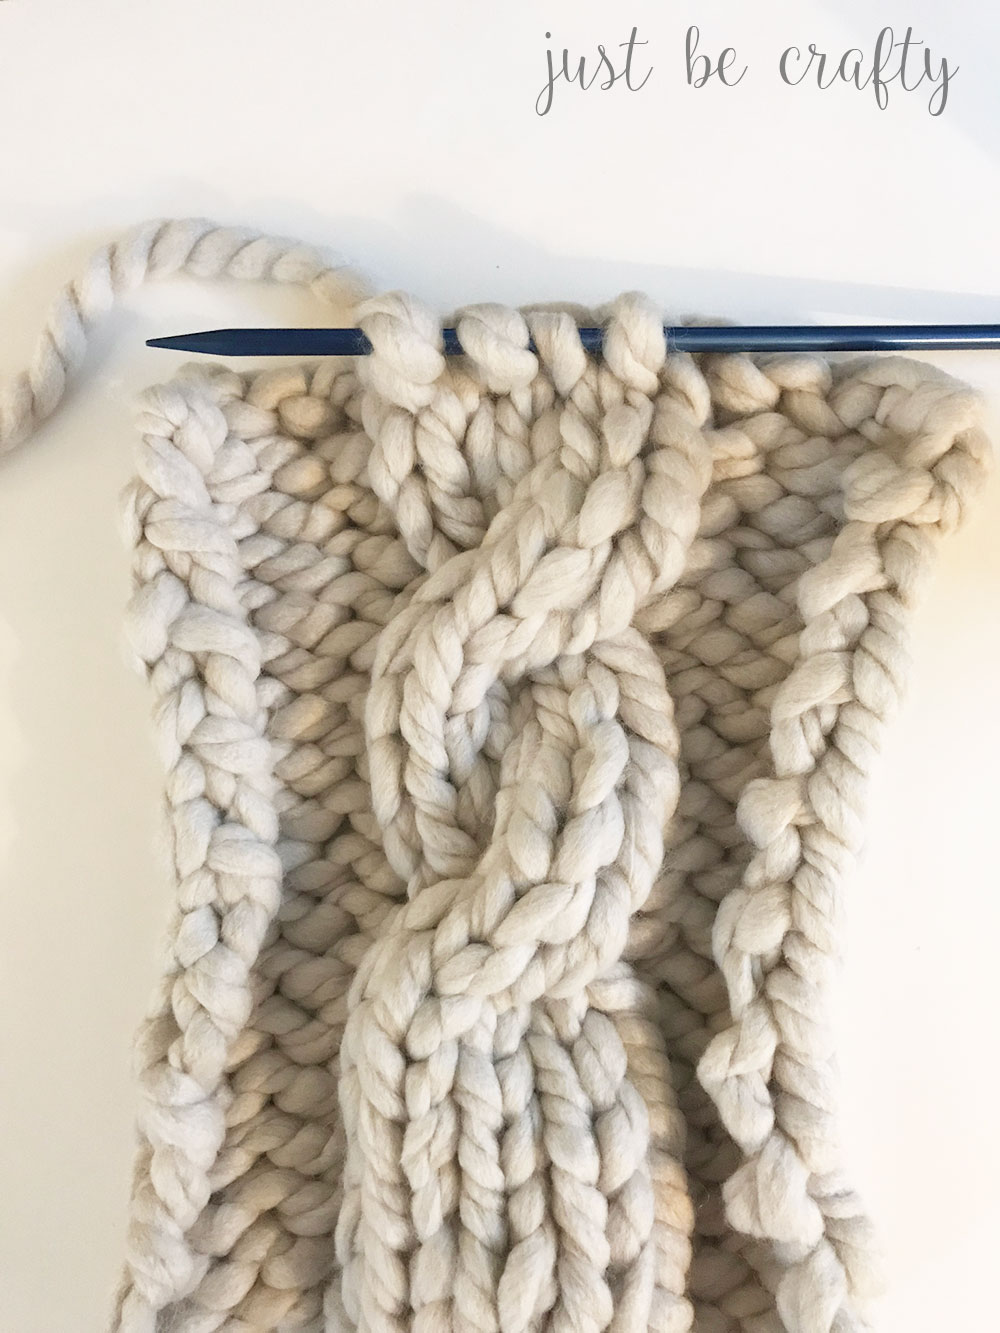
Row 1: Using your fingers and the smaller knitting needles, pick up and knit 4 stitches along the cast on edge of the cable portion of the piece as shown below.
Row 2: p4
Row 3: k4
Row 4: p4
Row 5: k4
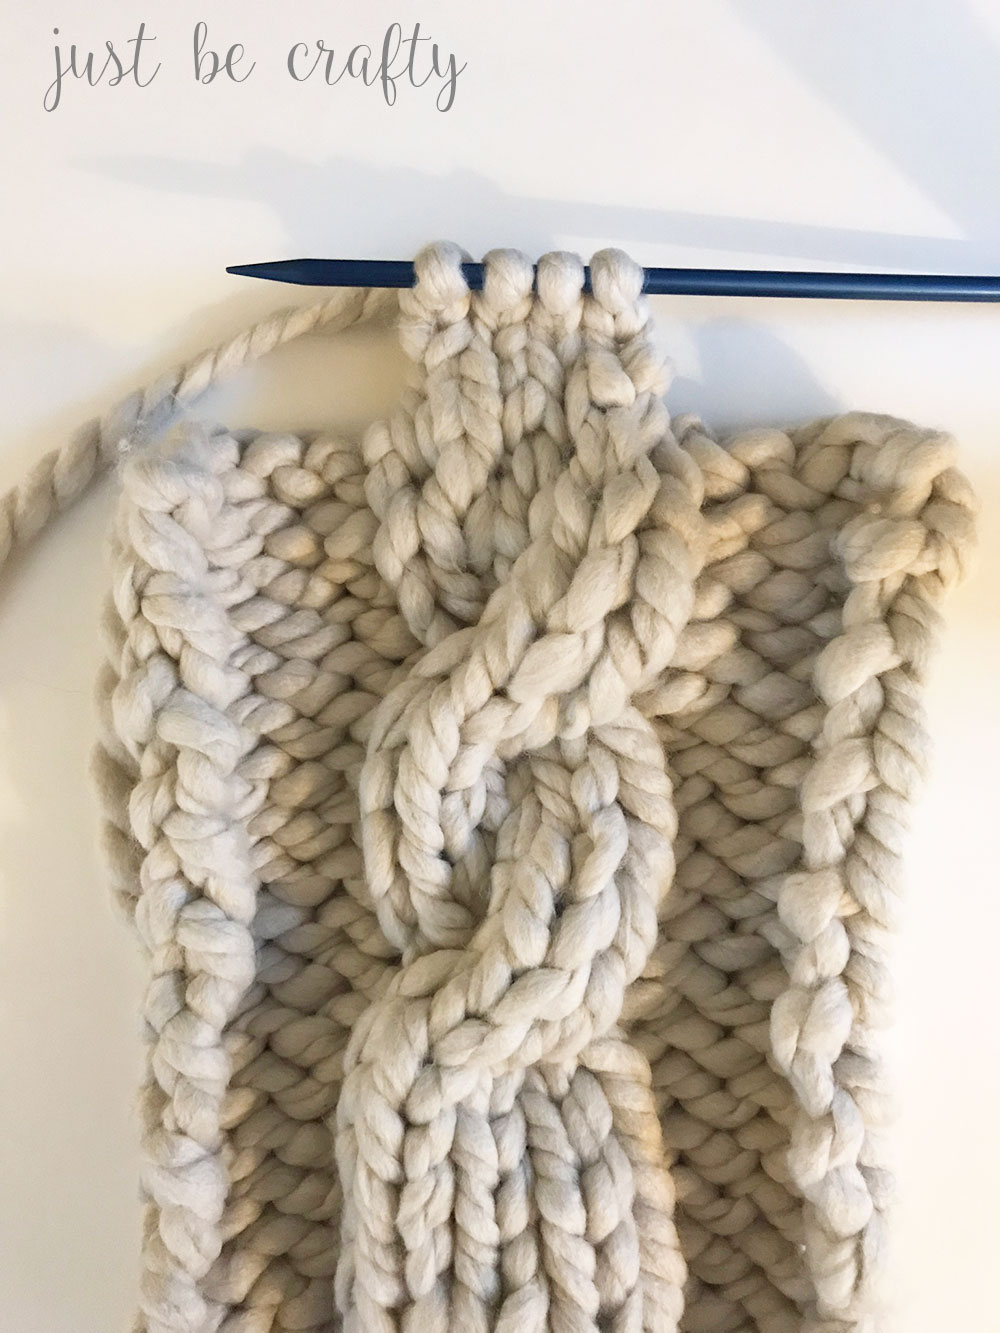
BO, leaving a long tail.
[Sewing the piece together]
Flip piece around again so that the the top edge is at the top and the “bottom flap” is at the bottom. With the front of work facing you, fold sides inward so that they touch – forming the cylindrical body of the wine sweater.
Line stitches up as best as you can. Using your fingers and yarn tail from the top bind off edge, weave the two sides together. Once you get to the bottom, your piece should look like the below image.
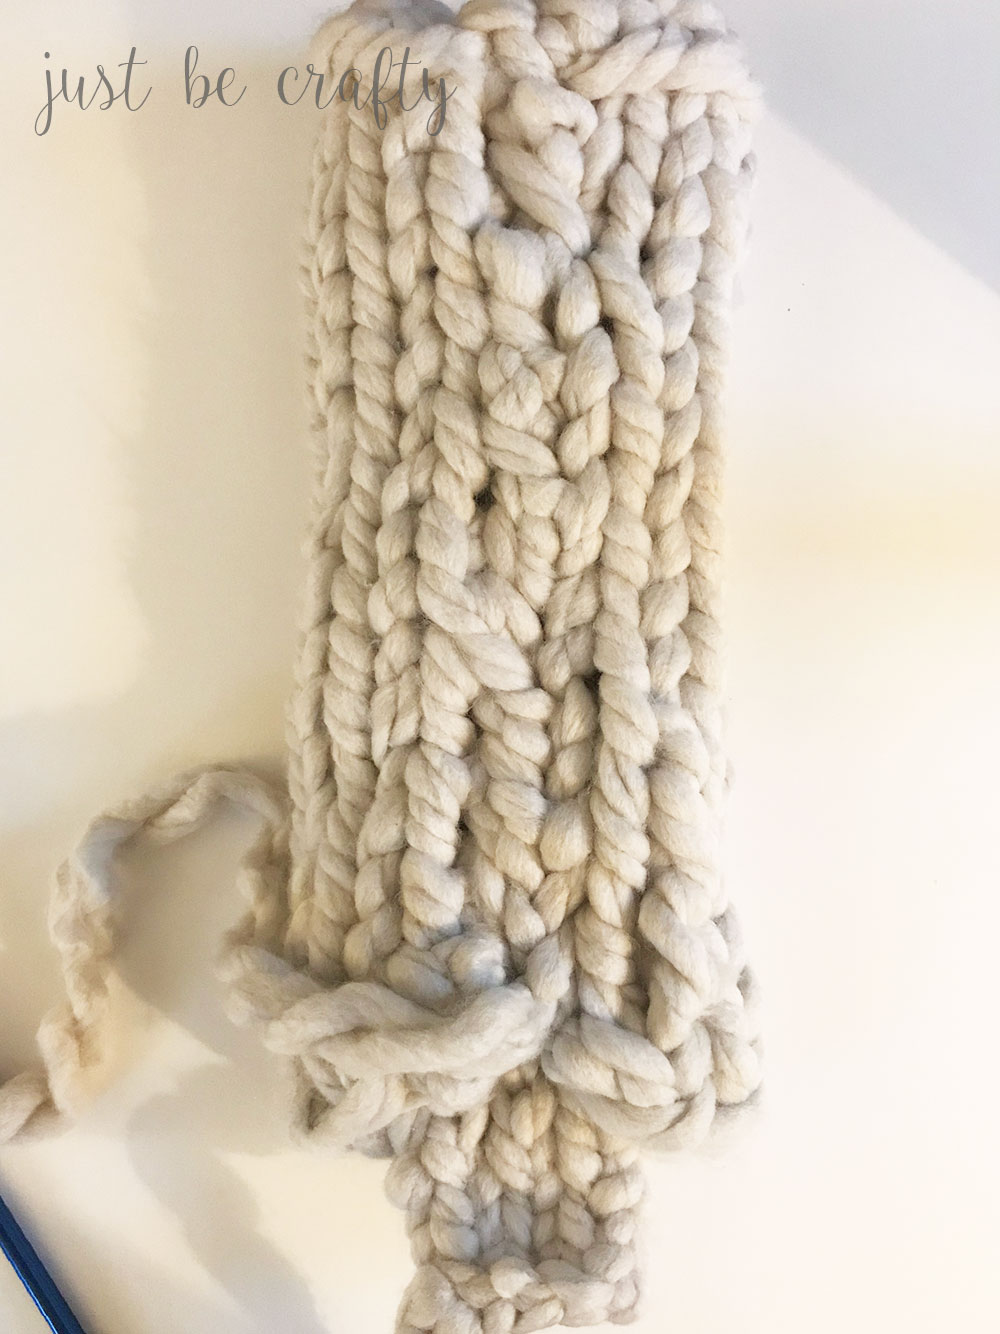
Fold bottom flap upwards so that the bottom flap bind off edge touches the seam you just created – forming the bottom of the sweater.
Using your fingers and your remaining tails, weave wine bottle sweater bottom edges to the bottom flap to close off the bottom of the piece.
Secure yarn and weave in ends with your fingers.
Turn the sweater right side out.
[Making the draw string]
Cut 3, 40 inch strands of yarn. Knot the top and braid strands until you have approximately 5 inches left unbraided. Knot, securing the braid. Trim both ends of drawstring to make them neat and tidy. See below photo for reference.
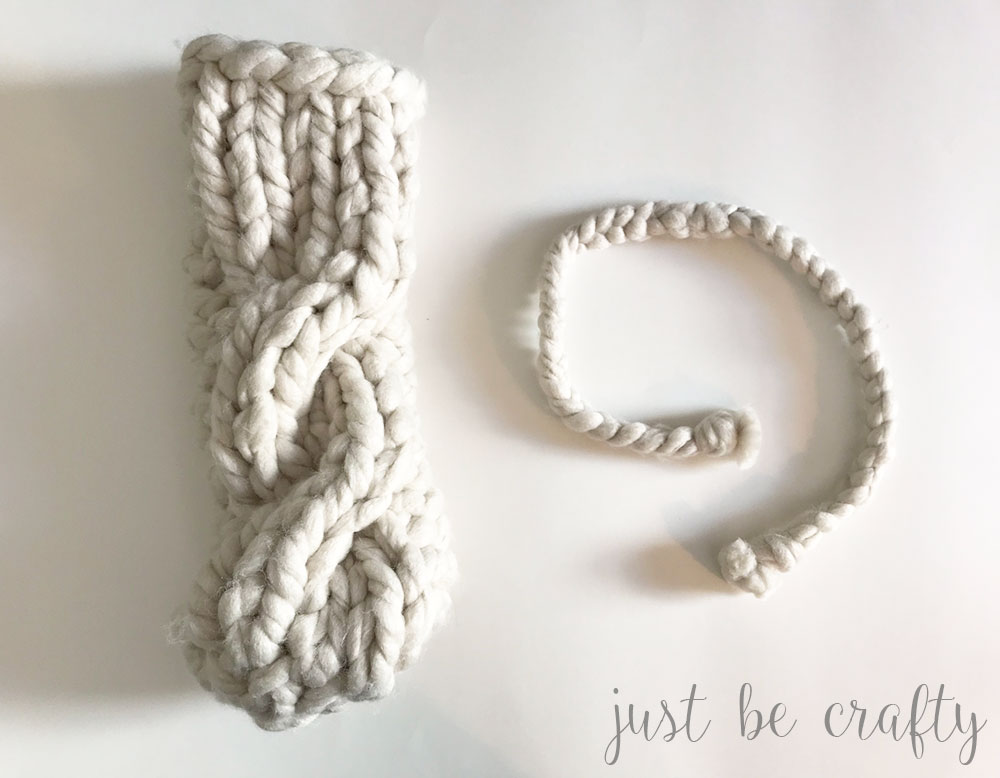
[Inserting the drawstring]
Lay piece out as shown below, begin by inserting the drawstring directly to the right of the cable and approximately 1.5 inches down from the top edge. Weave drawstring in and out of sweater every few inches ending on the left side of the cable.
When complete, your piece should look like the below image.
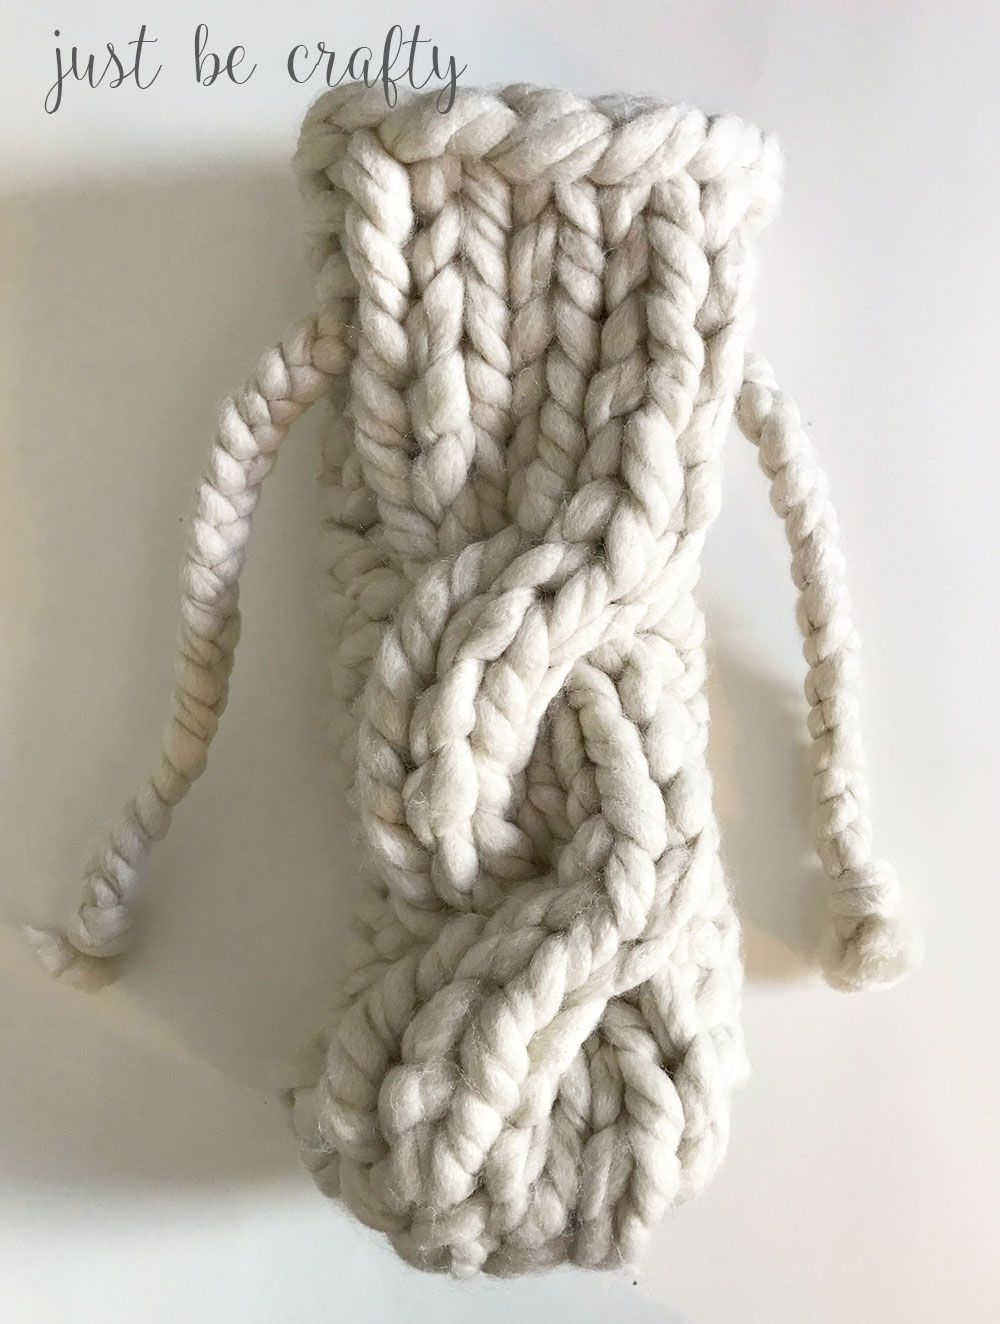
Slip in a bottle of wine. Cinch and tie the drawstring. Fold the top edge down over the drawstring and you’re done!
Enjoy!