Learn to crochet the beautiful Harlequin Stitch in the step by step video tutorial below. This stitch is best worked in stripes, so grab your favorite yarn colors and join me!
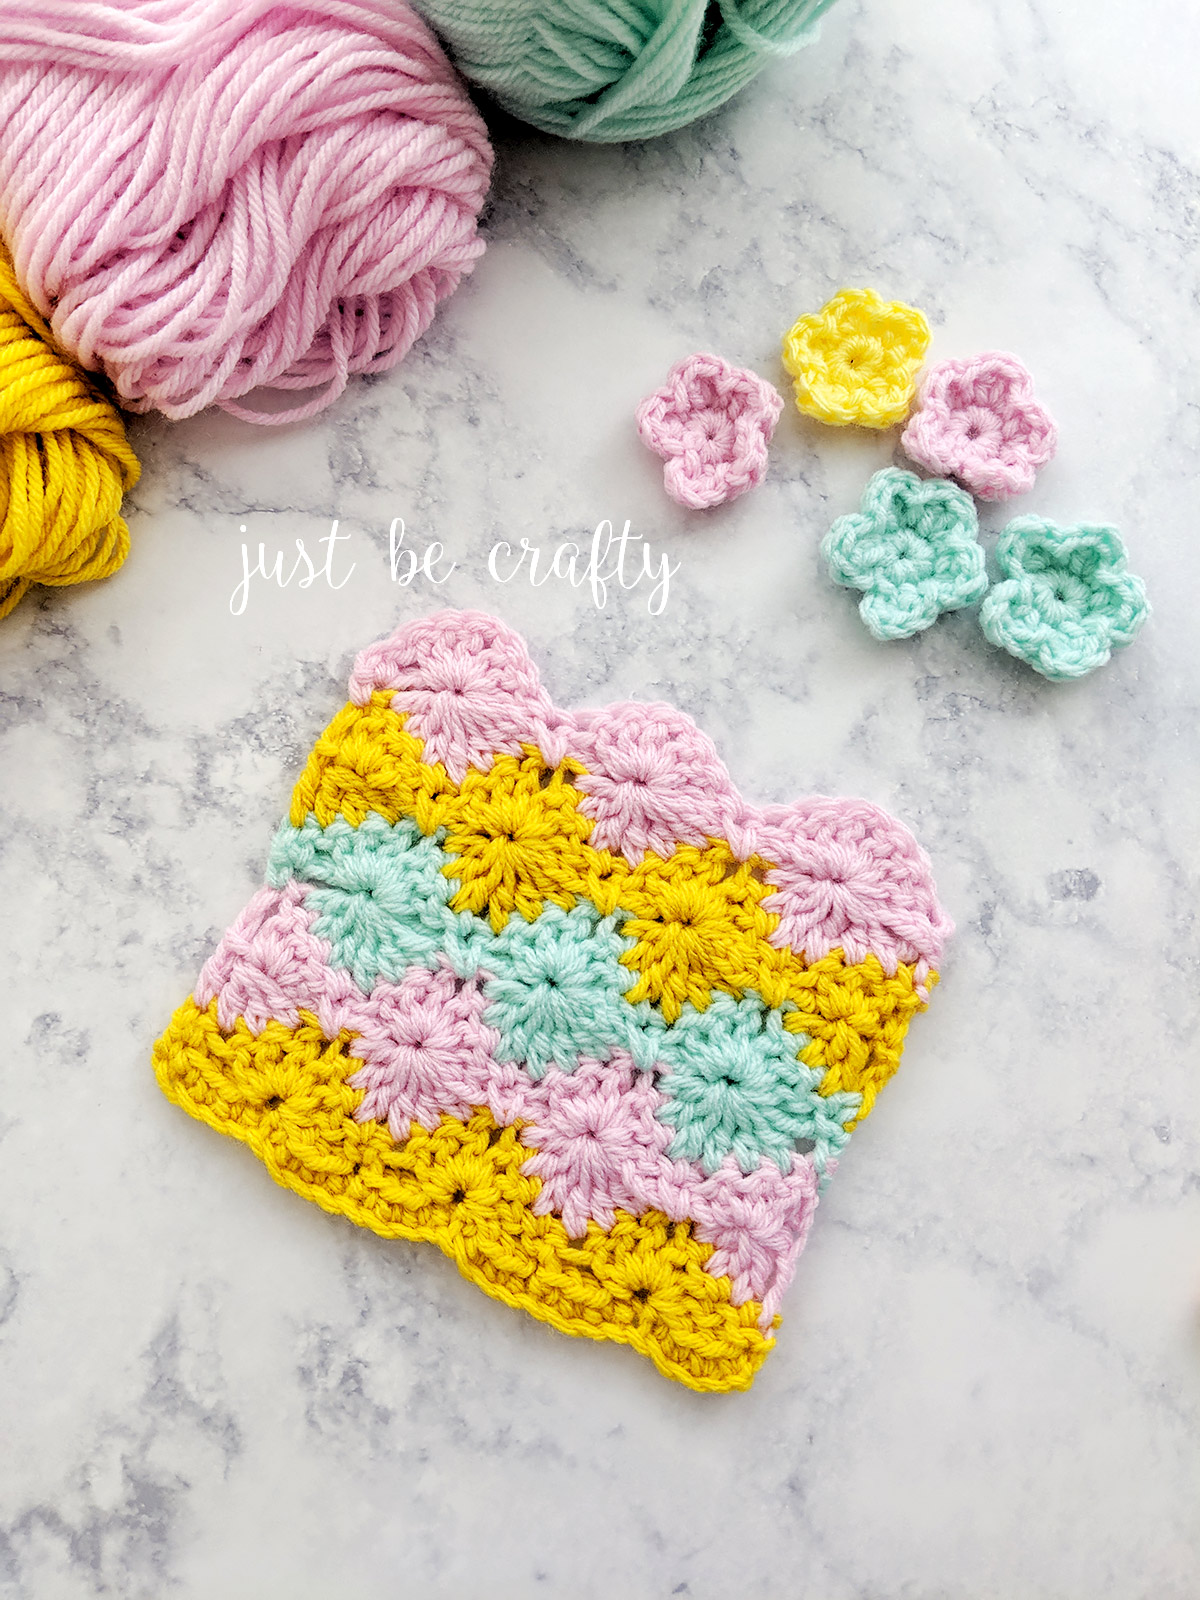
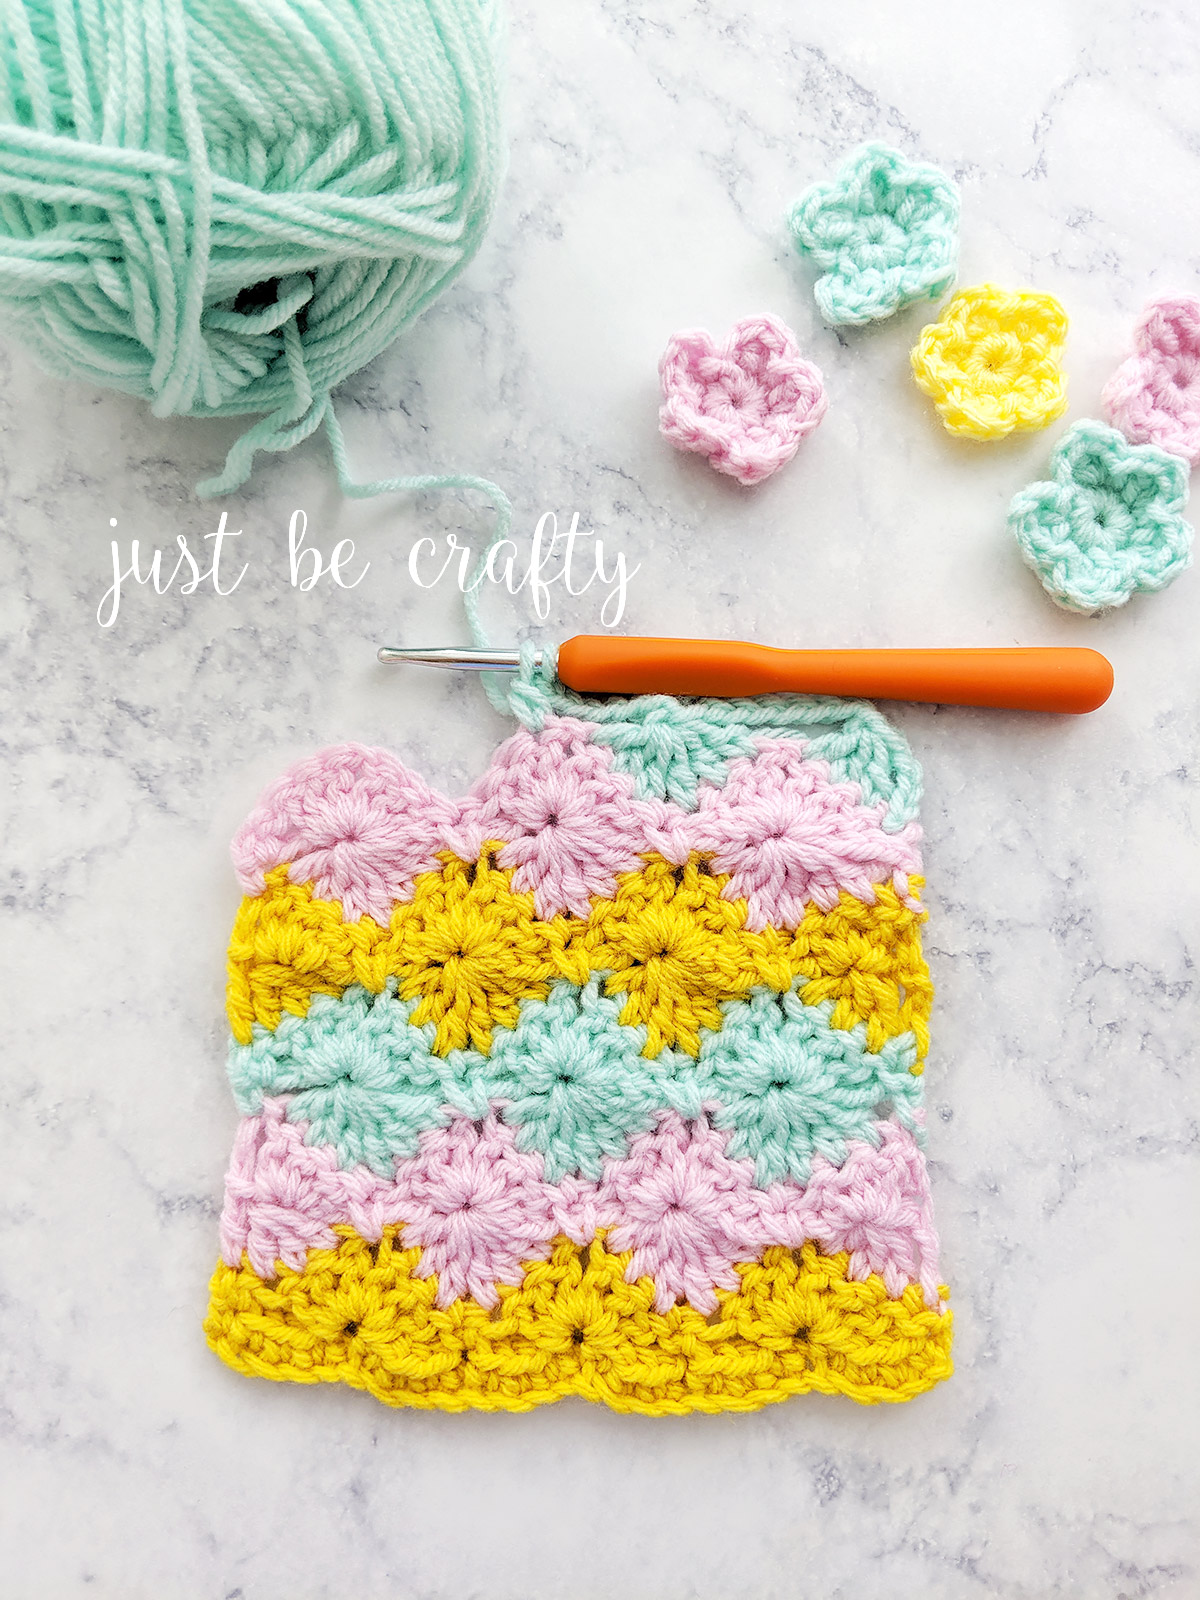
Hello and welcome back to my blog! Today I am sharing a fun stitch with you – the Harlequin stitch! The harlequin stitch is a really pretty vintage stitch used in a lot of older afghans. Often times I’ve seen this stitch with stripes of orange, green, brown and black so I thought it might be fun to show off this stitch with some fresh spring colors!
What is the Harlequin Stitch?
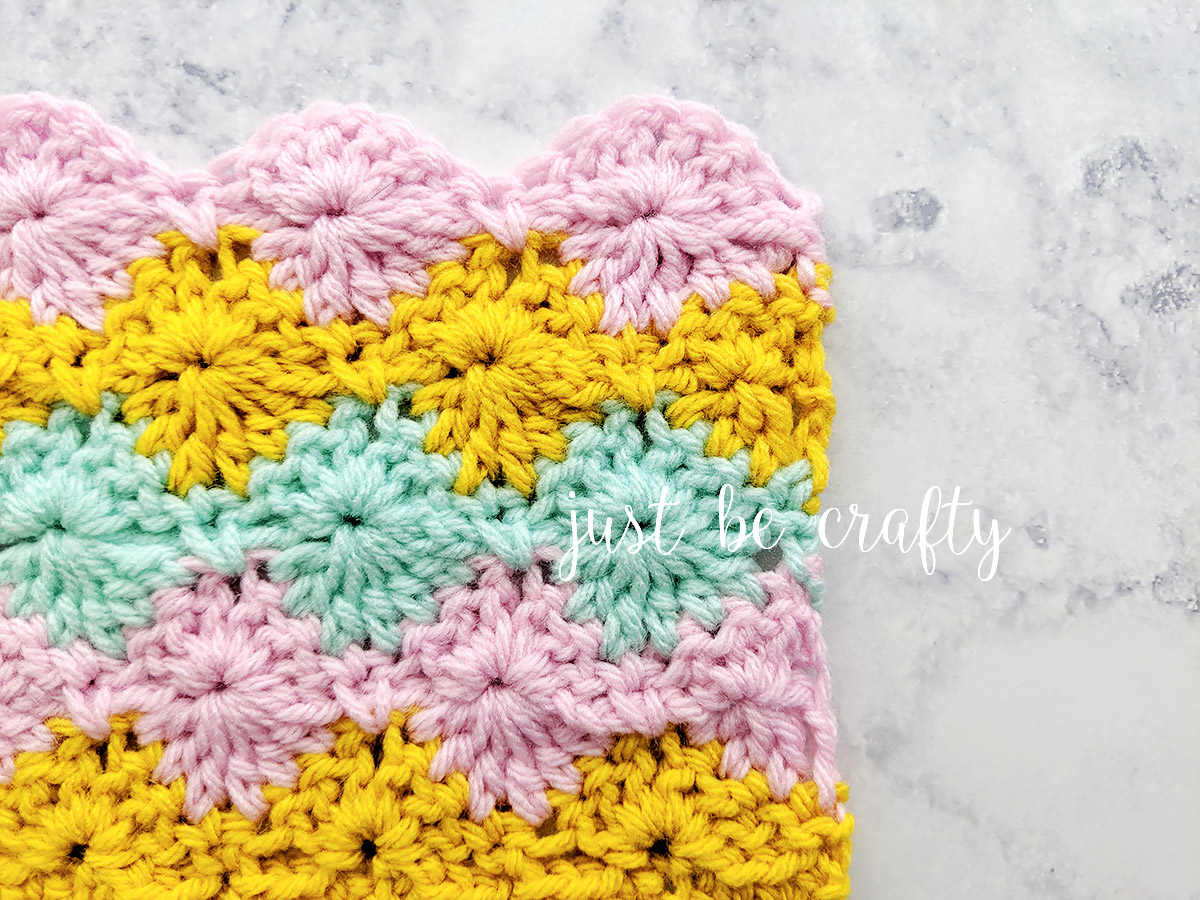
The Harlequin Stitch is a bold, geometric crochet stitch made up of stacked diamonds or offset fans. It creates a raised, textured pattern that looks intricate—but is surprisingly easy to work once you get the hang of it!
This stitch is worked in repeating rows and uses basic crochet techniques like double crochets and chains to build dramatic shapes with gorgeous dimension.
Despite how complex it looks, the Harlequin Stitch is beginner-friendly with a little practice, and it’s perfect for adding visual interest to even the simplest project.
What Can you Make With the Harlequin Stitch?
This stitch is as versatile as it is eye-catching. It works beautifully for:
- Blankets & baby throws – It adds just enough texture without being too thick or stiff.
- Cushion covers or pillow panels – Use bold yarn colors for dramatic effect!
- Tote bags – Turn the texture vertical for an extra stylish finish.
- Scarf or wrap projects – The stitch adds interest without needing fringe or embellishment.
- Wall hangings – Great for a modern, geometric fiber art look.
Because it holds its shape so well, the Harlequin Stitch is ideal for home décor, gifts, and cozy accessories. Use a solid color to highlight the texture, or mix two or more yarns for a playful contrast.

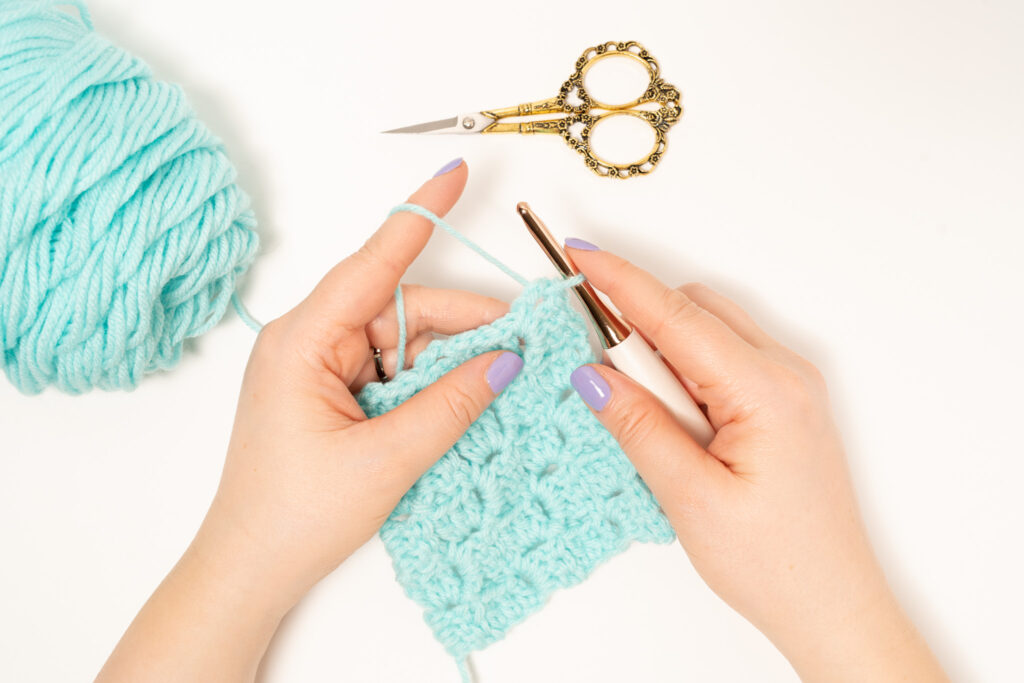
Video Tutorial
In this video tutorial, I break down the Harlequin Stitch step by step and show you exactly how to accomplish this technique. The skill level for this tutorial is intermediate and higher. I wouldn’t recommend this as your first stitch to learn unless you’re a seriously determined beginner!
This stitch is not difficult, but it does require you to pay particular attention to the first few rows. Rows 1 – 6 of the stitch each differ slightly, but once you hit Row 6, you will be doing a 4 row repeat!
Save for later!
Excited to try this stitch, but no time now? Pin to your crochet board on Pinterest and come back to it later!

Harlequin Stitch Pattern
NOTE: The Harlequin stitch is worked in multiples of 8 stitches. Once you reach your multiple of 8 for your foundation chain, add an additional 2 chains.
This post contains affiliate links. For more information please see my disclosures page.
Materials
- Big Twist Value in colors: Light Rose, Light Teal, Gold
- 5.0 mm hook (I use this set)
- Scissors
- Yarn needle
New to crochet? These are BEST tools you need to get started. Click here to learn more and grab your free checklist printout to take to the store when your ready to shop!
Abbreviations
- ch – chain
- dec – decrease
- dc – double crochet
- prev – previous
- sc – single crochet
- st – stitch
- tog – together
Written Pattern Starts Here:
Ch 26
Row 1: Starting in 2nd ch from hook sc across the row; turn.
Row 2: Ch 1, sc in 1st st, sk 3 st, *(3 dc, ch 1, 3 dc) in next st, sk 3 st, sc; repeat from * to end of row; turn.
Row 3: Ch 3, dc next 3 st tog, ch 7, * dc next 6 dc’s tog (skipping over the center sc), ch 7; repeat from * until 3 dc’s remain; dc last 3 dc’s tog; dc in next st; turn
Row 4: Ch 3, make 3 dc in top of 3 dc dec st from prev row, sc the ch 1 and ch 7 sp from previous 2 rows tog (by inserting your hook into the ch 1 sp from two rows down), * make (3 dc, ch 1, 3 dc) into next dec st, sc the ch 1 and ch 7 sp from previous 2 rows tog (by inserting your hook into the ch 1 sp from two rows down); repeat from * until you reach the last 3 dc dec st, make 3 dc into that 3 dc dec st, dc into top of turning ch; turn.
Row 5: Ch 4, dc next 6 dc tog (skipping over the center sc), * ch 7, dc next 6 dc tog (skipping over the center sc) repeat from * to end, ch 3, sc into top of turning ch; turn.
Row 6: Ch 1, sc in 1st st, make (3 dc, ch 1, 3 dc) into top of next dec st, *sc ch 7 and ch 1 sp from previous 2 rows tog, make (3 dc, ch 1, 3 dc) into of next dec st; repeat from * to end, sc in 1st ch of starting ch 4 from prev row; turn.
Row 7: Repeat Row 3
Row 8: Repeat Row 4
Row 9: Repeat Row 5
Repeat Rows 6 – 9 until desired length.

More crochet stitches you’ll love!
If you enjoyed this stitch, I know you will love these stitches below! Be sure to check them out!


Absolutely loved this tutorial and I’m so glad I discovered you!
Thank you so much! I’m glad you enjoyed the tutorial!
Do you have a printable pattern? I like to crochet while we travel and don’t get internet on the road!
Have you ever made this as a baby blanket using a lighter weight yarn, like a 3, lighter than worsted?
I have not tried that yet, but that sounds lovely!
Hi! I love this pattern, but I need to print it out so i can work on it on my travels. Do you have a printable version? Thanks so much! CJ
Can you please tell the amount of worsted yarn needed to make this as a standard size baby afghan?
Thank you