Easy Garter Stitch Scarf
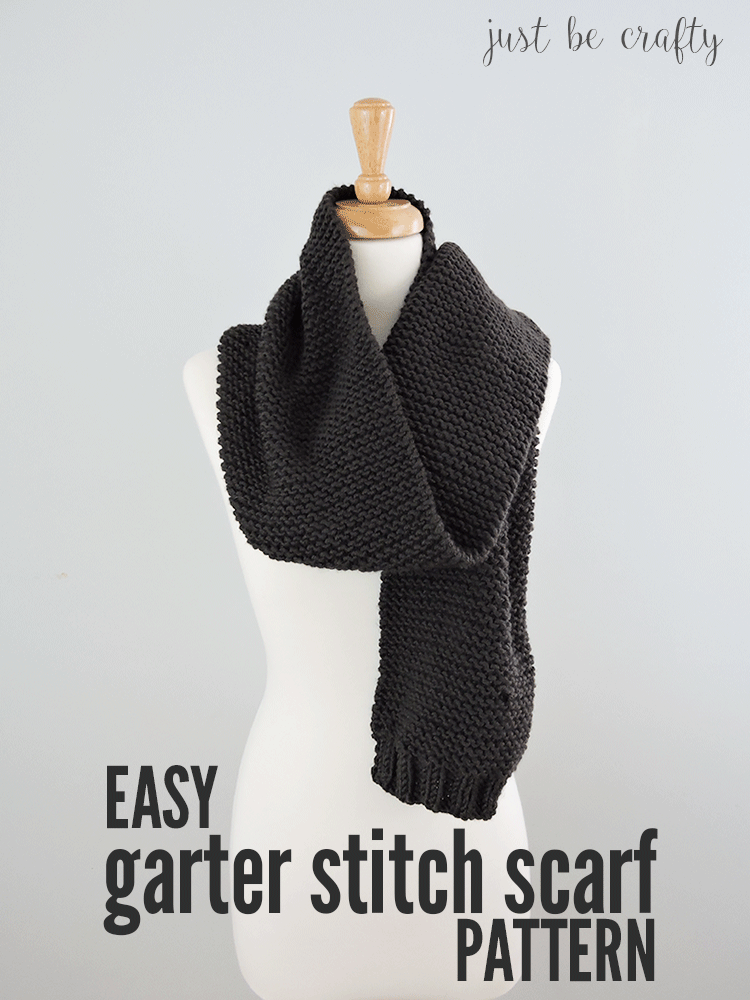
This garter stitch scarf is the perfect fall and winter project for the beginner knitter! The beauty is in the simplicity of this project and was actually inspired by scarf I spotted at Forever 21!
This post contains affiliate links. For more information please see my disclosures page.
Hello and happy February! Since the weather is still chilly out I thought it would be fun to share a new scarf pattern. This pattern is called the Easy Garter Stitch Scarf and like the name says it is VERY easy to make. This project is perfect for a beginner knitter or an experienced knitter that wants to catch up on some Netflix, or just knit mindlessly! It’s one of those projects that doesn’t require much thinking and is just relaxing to make.
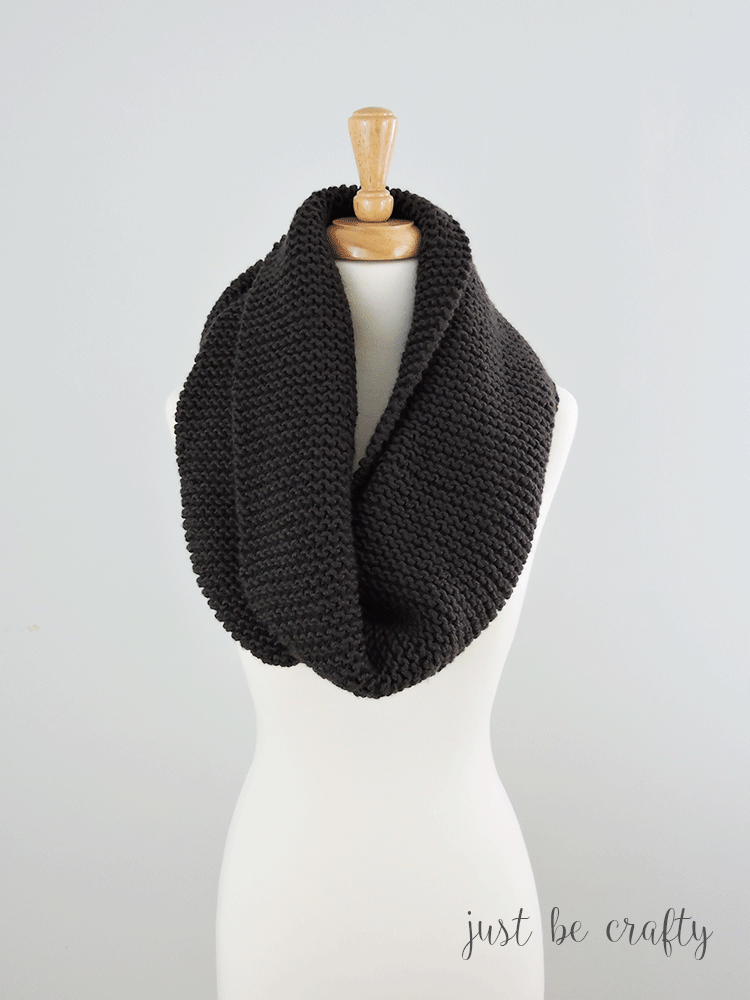
I got the idea for this scarf from a trip to Forever 21. I saw some similar looking scarves and thought… I can make that! Do you ever go to the store and see something you love but just don’t have the heart to buy because you’re thinking “I can make it myself!”?? Let me know in the comments below!
A printable PDF version of this pattern is available for purchase here.
Easy Garter Stitch Scarf
Materials
- 4 skeins Big Twist Premium yarn in Raven (you can find this yarn at JoAnn Fabrics; or any worsted weight acrylic yarn)
- US size 9 knitting needles
- scissors
- yarn needle
Key
- CO – cast on
- BO – bind off
Finished Measurement
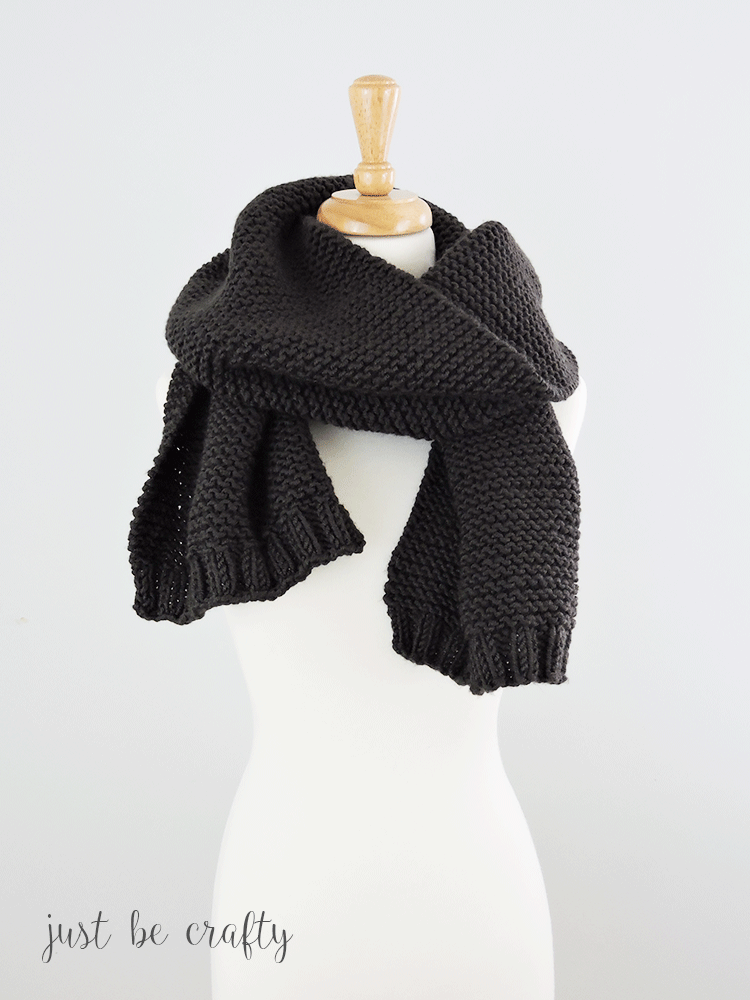
- Approximately 62 inches long by 11 inches wide
Pattern
CO 38 stitches
Row 1: *knit 2, purl 2; repeat from * 8 times, knit 2 (right side)
Row 2: *purl 2, knit 2; repeat from * 8 times, purl 2 (wrong side)
Rows 3 – 6: Repeat rows 1 and 2
Row 7: knit
Work in garter stitch by repeating Row 7 until entire piece measures about 60 inches.
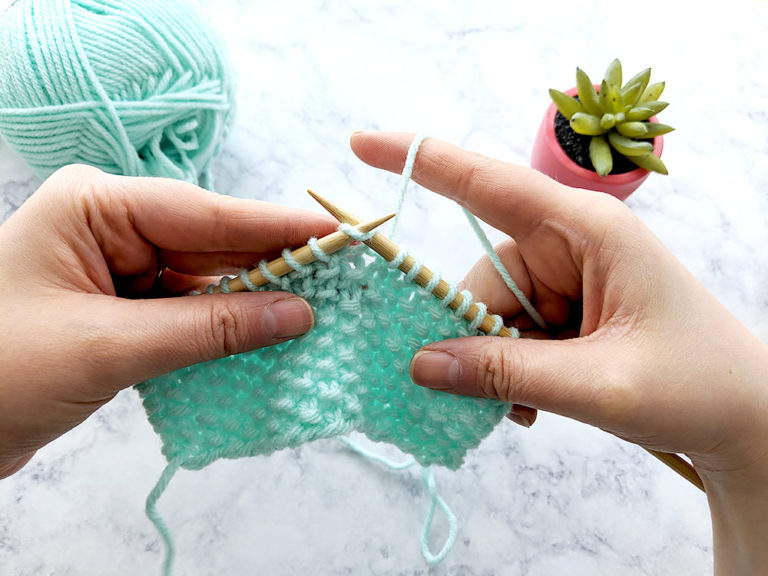
Starting on a right side, repeat Rows 1 – 6. Since garter stitch is a reversible fabric you might have a hard time seeing which side is the front and back of your scarf at this point. If you’re having trouble determining if the “right side” or “wrong side” is facing you, look at the ribbing at the starting end of your scarf.
On the “right side”, the ribbing should start with 2 knit stitches facing you, followed by 2 purl stitches facing you. (If you are on the back side, the ribbing will begin with 2 purl stitches facing you by 2 knit stitches facing you.)
BO
Weave in all ends and enjoy!



I wish to make a suggestion, where the pattern says to repeat 8x, should that not have the word “more” after it? For my new knitters class, they are getting confused with the math and reading the pattern since 4 x 8 = 32, if they don’t quite yet understand that is the direction after they have completed those 4 stitches once, making the math work out to 4 x 9 = 36 plus the last 2 stitches uses the exact amount of stitches from the cast on. Following the directions exactly was leaving many confused as to why they had 6 stitches left instead of just the 2 stitches they are supposed to have. Absolutely awesome pattern by the way.