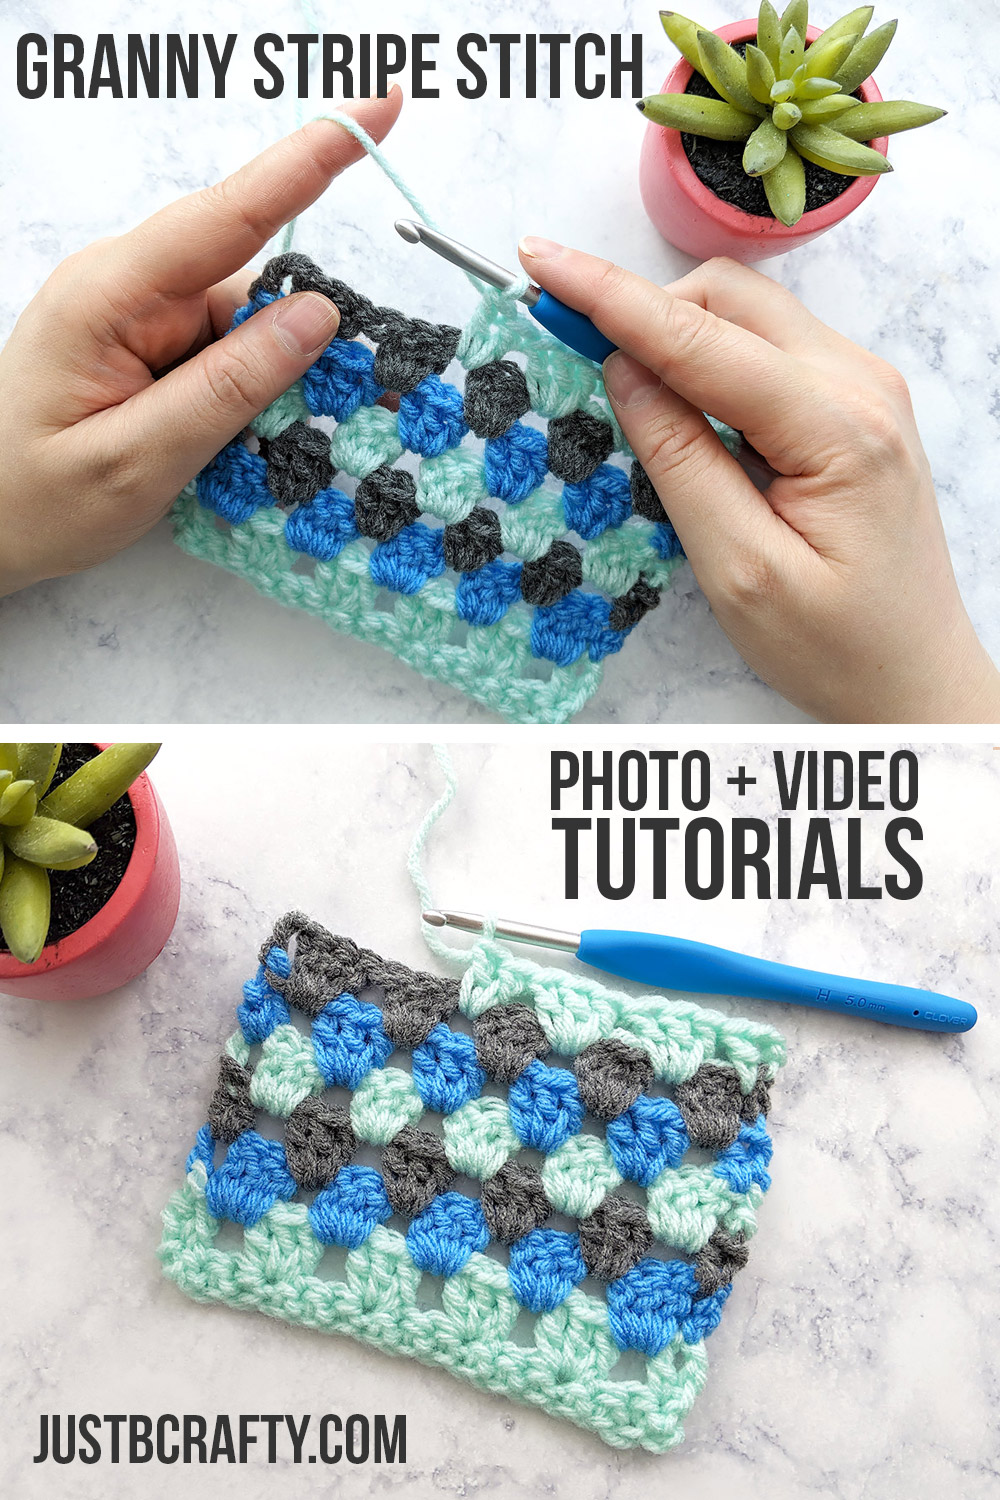
The Granny Stripe Stitch is a timeless stitch that every crocheter should have in their back pocket! Learn to crochet this iconic stitch along with me in the photo and/or video tutorial below!

Hello! I’m so happy you’re here! Today we are going to over the Granny Stripe Stitch. The Granny Stripe stitch is similar to the granny square in that it is comprised of three double crochet clusters but are arranged in a straight line rather than in a square.
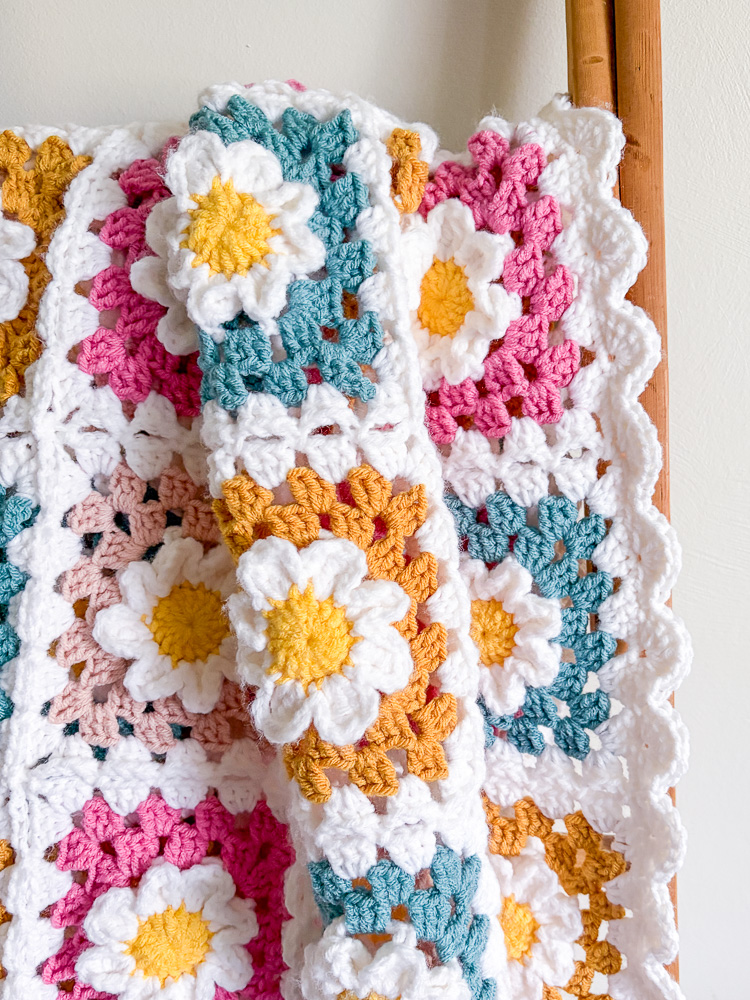
This is a very versatile stitch and can be used for many projects such as blankets, dishcloths, wraps, shawls, placemats and so much more! Similar to the Granny Stripe Stitch is the Granny Ripple Stitch. I recently shared tutorials on this stitch and you can check them out here and here if interested!
This stitch looks best when worked in multiple colors, so grab your favorites and learn to crochet this stitch right along with me.
Because everyone learns in different ways I have two tutorials for you below – a video tutorial and photo tutorial, as well as the straight forward written pattern.
No matter your skill level or how you prefer to learn a new crochet technique, I have you covered!
To learn how to complete this stitch for yourself, just keep reading below!
Don’t have time for this now, but want to come back to the tutorial later? I have you covered…
Click here to save on Pinterest and check out it later!
Video Tutorial
In this video tutorial I will show you step by step how to complete the Granny Stripe Stitch. This tutorial is designed for intermediate beginners or higher and assumes you know already the following skills:
- chaining
- single crochet
- double crochet
Once you’ve mastered the above skills, I’m positive you can tackle this stitch!
Written Pattern and Photo Tutorial
*This post may contain affiliate links. Please see my disclosures page for more information.
All patterns on this blog are for personal use only and may not be redistributed, copied, blogged, or sold as your own. You may sell items made by my patterns as long as the item is made by you personally (not mass produced) and that proper credit is given back to me and my site, Just Be Crafty. You may not use my photos for your online sales listings.
Materials
- 3 colors of yarn (100% acrylic, medium-4 weight yarn)
- 5.0 mm hook
- Scissors
- Yarn needle
Key
- ch – chain
- dc – double crochet
- prev – previous
- sc – single crochet
- sp – space

Written Pattern
*The Granny Stripe Stitch is worked in multiples of 3 plus 2 additional chains for your foundation chain.
Ch 17 (my multiple of 3 is 15, plus an additional 2)
Row 1: Starting in 2nd ch from hook, sc across the row; turn.
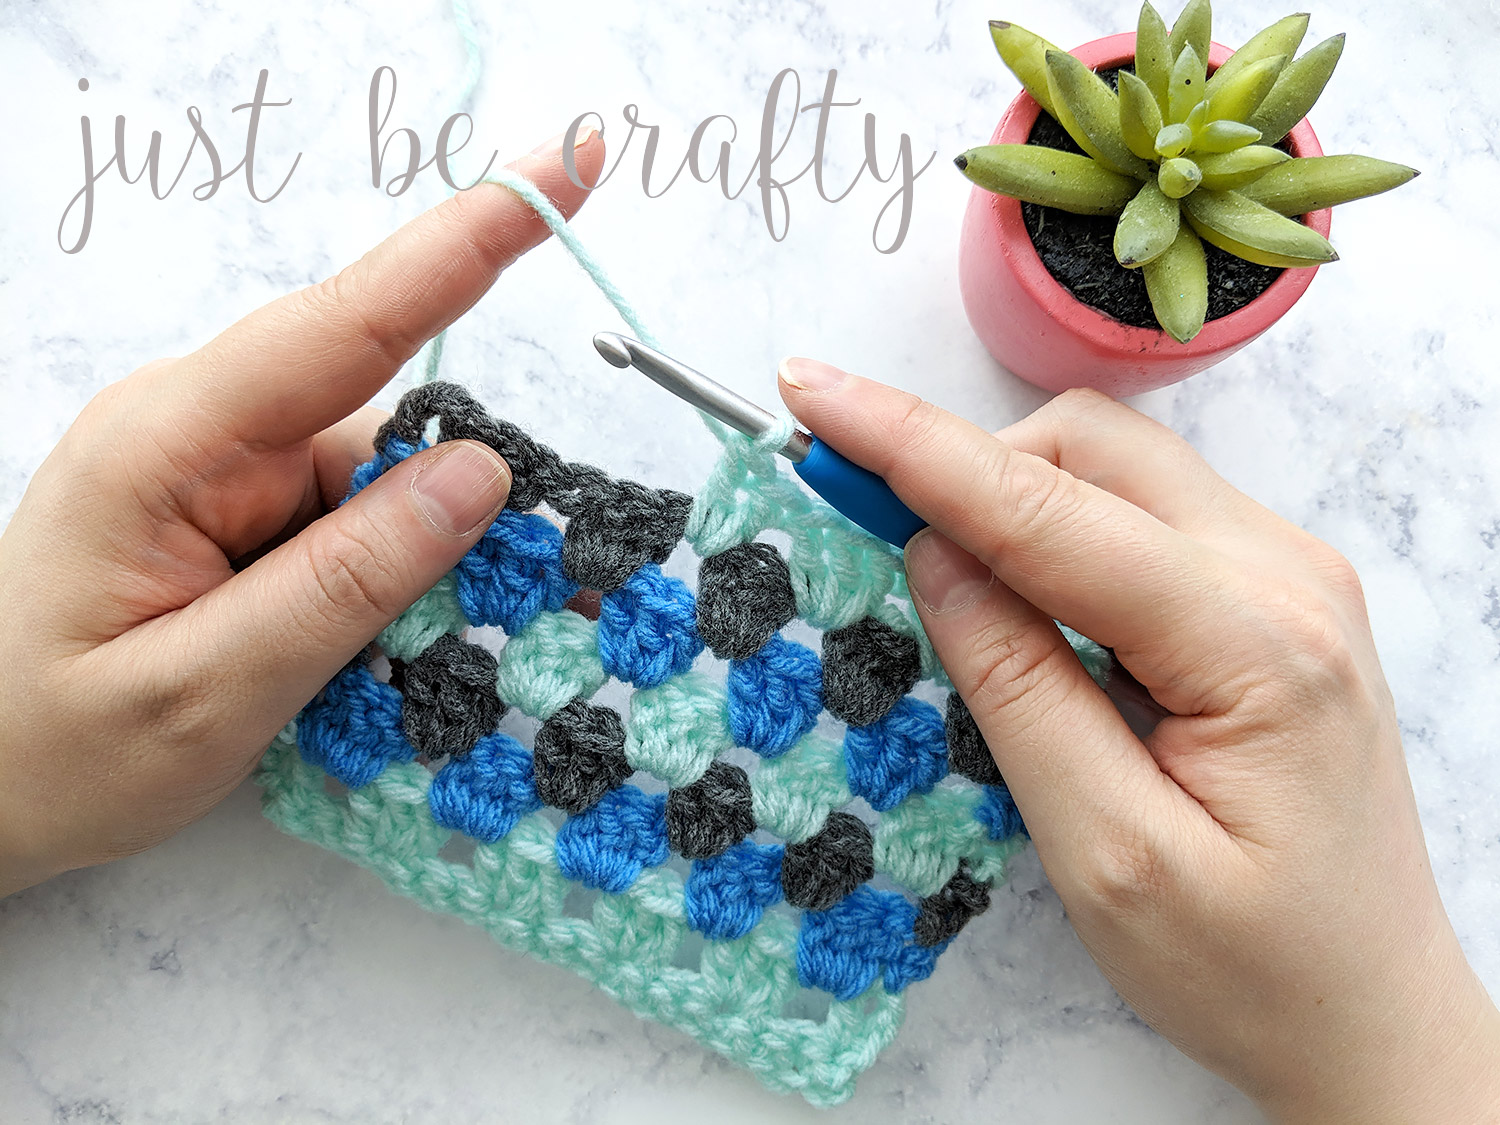
Row 2: Ch 3 (counts as a dc), make 1 dc in same stitch, sk 2 st, *make 3 dc in next st, sk 2 st; repeat from * to end making 2 dc’s in the last st; turn.
Row 3: Ch 3 (counts as a dc), *make 3 dc’s in next cluster sp; repeat from * through laster cluster sp, make 1 dc in the top of the turning ch from prev row; turn.
Row 4: Ch 3 (counts as a dc), make 1 dc in sp between your last dc and cluster from prev row, *make 3 dc in next cluster sp; repeat from * to end of row; make 2 dc in space between cluster and ch 3 from prev row; turn.
Repeat Rows 3 and 4 until you reach your desired length.
Photo Tutorial
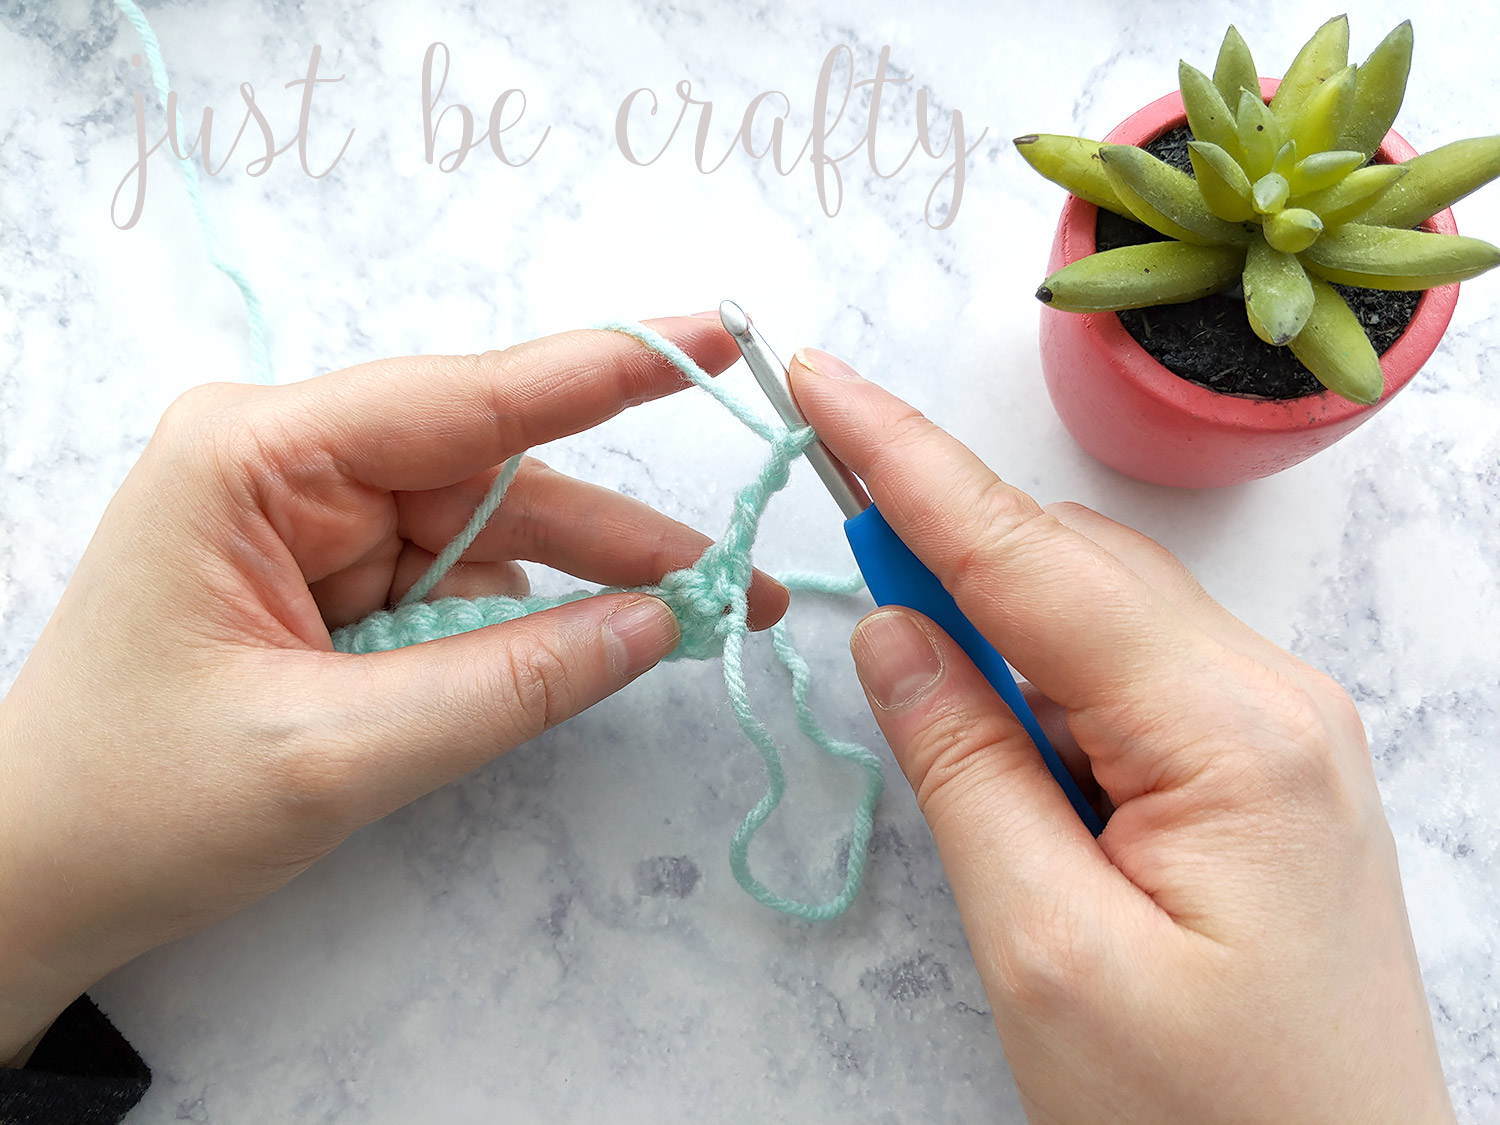
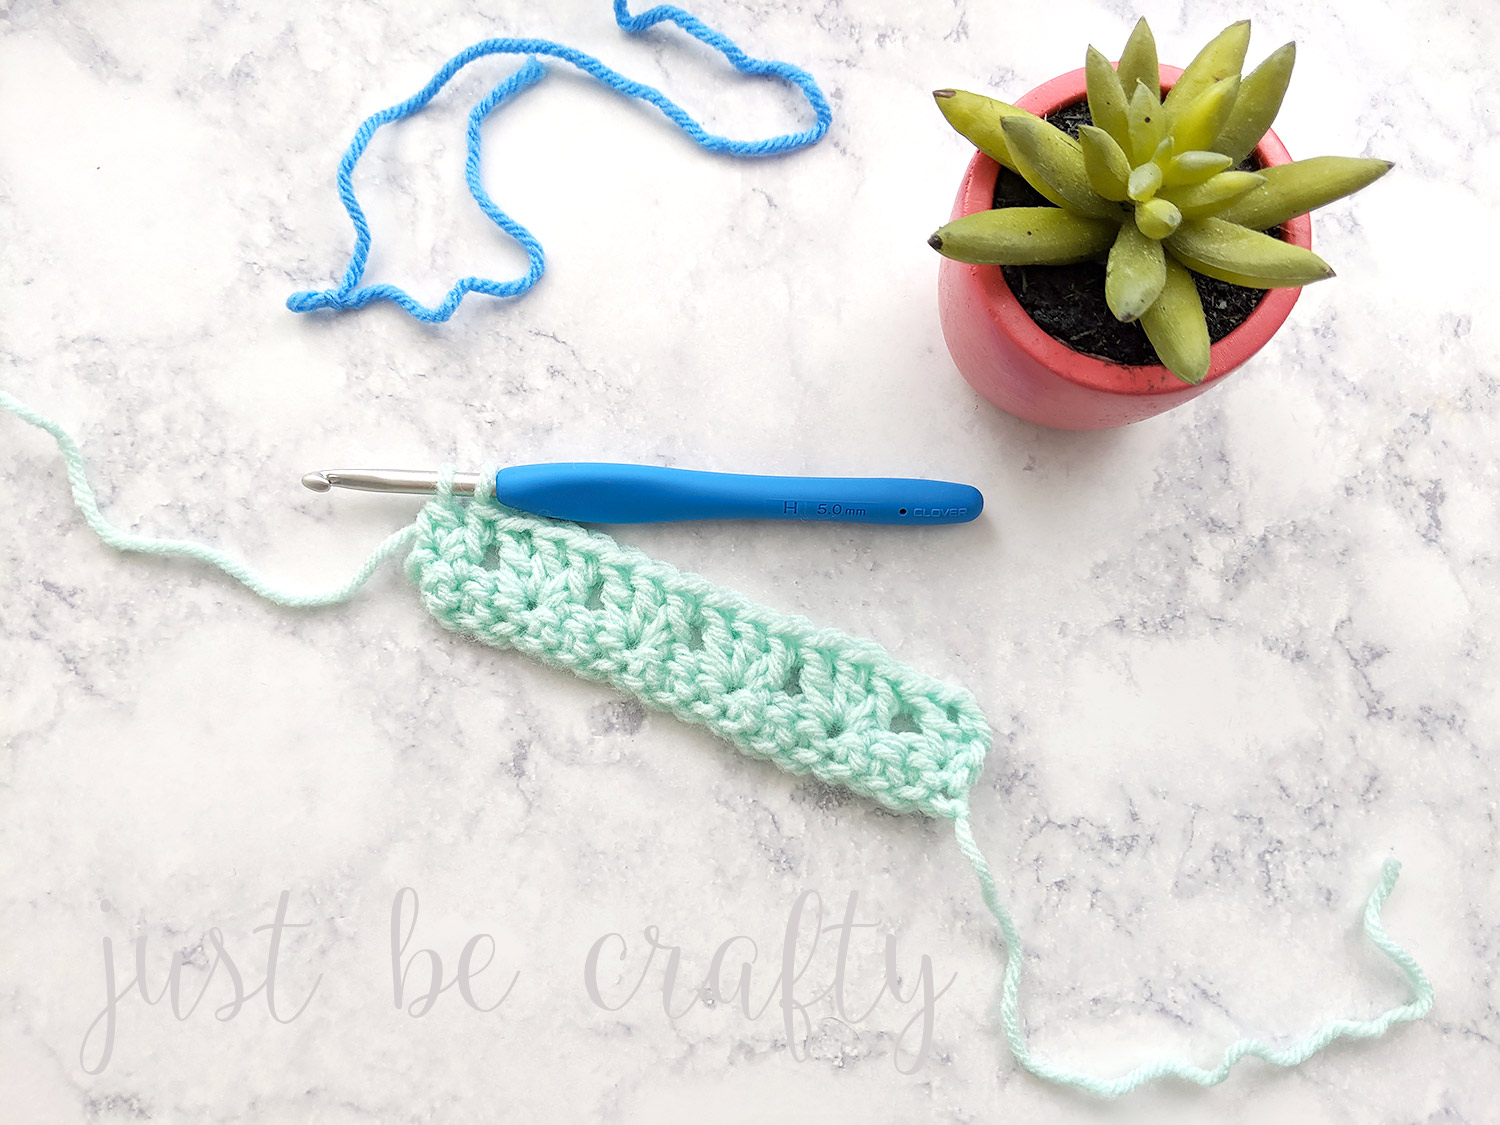
Step 1: Make a foundation chain with a multiple of 3 plus 2. For this example ch 17 (my multiple of 3 is 15, plus an additional 2)

Step 2: Starting in 2nd ch from hook, sc across the row. Turn.

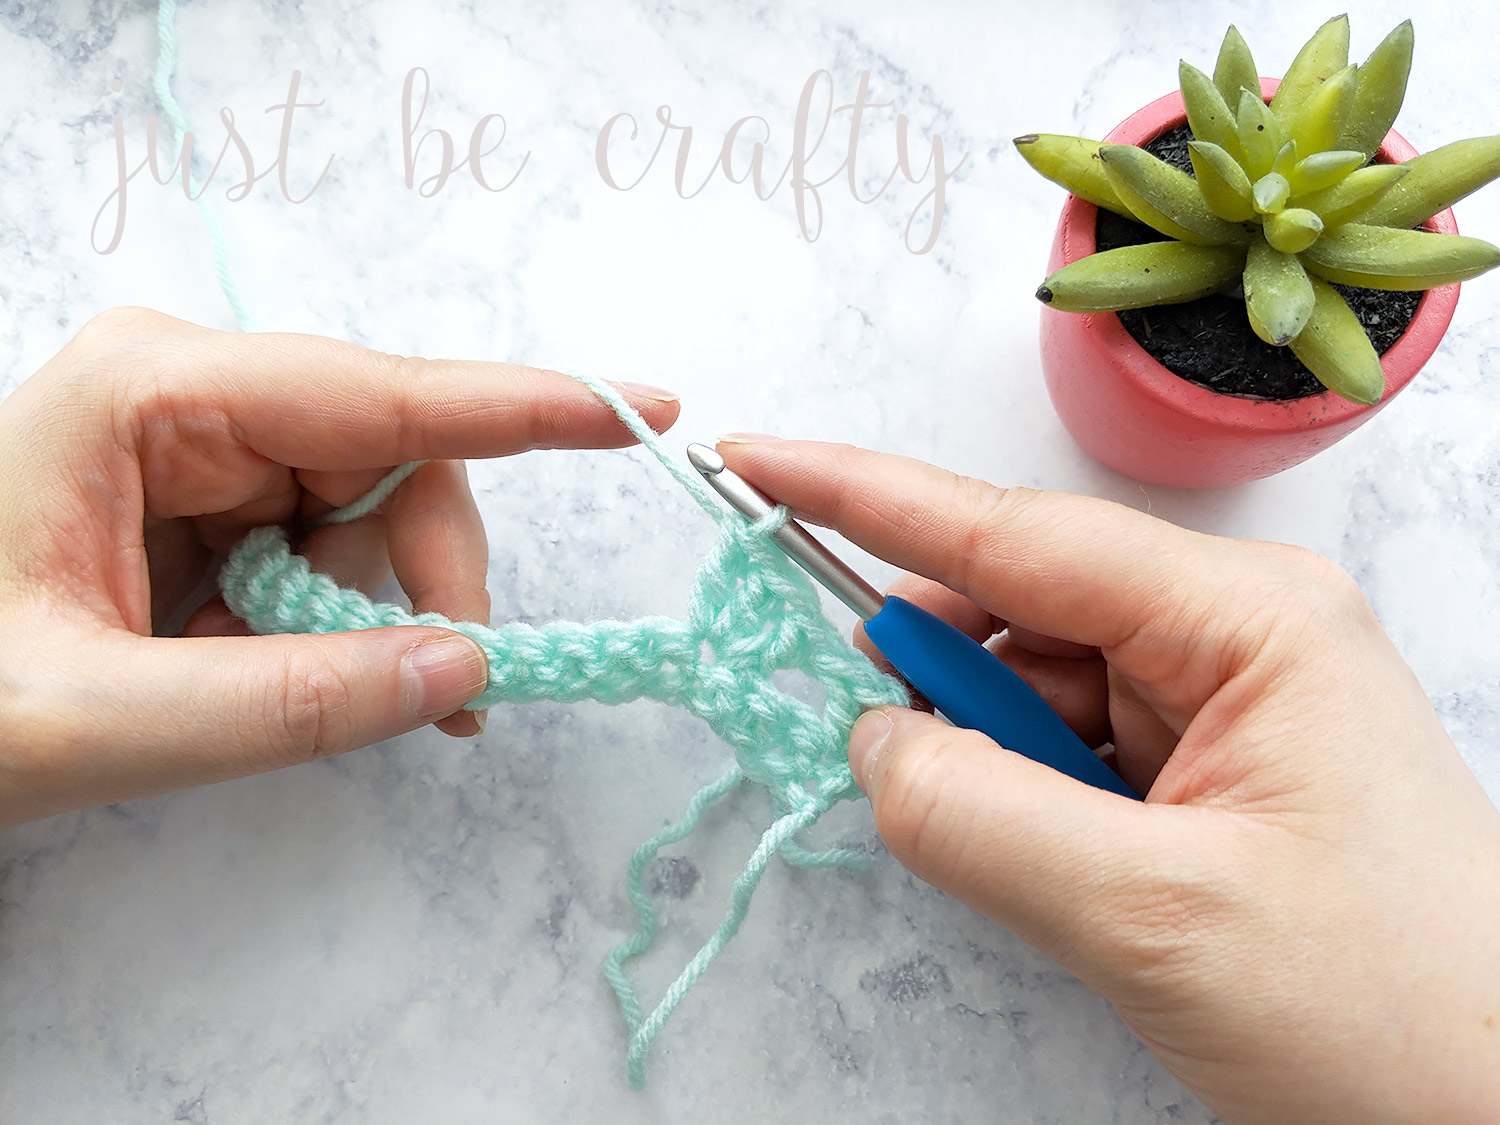
Step 3: ch 3
Step 4: Make a dc in the 1st stitch

Step 5: *Skip 2 stitches, make 3 dc in next stitch; repeat from * until you reach your last 3 stitches
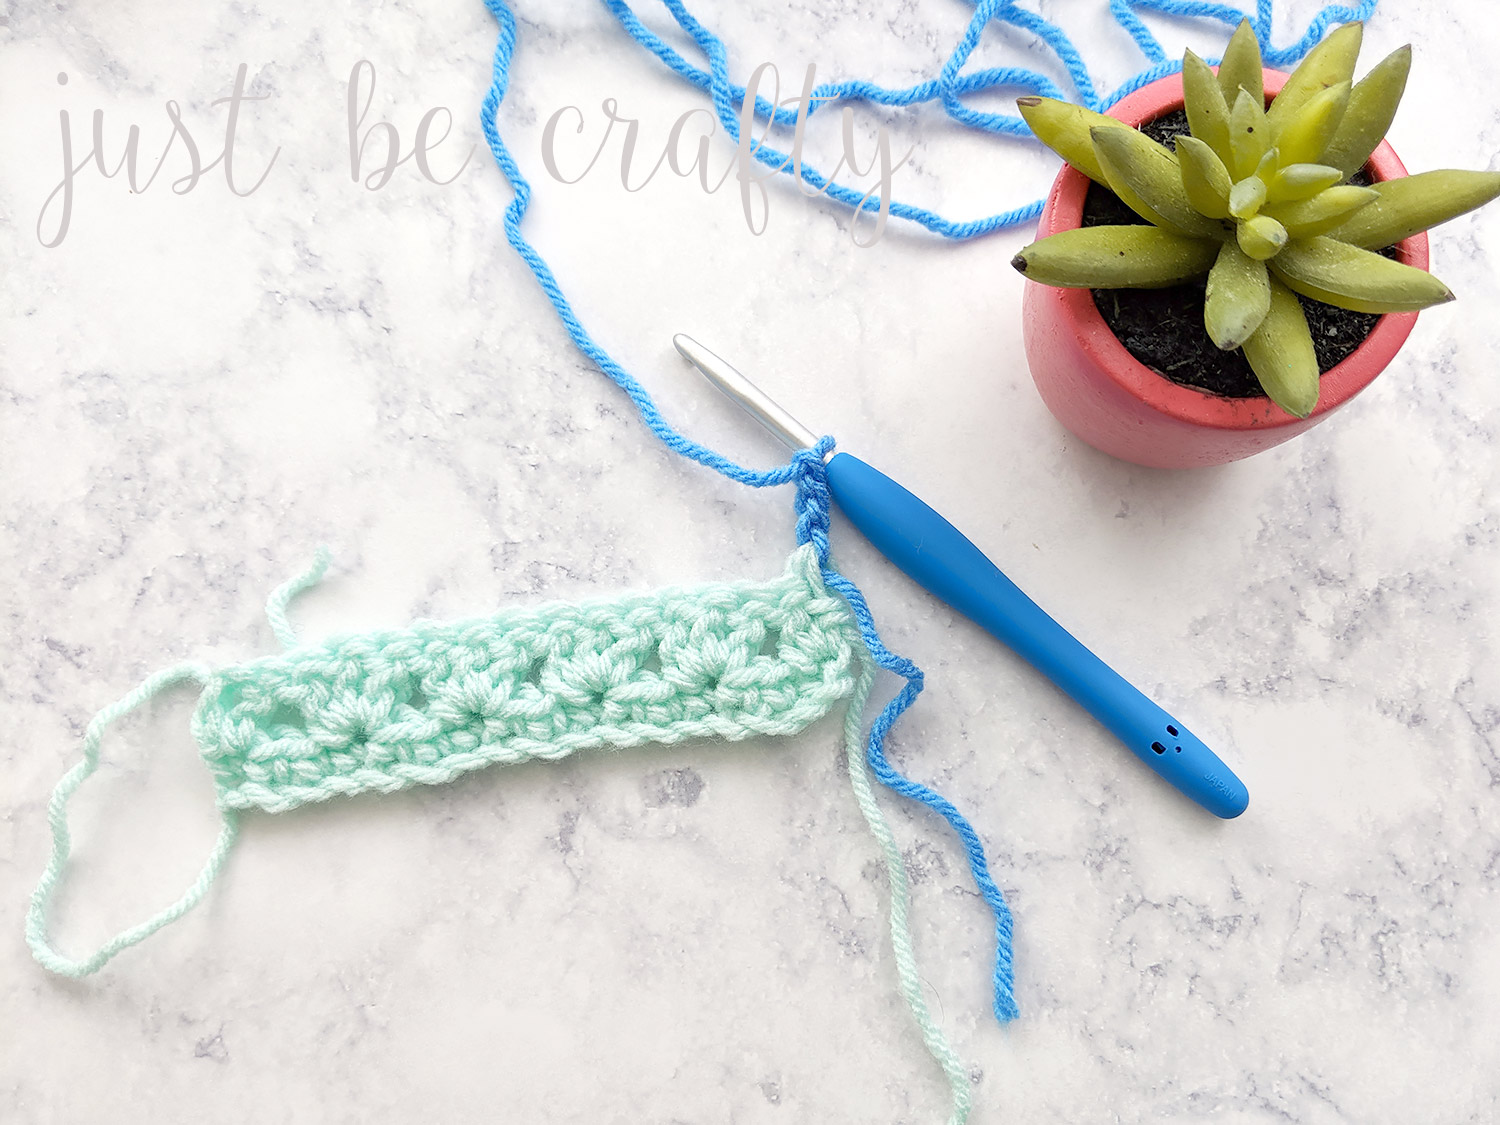
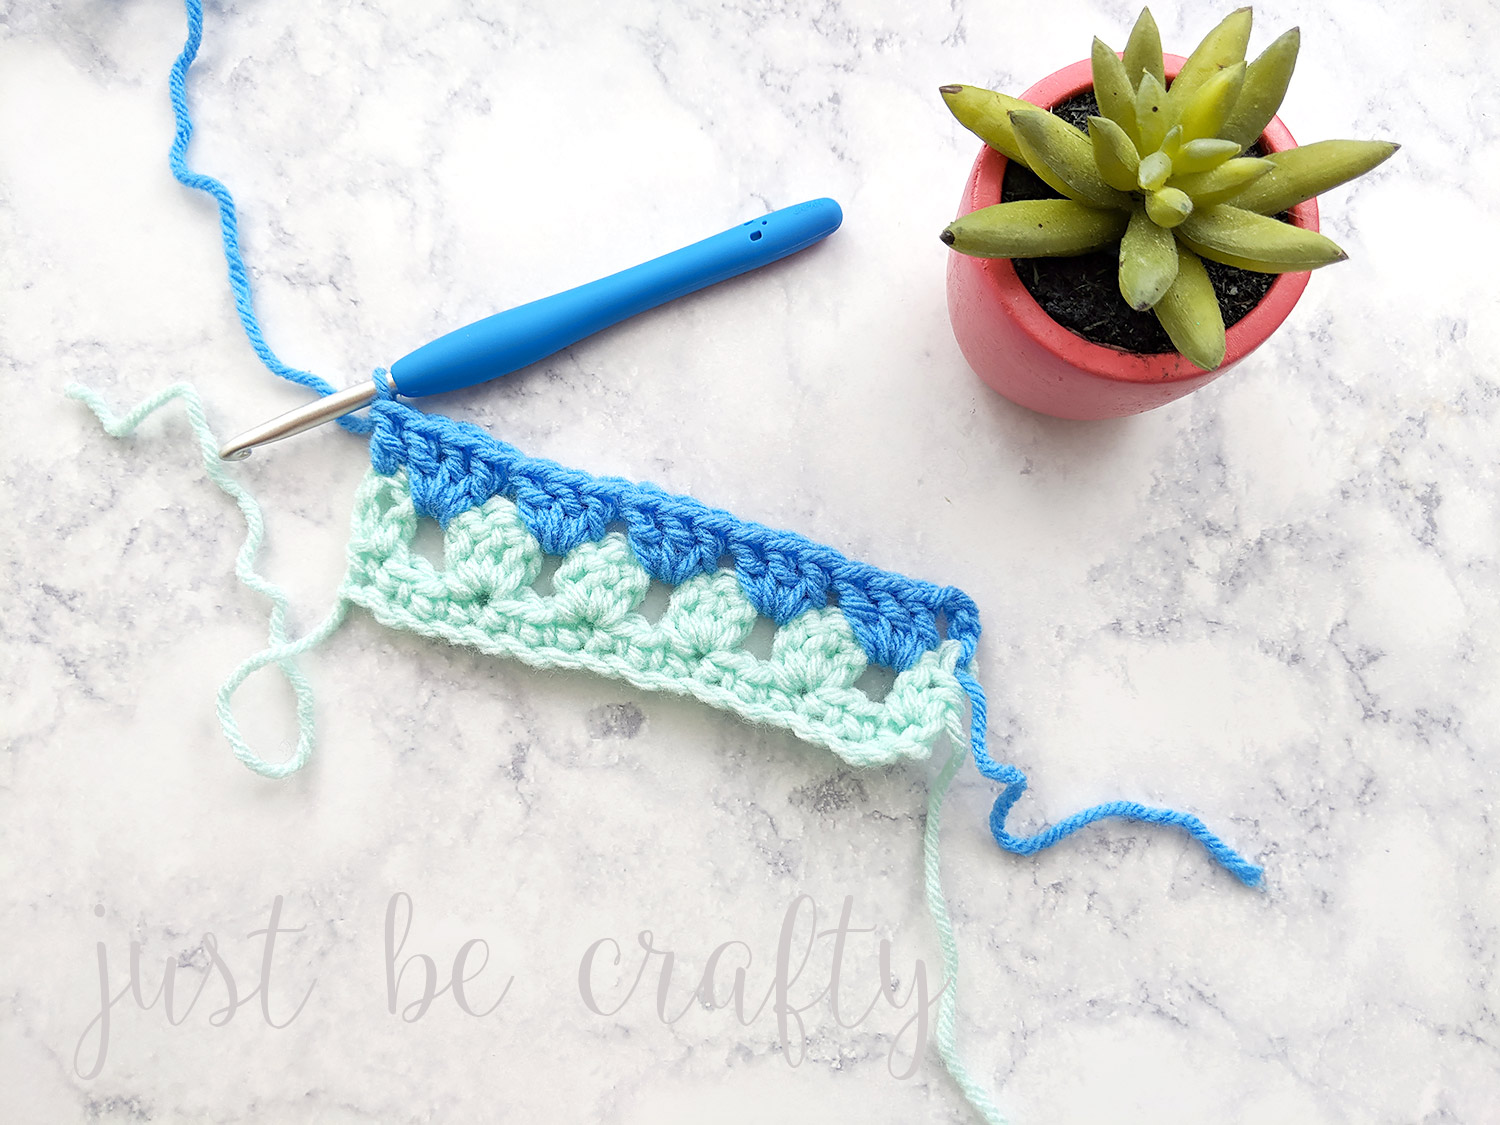
Step 6: Skip 2 stitches, make 2 dc in the last stitch, but stop before completing the last yarn over on your last dc. Complete last yarn over with your new color. Cut old color and turn.
Step 7: ch 3
Step 8: Make 3 dc in the next cluster space
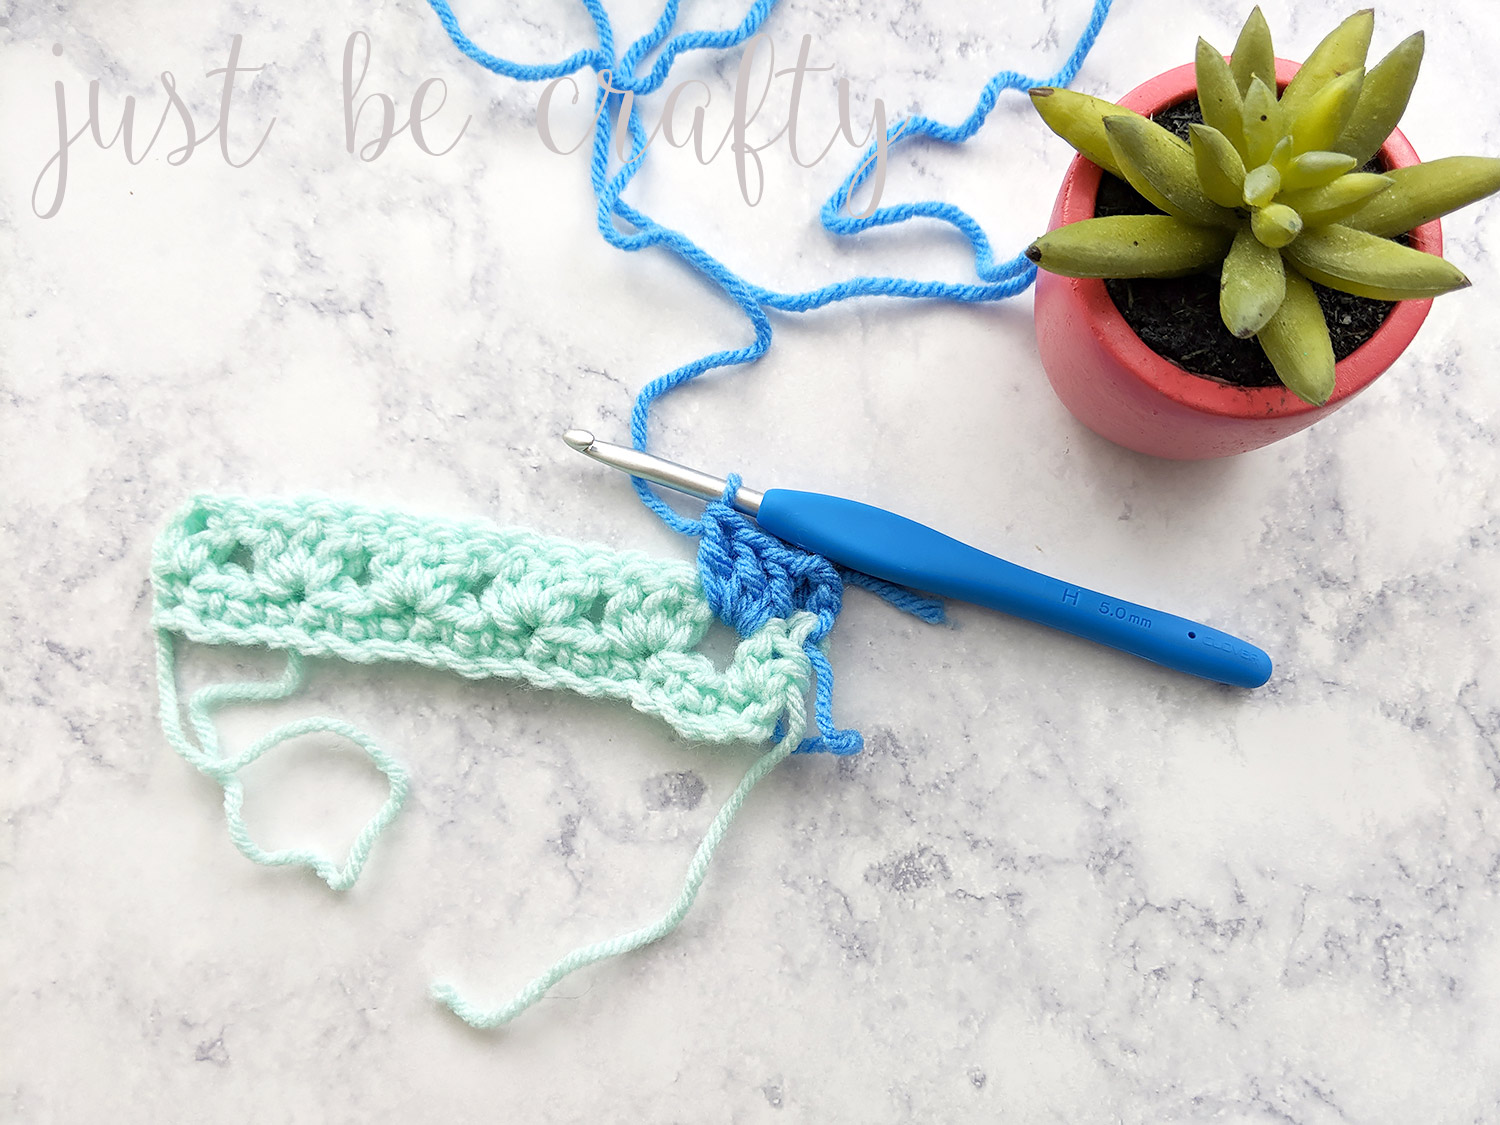
Step 9: Make 3 dc in each cluster sp across the row
Step 10: make a dc in the top of your turning chain from the previous row. Change color using same technique referenced above. Turn.
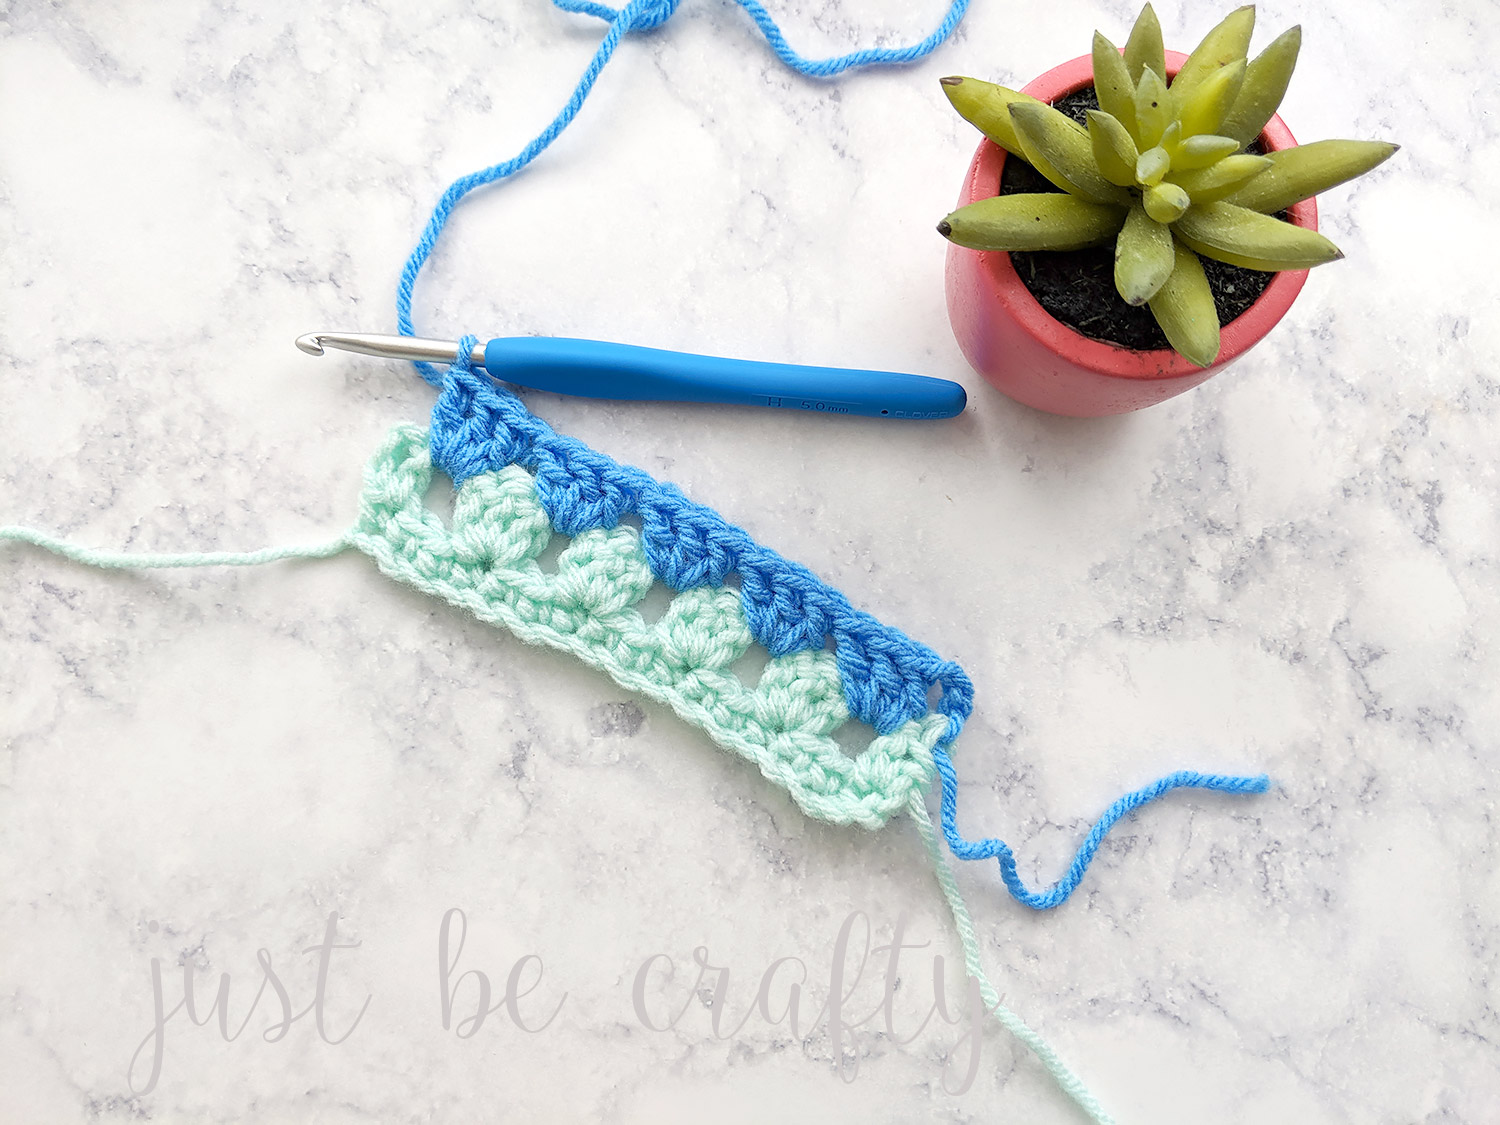
Step 11: ch 3

Step 12: Make a dc in sp between your last dc and cluster from prev row
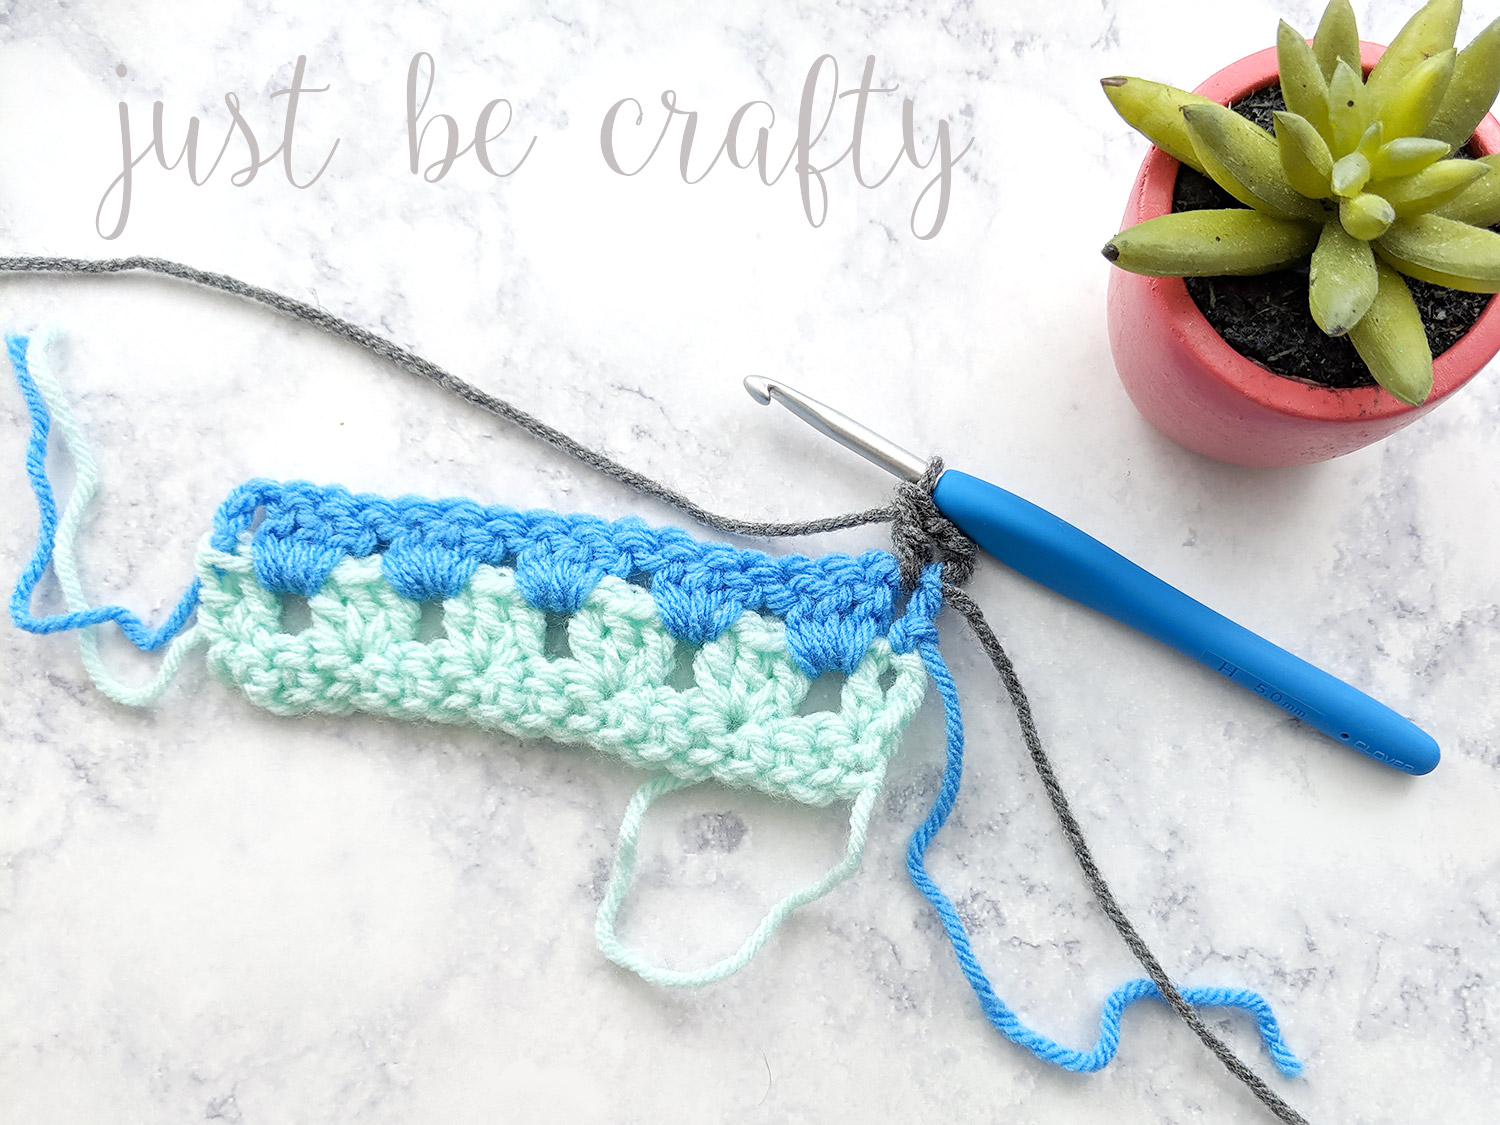
Step 13: Make 3 dc in next cluster space
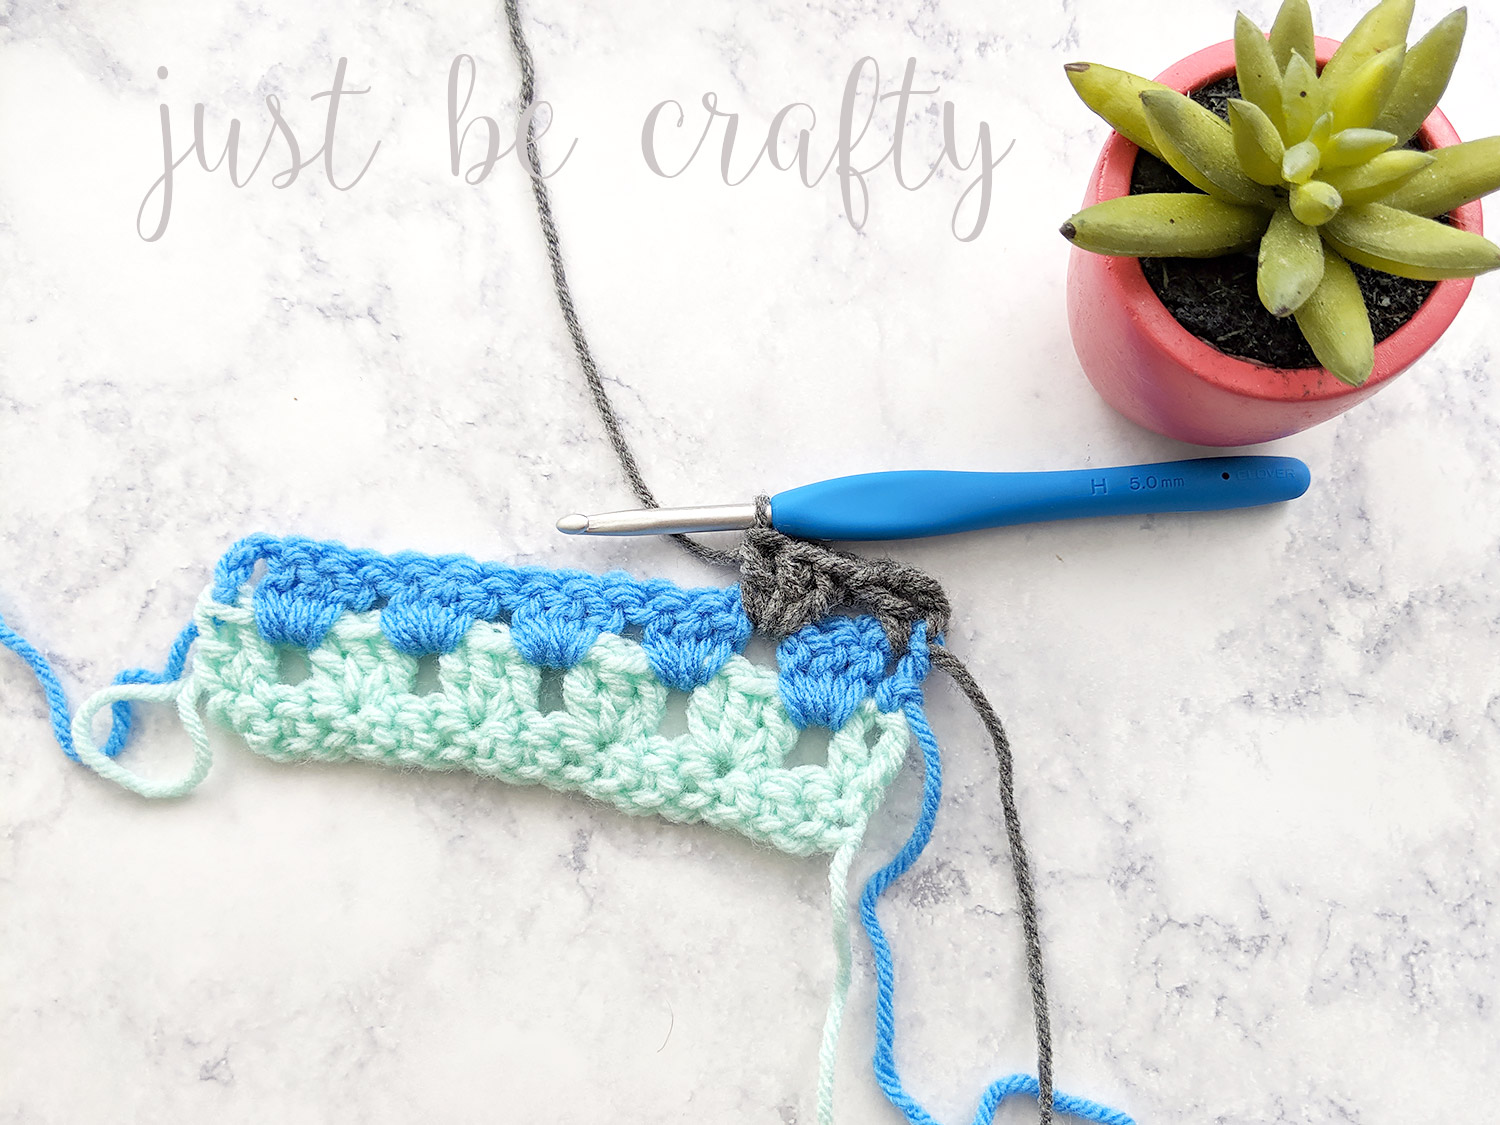
Step 14: make 3 dc in each cluster sp across row
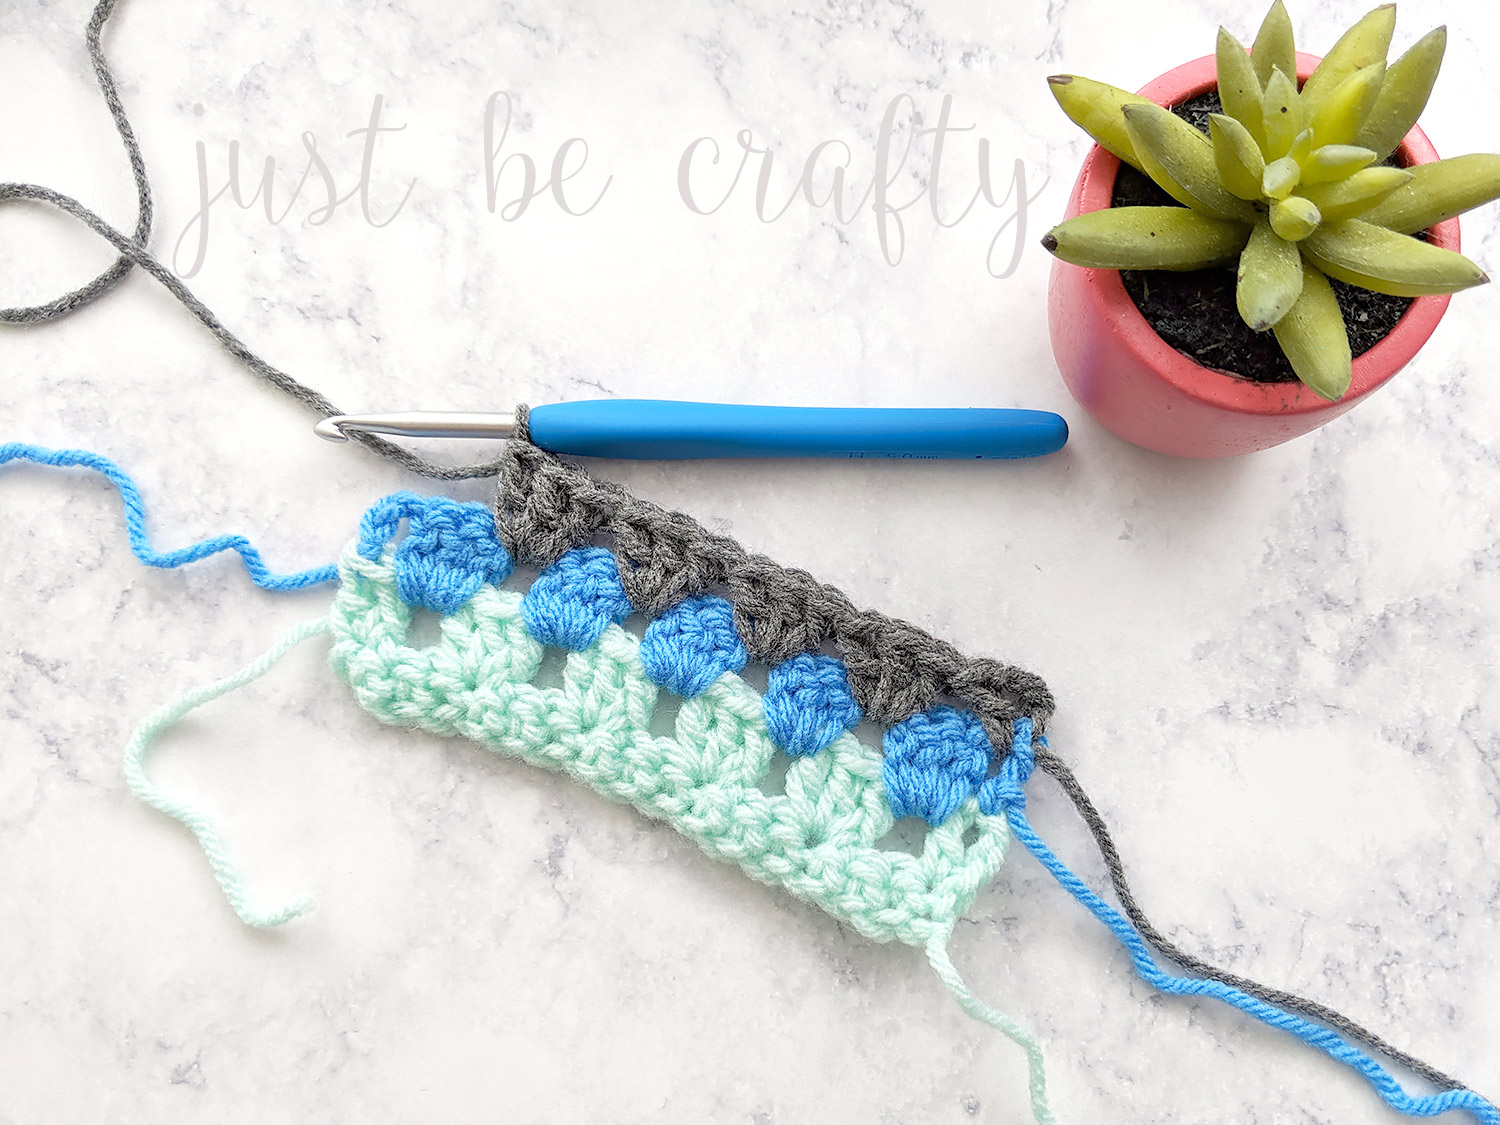
Step 15: Make 2 dc in space between the starting ch 3 and 1st cluster from prev row; turn.
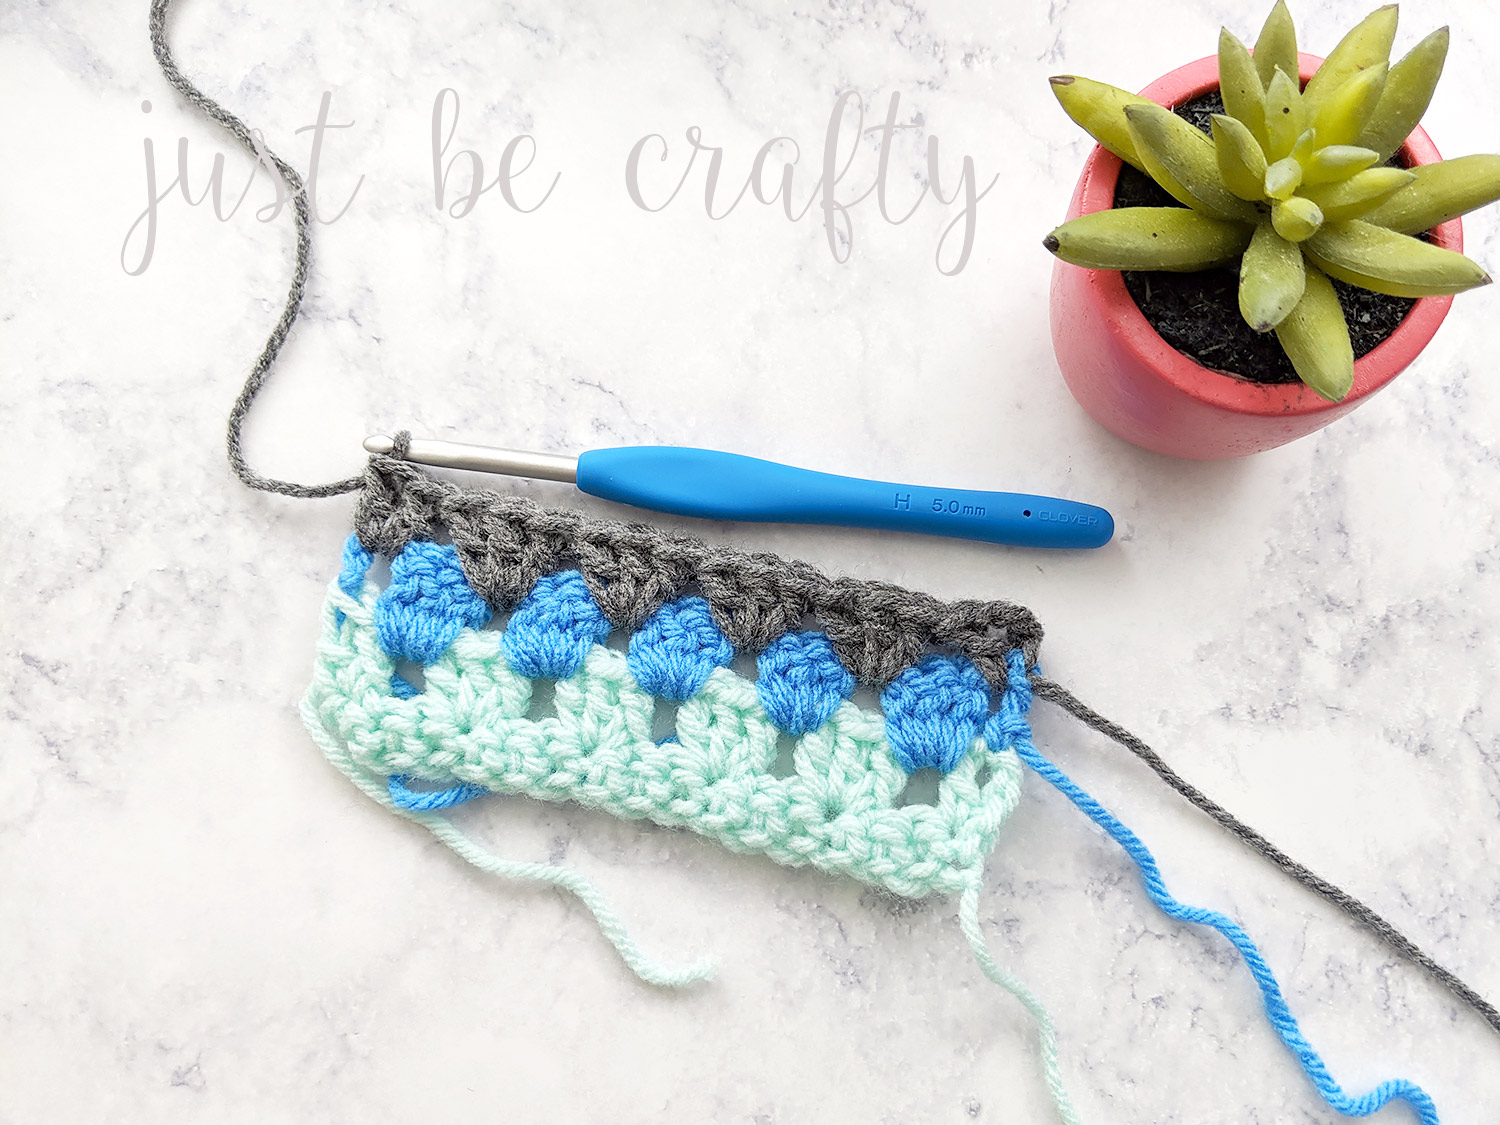
Repeat Steps 7 – 15 until you reach your desired length!
Weave in all ends.
Enjoy!


Hi I like to work the granny sqs made many things would sure like the pattern for the that was on justbcrafty I think those would make nice gifts. Only the pattern was on lmy screen but NO way to print it. Ihope someone can help this old lady raba63@aol.com Thanks Barb