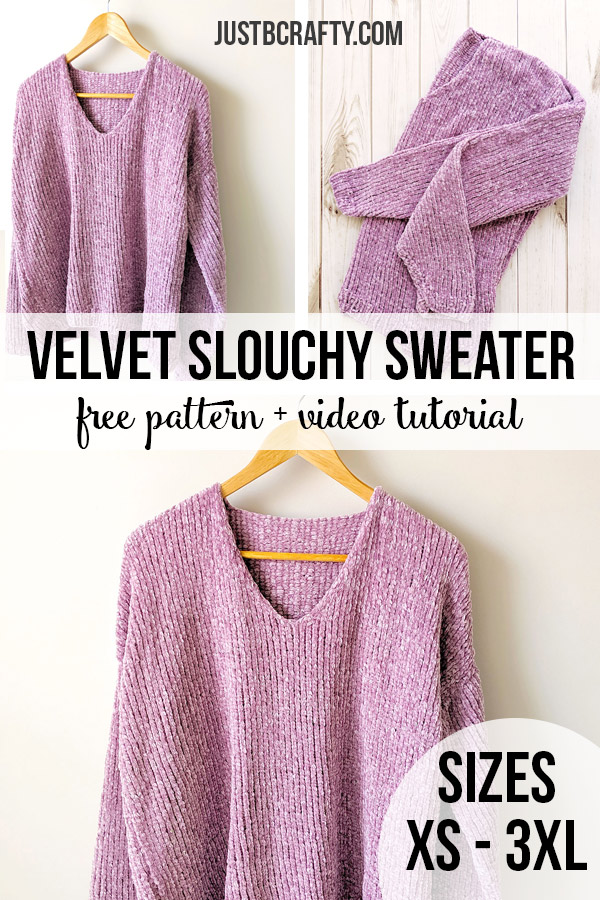
This post is Part 3 of a three part series on how to make the Velvet Slouchy V-Neck Knit Sweater. In Part 3 we cover how to assemble everything together. The ad-free printable version of the complete pattern is available for here.
Today’s post is Part 3 of the Velvet Slouchy V-Neck Knit Sweater pattern and covers everything you need to know on assembling all the sweater pieces together. To continue on with the tutorial, keep reading on below!

The pattern is broken up into parts…
This post is Part 3 of a three part series on how to make the Velvet Slouchy V-Neck Knit Sweater! I break the sweater down step by step through the written pattern and video tutorials so that we can knit along together!
Below is the breakdown of the series and what you can expect to learn in each part:
Part 1 – Making The Front and Back Panels
In Part 1 we covered the following to get you started on your Velvet Slouchy V-Neck Knit Sweater. If you missed this post, be sure to go back and check it out!
- Sizing and fit
- All the materials you will need for this project
- Written pattern for the front and back sweater panels
- Video tutorial to use as a companion to the written pattern
Part 2 – Making The Sleeves
In Part 2 we covered the following on how to make the sleeves. If you missed it, be sure to check out that post at the link below.
- Video tutorial on how to make the sleeves to use in companion to the written pattern
- Written pattern for the sleeves
Part 3 – Assembly
Today’s post! In this part we are going to cover everything you need to know about piecing your sweater together!
- Written pattern for assembly
- Video tutorial on how to assemble everything together
Velvet Slouchy V-Neck Knit Sweater Video Tutorial
In this video I will go over step by step how to everything together!
To view the video tutorial, click on the video play button below!
Don’t have time for this now, but want to come back to the tutorial later? I have you covered…
Click here to save on Pinterest and check out it later!
Velvet Slouchy V-Neck Knit Sweater – Written Pattern: Making the Sleeves
*This post may contain affiliate links. Please see my disclosures page for more information.
All patterns on this blog are for personal use only and may not be redistributed, copied, blogged, or sold as your own. You may sell items made by my patterns as long as the item is made by you personally (not mass produced) and that proper credit is given back to me and my site, Just Be Crafty. You may not use my photos for your online sales listings.
Sizing & Finished Measurements
SIZES: XS, (S, M, L, XL, 2XL, 3XL)
Finished Measurements (in inches)
[table id=1 /]
Sizing Notes:
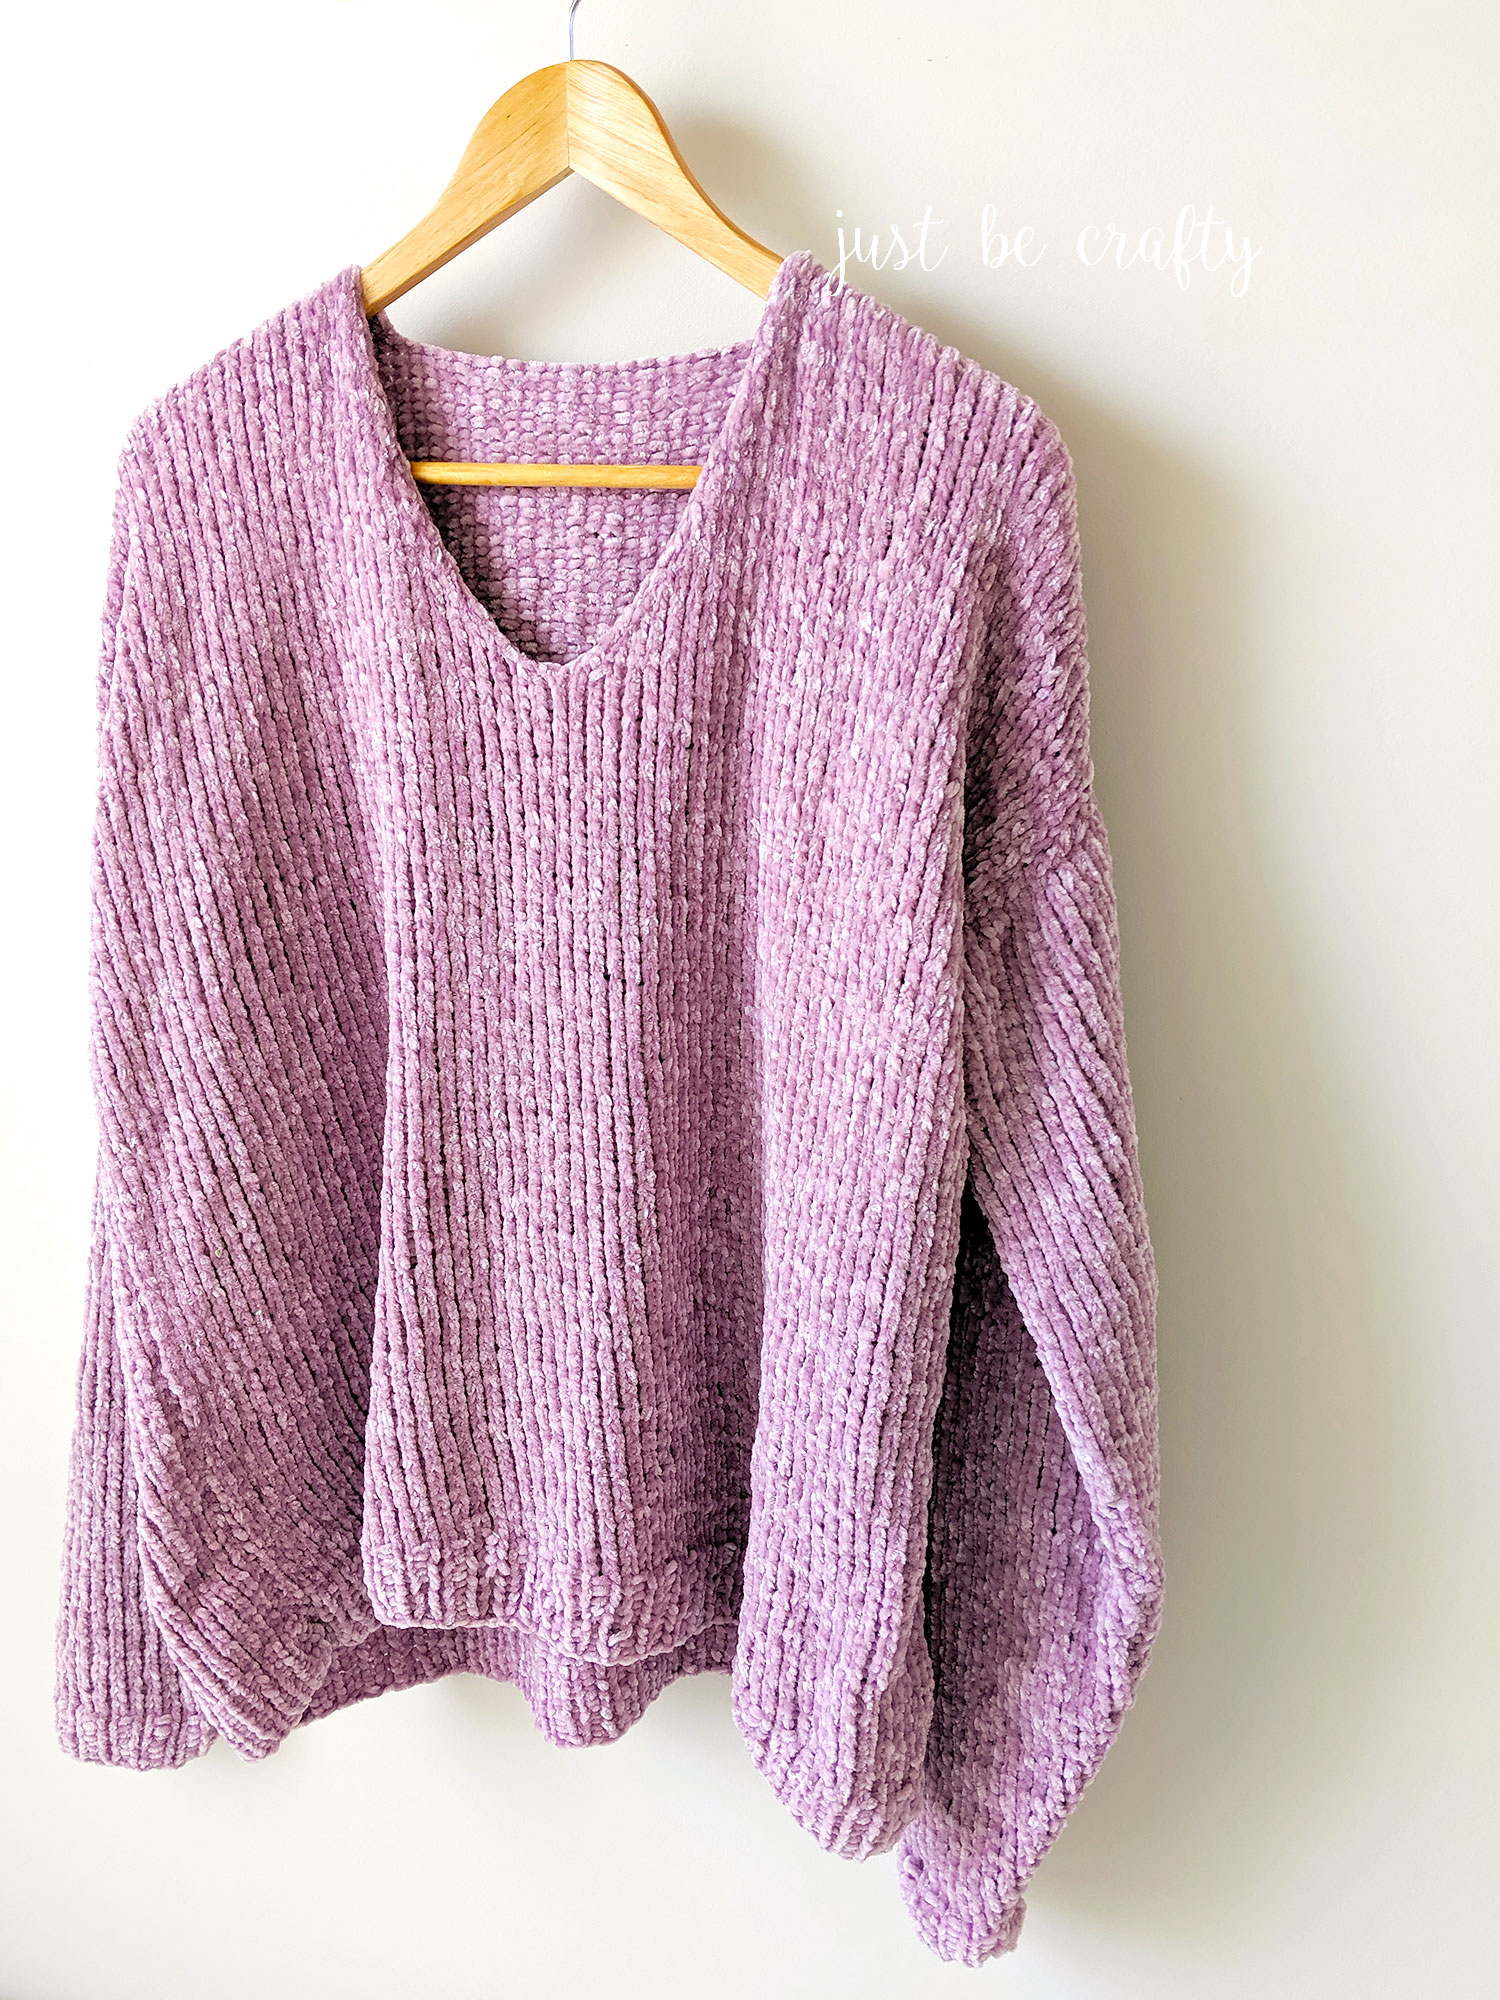
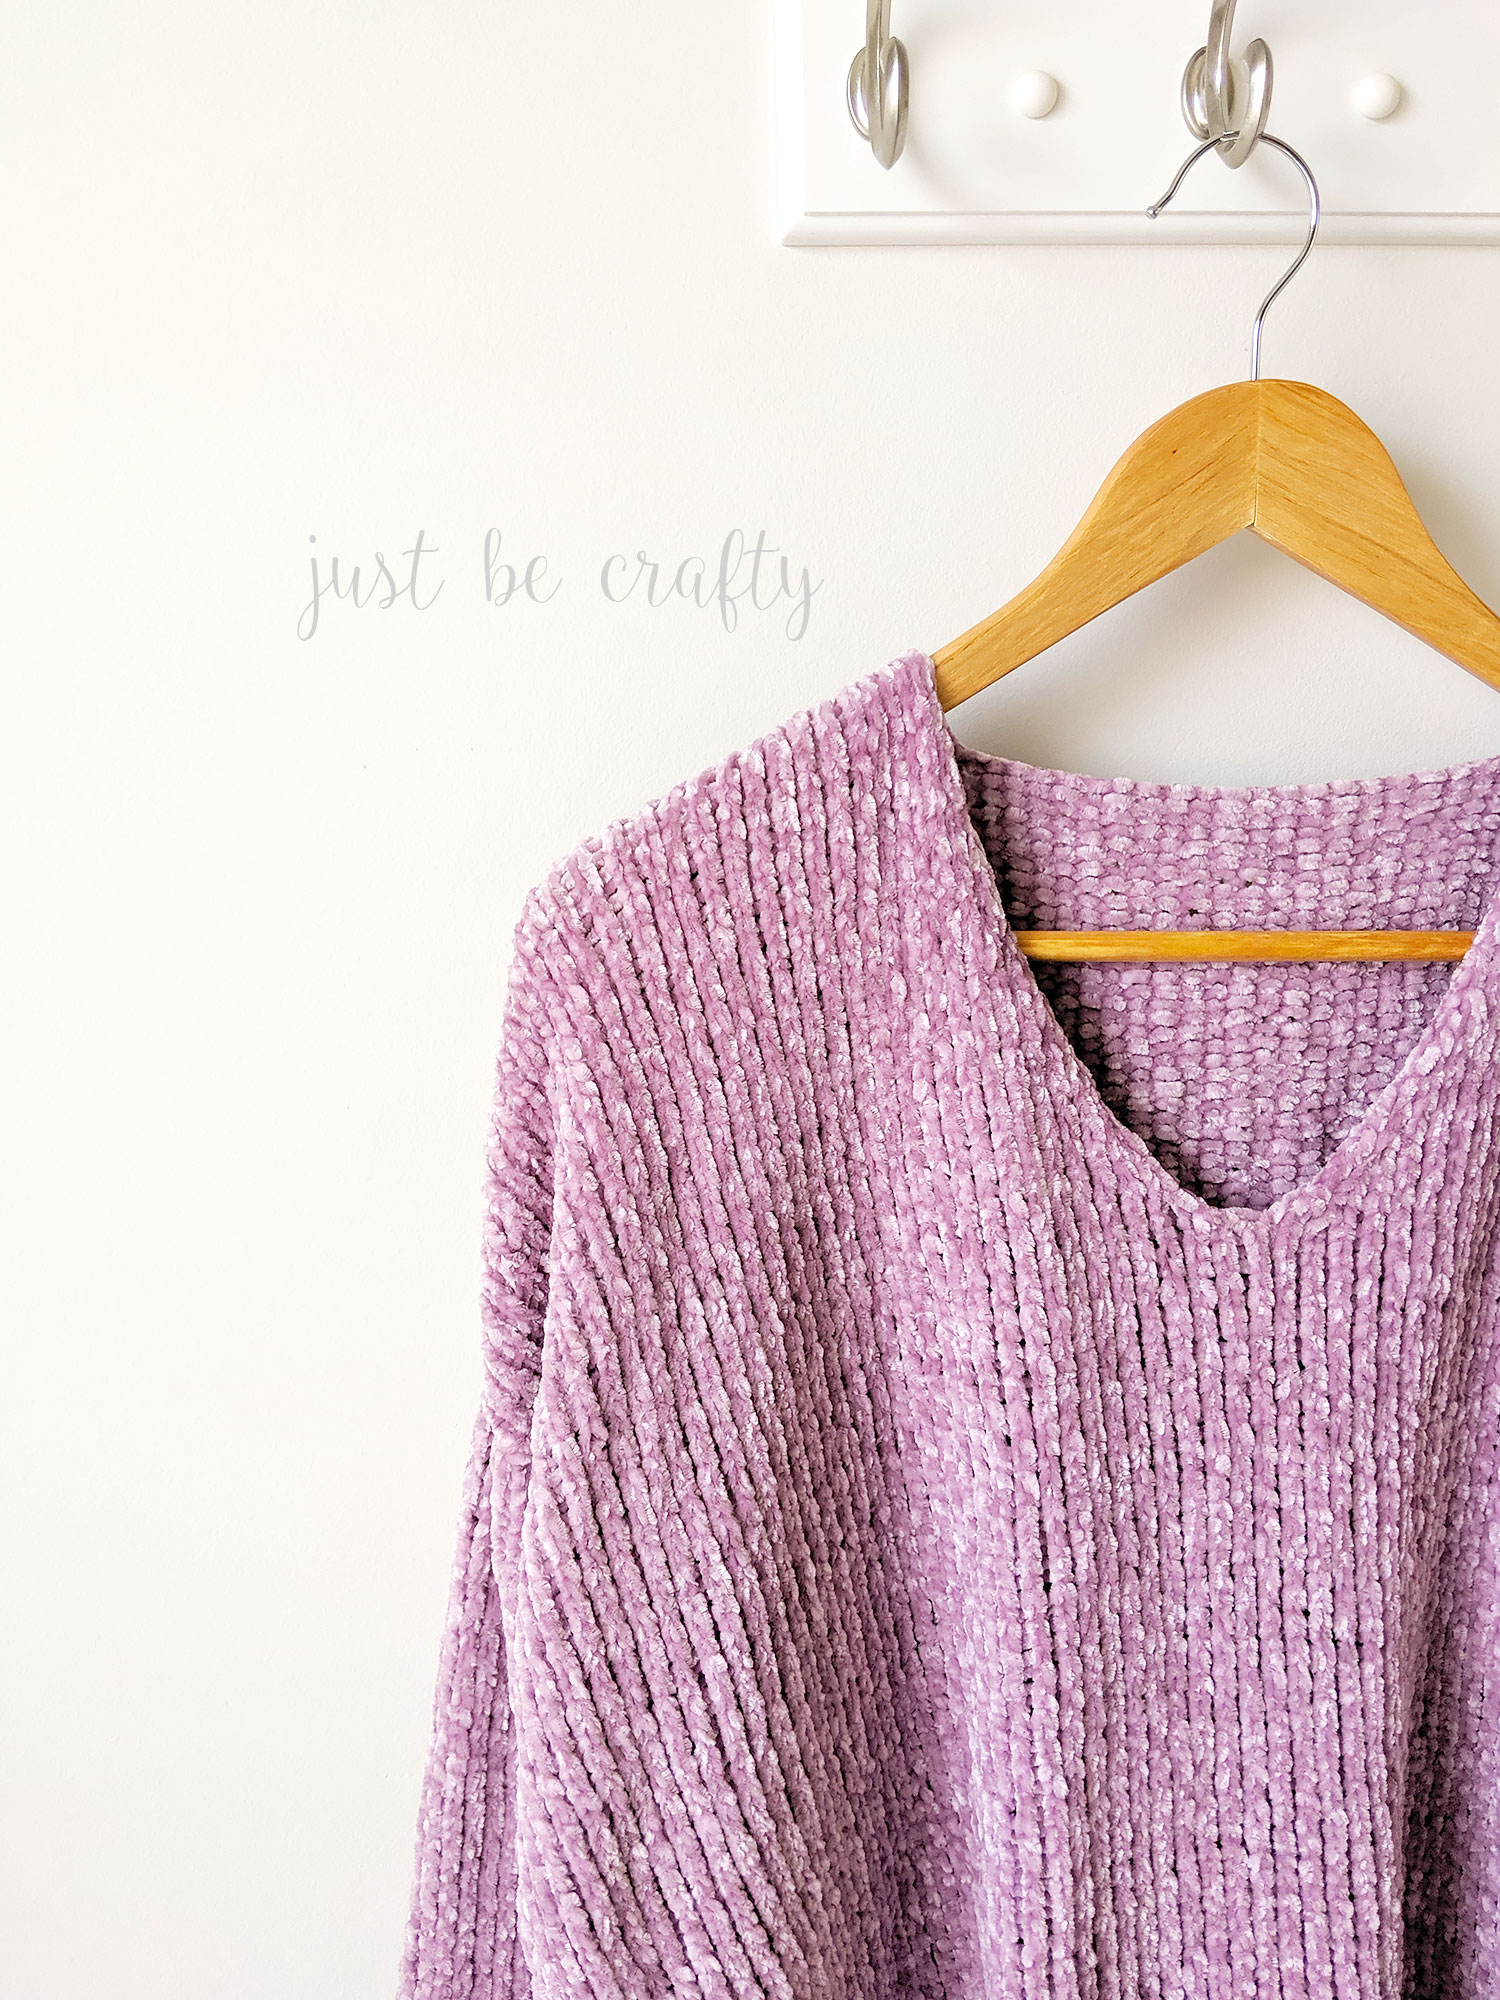
- The fit of this sweater is slouchy, relaxed and super comfy! Shoulders are drop seams and will lay past the shoulder on the arm. Arm is fitted around wrist and loosens up as it meets the shoulder.
- Sleeves are long and hang past wrist to mid hand, perfect for rolling to 3/4 length if desired.
- Size up or down depending on your preferred fit.
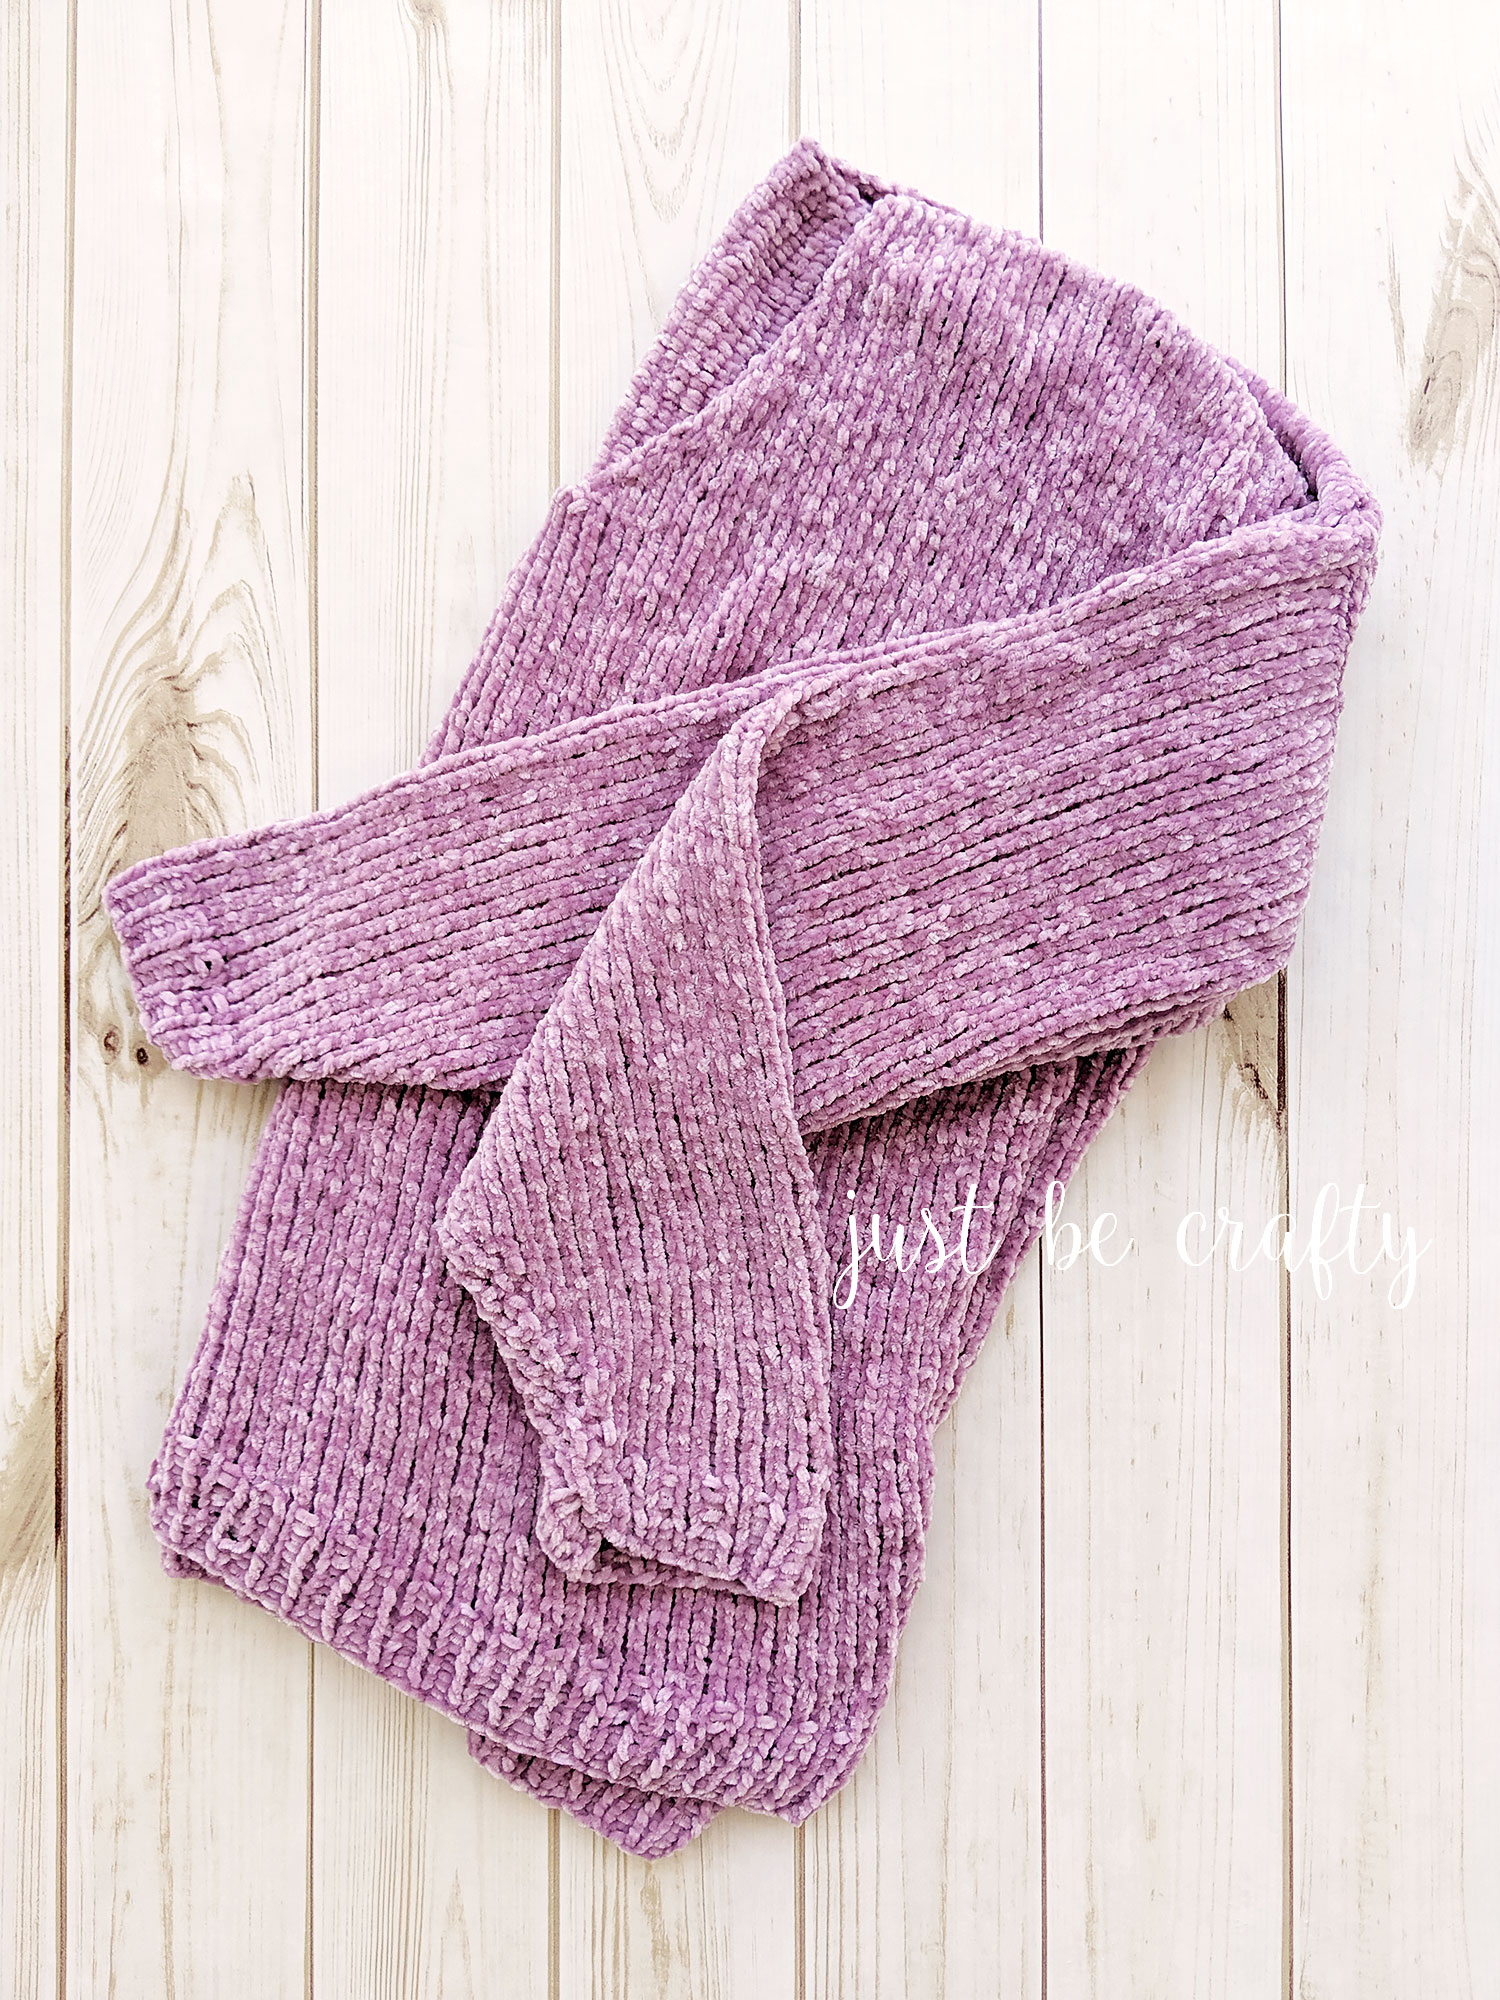
- Sweater is pictured in size XL.
- You will never want to take this sweater off!

This post may contain affiliate links. For more information please see my disclosures page.
Materials
- 29 inch circular knitting needles in US Size 7 and US Size 8
- (or grab this interchangeable set!)
- Yarn needle
- Gauge Checker
- Measuring tape
- Scissors
- Lionbrand Vel-Luxe in color Lilac, 5.3 oz / 276 yds each
- 3 (4, 4, 5, 5, 6, 7) balls
- Stitch markers
Difficulty
- Advanced beginner and higher. Click here to see all the skills you’ll need to know before tackling this project.
Gauge (after blocking)
- 13 stitches by 24 rows in Stockinette Stitch = 4 inches using US Size 8 needles
Key
- BO – bind off
- CO – cast on
- k – knit
- kfb – knit into the front and back loop increase
- p – purl
- st – stitch
The ad- free printable version of the complete pattern is available for $3.50 here.
Assembly
[The pieces]
At this point you should have all four pieces completed.

[Attaching The Front & Back Panels]
Grab back panel and lay flat in front of you with right side facing up and ribbing positioned towards the bottom.
Grab front panel with wrong side face up (ribbing towards the bottom) and position on top of back panel. See diagram below.
Shoulder Seam
Line up front and back panel stitches along shoulder edge. Place stitch markers where red lines indicate the neck opening and top of armholes on the diagram below to hold front and back panels together.
With yarn needle and yarn, use whip stitch to seam along dotted line using diagram below for reference.
Cut and secure yarn.
Armholes & Body Edge
Using below diagram as a guide, place stitch marker 6 (6, 7, 8, 8, 9, 9) inches down (through both front and back panels) from shoulder edge. This marks your armhole opening.
Line up bottom ribbing side edges and place stitch markers to lock in place.
Body edge seams (under the armhole) will not line up exactly as front panel is slightly shorter than the back panel.
With that said, as you stitch this portion you will want to skip a stitch or two back panel stitches for every stitch you sew through the front panel.
Ribbing stitches should be lined up stitch for stitch.
Using yarn needle and yarn, whip stitch body edge seams together along dotted lines as indicated below.
Cut and secure yarn.

[Seaming The Sleeves]
Grab your sleeve and place it in front of you with the right side facing up. Fold in half along dotted pink line below. The wrong side should now be facing out. Line up stitches and attach stitch markers to hold in place. Sew along black dotted line as indicated below.
Cut and secure yarn.

[Attaching Sleeve to the Armhole]
Working on one sleeve at a time, position body of sweater and sleeve as show below. Make sure the sleeve seam lines up with the sweater body seam, and take stitch markers to position in place.
With yarn needle and yarn, stitch sleeve onto the armhole using whip stitch.
Repeat for second sleeve.
Cut yarn and secure.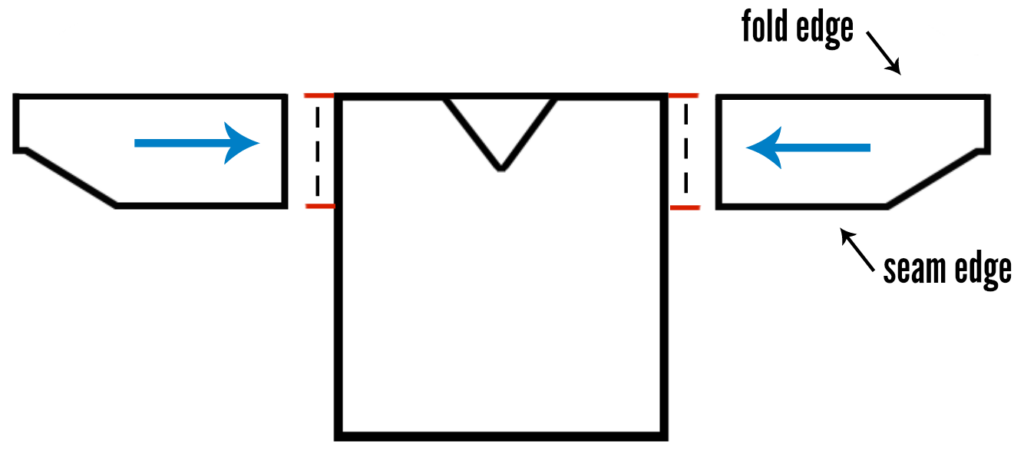
[Finishing Touches]
At this point the sweater is assembled. Weave in all ends.
Turn sweater right side out.
Block to finished measurements.

Marvel at ALL of your hard work and enjoy!