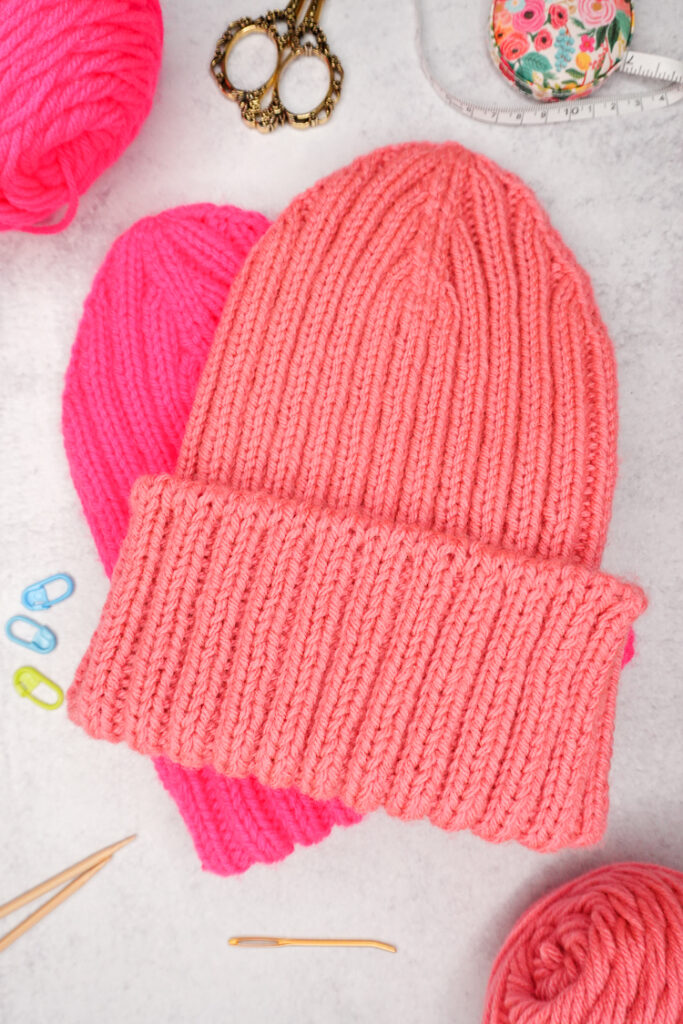
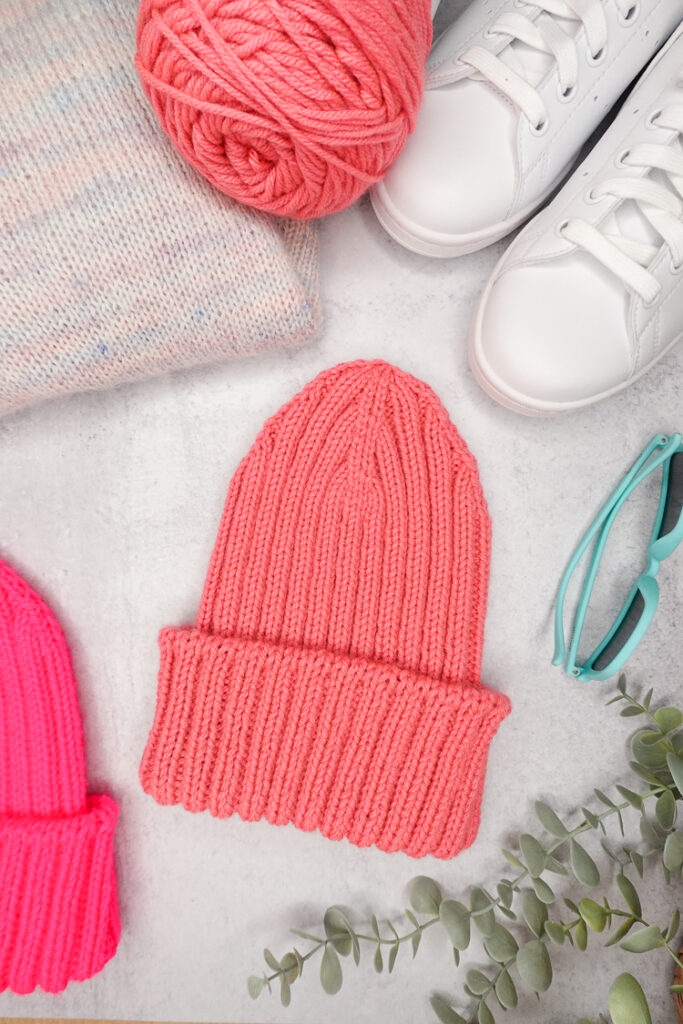
JBC Essential Hat – A beginner friendly Ribbed Knitted Hat Pattern
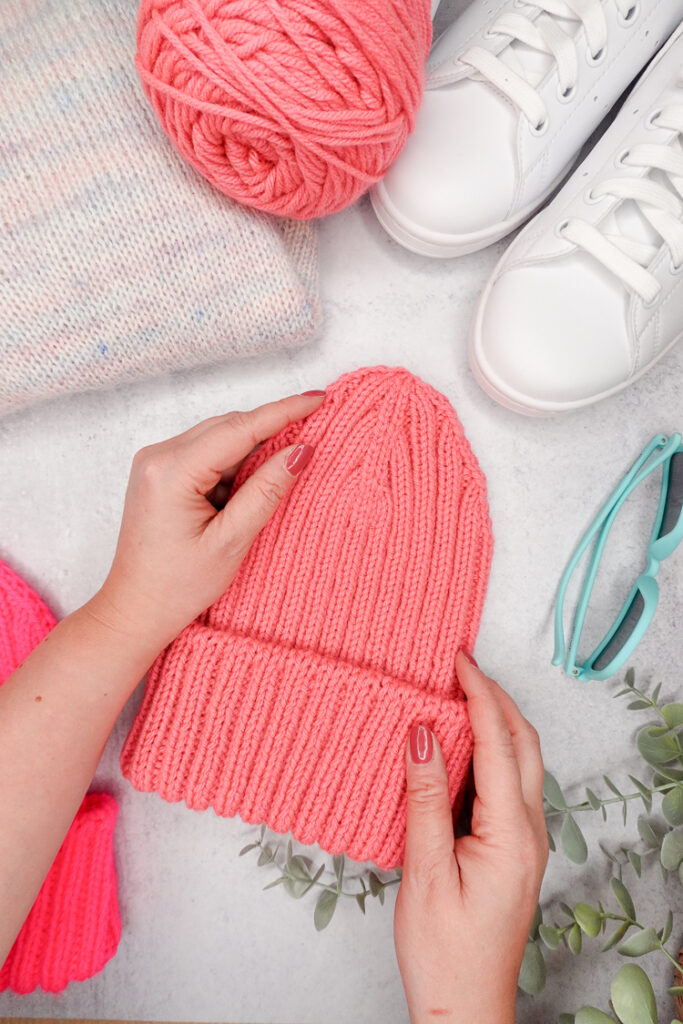
The JBC Essential Hat is a ribbed knitted hat pattern that’s super easy to knit, wear and style! Work it up in a pop of color, or in a wardrobe staple neutral to match everything in your closet. These hats work up pretty fast too, so be sure to make them in lots of different colors to suit all your daily style needs!
Why You’ll Love This Pattern:
- Skill Level: Perfect for knitters of many skill levels (determined beginner to advanced)!
- Unique Features: This hat starts off with the tubular cast on. Its a technique that will add a few extra steps, but trust me those extra steps are totally worth it! The end result of the tubular cast on edge gives you a seamless, polished look with lots of stretch
- Yarn Selection: Lastly, the JBC Essential Hat is worked with worsted weight acrylic yarn so its super affordable, but still super chic! Want to treat yourself a bit with a bougie yarn? Go for it, just make sure its another worsted weight yarn and as always make sure to check your gauge (whether you’re switching out your yarn or not).
Construction
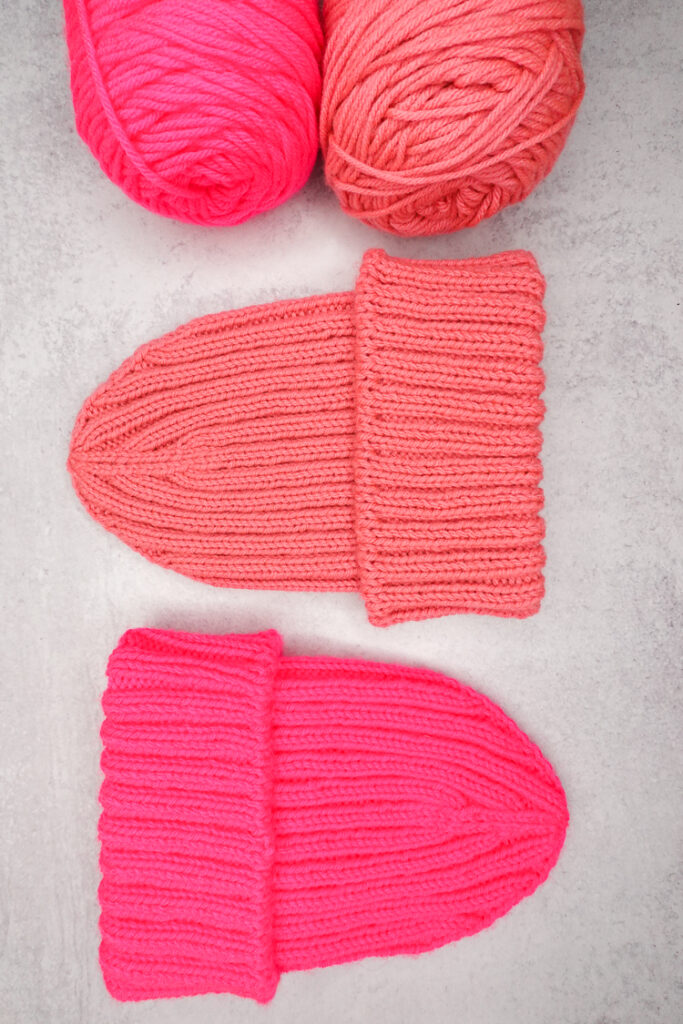
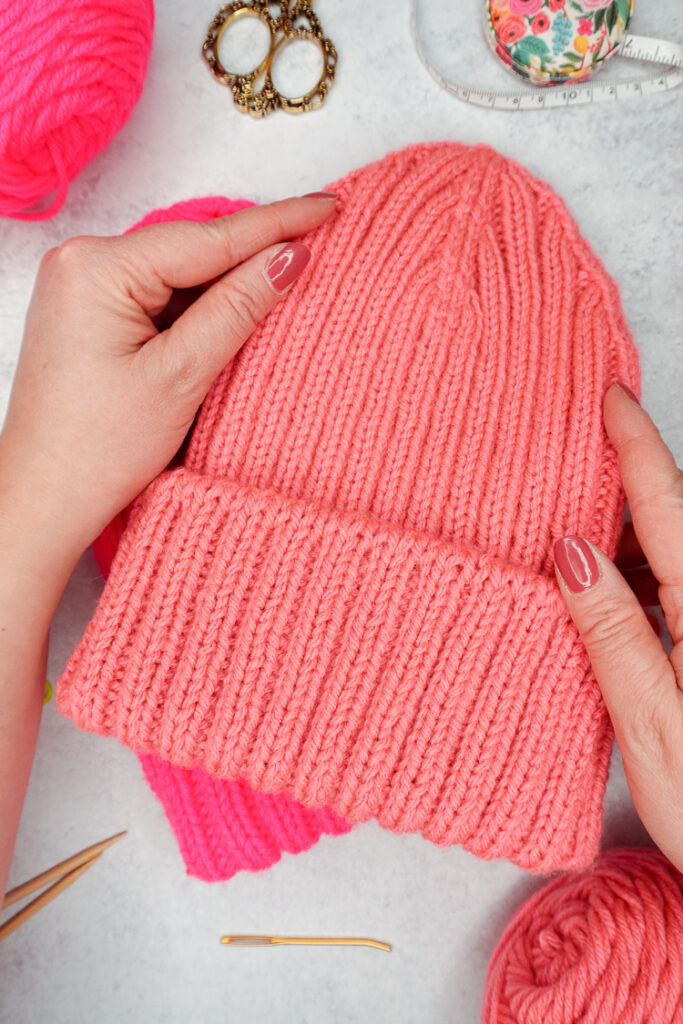
This ribbed knitted hat pattern is worked bottom up starting with the tubular cast on. The body is then worked in 2×2 ribbing in the round throughout, and incorporates decreasing stitches to shape the crown. The finished hat has an approximate 3 in. (8 cm) folded brim for a stylish finish. This pattern is written in one size due to the elastic nature of the 2×2 ribbing and fits a wide range of head sizes. The smaller the head circumference, the more slouch this hat will have.
Video Help
I’ve made video tutorials to help you with this project. Click on play below to watch the videos.
How to do the tubular cast on
The JBC Essential Hat Pattern Complete Tutorial
Purchase the ad-free printable PDF pattern here!
OR… gain instant access to this pattern PDF as well as my entire PDF pattern library! Click here for more information.
*This post may contain affiliate links. Please see my disclosures page for more information.
All patterns on this blog are for personal use only and may not be redistributed, copied, blogged, or sold as your own. You may sell items made by my patterns as long as the item is made by you personally (not mass produced) and that proper credit is given back to me and my site, Just Be Crafty. You may not use my photos for your online sales listings.
Materials
Yarn
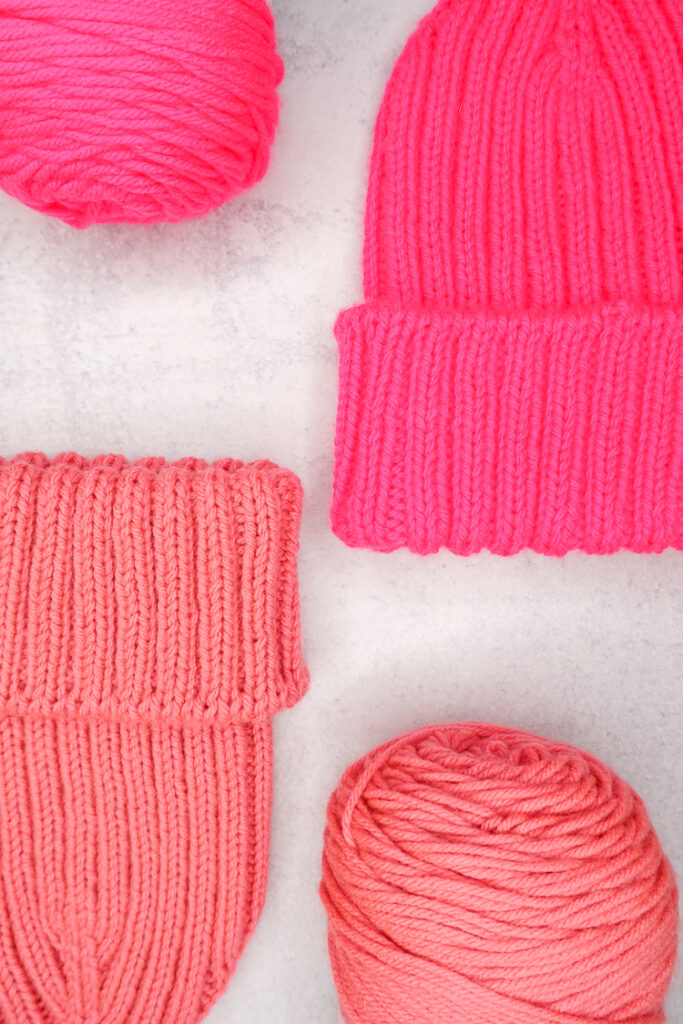
- A #4-medium (worsted) weight, 100% acrylic yarn in your favorite color (213 yds / 195 m / 95 g)
Suggested Yarn
- Big Twist Value (380 yds, 347 m, 170 g)
- 1 ball (pictured in Watermelon, and Hot Pink)
Suggested Needles
- Body of the hat: US 6 (4mm) – 16 in. (41 cm) circular needles.
- Working the crown: US 6 (4mm) – 40 in. (102 cm) circular needles for magic loop or DPNs for small circumference knitting.
- THESE NEEDLE SIZES ARE ONLY SUGGESTIONS. USE THE NEEDLE SIZE YOU NEED IN ORDER TO GET GAUGE.
Notions
Finished Measurement & Sizing
- One size [designed to fit a 18 in. – 22 in. (46 cm – 56 cm) head circumference]
- This hat has a lot of stretch
- Finished measurement is about 6 in. wide x 9.5 in. long (15 cm wide x 24 cm long) when flat and with brim folded.
Gauge
- 30 st & 26 rows in 2×2 ribbing = approximately 4 in. (10 cm)
- BE SURE TO CHECK YOUR GAUGE.
Abbreviations (US Terms)
- BOR beginning of round
- CO cast on
- k knit
- k2tog knit two stitches together (decrease)
- m marker
- p purl
- pm place marker
- RS right side (front of work)
- ssk slip slip knit
- sl slip
- st stitch
- WS wrong side (inside or back of work)
Notes
- Tubular Cast On: I’ve included video instruction on how to do the tubular cast on in the hat pattern video tutorial, as well as a complete separate video tutorial on this technique as well. Be sure to check these out (on page 3) to help guide you through the process. Once your stitches are casted on, you’ll complete 4 setup rows, and then join in the round before completing one last setup round. Once the setup round is complete you’ll proceed to “The Body of the Hat” instructions.
- *Please note that my “Tubular Cast On Tutorial” video instructs to rearrange your stitches from a 1×1 rib to 2×2 rib flat (before joining in the round), while the “JBC Essential Hat Tutorial” instructs to rearrange your stitches after joining in the round. You can do it either way! You’ll be seaming closed the open gap created by this cast on at the end of the project.
- Rearranging your 1×1 ribbing stitches to 2×2 ribbing: To do this, you will insert the right-hand needle into the next 2 stitches on the left-hand needle (as if to k2tog), and slip onto the right-hand needle. Insert left-hand needle into the 1st stitch on the right-hand needle from front to back and slip back onto the left-hand needle. Then, insert left-hand needle into the next stitch on the right-hand needle from front to back and slip back onto the left-hand needle. You’ve now rearranged your stitches so that the next stitch is a knit stitch, and the two following stitches are purls. Then, work a k1, p2, k1 and repeat rearrange instructions until all stitches are arranged into k2, p2.
- Blocking: To wet block, soak hat in water with a small amount of mild detergent for about 10 minutes. Gently remove hat from water bath and remove excess water (but do not wring). Lay hat between folded towels and press out remaining excess water. On blocking boards, gently shape flat to size and pin in place if desired. Let dry.
Ribbed Knitted Hat Pattern: The JBC Essential Hat Pattern – WRITTEN PATTERN STARTS HERE
Read complete pattern and NOTES before beginning.
CO 96 St using the Tubular Cast On Method. (If you prefer, the traditional long tail cast on may be used in place of the tubular cast on. Should you choose the long tail method, proceed directly with your cast on and omit the tubular setup instructions.)
Tubular Cast On Setup Rows
These setup rows will be worked flat.
Note for Setup Row 1 only: The knit stitches are oriented backwards, so you will be knitting into the back of each knit stitch for this row only. After this row, the knit stitches will be in the proper orientation.
Tubular Setup Row 1: k into the back of the first st, bring yarn to front, sl next st purlwise, bring yarn to back, *k into the back of the next st, bring yarn to front, sl next st purlwise, bring yarn to back; repeat from * to the end of the row; turn.
Tubular Setup Row 2: *k1, bring yarn to front, sl next st purlwise, bring yarn to back; repeat from * to end of row; turn.
Setup Rows 3-4: Repeat Setup Row 2.
Join in the round, place a BOR marker. Replace marker at the end of each round to keep your place.
Tubular Setup Round
Rearranging your stitches.
In this first round, you will be rearranging your stitches from a 1×1 ribbing to a 2×2 ribbing.
Rearrange Instructions: k1, insert right-hand needle into the next 2 stitches on the left-hand needle (as if to k2tog), and slip onto the right-hand needle. Insert left-hand needle into the 1st stitch on the right-hand needle from front to back and slip back onto the left-hand needle. Then, insert left-hand needle into the next stitch on the right-hand needle from front to back and slip back onto the left-hand needle.
You’ve now rearranged your stitches so that the next stitch is a knit stitch, and the two following stitches are purls.
Setup Round: K1, follow rearrange instructions, *k1, p2, k1, repeat above rearrange instructions; repeat from * to end of round.
The work should now be oriented into 2×2 ribbing.
BODY OF THE HAT
Round 1: *k2, p2; repeat from * to end of round.
Continue to work in 2×2 ribbing by repeating Round 1, replacing your BOR marker at the beginning of each round until entire piece measures about 10 in. from the cast on edge.
CROWN SHAPING
Setup for crown shaping: We will be dividing the crown into 4 equal segments. From BOR marker count over 21 st, pm, count over 24 st, pm, count over 24 st, pm, count over 24 st, pm.
Round 1 (dec round):*work in pattern to 2 st before next m, k2tog, sl marker, ssk; repeat from * 3 more times (you’ve decreased 8 st) (88)
Round 2: work in pattern
Note: As you decrease make sure to maintain the knit and purl columns (by knitting the knit stitches and purling the purl stitches). As stitches are decreased there will be times where you’ll be working several knit stitches in a row because all the purls have been decreased.
Repeat Crown Shaping Rounds 1 & 2 until 8 st remain. Your last round will be a Round 1 repeat.
FINISHING
Cut yarn leaving a long tail. Thread yarn tail through remaining 8 live stitches, pull tight to cinch top hole closed. Secure tail on the WS. Weave in ends.
Using starting yarn tail seam the brim gap created from the tubular cast on closed. Weave in any remaining ends.
Wet block, and let dry.
Fold up the brim, and enjoy!
Love this pattern?

Lovely hat and great tutorial – thank you!
As one who dislikes acrylic yarns (and I’m sure I’m not the only one), I can recommend the following, gorgeously soft 100% Merino machine-washable wool for hat making: https://www.fabulousyarn.com/malabrigo-rios.shtml – Wonderful colour selection too! I’ve made numerous hats and other items in this yarn, and is fast becoming one of my all-time favourites!
Thank you for sharing!