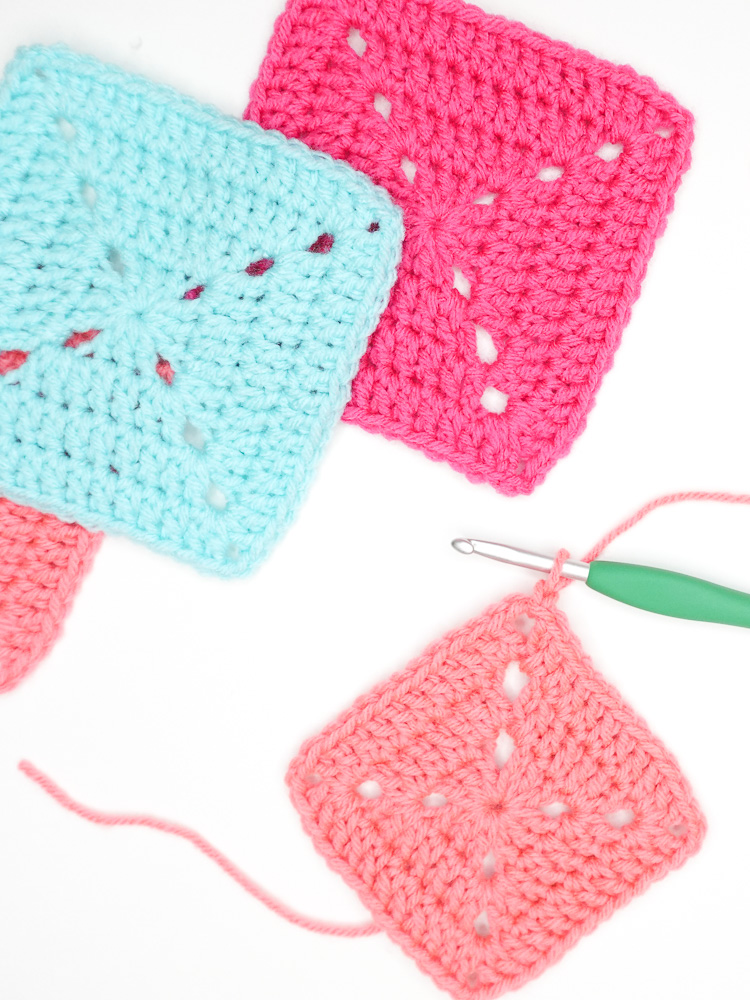
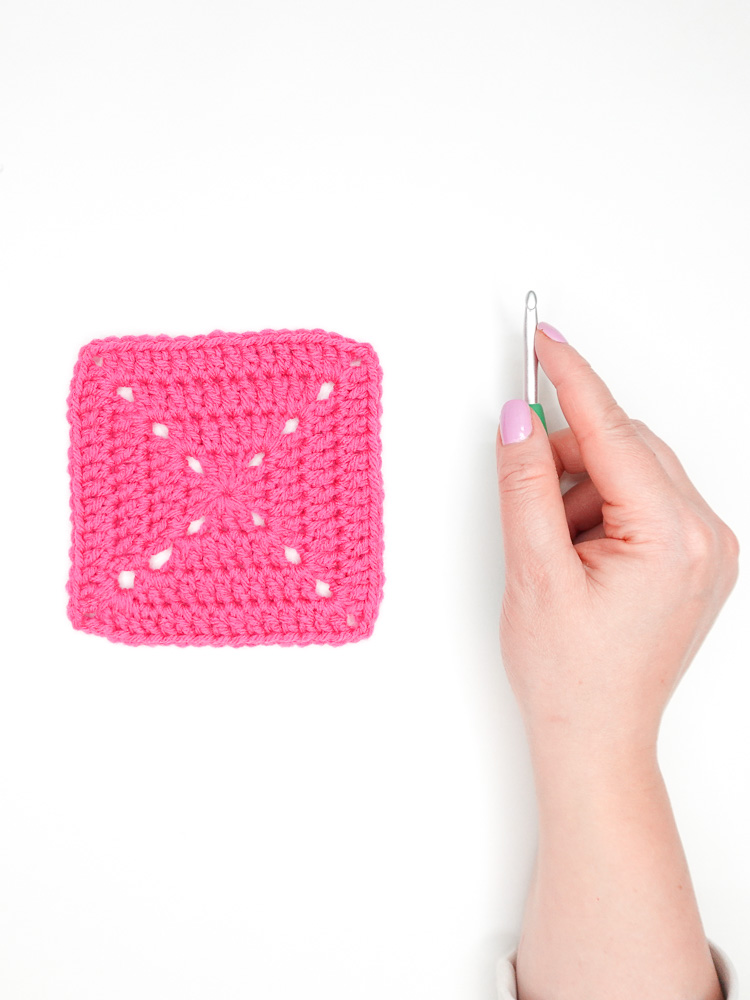
How to Crochet a Solid Granny Square: Step-by-Step Photo Tutorial
Are you ready to master the classic solid crochet granny square? In this photo tutorial, I will guide you through each step, making it easy for beginners and seasoned crocheters alike. Learn how to create this versatile square that’s perfect for blankets, bags, and more!
Video Help
Need extra guidance? Check out my video tutorial for additional help on crocheting the perfect solid granny square. Follow along with me and crochet with confidence!
*This post may contain affiliate links. Please see my disclosures page for more information.
All patterns on this blog are for personal use only and may not be redistributed, copied, blogged, or sold as your own. You may sell items made by my patterns as long as the item is made by you personally (not mass produced) and that proper credit is given back to me and my site, Just Be Crafty. You may not use my photos for your online sales listings.
Materials
- Worsted Weight Acrylic Yarn in your favorite color
- 4.0 mm hook
- Scissors
- Yarn Needle
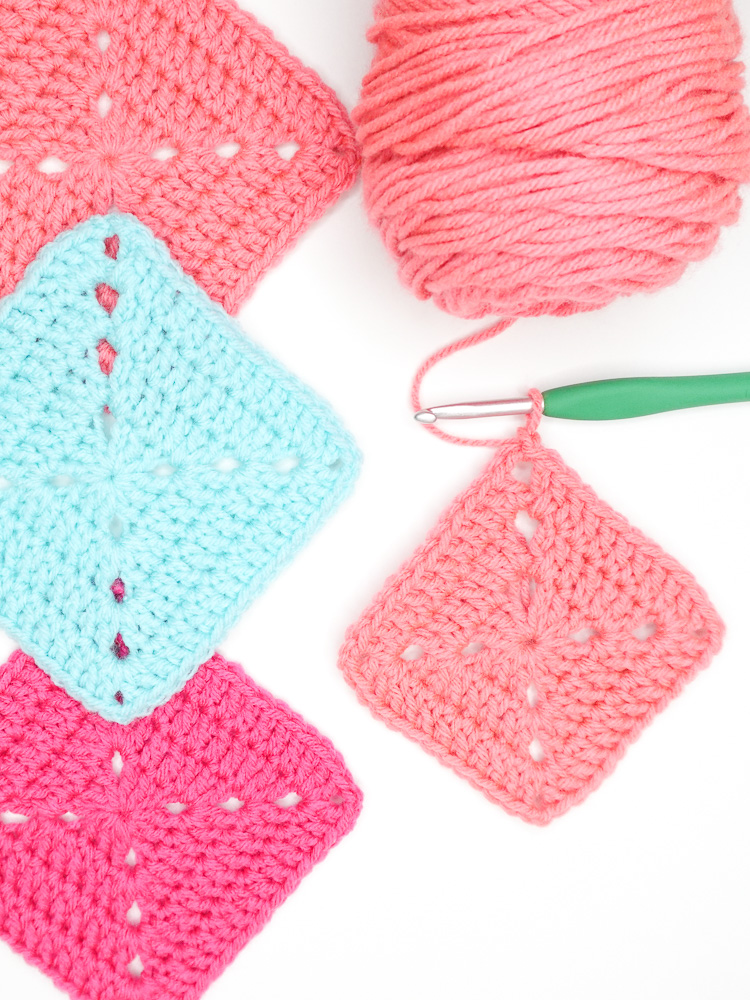
Solid Granny Square Tutorial
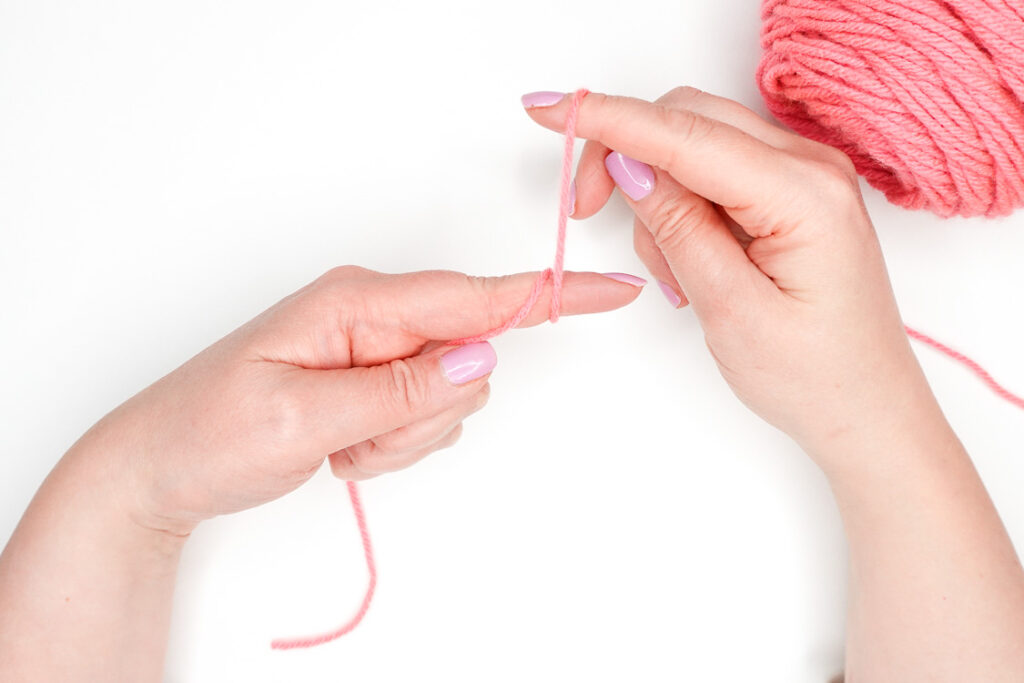
Start with a magic ring
Round 1: In magic ring, ch 5 (this ch 5 will count as a dc plus a ch 2)

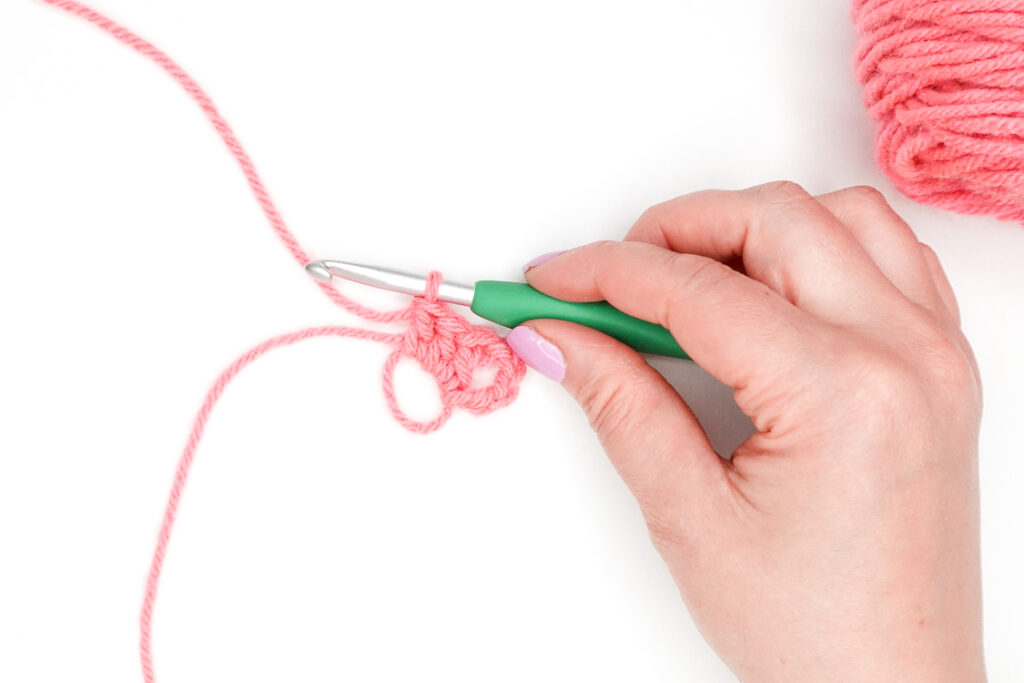
Make 3 more dc in magic ring
Ch 2, make 3 more dc in magic ring; repeat from * 2 more times.
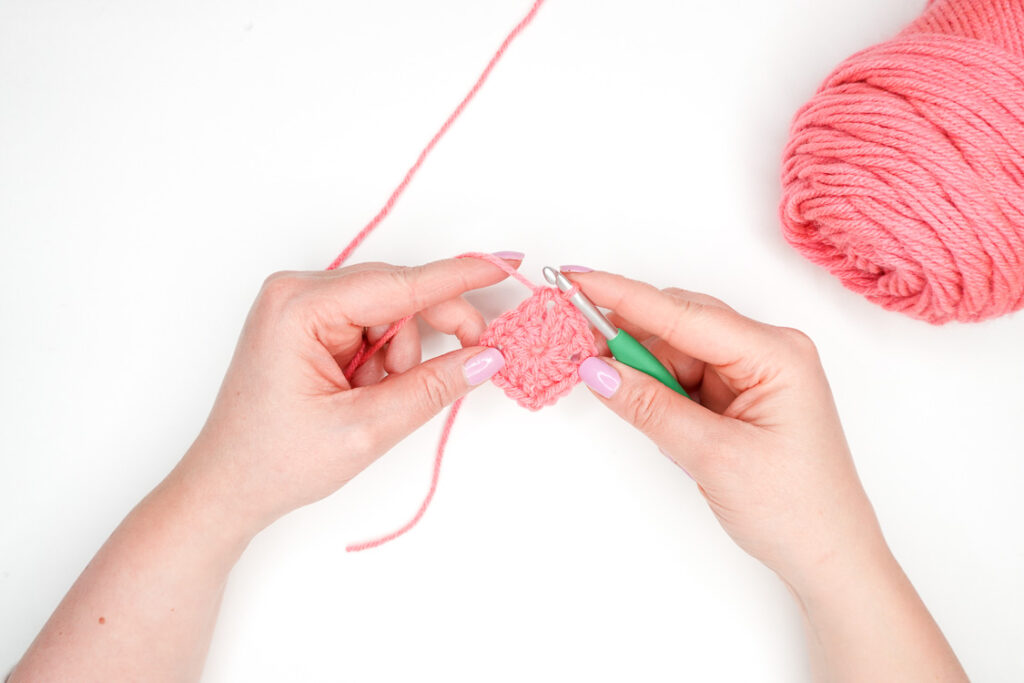
ch 2, make 2 more dc in magic ring; join with 3rd ch of the starting ch 5 with a sl st. Sl st into next ch 2 sp.
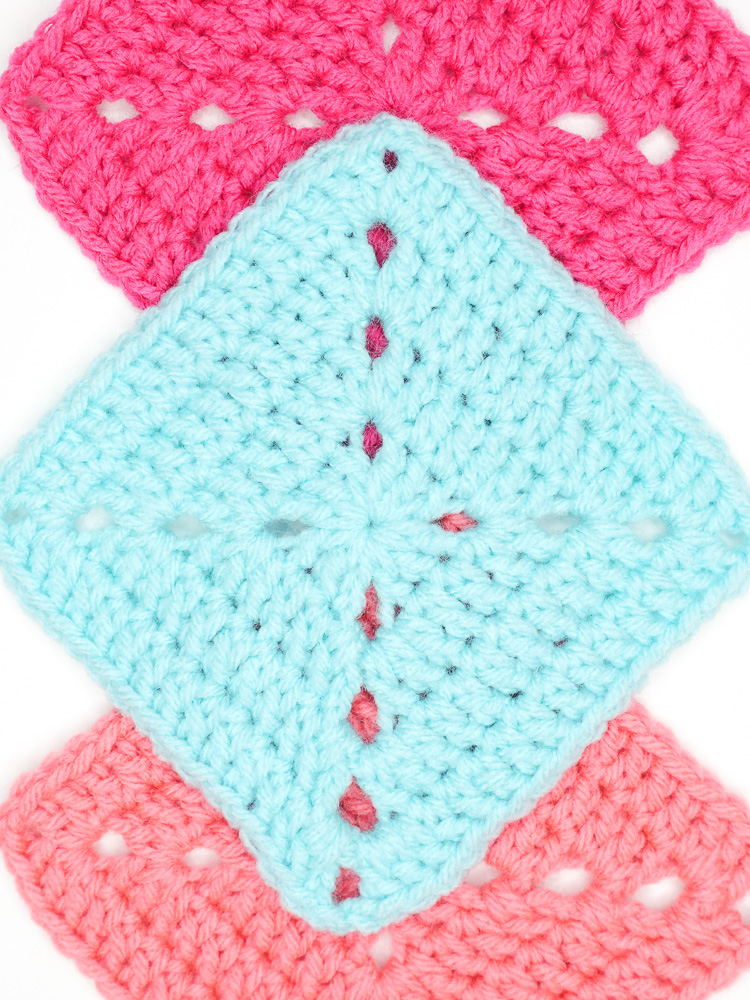
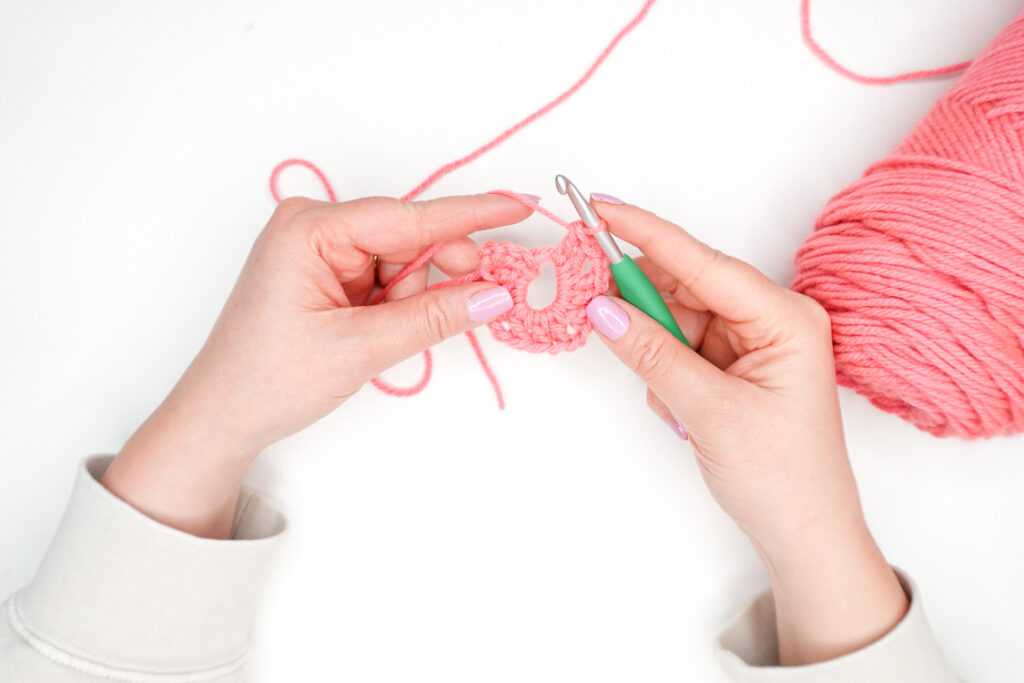
Round 2: Ch 5 (this ch 5 counts as a dc plus a ch 2), make 2 more dc in same ch sp.

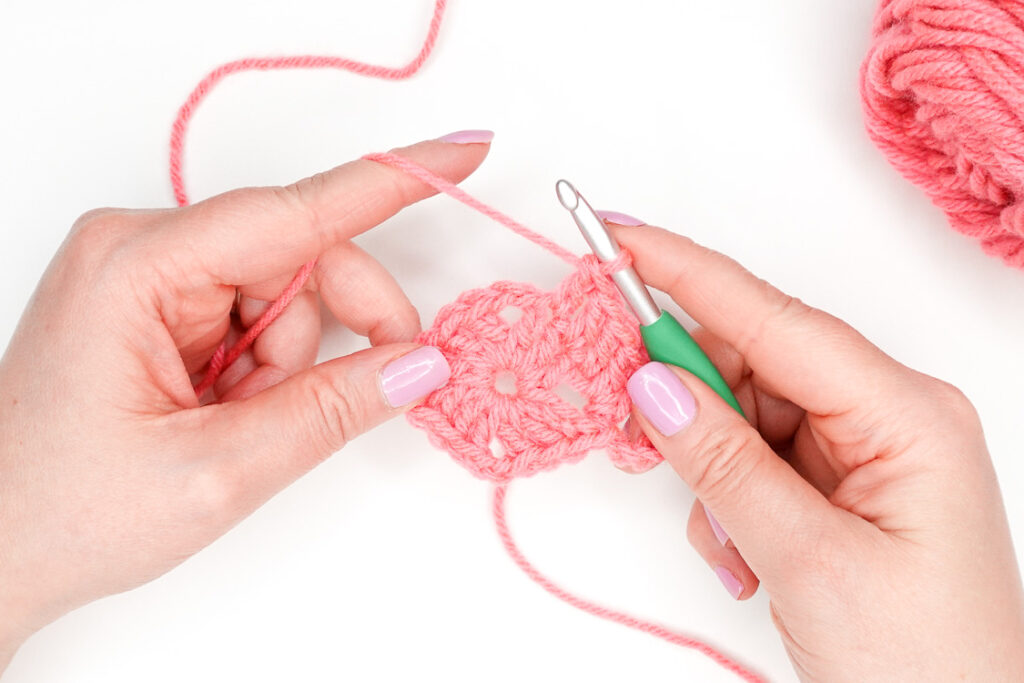
*Make a dc in each of the next 3 stitches (you may have to push your double crochets of your corner to expose the first stitch.)
In next ch sp, make (2 dc, ch 2, 2 dc) in same ch sp.

Repeat from * 2 more times; make a dc in each of the next 3 stitches; make 1 dc in next corner sp; join with the 3rd ch of the starting ch 5. Sl st into next ch 2 sp.
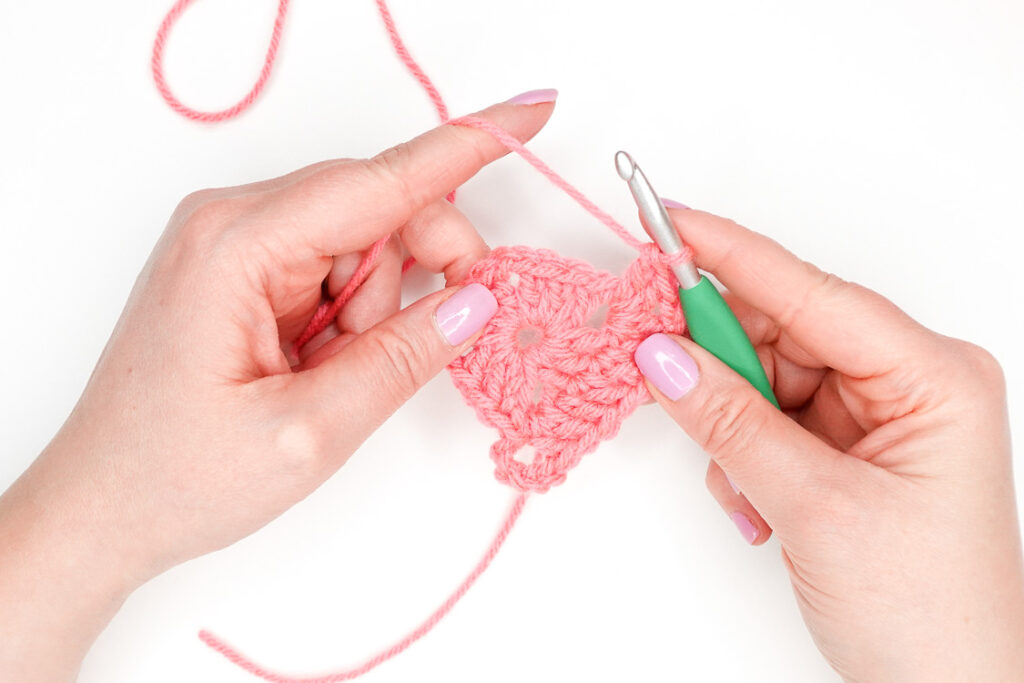
Round 4: ch 5 (counts as a dc plus a ch 2), make 2 more dc in same ch sp, dc in each st across to next corner sp, *in next corner sp make (2 dc, ch 2, 2 dc), dc in each st across to next corner sp; repeat from * 2 more times.
Make 1 dc in next ch sp, join with the 3rd ch of the starting ch 5 with a sl st. Sl st into next ch 2 sp.
Repeat Round 4 until you’ve reached your desired size.
*NOTE: Each round you’ll be adding 16 stitches (4 stitches per side.)
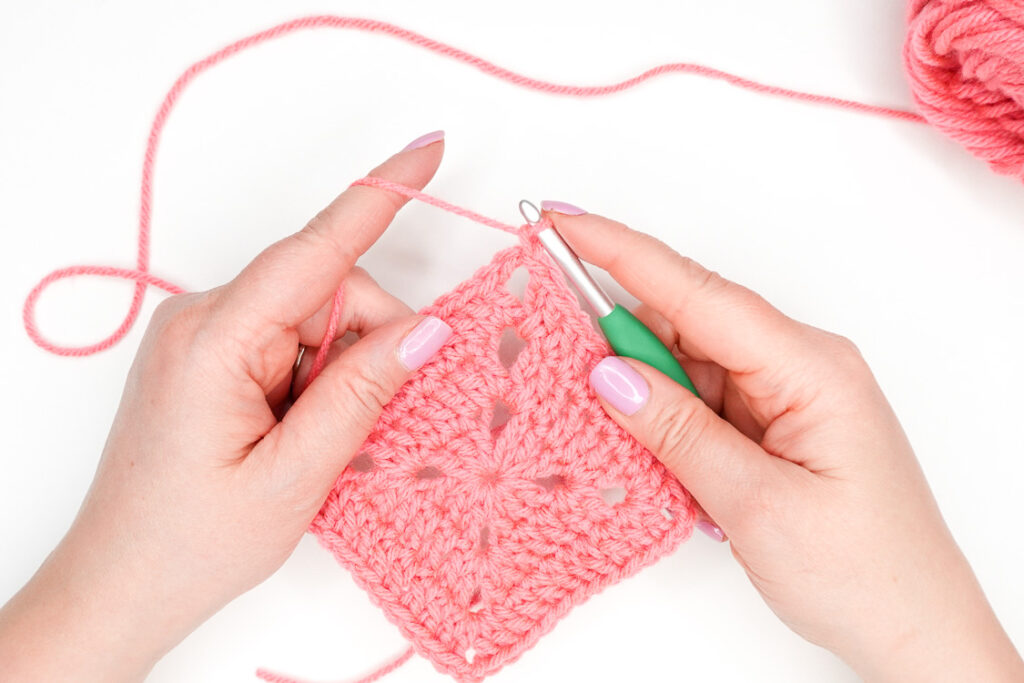
Enjoy!