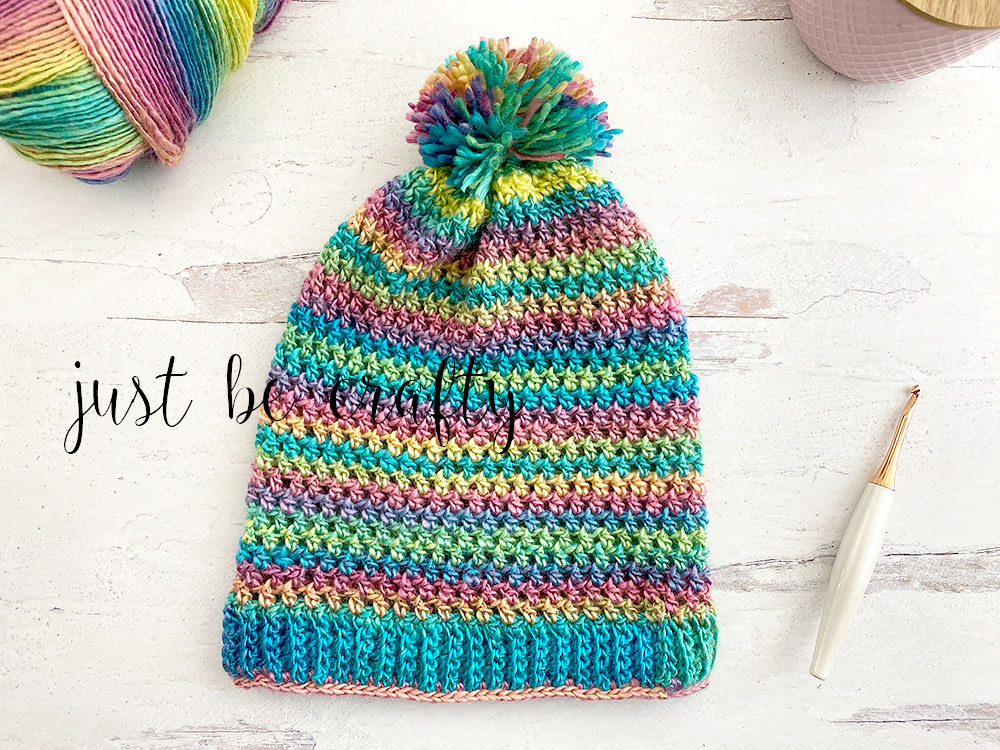
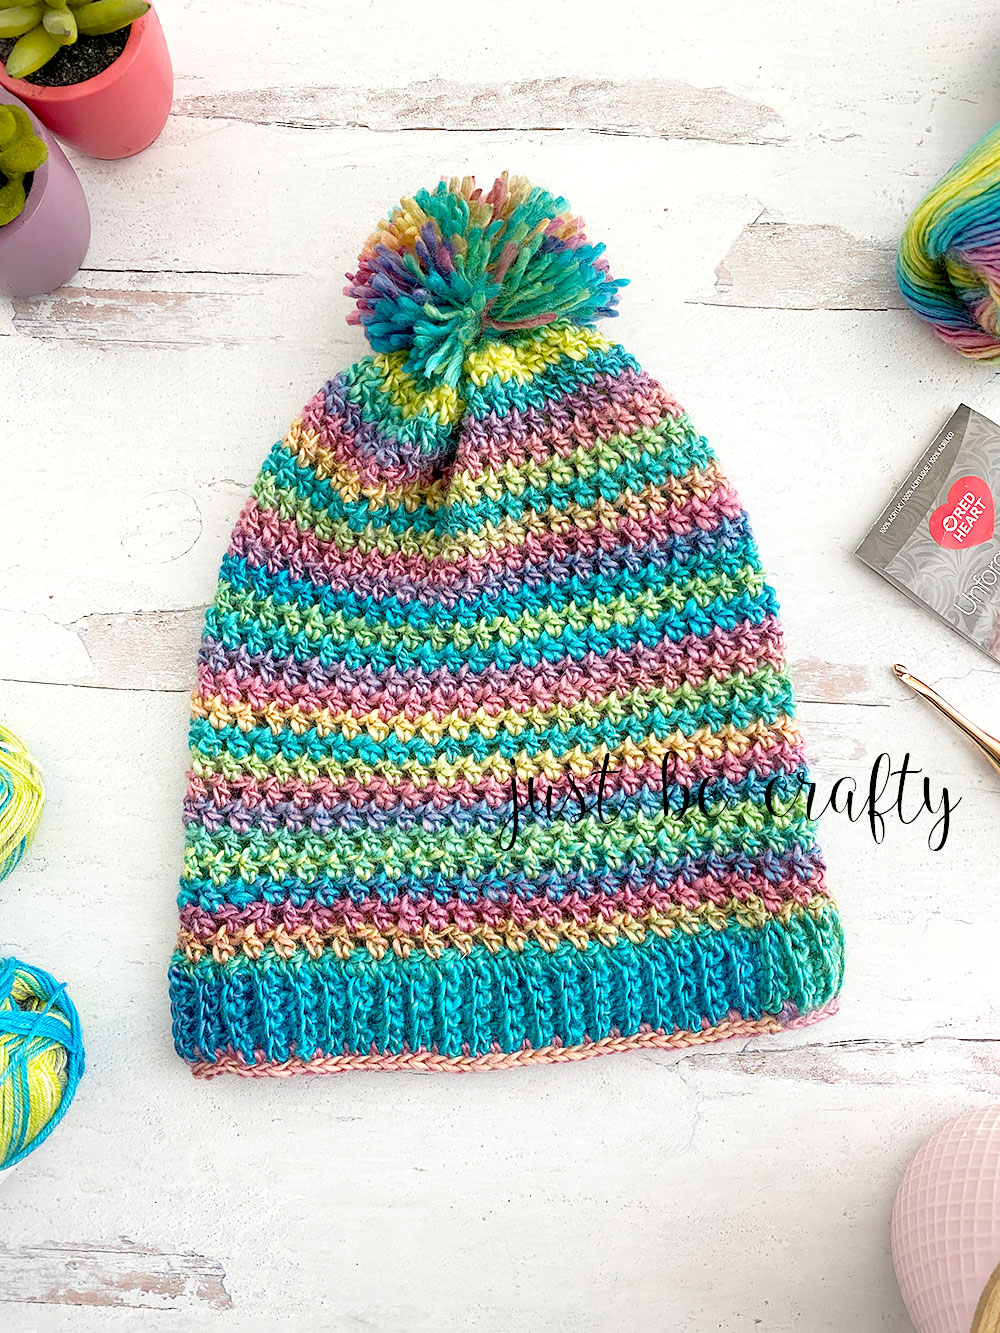
Spring Slouchy Crochet Beanie Pattern
The Spring Slouchy Crochet Beanie is the perfect project to get ready for warm weather! Super easy and breezy, you’ll have a new hat in no time flat!
Hello friend and welcome back to my blog! I’m so happy you’re here today because I have a super fun new pattern for you to try! Its the the Spring Slouchy Crochet Beanie and a definite must make!

Love to make hats?? Make be sure to check out my Crochet Chunky Hat – I think you’ll like it too!
To learn how to make your own, keep on scrolling below!
Spring Slouchy Crochet Beanie
The Spring Slouchy Crochet Beanie Tutorial is geared for intermediate beginners and higher and assumes you already know the following skills:
- chaining
- single crochet
- half double crochet
- slip stitch
That’s it! Once you’ve mastered those skills, I’m confident you can tackle this pattern!
Below you’ll find both left and right handed tutorials!
Right Handed Tutorial
Left Handed Tutorial
Spring Slouchy Crochet Beanie Written Pattern
Purchase the ad-free printable PDF pattern here!
OR… gain instant access to this pattern PDF as well as my entire PDF pattern library! Click here for more information.
*This post may contain affiliate links. Please see my disclosures page for more information.
All patterns on this blog are for personal use only and may not be redistributed, copied, blogged, or sold as your own. You may sell items made by my patterns as long as the item is made by you personally (not mass produced) and that proper credit is given back to me and my site, Just Be Crafty. You may not use my photos for your online sales listings.
For more information please see my Pattern Permissions Page.
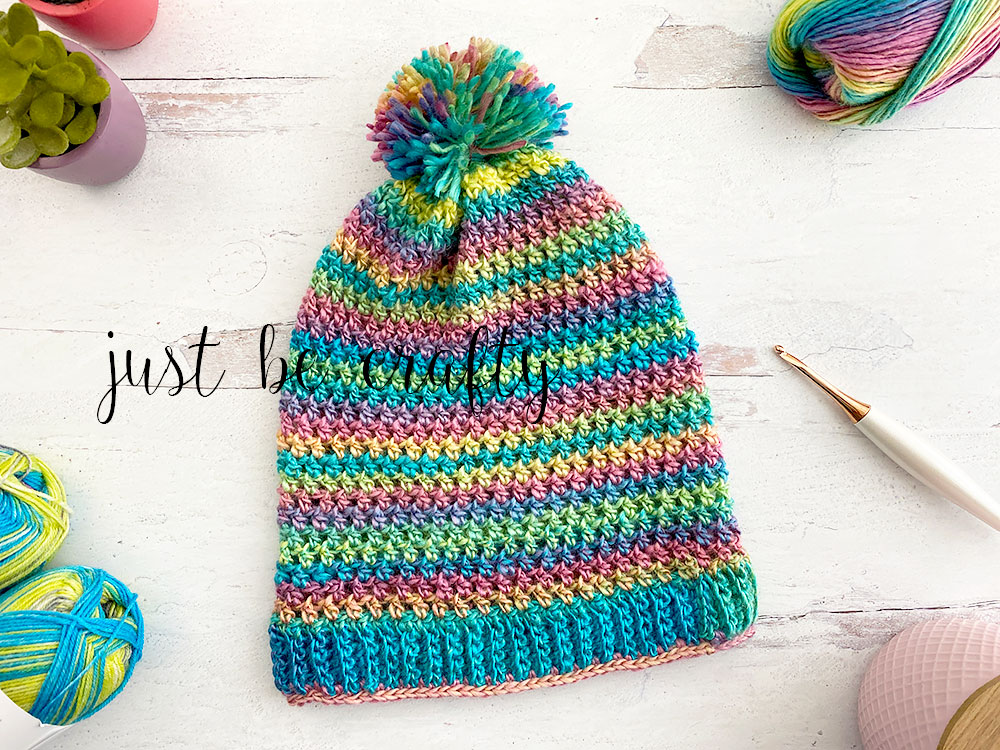
Materials
- 6.0 mm crochet hook
- 1 or 2 balls Red Heart Unforgettable in Candied (get 2 balls if making a pom pom!)
- Tape Measure
- Gauge Checker
- Yarn Needle
- Scissors
- Optional: Pom Pom (I use this Pom Pom Maker)
Gauge
- 10 hdcs (includes hdc + ch 1) by 12 rows = 4 inches
Finished Measurement & Sizing
[table id=5 /]
*Customization instructions:
- Step 1: Measure the circumference of your head.
- Step 2: Follow instructions for MAKING THE BAND, and crochet your hat band so that it measures 1 inch less than your head circumference measurement. End with a crochet band that has an even number of rows.
- Step 3: Continue instructions for THE BODY until you’ve reached your desired depth (use chart for help) and then follow instructions for CINCHING THE HAT CLOSED and continue with pattern.
Key
- ch – chain
- hdc – half double crochet
- prev – previous
- sc – single crochet
- sl st – slip stitch
- sk – skip
- st – stitch
Pattern Notes
- Sizing will be listed as follows: Child (Teen, Women’s S, Women’s M, Women’s L)
SPRING SLOUCHY CROCHET BEANIE – Pattern starts here:
[Making the band]
Chain 6
Row 1: Working in back bar of foundation and starting in the 2nd ch from your hook, sc across, turn; (5)
Row 2: ch 1, working in back loop only, sc in each st across, turn; (5)
Repeat Row 2 until band is approximately 17(18, 19, 20, 21) inches – ending with an even number of rows.
Fold band in half so that the starting and ending edges are touching. Line up you stitches. Ch 1, and slip stitch the outer loops of both layers together to form hat band.
Flip band right side out so that seem is now on the inside.
[The body]
Round 1: Ch 1, make 1 sc into the side of each band row, ending with an even number of stitches. Do not join. Use tail and hat band seam to keep track of your round start/finish.
(Example: I made a Womens Large, and ended up with 94 rows for my band, and 94 stitches total for Round 1.)
Round 2: hdc into the 1st st, ch 1, sk a st, *hdc into next st, ch 1, sk a st; repeat from * around; do not join at end of round.
Round 3: hdc into hdc from prev row, ch 1, *hdc into next hdc from prev row, ch 1; repeat from * around; do not join at end of round.
Repeat Round 3 until until piece measures 7(8, 9, 9, 10) inches.
Fasten off leaving long tail that is 1 – 2 arm’s lengths long.
[Cinching the hat closed]
Thread a yarn needle with tail. Whip stitch into each ch space along the top row, working the needle from inside the hat out. Work all the way around the top row until you reach back around to the beginning.
VERY gently and CAREFULLY, pull on your tail to cinch the hat closed. You will not be able to completely close the top of your hat with cinching. Once hat is cinched as much as possible, use yarn needle to stitch the remaining hole closed.
Knot to secure on the inside of your hat.
[Edging]
Round 1: With hat facing right side out, attach yarn to the bottom of your hat band along the seam. Work 1 sc into the side of each row of your starting hat band. Work in sc evenly around. Do not join.
Round 2: sl st into ea st around; join end of round by placing a sl st into 1st sl st of round.
Fasten off.
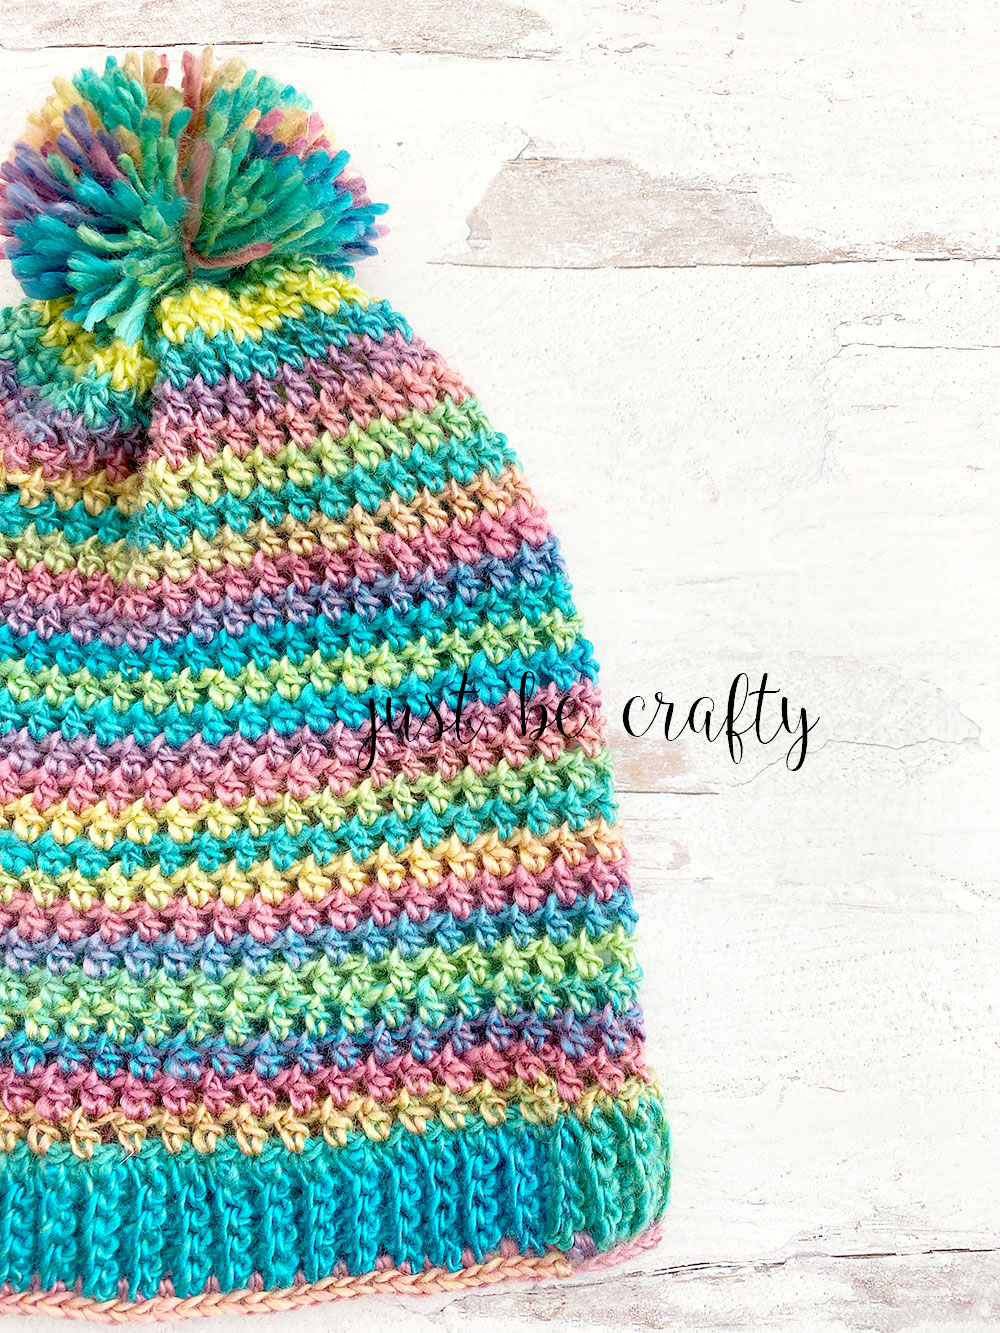
[Optional – add a pom pom]
Attach a pom pom if you wish! (I made a pom pom with this Pom Pom maker and used the 2.5″.)
[Finishing]
Weave in ends.
Enjoy!