How to make a slip knot for beginners
In this blog post I’m going to break down how to make a slip knot for beginners.
The first step in learning how to crochet is learning how to make a slip knot. Slip knots are one of the foundational building blocks to crochet and is almost always the first step before making a foundation chain (with some exceptions of course!).
The slip knot is imperative to learn in order to begin crocheting, and in this blog post I share with you two of my favorite ways to make a slip knot.
There are of course many different ways to make a slip knot but these are the only two methods I ever find myself using. Its important for you to practice, and find a way that’s most comfortable for you.

Slip Knot for Beginners Method #1
This slip knot method is my go to method for most crochet projects. It’s the way I first learned and has stuck with me ever since. I prefer to use this method when the pattern I’m working on doesn’t require a long tail prior to making the foundation chain. Most crochet patterns do not require you to begin with a long tail prior to chaining, and should always instruct you to do so if it is necessary.
So for example, if a pattern begins with “Ch 20”, I already know I’m using this slip knot method.
Watch the video tutorial
I’ve filmed a video tutorial help walk you through both methods. To view the tutorial, click on the play button below.
Slip Knot #1 – Step by step
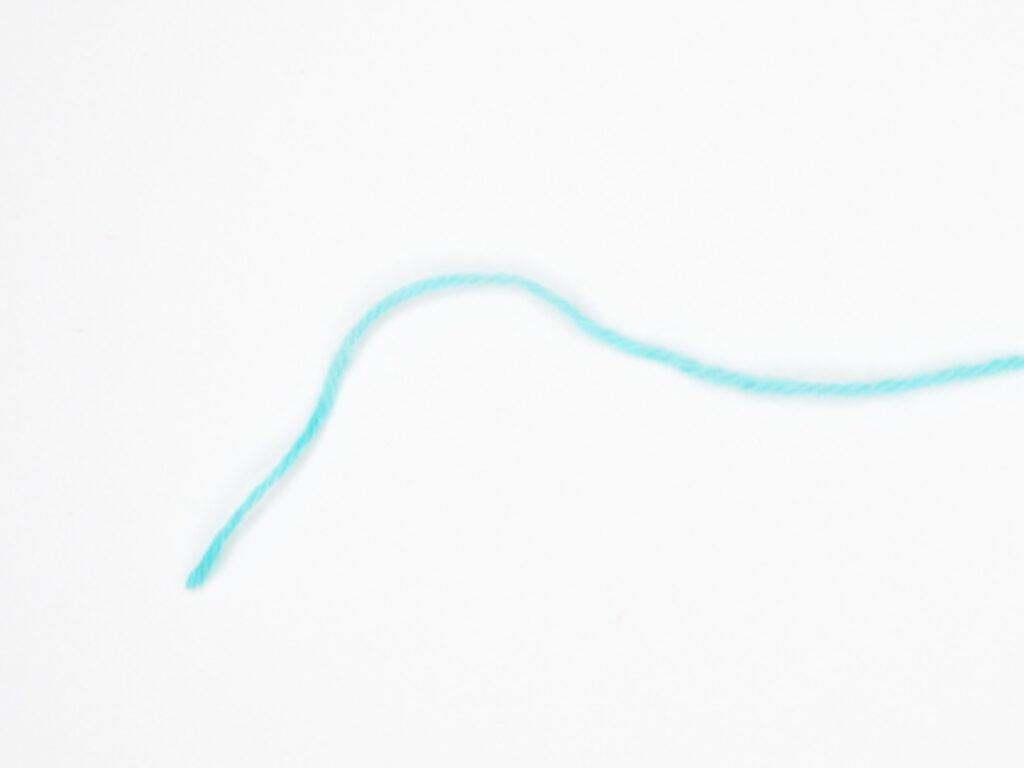
Step 1
Lay yarn flat out in front of you.

Step 2
Grab the yarn tail and lay the tail over the working yarn like so, creating a loop.
(I like to think of this as making a “4”.)
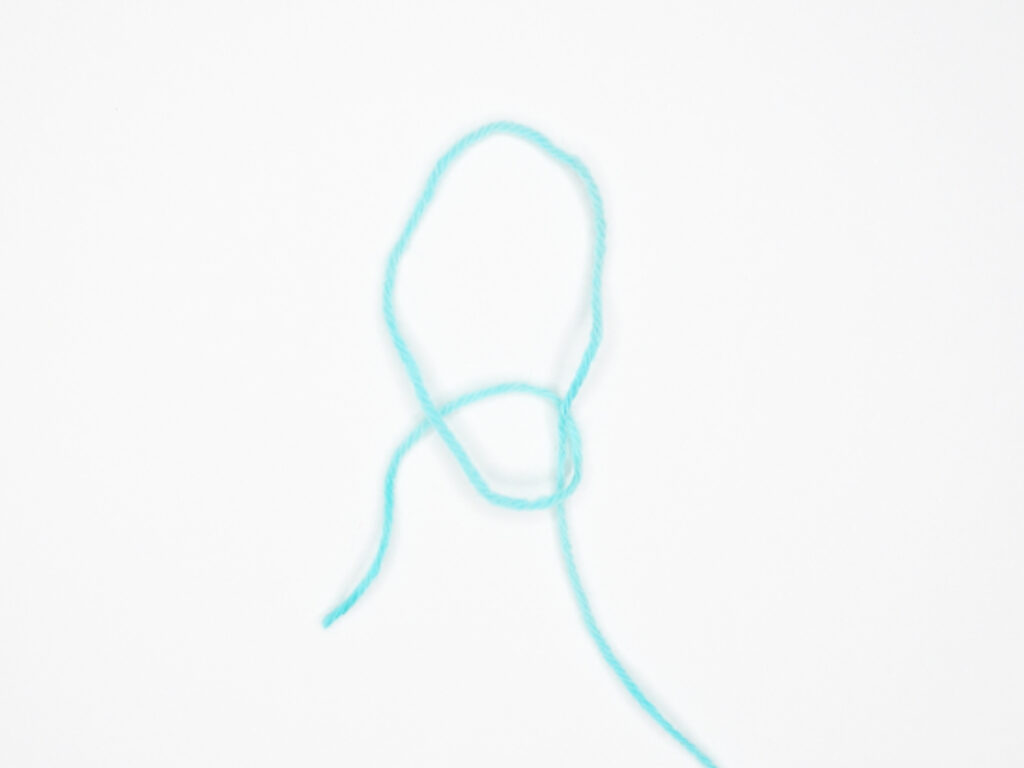
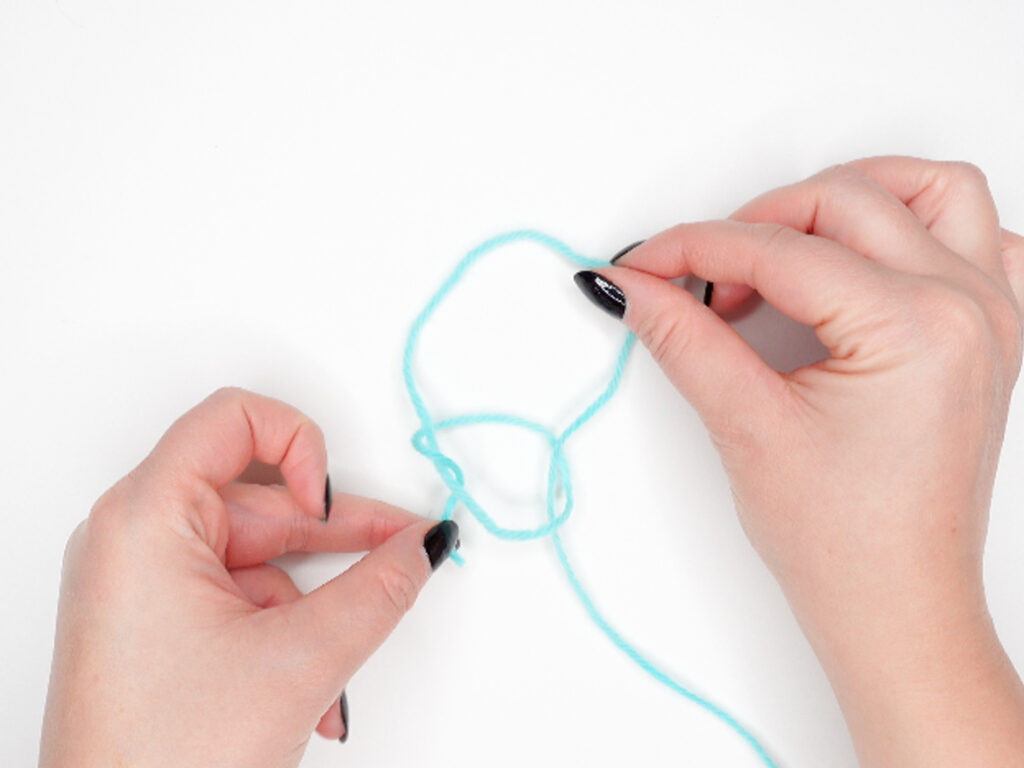
Step 3
Wrap yarn tail around the back of the “4” you just made, creating a second loop.
Step 4
Grab your yarn tail.
Step 5
Insert your yarn tail into the second loop you created.
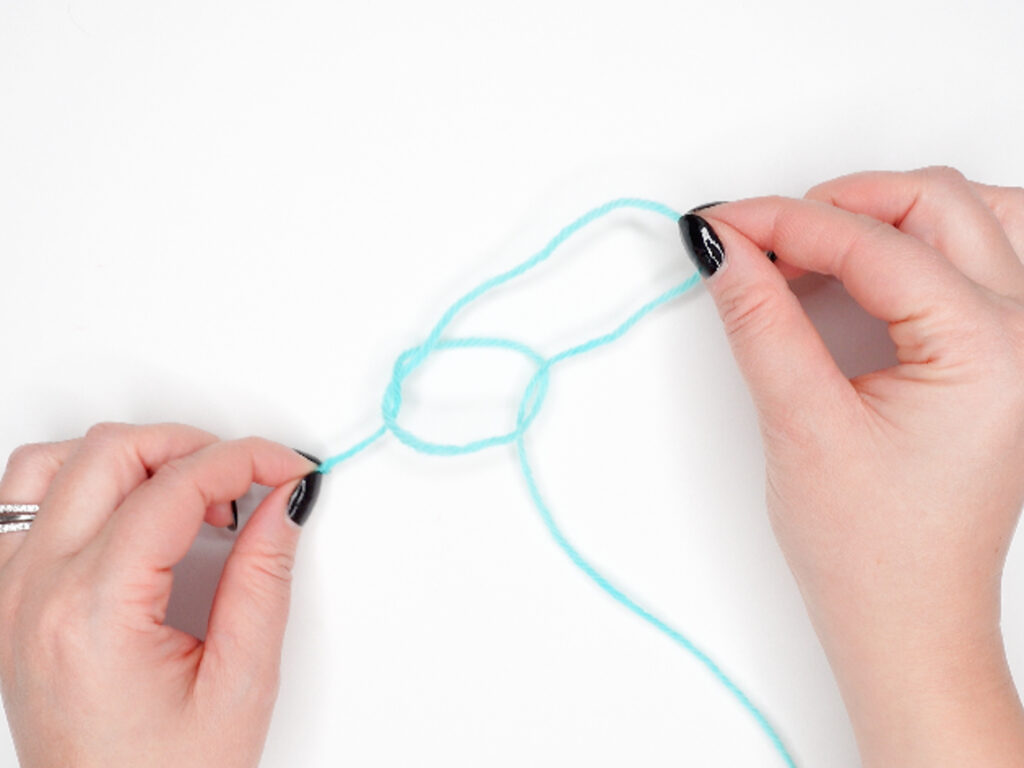
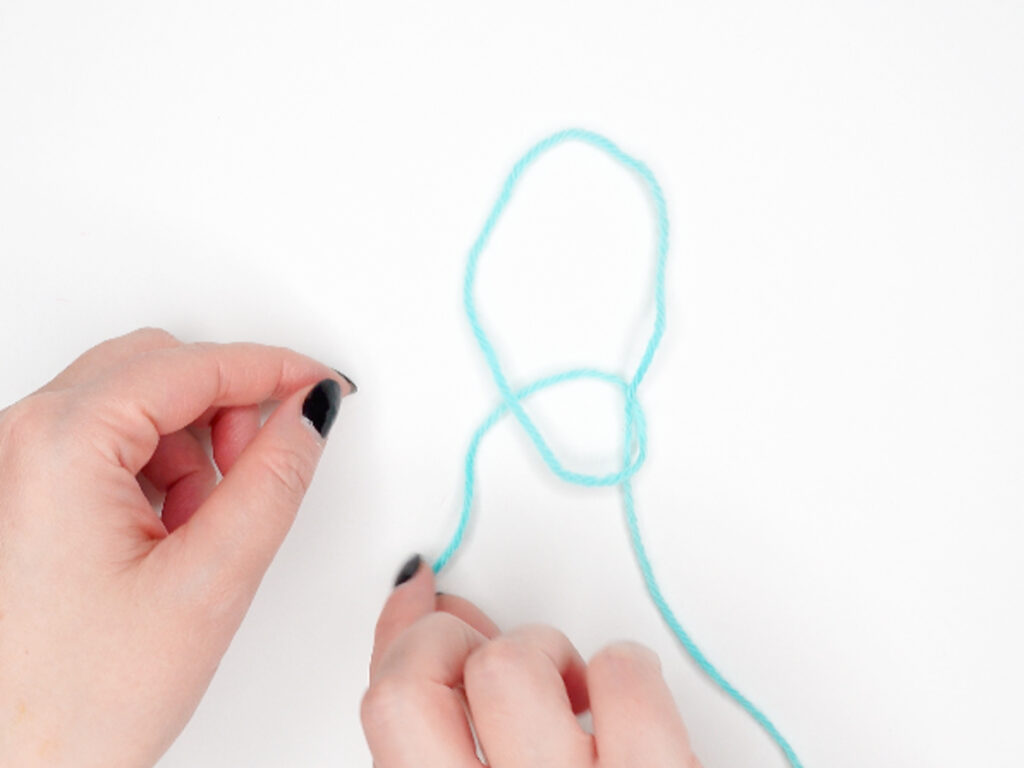
Step 6
Using both hands, gently pull on the yarn tail and the first loop you created to tighten the knot.
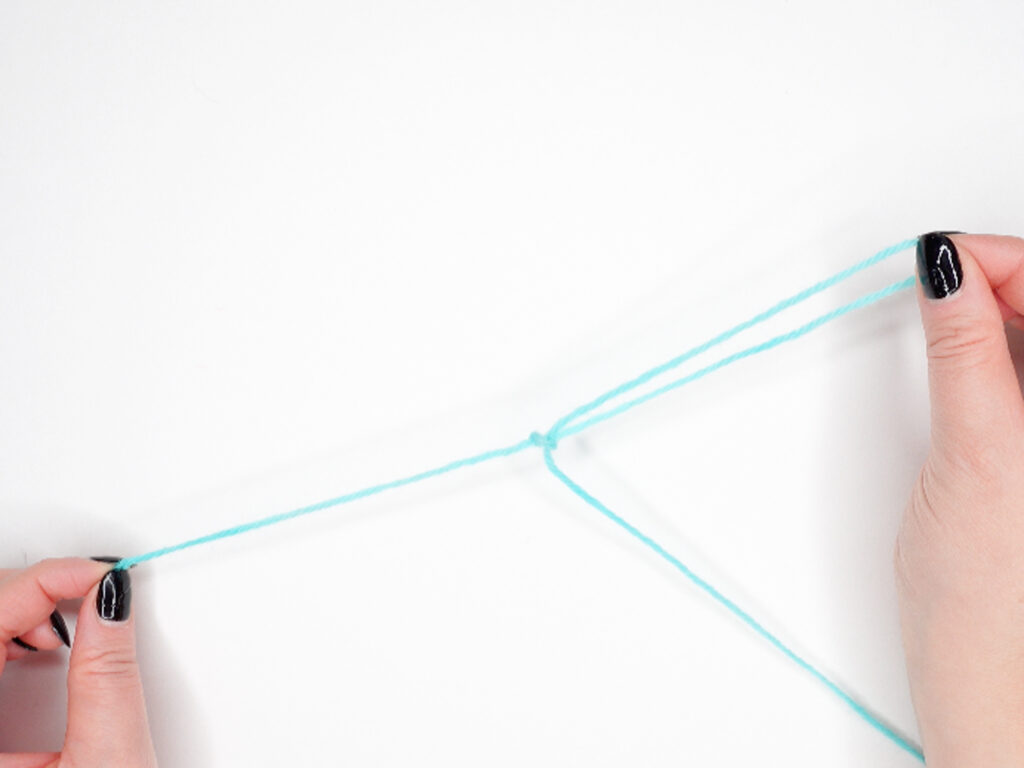
Step 7
Continue tightening the knot.
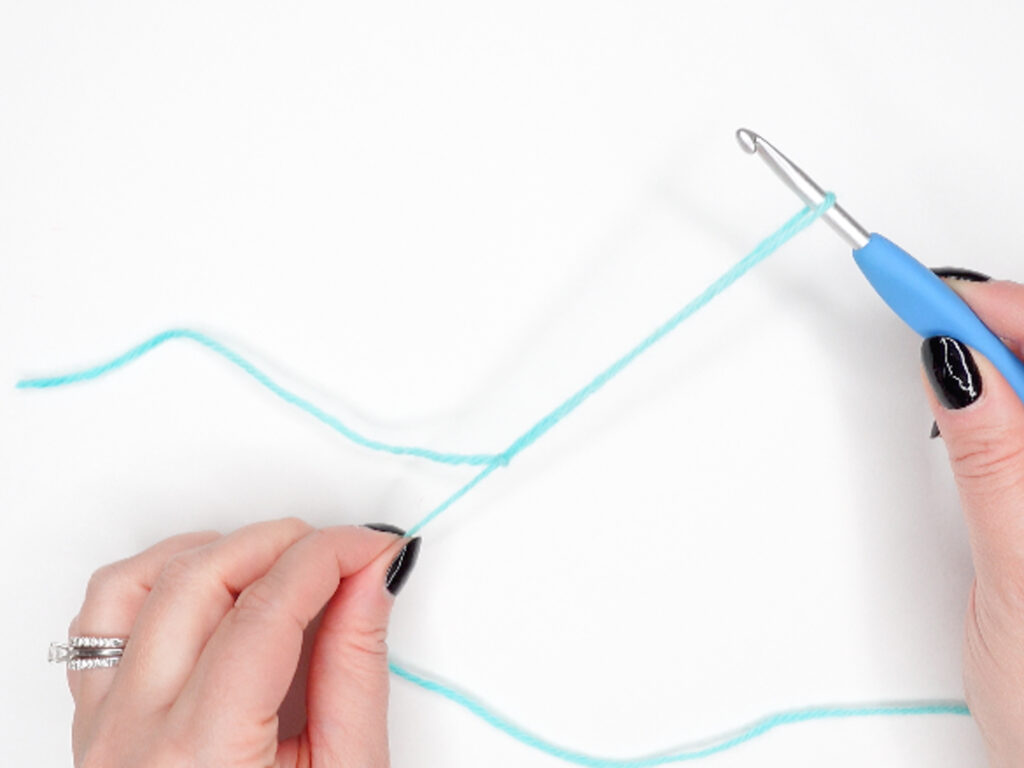
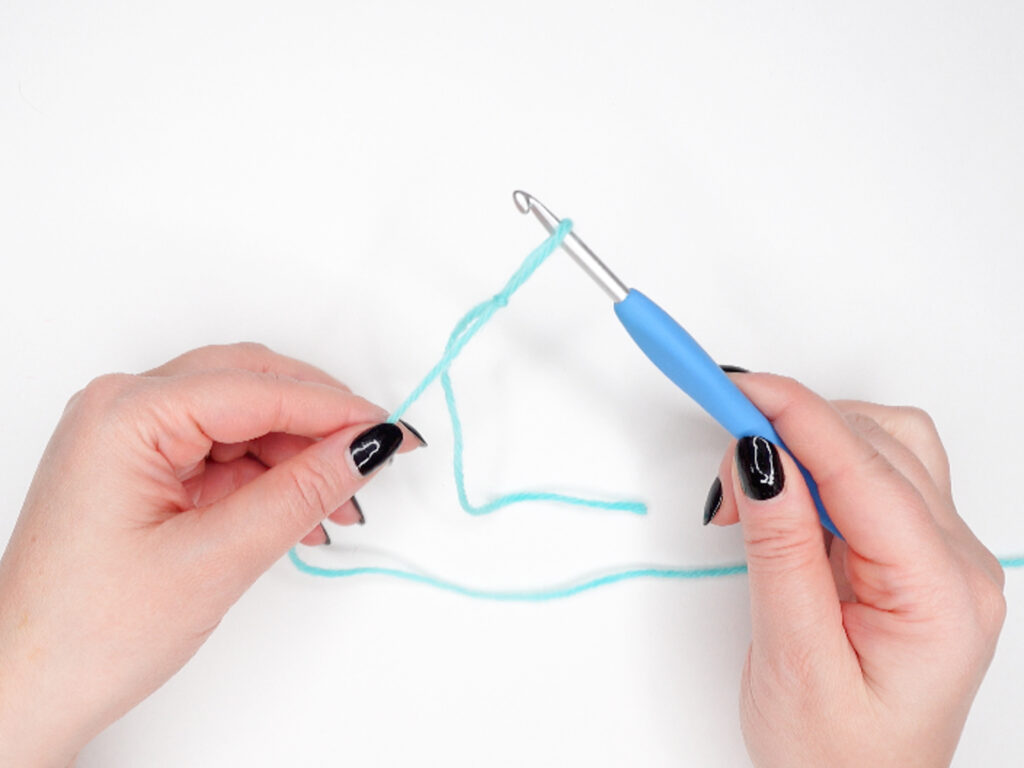
Step 8
Insert crochet hook into the loop.
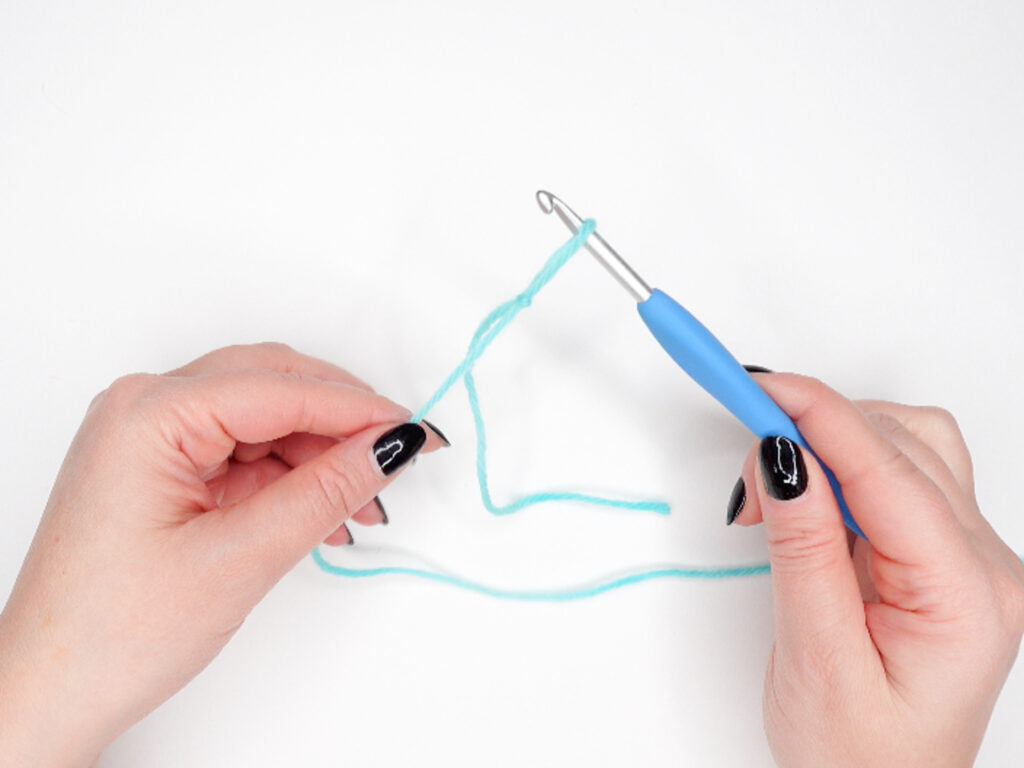
Step 9
Pull on your working yarn to tighten yarn to hook.

Step 10
Yay! You’ve just created a slip knot and you’re ready to begin your foundation chain!
Slip Knot for Beginners Method #2
This slip knot method is my second favorite for making a slip knot and one I learned a few years ago. This method is my go-to slip knot when a pattern requires a long tail prior to chaining (like this pattern here).
Watch the video tutorial
Slip Knot #2 – Step by Step
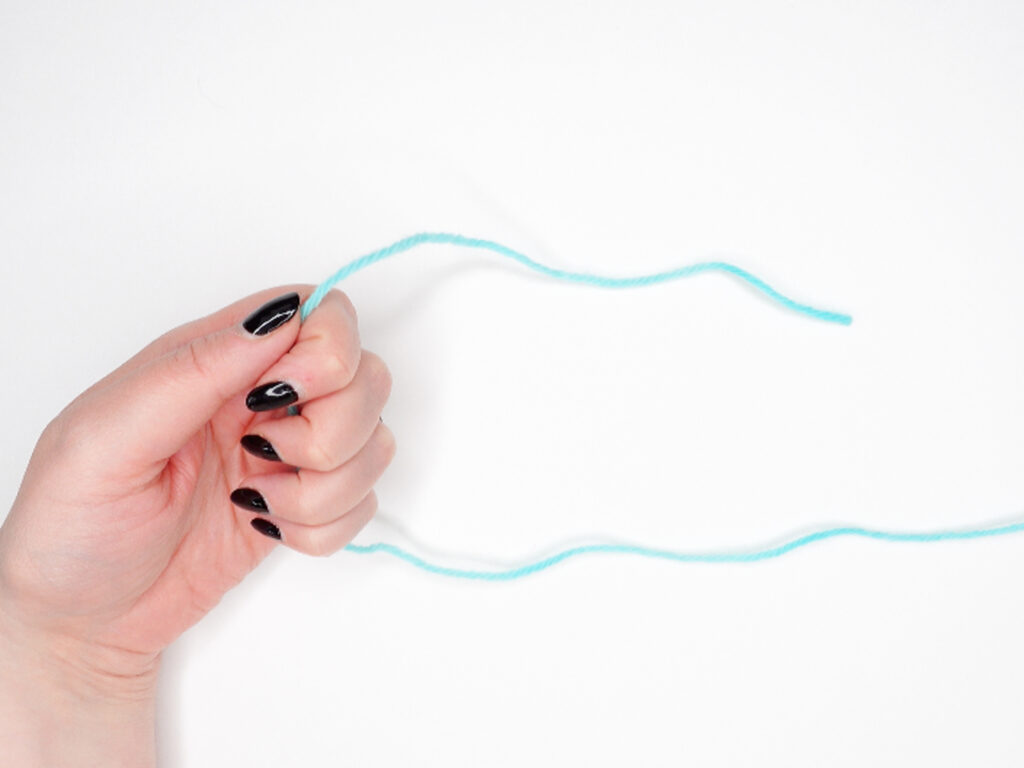
Step 1
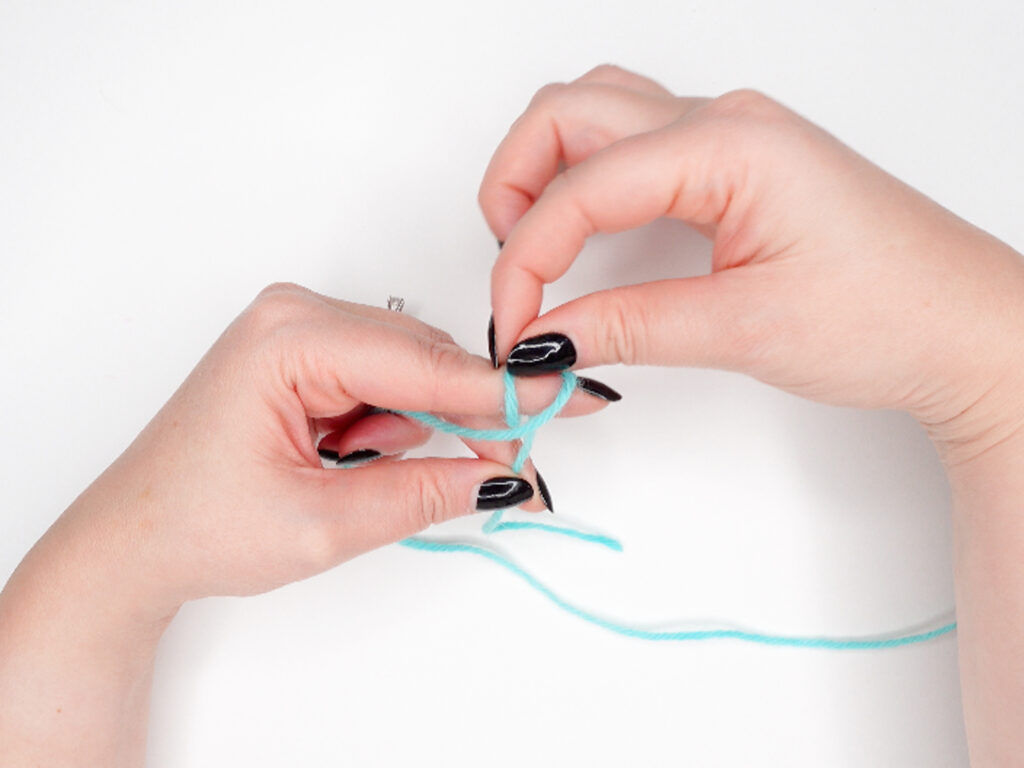
Hold your yarn tail in the palm of your hand. The working yarn should be nearest your pinky, and the tail should be popping out by your thumb and pointer finger.
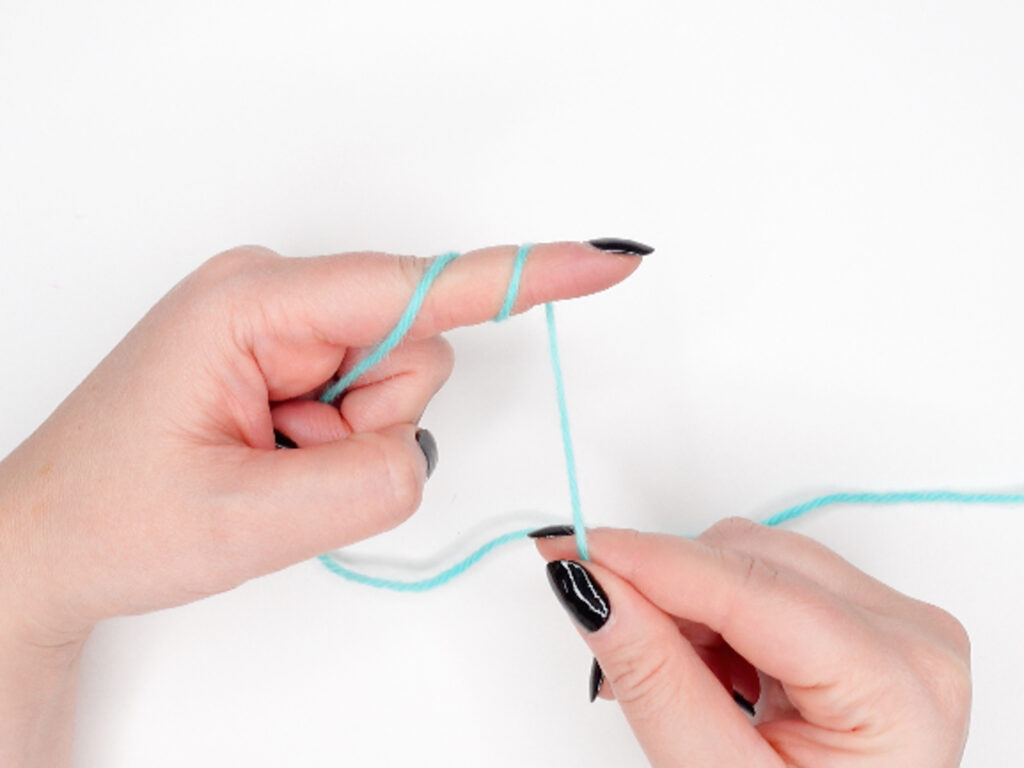
Step 2
Take you yarn tail and wrap it around your pointer finger 2 times.
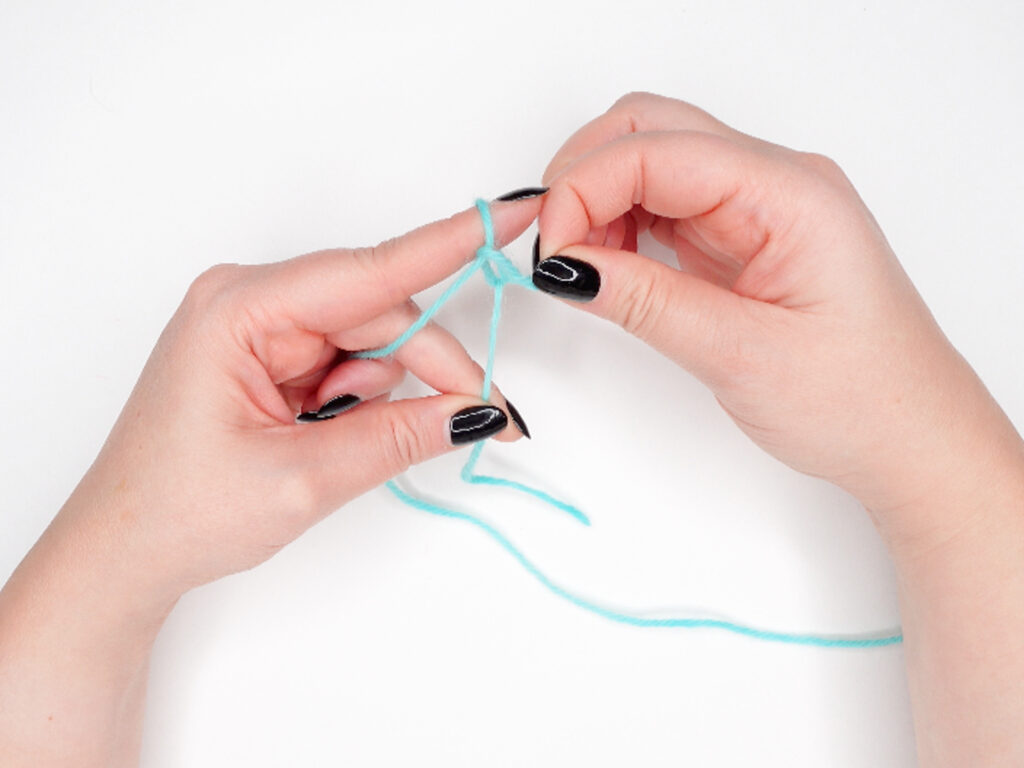
Step 3
Secure yarn tail between your thumb and middle finger.

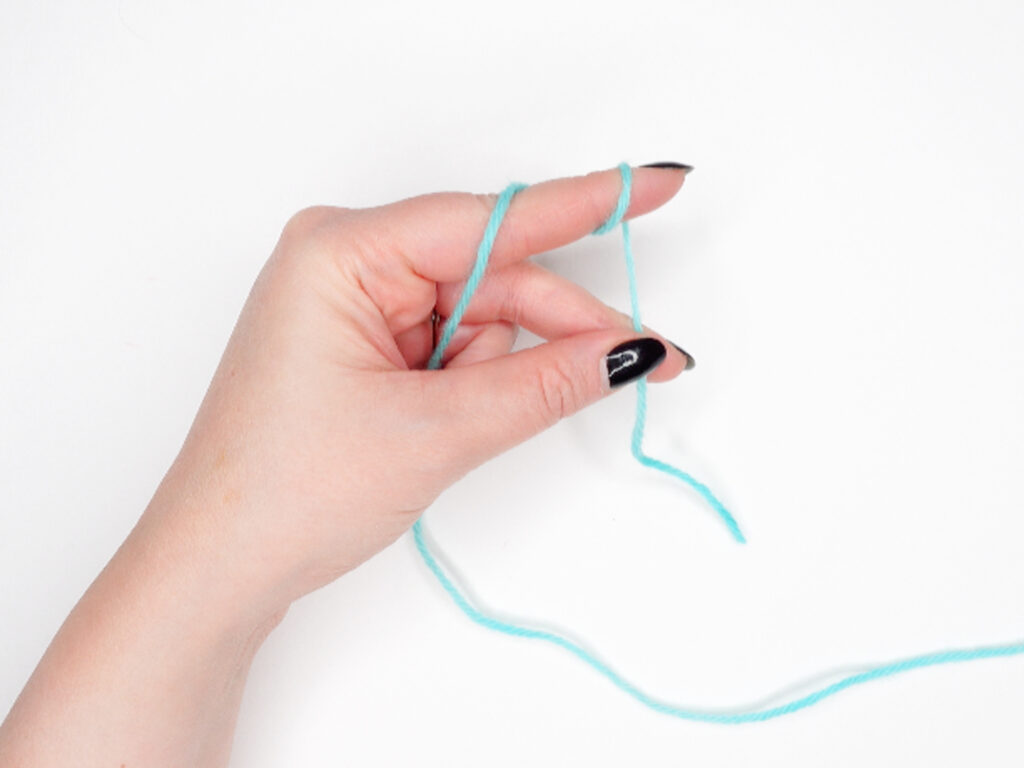
Step 4
Grab first loop (nearest your knuckes).

Step 5
And place over the second loop.
Step 6
Now grab that same second loop.
Step 7
And lift over the first loop AND off of your finger.
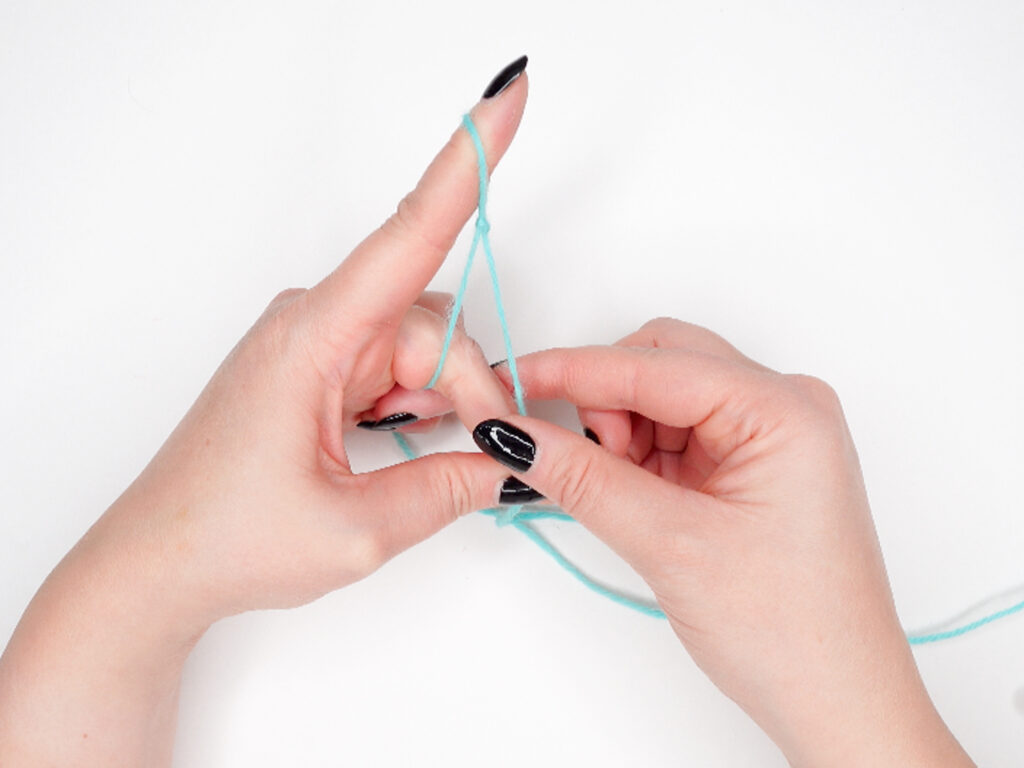
Step 8
Extend pointer finger upward to tighten the knot.

Step 9
Insert crochet hook into the loop and pull on the working yarn to tighten.
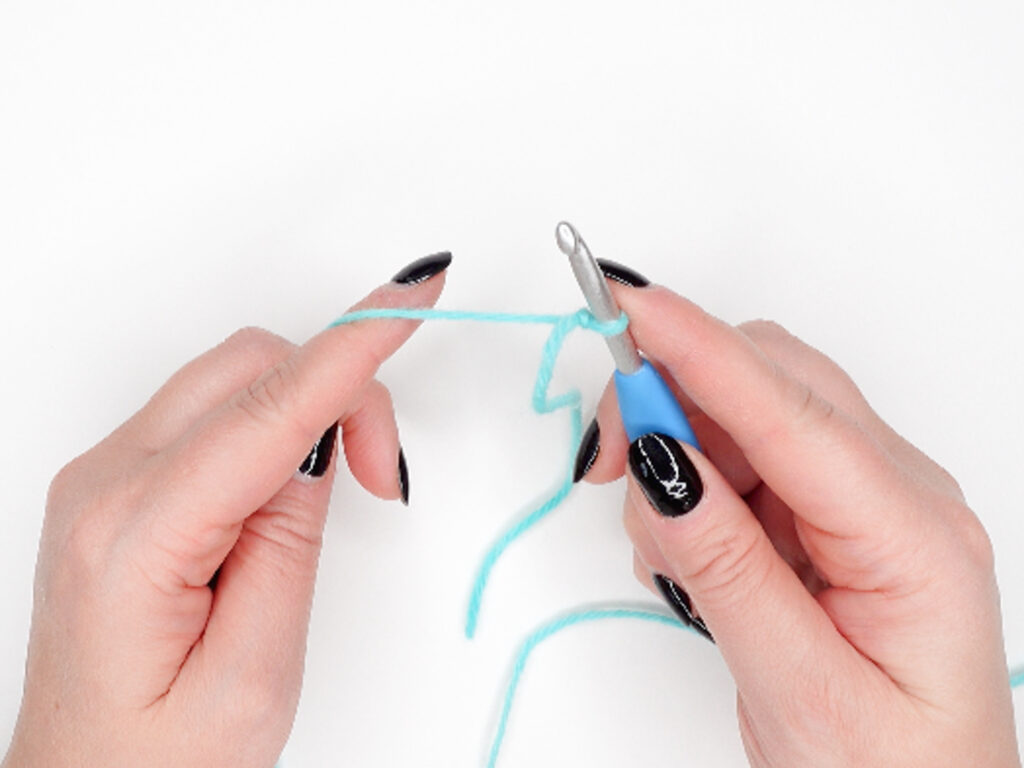
Step 10
Yay! You’ve just made a slip knot and now you’re ready to begin your foundation chain!
In conclusion
The above slip knot tutorials may look like a lot of steps, and there are, because I break down each step of the process in order to make it easier to understand. I promise though, once you get the hang of it, making a slip knot will be second nature to you and you’ll be well on your way learning to crochet!
Find this helpful?
I take the end of the yarn, bring it down and to the left, making a loop. Stick your hook from the back of the loop to the front, yo with the yarn on the skein side, pull through the loop, ta da! slip stich make, and already on the hook! (takes much longer to type than to do!)
I like that! I’ll have to try my hand at that. Thank you for sharing!